How to Crochet a Cute Little Flower Amigurumi: A Beginner-Friendly Tutorial
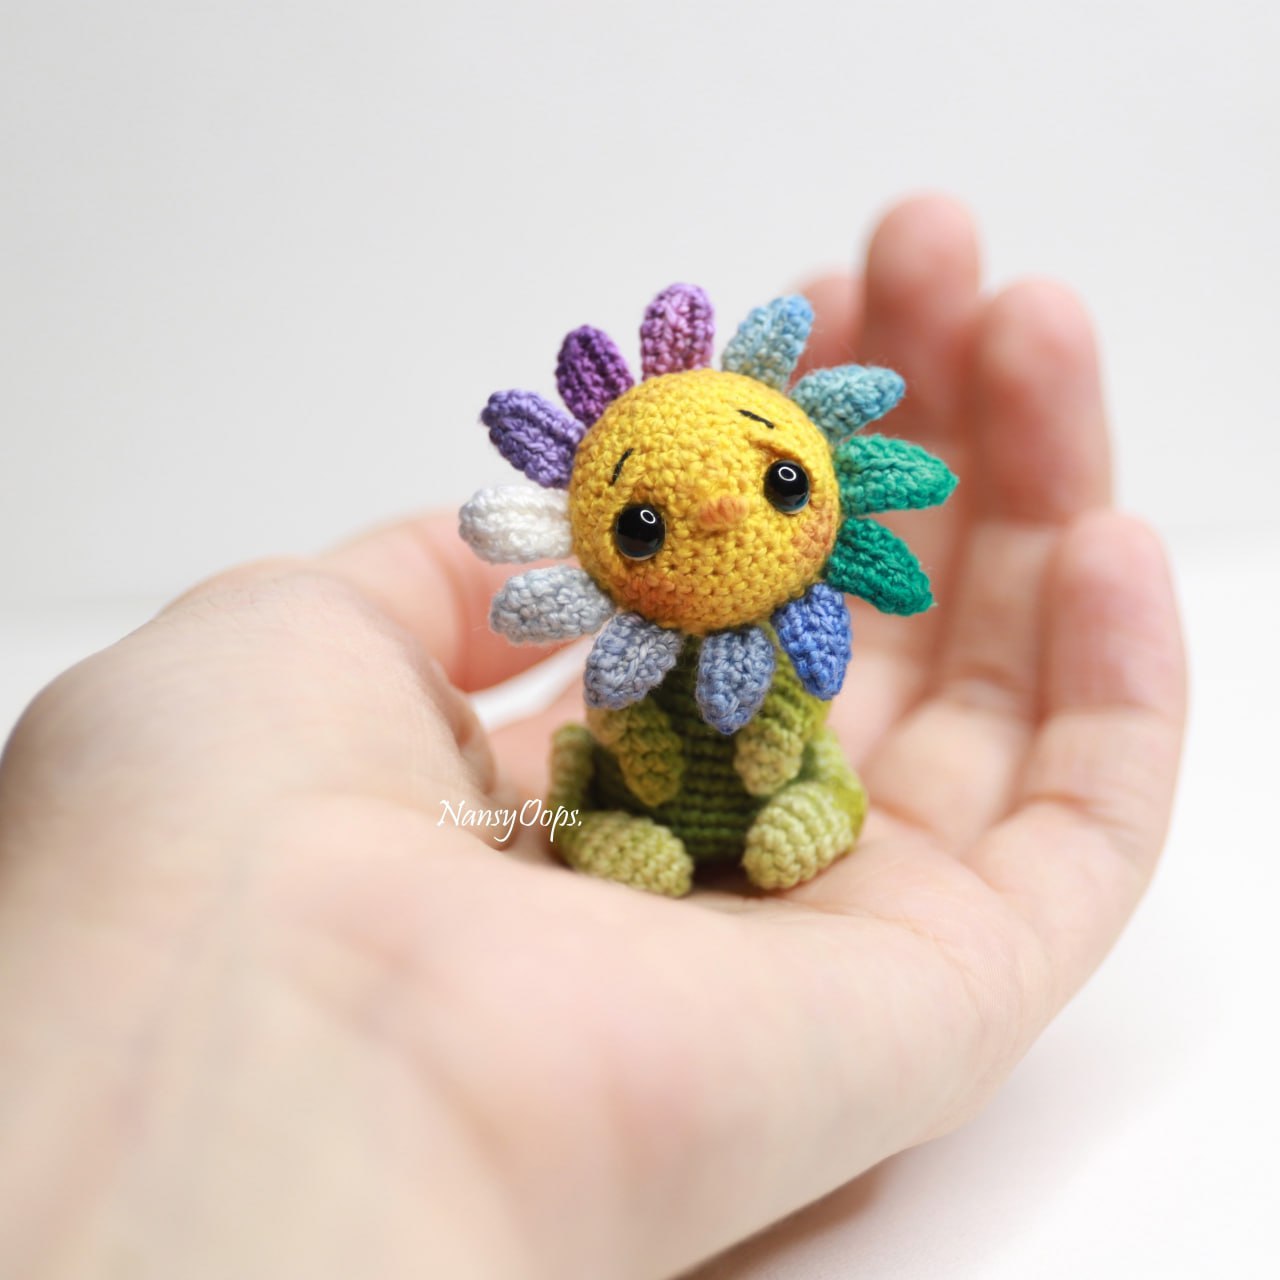
Are you looking for a tiny, magical project to brighten up your desk or shelf? Welcome to our step-by-step guide on how to crochet a Little Flower Friend! This adorable, palm-sized amigurumi is more than just a decoration; it is a little companion you can keep by your side. Legend has it that if you whisper your wishes to this little flower, they might just come true!
This project is perfect for crocheters who want to practice working with very fine yarn and small hooks. While it is small—measuring approximately 1.75 inches tall—it is packed with detail, from its colorful petals to its bendable, expressive limbs. Whether you are looking for a quick gift or a fun way to practice your amigurumi skills, this little flower is the perfect choice.
Materials & Abbreviations
Because this is a miniature project, you will be working with fine materials to ensure the stitches stay tight and the shape remains crisp. If you are a beginner, please ensure you have a good light source, as working with small stitches can be taxing on the eyes!
Materials Needed
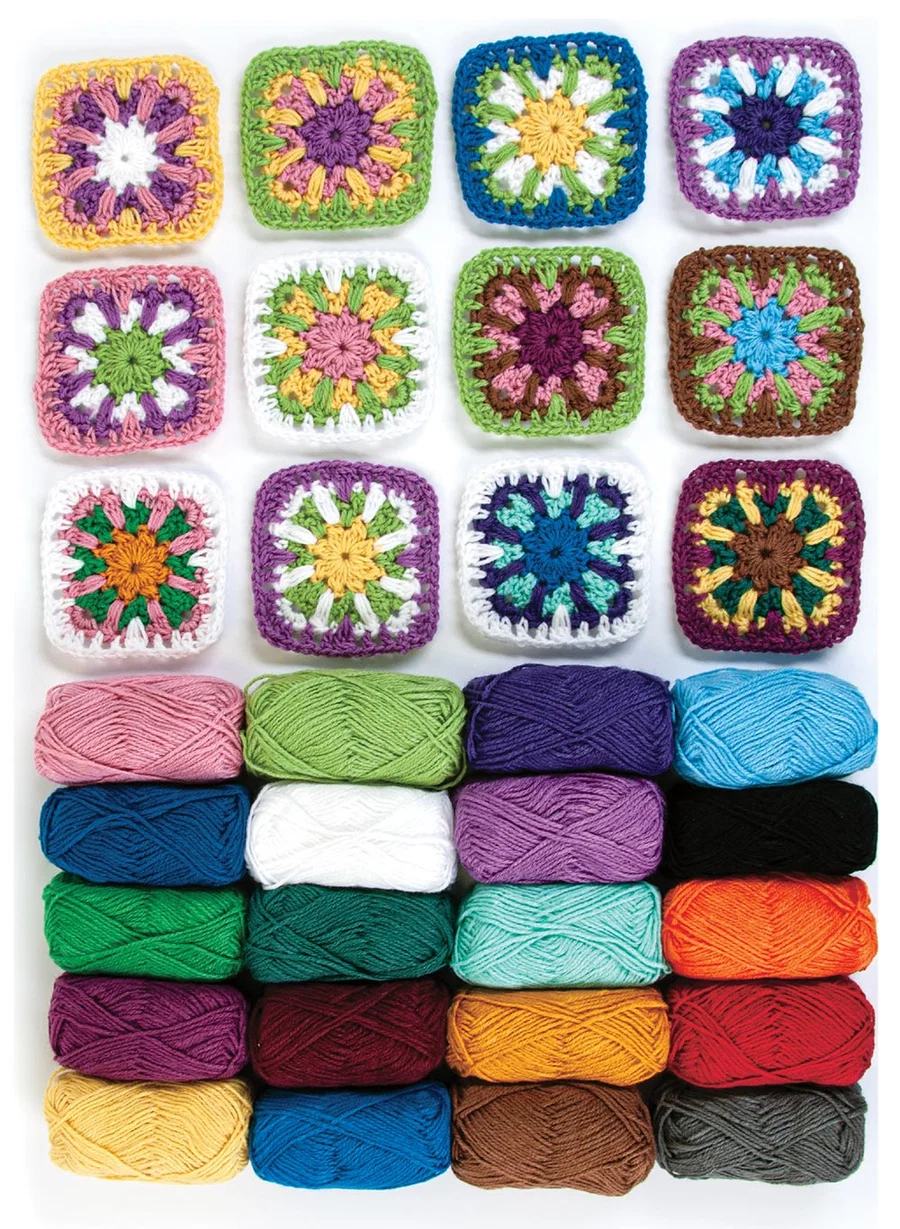
- Crochet Yarn: A fine cotton or cotton-blend yarn. You will need:
- Yellow (for the head)
- Green (for the body, arms, and legs)
- Assorted colors for the petals (pink, blue, purple, etc.)
- Optional: A variegated green for a more textured look on the limbs.
- Crochet Hook: 1 mm (approximately a B-1 hook).
- Safety Eyes: 4.5 mm plastic eyes.
- Wire: Thin jewelry or floral wire (0.3 mm to 0.5 mm) for making the limbs poseable.
- Stuffing: Polyfill or fiberfill.
- Embroidering Thread: A small piece of black sewing thread for the eyebrows.
- Extras: Scissors, a tapestry needle, glue (optional, for securing eyes), and soft pastels or watercolor paints (for blushing the cheeks).
Abbreviations (US Terms)
- MR: Magic Ring
- sc: Single crochet
- inc: Increase (2 sc in one stitch)
- dec: Decrease (sc 2 stitches together)
- ch: Chain
- sl st: Slip stitch
- FLO: Front Loops Only
- BLO: Back Loops Only
Step-by-Step Instructions
The Head
Note: For the head, we will work with the “wrong side” facing out to ensure a clean, tight finish. We will start with yellow yarn.
1. 6 sc in a MR (6)
2. 6 inc (12)
3. (1 sc, inc) * 6 times (18)
4. (2 sc, inc) * 6 times (24)
5. (3 sc, inc) * 6 times (30)
6. (4 sc, inc) * 6 times (36)
7. (5 sc, inc) * 6 times (42)
9. 48 sc (48)
Now, we will transition to the “outside” of the head by switching to green yarn. For the next set of rounds, you will work only in the Front Loops Only (FLO) to create the base for the petals.
10. (6 sc, dec) * 6 times (42)
11. (5 sc, dec) * 6 times (36)
12. (4 sc, dec) * 6 times (30)
13. (3 sc, dec) * 6 times (24)
14. (2 sc, dec) * 6 times (18)
15. (1 sc, dec) * 6 times (12)
Assembly Note: Stuff the head firmly with fiberfill. Attach your safety eyes and use your black thread to embroider a small nose and thin eyebrows. Finally, insert your wire frame into the head to provide stability for the body.
The Colorful Petals
The petals are worked directly from the 10th round of the head. To make the flower look full, you should aim for 12 petals in total. Between each petal, leave a gap of one stitch.
To make one petal:
1. Start by making 6 ch.
2. In the second chain from your hook, work 5 sc down the chain.
3. Work 1 sc into the next stitch of the head (this connects the petal).
4. Turn your work to crochet down the other side of the chain: work 4 sc up the side of the chain.
5. In the very last stitch (the corner), work 3 sc to create a rounded tip.
6. Work 5 sc back down the remaining side of the chain to return to the start.
7. Finish with a sl st into the head stitch next to your starting point.
Repeat this process 12 times until you have a full, vibrant flower head.
Once all petals are finished, finish the back of the flower using green yarn:
16. 12 sc (12)
17. 12 sc (12)
18. 6 dec (6). Stuff the small “bud” area with a little filling, leave the wire protruding from the center, and fasten off.
The Body
Work with green yarn, starting from the top and working downwards. Try to keep your tension relaxed so the body stays soft.
1. 6 sc in a MR (6)
2. (1 sc, inc) * 2 times (10)
3. (4 sc, inc) * 2 times (12)
4. 12 sc (12)
5. (3 sc, inc) * 3 times (15)
6. 15 sc (15)
7. (4 sc, inc) * 3 times (18)
8. (2 sc, inc) * 6 times (24)
9. 24 sc (24)
Connecting the Body: At this stage, it is easiest to attach the body to the head. Thread your wire through the head and into the magic ring of the body. Secure the head to the body by sewing through several stitches. Once attached, bend the wire inward so it doesn’t poke out.
Continue the body:
10. (3 sc, inc) * 6 times (30)
11-13. 30 sc (30)
14. (4 sc, inc) * 6 times (36)
15. 36 sc (36)
16. (4 sc, dec) * 6 times (30)
17. (3 sc, dec) * 6 times (24)
18. (2 sc, dec) * 6 times (18)
19. (1 sc, dec) * 6 times (12)
Stuff the body firmly, then perform 6 final decreases to close the bottom. Fasten off.
The Legs (Make 2)
You have two options for the legs: a long, poseable version or a short, simple version.
Option 1: Long Poseable Legs
1. 6 sc in a MR (6)
2. (1 sc, inc) * 3 times (9)
3. 9 sc (9)
4. (8 sc, inc) (10)
5-8. 10 sc (4 rows total)
9. (4 sc, inc) * 2 times (12)
10-12. 12 sc (3 rows total)
13. (3 sc, inc) * 3 times (15)
14. 15 sc (15)
15. (3 sc, dec) * 3 times (12)
Insert wire into the leg. You can add a tiny bit of stuffing if you like, but it isn’t required. Finish with 6 dec and fasten off. Bend the legs into an “S” shape for a cute sitting pose.
Option 2: Short Legs (No Wire)
1. 6 sc in a MR (6)
2. (1 sc, inc) * 3 times (9)
3. 9 sc (9)
4. (8 sc, inc) (10)
5-7. 10 sc (10)
8. (4 sc, inc) * 2 times (12)
9-11. 12 sc (12)
12. 6 dec (6). Fasten off.
The Arms (Make 2)
1. 5 sc in a MR (5)
2. (inc, 4 sc) (6)
3. (4 sc, inc, 1 sc) (7)
4. 7 sc (7)
5. (2 sc, inc, 1 sc) * 2 times, 1 sc (9)
6-9. 9 sc (4 rows total)
10. (2 sc, inc) * 3 times (12)
11-12. 12 sc (12)
Insert wire into the arms to allow them to be posed. Finish with 6 dec and fasten off.
Finishing
Now comes the fun part! To assemble your flower, use the “thread attachment” method. Using the yarn tails from your legs and arms, sew the limbs onto the body. This ensures a secure connection.
To give your flower friend some extra personality, take a little bit of pink watercolor or soft pastel on a brush and lightly tap it onto the cheeks. This creates a beautiful, blushing effect that makes the amigurumi look alive.
Tips for Success
- Tension is Key: When working with a 1mm hook, try not to pull your stitches too tight, or it will be difficult to insert the stuffing or the wire.
- Safety First: If you are making this for a small child, ensure the eyes are extremely secure or consider embroidering the eyes instead of using plastic safety eyes.
- Wire Handling: When bending wire, use pliers to avoid hurting your fingers. Always ensure the ends of the wire are tucked deep inside the stuffing so they cannot poke through the crochet fabric.
- Color Variety: Don’t be afraid to play with colors! You can make a “Sunflower” version with all yellow petals, or a “Daisy” version with all white petals.