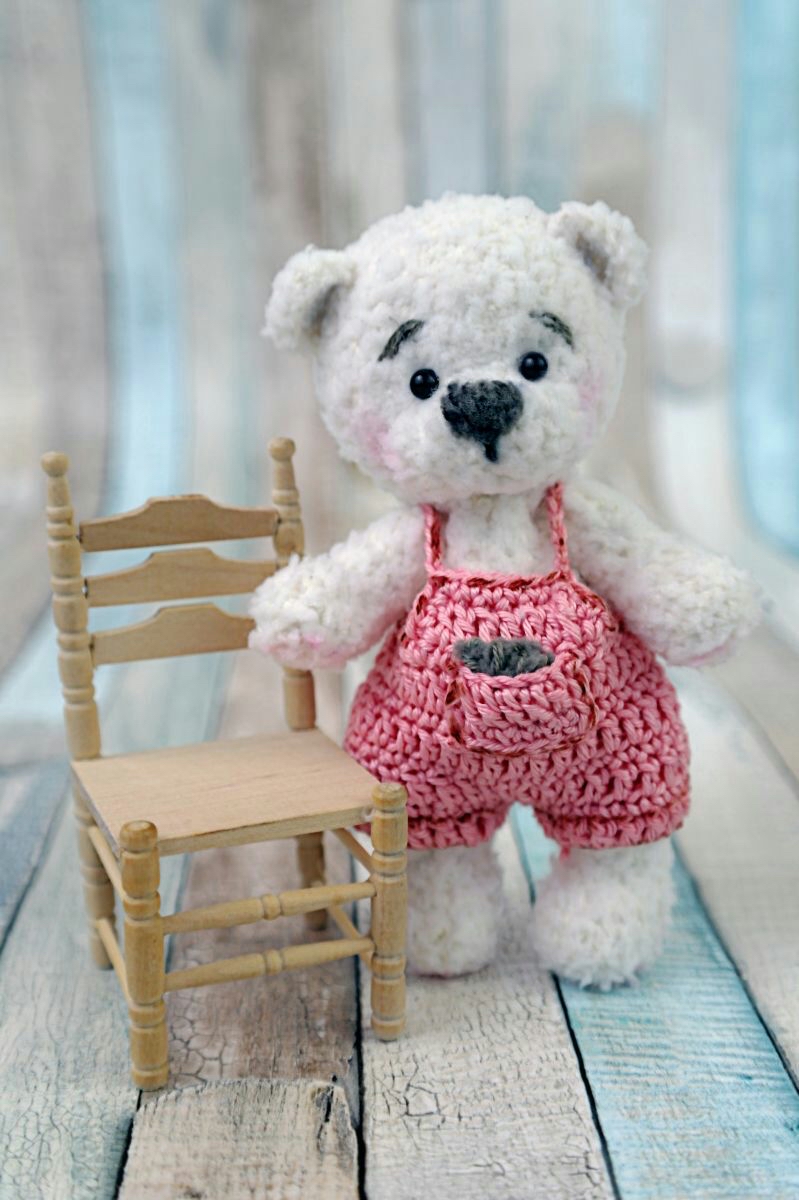
Adorable Plush Crochet Bear Pattern: A Step-by-Step Amigurumi Guide
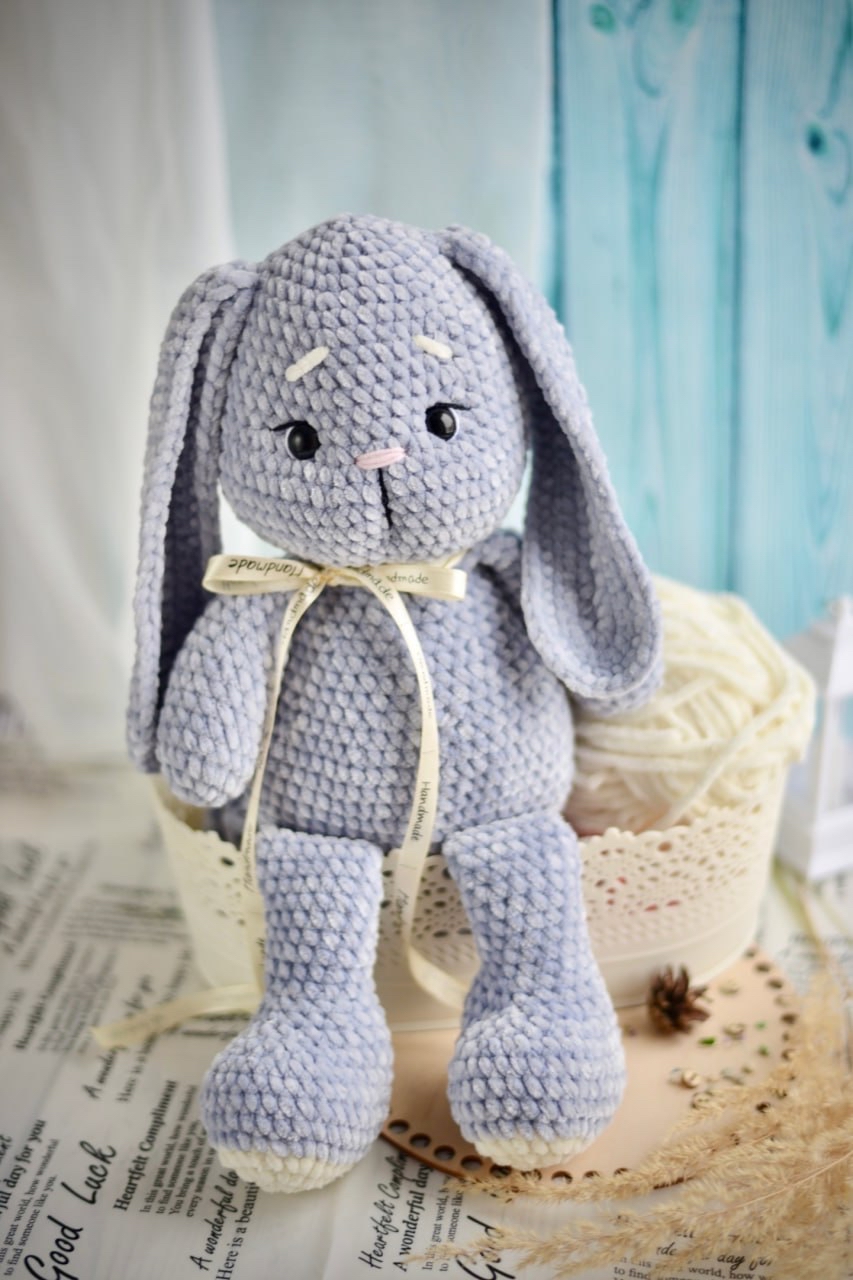
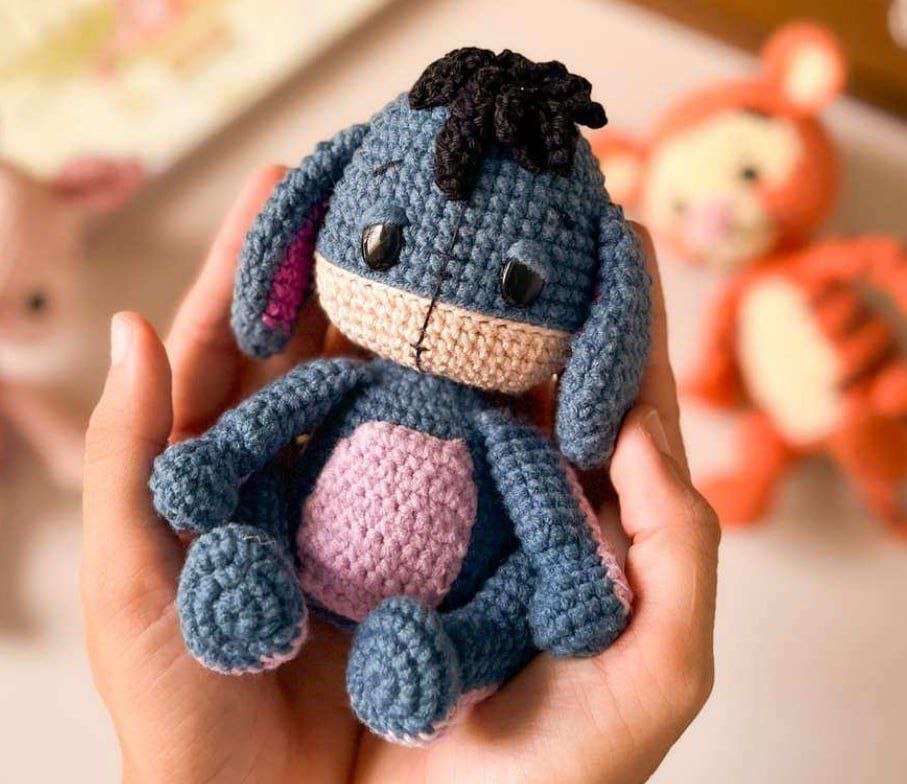
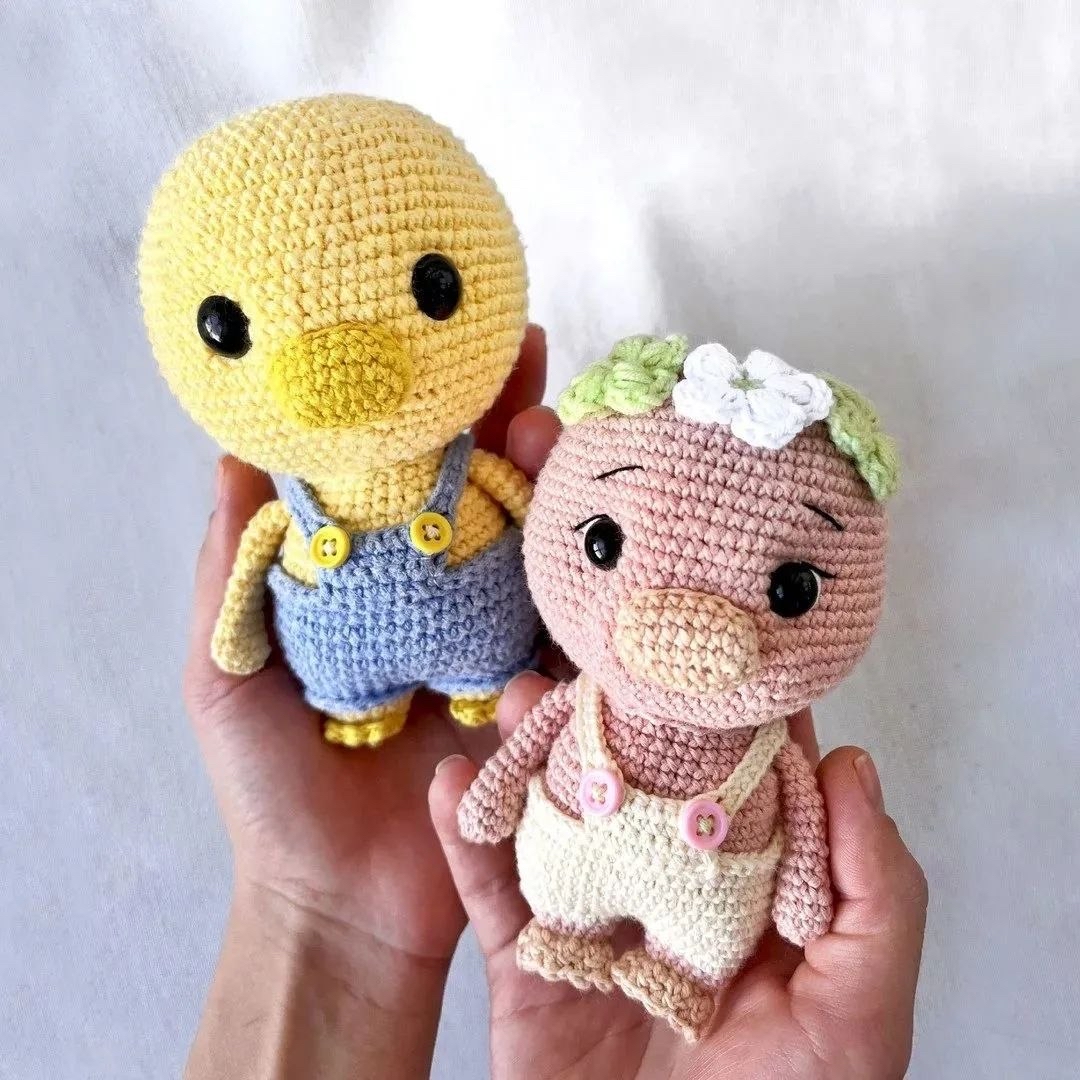
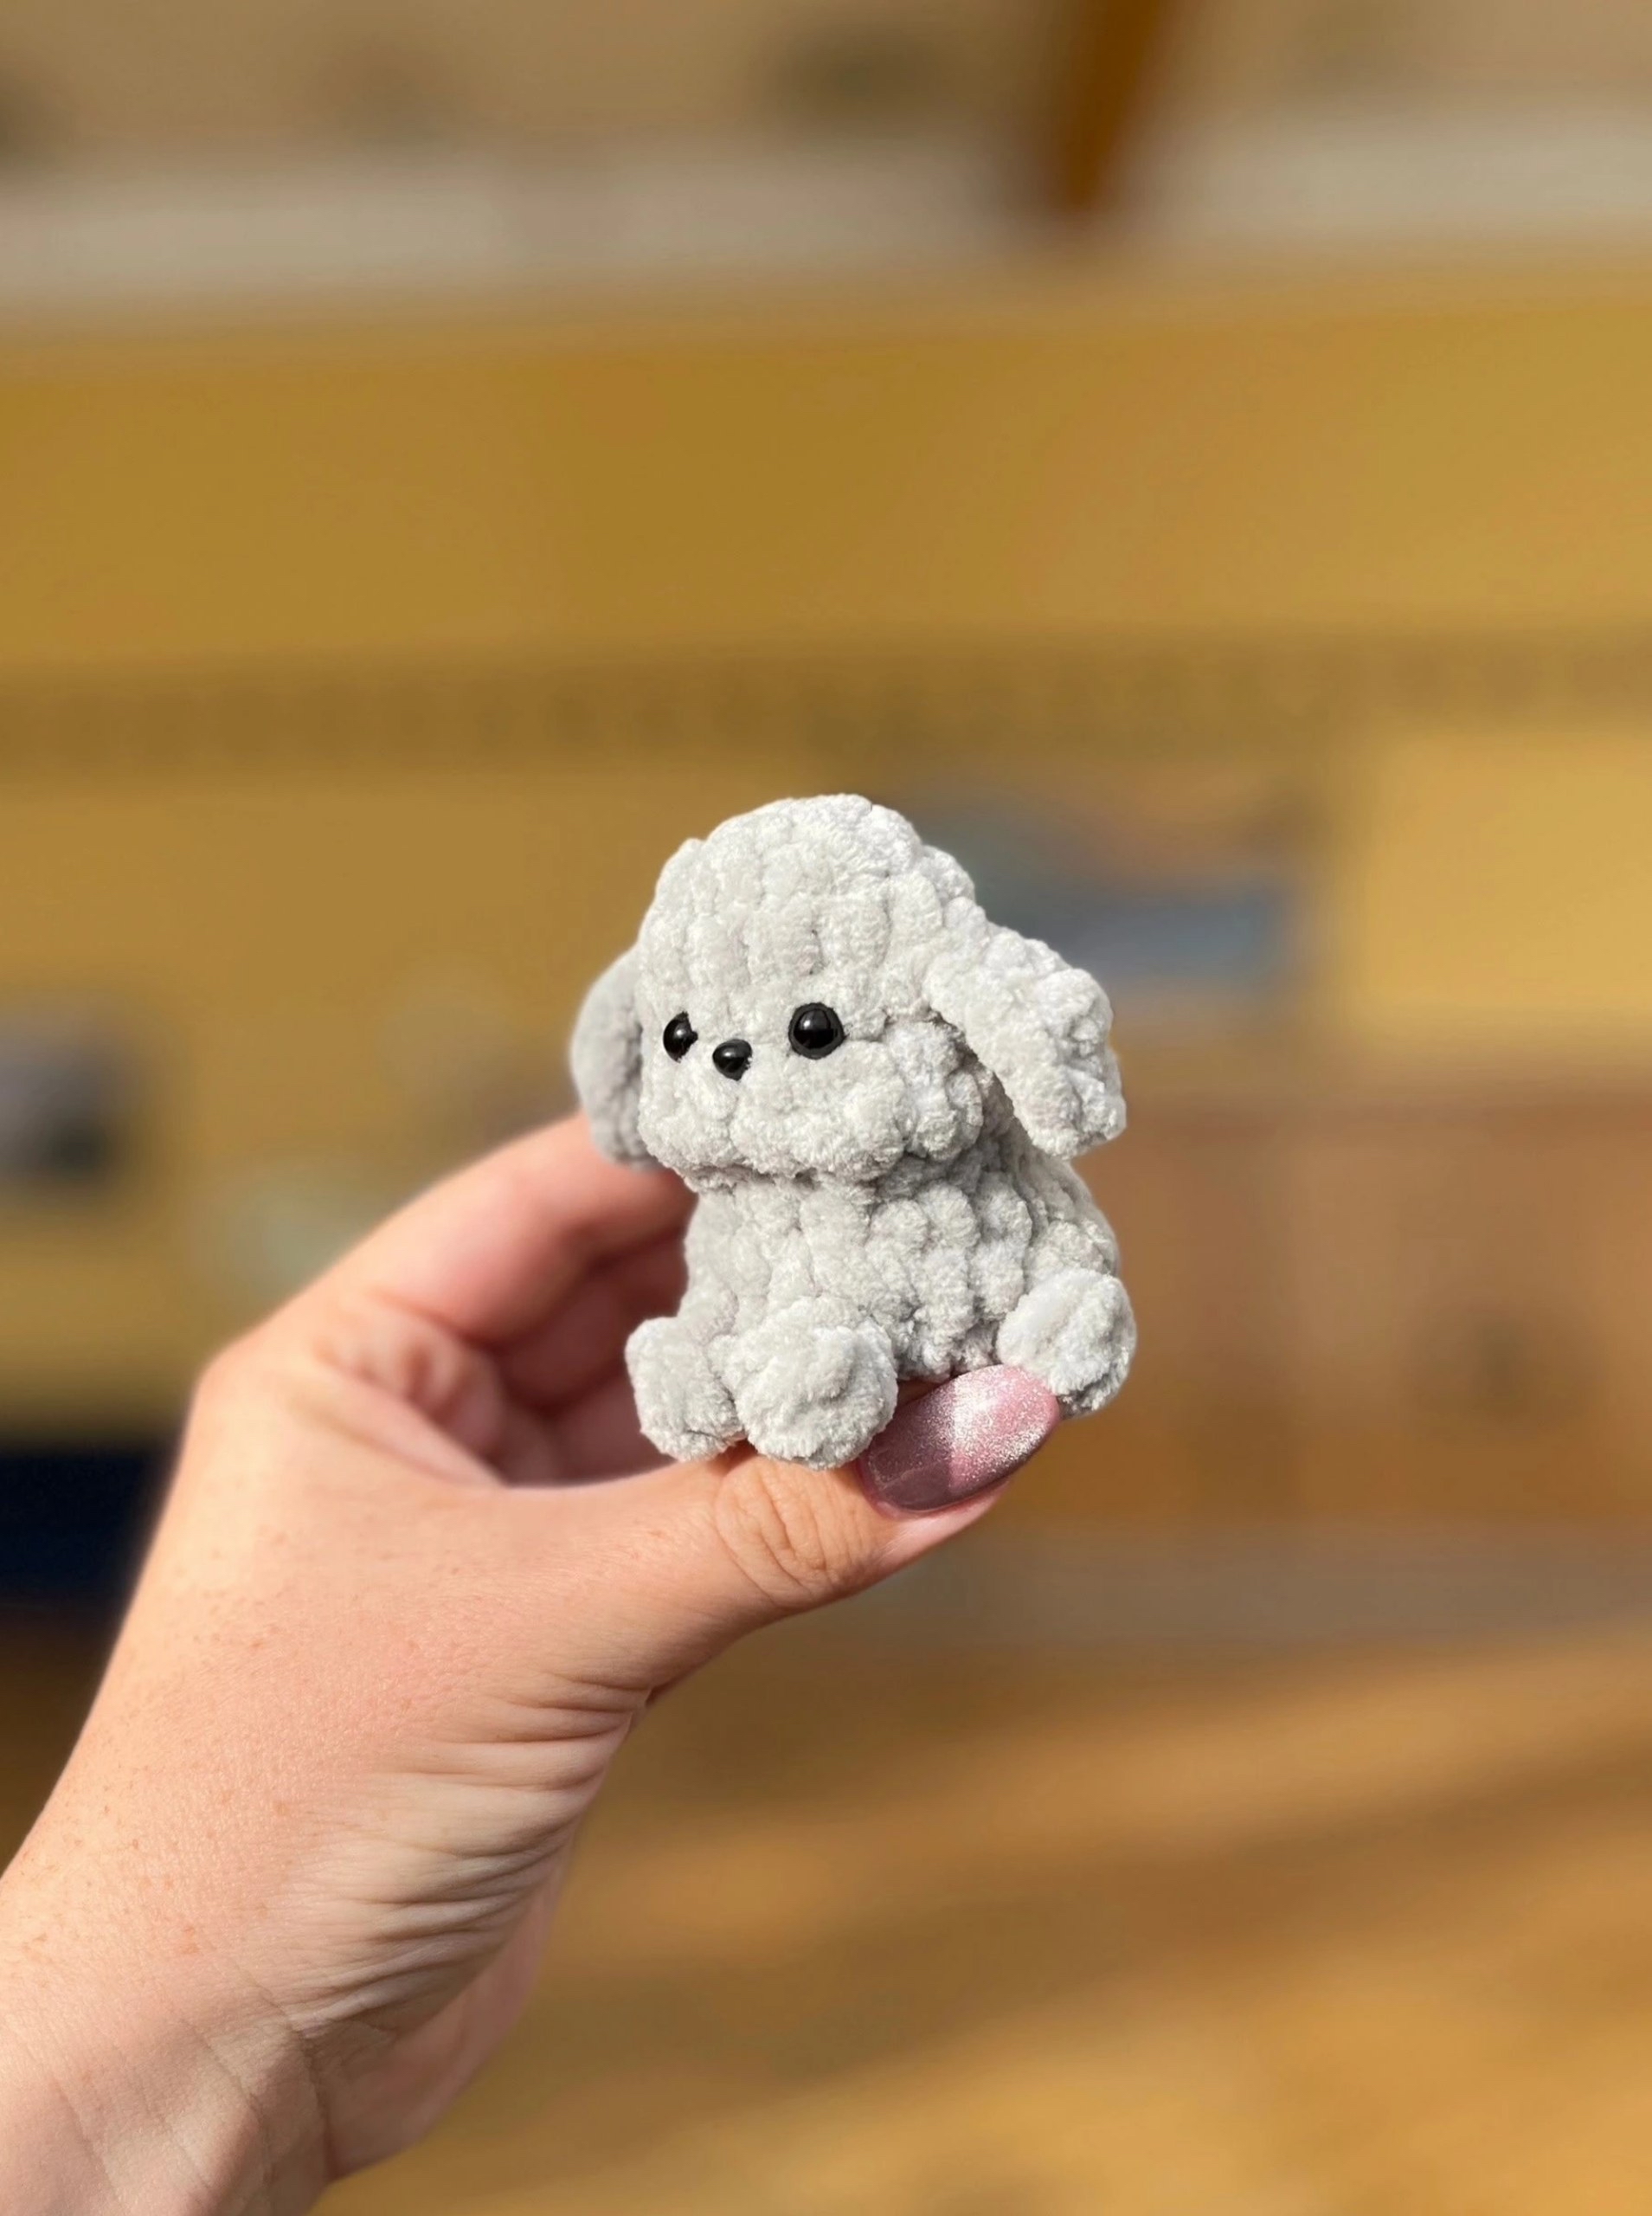
There is nothing quite as heartwarming as a handmade plushie. If you are looking for your next crochet project, this adorable Plush Crochet Bear is the perfect choice. With its squishy texture and charming little outfit, this bear makes a wonderful nursery decoration, a thoughtful gift for a newborn, or a cozy companion for any child. This pattern is designed with a friendly, beginner-accessible approach, making it an excellent project for those looking to practice their amigurumi skills using velvet or chenille yarn.
The secret to this bear’s cuteness lies in the combination of chunky, plush yarn and the tiny, detailed overalls. Because we are using plush yarn, the stitches will be large and soft, giving the bear that signature “squish” factor that everyone loves. Grab your favorite hook and let’s get started on creating your very own cuddly friend!
Materials & Abbreviations
Before we dive into the stitches, let’s make sure you have everything you need on your crochet table. Since this is a plushie, using a slightly larger hook than usual will help ensure your stuffing stays hidden inside the stitches.
What You Will Need
- Plush Yarn: A soft, chunky chenille or velvet yarn in white for the bear’s body.
- Accent Yarn: A contrasting color (like pink, blue, or sage green) for the overalls and apron.
- Crochet Hook: An appropriate size for your yarn (typically 4mm to 5mm / G to H hook for most plush yarns).
- Safety Eyes: Small black safety eyes (or you can embroider them with black yarn).
- Fiberfill Stuffing: To make your bear plump and huggable.
- Tapestry Needle: A large-eye blunt needle for sewing the pieces together.
- Scissors: For trimming your yarn ends.
Stitch Abbreviations (US Terms)
Please ensure you are using US terminology to follow this pattern accurately:
- MR: Magic Ring
- sc: Single crochet
- hdc: Half double crochet
- dc: Double crochet
- tr: Treble crochet
- sl st: Slip stitch
- ch: Chain
- inc: Increase (2 stitches in one stitch)
- dec: Decrease (2 stitches worked together into one)
Step-by-Step Instructions
Making the Legs (Make 2)
The legs provide a sturdy base for our bear. We will be working in an oval shape using a foundation chain.
Using white plush yarn, start with 4 ch. Working from the 2nd ch from the hook:
- Round 1: 2 sc, 3 sc in the last ch. Now, working along the other side of the chain, 2 sc, and 3 sc in the last remaining loop (10).
- Round 2: 2 sc, 3 inc, 2 sc, 3 inc (16).
- Round 3-4: 16 sc in each round (16).
- Round 5: 3 sc, 3 dec, 7 sc (13).
- Round 6: 2 sc, then work 4 sc together (a decrease of 4 stitches), 7 sc (10).
- Round 7: 10 sc (10).
- Round 8: 1 sc, 1 inc, 1 sc, 1 inc, 1 sc, 1 inc, 4 sc (13).
- Round 9-10: 13 sc (13).
- Round 11: 5 sc, 1 dec, 6 sc (12).
- Round 12-14: 12 sc (12).
Note: Stuff the legs firmly before moving to the final round.
- Round 15: 6 dec (6).
Creating the Body
The body is a simple, rounded shape that will hold all the stuffing and connect the limbs.
Using white plush yarn:
- Round 1: 6 sc in a MR (6).
- Round 2: 6 inc (12).
- Round 3: (1 sc, inc) repeat 6 times (18).
- Round 4: (2 sc, inc) repeat 6 times (24).
- Round 5: (3 sc, inc) repeat 6 times (30).
- Round 6-8: 30 sc (30).
- Round 9: (3 sc, dec) repeat 6 times (24).
- Round 10: 24 sc (24).
- Round 11: (2 sc, dec) repeat 6 times (18).
Stuff the body firmly.
- Round 12-13: 18 sc (18).
- Round 14: (1 sc, dec) repeat 6 times (12).
The Head
The head is slightly larger than the body to give the bear its cute, top-heavy appearance.
Using white plush yarn:
- Round 1: 6 sc in a MR (6).
- Round 2: 6 inc (12).
- Round 3: (1 sc, inc) repeat 6 times (18).
- Round 4: (2 sc, inc) repeat 6 times (24).
- Round 5: (3 sc, inc) repeat 6 times (30).
- Round 6: (4 sc, inc) repeat 6 times (36).
- Round 7-12: 36 sc (36).
- Round 13: (4 sc, dec) repeat 6 times (30).
- Round 14: (3 sc, dec) repeat 6 times (24).
- Round 15: (2 sc, dec) repeat 6 times (18).
Stuff the head well.
- Round 16: (1 sc, dec) repeat 6 times (12).
- Round 17: 6 dec (6).
The Muzzle and Face
The muzzle gives the bear its expression. It should be worked separately and then sewn onto the head.
Using white yarn:
- Round 1: Start with 6 ch. Working from the 2nd ch from the hook: 4 sc, 3 sc in the last ch. Now, working along the other side of the chain: 4 sc, 3 sc in the last ch (14).
- Round 2: 4 sc, 3 inc, 4 sc, 3 inc (20).
- Round 3: 20 sc (20).
Stuff the muzzle very lightly and sew it to the center of the head. Once attached, add the safety eyes between the muzzle and the head. You can also embroider a small nose in black.
Ears, Arms, and Tail
These small details complete the character of your bear.
Ears (Make 2)
Using white yarn:
- Round 1: 8 sc in a MR (8).
Do not close the magic ring; leave it as a flat circle and sew directly to the top of the head.
Tail
Using white yarn:
- Round 1: 6 sc in a MR (6).
- Round 2: (2 sc, inc) repeat 2 times (8).
- Round 3: 8 sc (8).
Arms (Make 2)
Using white yarn:
- Round 1: 6 sc in a MR (6).
- Round 2: 6 inc (12).
- Round 3-4: 12 sc (12).
- Round 5: Work 4 sc together (decrease), then 8 sc (9).
- Round 6-8: 9 sc (9).
The Cute Overalls and Apron
This is where you can add a pop of color! Use your choice of accent yarn.
Overalls (Pants)
Part 1: Ch 17. Join to form a ring and work 1 round of 17 dc.
Part 2: Ch 17. Join to form a ring and work 1 round of 17 dc.
Joining the legs:
- Round 1: Ch 1. 17 sc along Part 1, 1 sc in the joining chain, 17 sc along Part 2, 1 sc in the final joining chain (36).
- Round 2: Ch 3, 36 dc (36).
- Round 3: Ch 1, 1 dec, 32 sc, 1 dec (34).
- Round 4: Ch 3, 33 dc (34).
- Round 5: Ch 1, 5 sc, 1 dec, 20 sc, 1 dec, 5 sc (32).
- Round 6: Ch 3, 7 dc, 1 dec (worked as 2 dc together), 14 dc, 1 dec (worked as 2 dc together), 7 dc (30).
- Round 7: Ch 1, 30 sc (30).
Apron
Using your accent yarn:
- Round 1: Ch 7. Starting from the 2nd ch from hook: 6 sc, turn.
- Round 2: Ch 3, 7 dc.
To finish the apron, create thin straps by making a chain of air loops of your desired length. Sew the apron to the front of the overalls and attach the straps over the shoulders.
Finishing
Now for the most important part: assembly! Using your tapestry needle and white yarn, sew the legs to the bottom of the body, the arms to the sides, and the head to the top. Ensure the pieces are centered so your bear sits nicely. Once everything is secure, give your bear a final fluffing and a squeeze!
Tips for Success
- Tension is Key: When working with plush yarn, try to keep your tension even. If your stitches are too loose, the stuffing will peek through. If they are too tight, it can be hard to work the next round.
- Hide the Stuffing: As you stuff the legs, head, and body, make sure the stuffing is distributed evenly so there are no lumps.
- Safety First: If you are making this for a very young baby, consider embroidering the eyes instead of using plastic safety eyes to avoid any choking hazards.
- Color Play: Don’t be afraid to experiment! Using different colors for the overalls or even a different color for the tail can give your bear a unique personality.