Adorable Amigurumi Bunny Crochet Pattern: An Easy Tutorial for Beginners
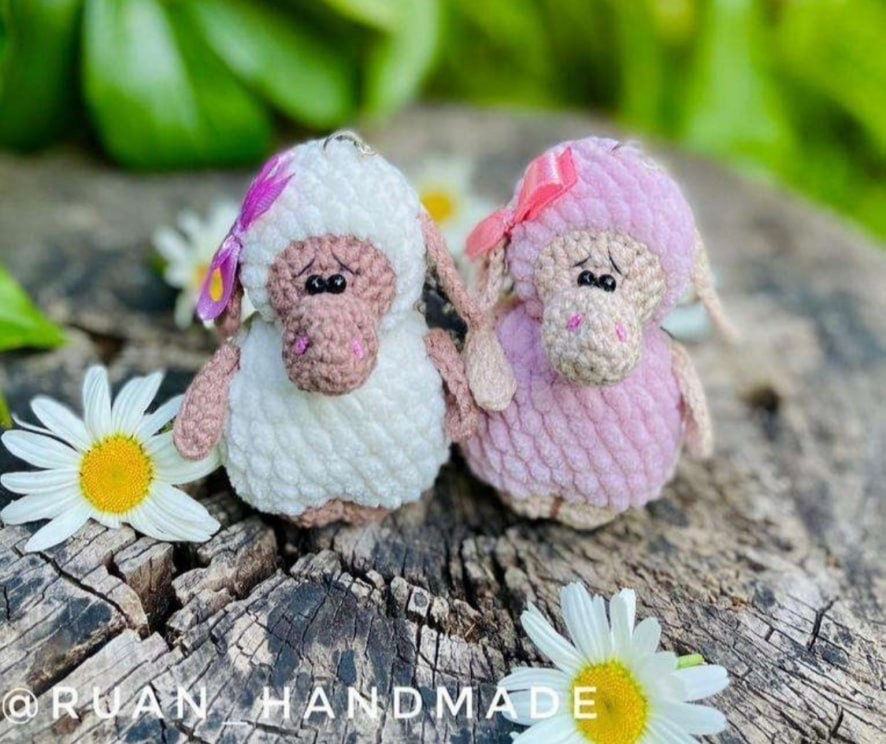
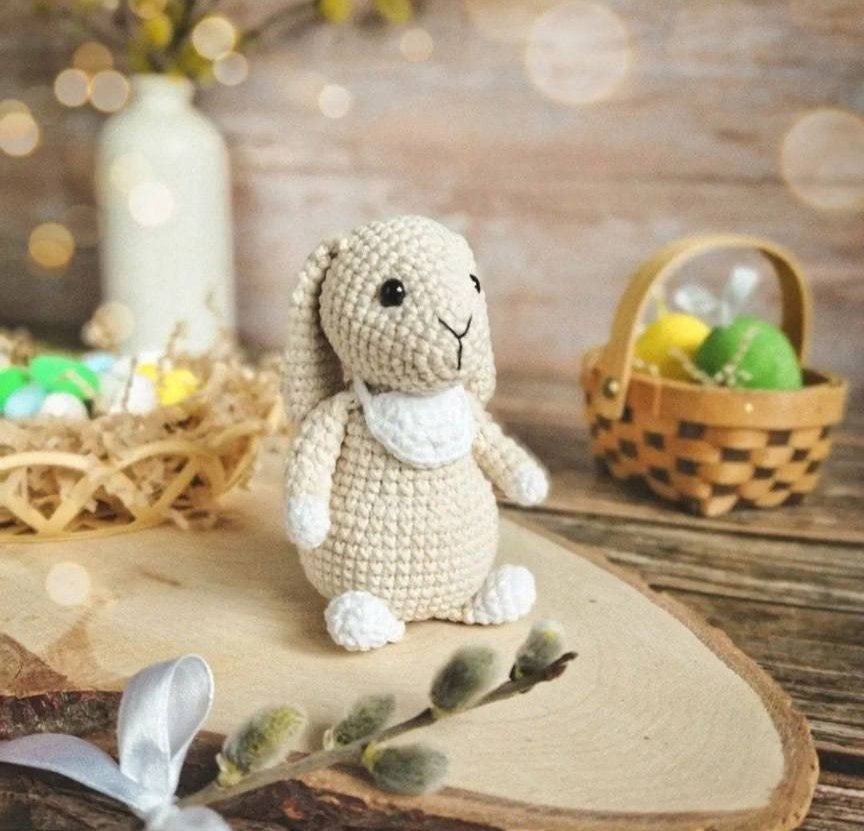
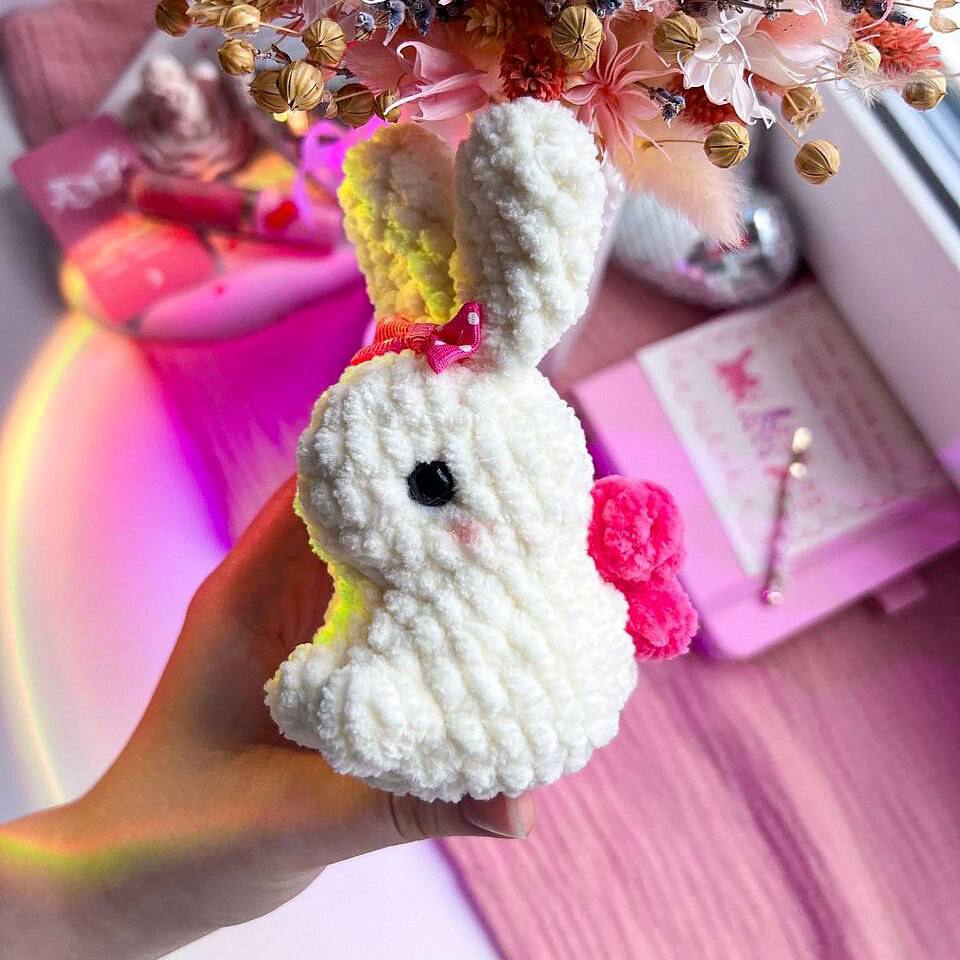
If you have been looking for a quick, cuddly, and incredibly cute project to add to your crochet collection, you have come to the right place! There is something uniquely charming about amigurumi—the Japanese art of knitting or crocheting small, stuffed yarn creatures. Today, I am walking you through the process of creating this sweet, chubby little bunny. This project is perfect for anyone looking to practice their shaping techniques or for a seasoned pro wanting to whip up a few gifts for baby showers or birthdays.
This little bunny features soft, velvety textures and adorable details like tiny wings and long, floppy ears. Because we are using a plush, chenille-style yarn, the stitches are very forgiving, making this a wonderful project for those who are just starting to transition from flat crochet into 3D amigurumi. Grab your hook, find a cozy spot, and let’s get started on our new little bunny friend!
Materials & Abbreviations
To ensure your bunny turns out looking just like the photos, I recommend using a plush or “chenille” style yarn. This type of yarn provides that signature soft, velvety feel and helps hide any small gaps in your stitches, which is a common challenge for beginners.
What You Will Need
- Yarn: A bulky, chenille-style yarn. You will need approximately 1 ounce of a bright pink color (for the wings/accents) and about 0.75 ounces of a creamy/milky white color for the main body.
- Crochet Hook: 3.5 mm (US E/4). Using a slightly smaller hook than the yarn might suggest helps keep your stitches tight so the stuffing doesn’t peek through.
- Safety Eyes: 8 mm black safety eyes.
- Stuffing: High-quality polyester fiberfill.
- Tools: A tapestry needle (for sewing and weaving in ends), stitch markers, and sharp scissors.
Abbreviations
Please note that this pattern uses standard US crochet terms. If you are used to UK terms, be sure to adjust accordingly!
- MR: Magic Ring
- ch: Chain
- sc: Single crochet
- inc: Increase (2 sc in one stitch)
- dec: Decrease (sc2tog – single crochet two together)
- sc2tog: Decrease from 3 stitches (sc3tog)
- hdc: Half double crochet
- dc: Double crochet
- tr: Treble crochet
- sl st: Slip stitch
Step-by-Step Instructions
The Body
We begin crocheting from the bottom of the bunny and work our way up in a continuous spiral. I highly recommend using a stitch marker to keep track of the start of each round.
Round 1: Start with a Magic Ring. Ch 4. In the 2nd chain from the hook, work 2 sc. In the last chain, work 3 sc. Now, working on the opposite side of the chain (the bottom part), work 2 sc. In the last chain, work 3 sc. (10 stitches total)
Round 2: 2 sc, inc, 1 sc, inc, 2 sc, inc, 1 sc, inc (14)
Round 3: 3 sc, 3 inc, 4 sc, 3 inc, 1 sc (20)
Round 4: (4 sc, inc) repeat 4 times (24)
Round 5 (Adding Limbs): This is where the magic happens! We will work the legs and tail directly into this round. 6 sc, Leg: work 5 dc into the next stitch, 1 sc, Leg: work 5 dc into the next stitch, 11 sc, Tail: work 4 dc into the next stitch, 3 sc (24)
Round 6: 24 sc
Round 7: (4 sc, dec) repeat 4 times (20)
Round 8: 16 sc, 2 dec worked over the tail area (18)
Round 9: 6 sc, inc, 2 sc, inc, 5 sc, 1 sc3tog (decrease from 3 stitches) over the tail area (18)
Round 10: 4 sc, 2 inc, (2 sc, 2 inc) repeat 2 times, 4 sc (24)
Rounds 11-12: 24 sc (work 2 rounds total)
Round 13: dec, 2 sc, dec, 3 sc, dec, (2 sc, dec) repeat 2 times, 3 sc, dec (18)
Round 14: (1 sc, dec) repeat 6 times (12)
Round 15: 6 dec (6)
Eye Placement & Stuffing: Before you close the piece, insert your 8 mm safety eyes between rounds 11 and 12. Make sure they are spaced exactly 6 sc apart. Now, stuff the bunny firmly with fiberfill. Once stuffed, fasten off, leaving a long tail for sewing. To give the bunny a cute, “pouty” look, pull the thread from the eyes through the bottom of the toy to create a slightly concave base.
The Ears (Make 2)
The ears are worked separately and then sewn on. Do not stuff the ears!
Round 1: 6 sc in a Magic Ring
Round 2: (1 sc, inc) repeat 3 times (9)
Rounds 3-6: 9 sc (work 4 rounds total)
Round 7: (1 sc, dec) repeat 3 times (6)
Finishing the ears: Fold the ear in half so the open ends meet. Crochet 3 sc through both layers at once to close the ear. Leave a long tail for sewing. I recommend sewing the ears between rounds 14 and 15.
The Wings (Make 2)
The wings add a whimsical, fairy-like touch to your bunny!
Ch 6. In the 4th chain from the hook, work: 2 tr, 1 dc, 1 hdc. Continue working along the chain with sl st. In the very last chain, work: 1 hdc, 1 dc, 1 tr, 1 sl st. Fasten off, leaving a long tail. Sew the wings onto the sides of the bunny between rounds 6 and 8.
Finishing
Once all parts are crocheted, it is time for the assembly! Carefully sew the ears to the top of the head and the wings to the sides. If you have any leftover pink yarn, you can crochet a tiny bow or loop to attach to one of the ears for extra cuteness. Ensure all ends are woven in securely so they don’t pop out during play.
Tips for Success
- Tension is Key: Since amigurumi is stuffed, try to keep your tension consistent. If you find your stuffing peeking through, go down a hook size.
- Use Stitch Markers: In amigurumi, it is incredibly easy to lose your place in a continuous spiral. Always mark the first stitch of every round.
- Working with Plush Yarn: Chenille yarn can be slippery and hides stitches. Use your fingers to “feel” for the holes when you are inserting your hook.
- Safety First: If you are making this for a very small child or an infant, consider embroidering the eyes with black yarn instead of using plastic safety eyes to prevent any choking hazards.