Master the Basics: A Simple Crochet Stitch Guide for Beginners
So, you’ve finally decided to dive into the world of crochet! Maybe you saw a cute plushie on TikTok, or perhaps your grandma has been nudging you to learn “the family craft” for years. Whatever got you here, welcome! First things first: don’t let the patterns intimidate you. I know those written instructions can look like a weird mix of chemistry and ancient hieroglyphics (what on earth is a “ch 2, sc in next 5 st” anyway?), but I promise it’s much simpler than it looks.
The secret to becoming a crochet pro isn’t learning a hundred fancy stitches right away; it’s mastering the basic ones. Once you have a handle on a few simple stitches, you can actually make almost anything—from cozy blankets and chunky beanies to adorable amigurumi critters. This simple crochet stitch guide is here to walk you through the essentials in plain English, minus the technical jargon.
Getting Started: The “Pre-Stitch” Essentials
Before we get into the actual stitches, we have to talk about how to actually get the yarn on the hook. You can’t just start looping; you need a foundation.
The Slip Knot
The slip knot is the very first “loop” you make. It’s not technically a stitch, but it’s the gateway to everything else. It’s basically a loop that you can pull tight to secure the yarn to your hook. If you’re struggling with this, just remember: loop, pull, and tighten. Once that’s on your hook, you’re officially in the game.
The Chain Stitch (ch)
If the slip knot is the door, the chain stitch is the hallway. Almost every crochet project starts with a foundation chain. The chain stitch (abbreviated as ch) creates a flexible cord of loops. You’ll use this to determine how wide your project will be. It’s the simplest repetitive motion in crochet: yarn over, pull through. Repeat until your project is the right width!
The “Core Four” Simple Crochet Stitches
Most of the patterns you’ll find for beginners rely on these four heavy hitters. Each one creates a different height and texture, which completely changes the “vibe” of your finished piece.
1. The Single Crochet (sc)
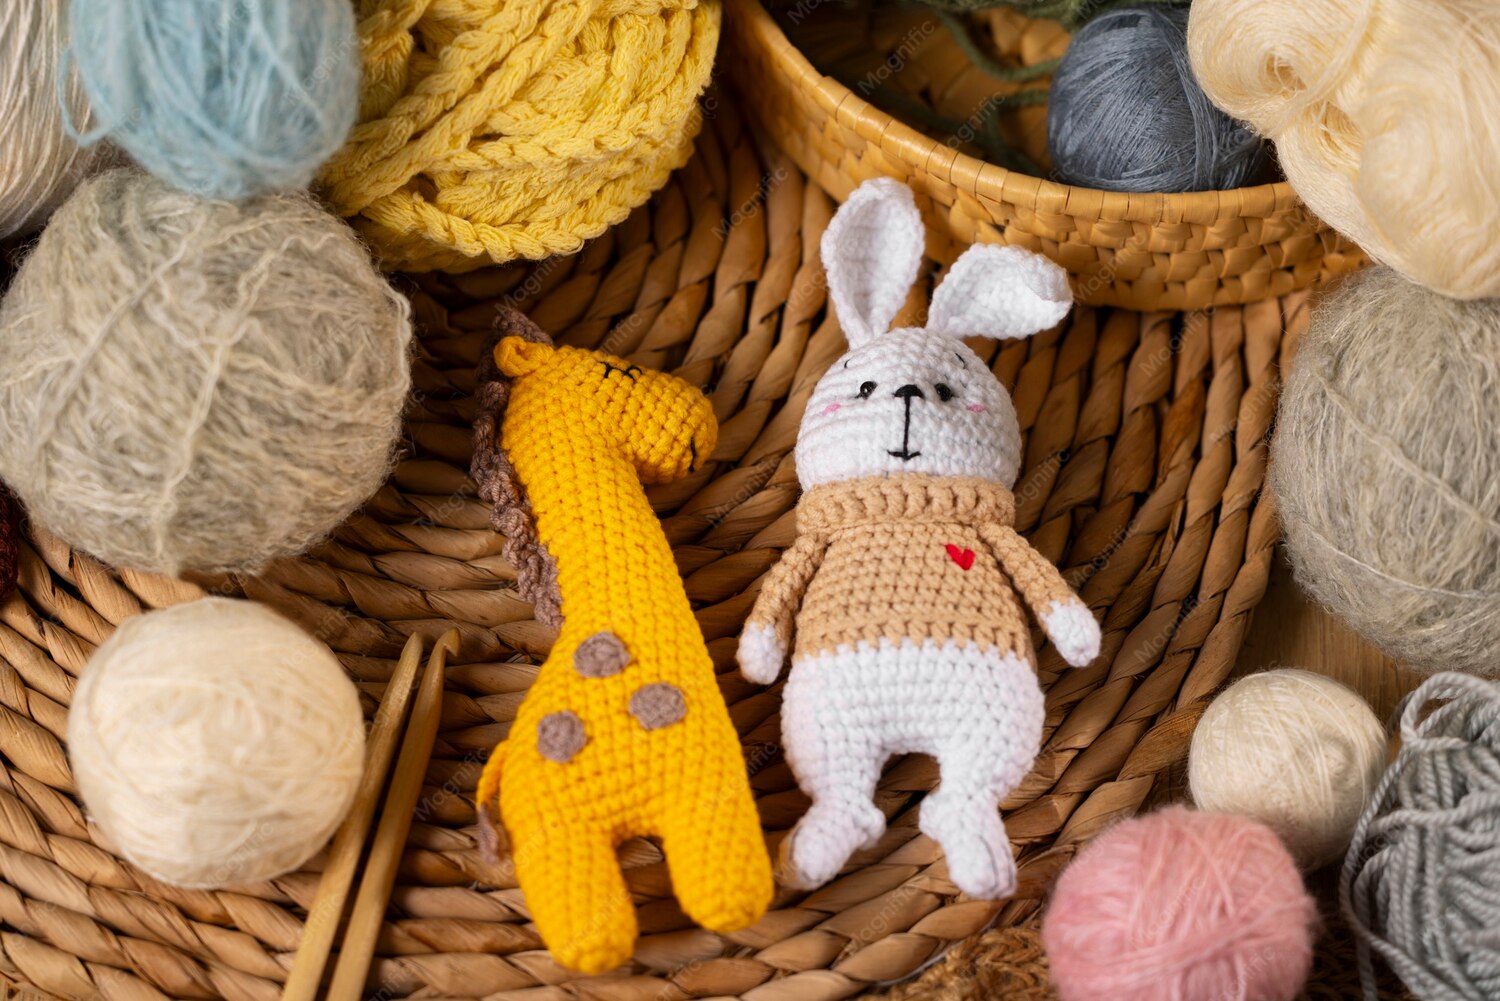
The single crochet is the workhorse of the crochet world. It’s short, tight, and sturdy. Because it creates a dense fabric with very little space between the stitches, it’s the go-to choice for making stuffed animals (amigurumi), sturdy bags, or washcloths.
Pro Tip: If your project feels like it’s becoming a stiff piece of cardboard, you might be pulling your yarn too tight. Relax your shoulders and let the hook do the work!
2. The Half Double Crochet (hdc)
Think of the half double crochet as the “Goldilocks” of stitches. It’s taller than a single crochet but shorter than a double crochet. It creates a lovely, slightly softer drape than the sc, making it perfect for baby blankets or cozy scarves where you want some thickness but don’t want to spend ten years finishing the project.
3. The Double Crochet (dc)
The double crochet is where things start to move fast. It’s significantly taller than the hdc and creates a more “open” fabric. Because you’re using more yarn per stitch and moving faster, your project will grow much more quickly. This is the standard stitch for most garments, blankets, and larger home decor items.
4. The Treble Crochet (tr)
The treble crochet is the “long boi” of the basic stitches. It’s very tall and creates a lacey, airy feel. You won’t use this as often as the other three, but it’s great when you want to add a lot of height quickly or create a fabric that breathes (like a summer shawl).
Quick Comparison: Which Stitch Should You Choose?
Not sure which stitch to use for your first project? Here is a quick cheat sheet to help you decide based on what you’re making:
- Amigurumi/Plushies: Stick with Single Crochet (sc). You want those stitches tight so the stuffing doesn’t leak out.
- Winter Scarves: Go for Half Double (hdc) or Double Crochet (dc) for a balance of warmth and speed.
- Summer Shawls: Use Double Crochet (dc) or Treble Crochet (tr) to keep the piece light and airy.
- Dishcloths/Coasters: Single Crochet (sc) is your best bet here for maximum absorbency and durability.
Tips for Crochet Success (and Staying Sane)
Learning to crochet is a bit like learning to ride a bike—it feels clunky and awkward for the first few hours, and then suddenly, your hands just “get it.” To speed up that process, keep these tips in mind:
Choose Your Yarn Wisely
When you’re first starting, avoid black, navy blue, or “fuzzy” yarns. Why? Because it is nearly impossible to see where your hook is supposed to go! Start with a light-colored, smooth yarn (like a medium-weight acrylic or cotton). A bright yellow or a soft pink makes those little “V” shapes on top of your stitches pop, making it way easier to count.
Match Your Hook to Your Yarn
Check the label on your yarn skein. It will usually suggest a hook size (e.g., 5.0mm or H-8). If you use a hook that’s too small, your stitches will be too tight to move. If it’s too big, your work will look like a fishnet. Stick to the recommendation until you get a feel for your own tension.
Don’t Forget to Count!
This is the number one mistake every beginner makes. You’ll be cruising along, feeling like a total pro, and then you’ll realize your square has accidentally turned into a triangle. This usually happens because you missed the last stitch of the row or accidentally added one at the beginning. Count your stitches at the end of every single row—your future self will thank you.
Common Mistakes & Troubleshooting
Even seasoned crocheters mess up. Here are a few “uh-oh” moments and how to fix them:
My Edges Are Wonky
If your sides aren’t straight, you’re likely skipping the very first or very last stitch of the row. Try using a stitch marker (or a scrap piece of contrasting yarn) to mark the first stitch of every row. That way, you know exactly where to stop when you come back around.
My Project is Curling
This usually happens because of tension. If you pull your yarn too tight, the fabric will naturally want to curl inward. Try to keep a loose, relaxed grip. If it’s already curled, “blocking” (wetting the piece and pinning it flat to dry) can often fix the problem.
I Can’t Find the “Hole” to Put My Hook In
This is totally normal! Sometimes the stitches blend together. Try using a hook with a different color than your yarn, or use your fingers to gently spread the stitches apart to reveal the “V” shape on top. That’s where your hook wants to live.
Final Thoughts: Just Keep Stitching
The most important thing to remember is that crochet is supposed to be relaxing. If you spend an hour making a row only to realize it’s all wrong, don’t panic. That’s where the magic of “frogging” comes in (ripping it out—because you “rip it, rip it” like a frog’s “ribbit ribbit”).
Every mistake is just a learning experience in disguise. Start with these simple stitches, practice them until they feel like second nature, and before you know it, you’ll be tackling complex cables and granny squares like a pro. Grab your hook, find a comfy spot on the couch, and happy stitching!