Master the Single Crochet: Everything You Need to Know to Get it Right
If you’ve just picked up a crochet hook for the first time, or if you’re returning to the craft after years of letting your stash gather dust, there is one stitch that is going to be your absolute best friend: the single crochet. Often abbreviated as “sc” in patterns, this stitch is essentially the bread and butter of the crochet world.
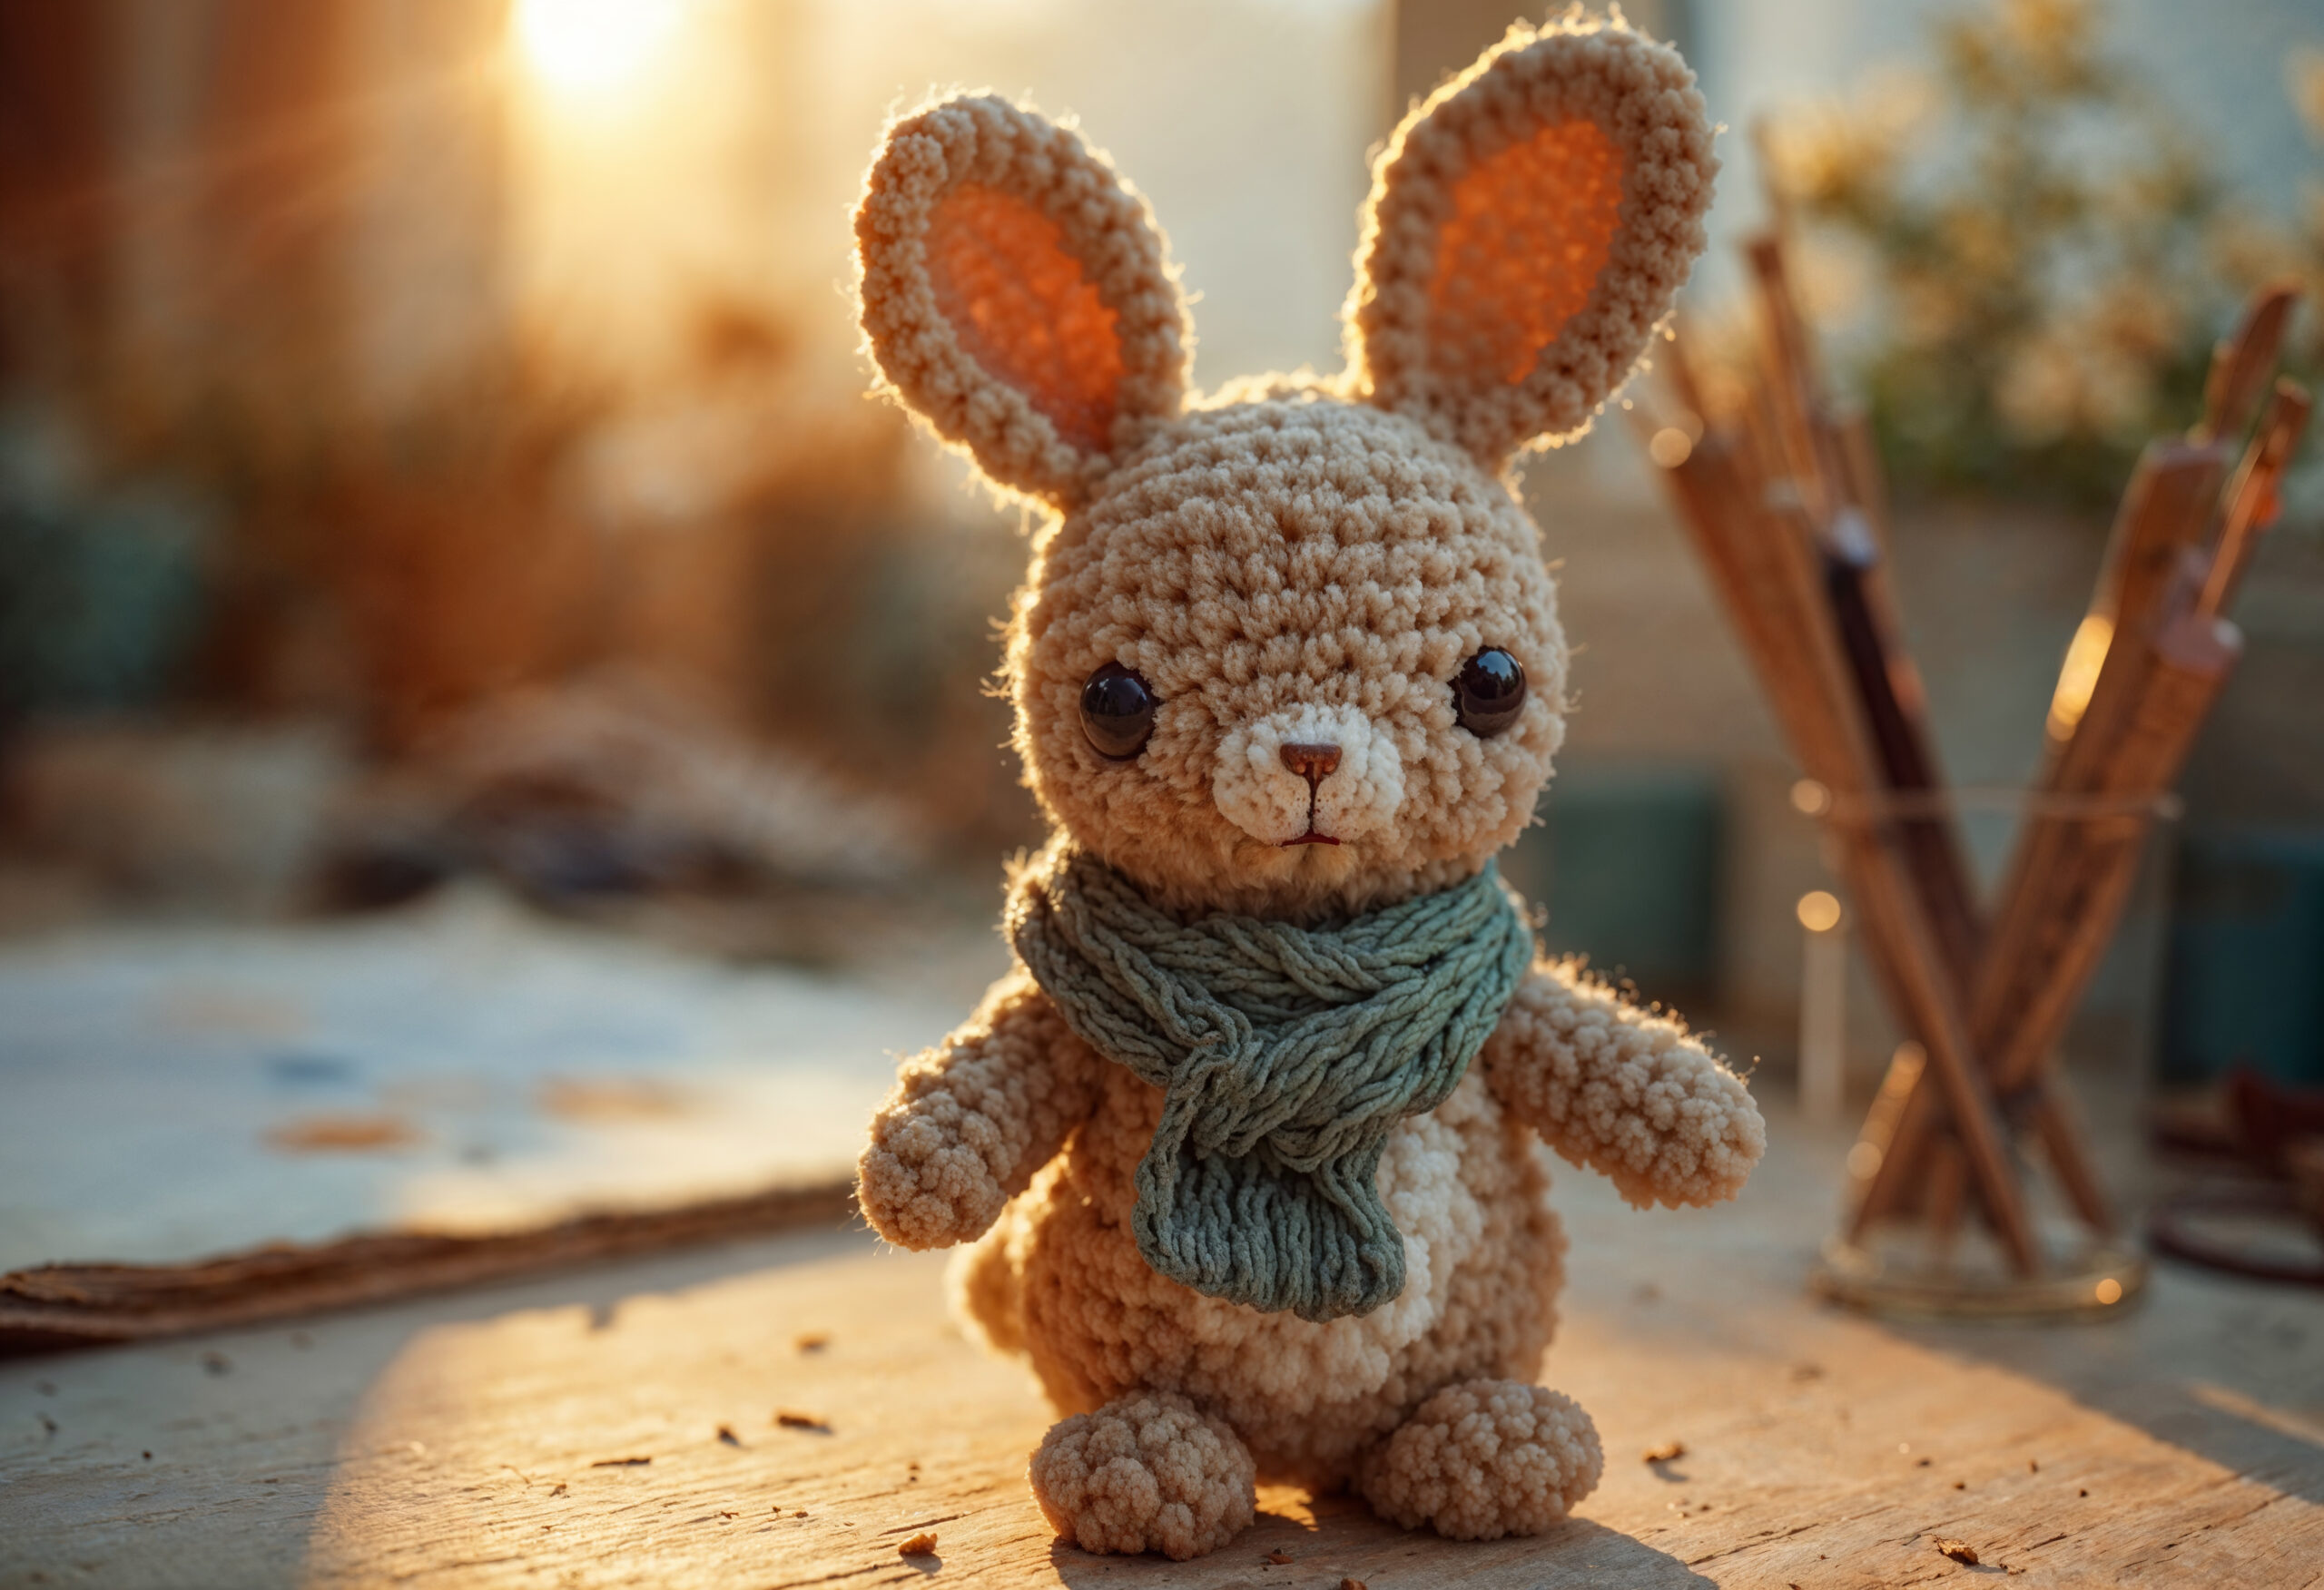
Whether you’re dreaming of making a tiny army of amigurumi plushies, a sturdy set of coasters, or a cozy winter beanie, the single crochet is usually where the magic starts. But let’s be real—when you’re first starting out, it can feel a bit like trying to untangle a knot while wearing oven mitts. Your tension might be too tight, your edges might be curling, or you might find your project slowly turning into a triangle. Don’t worry; we’ve all been there!
In this guide, we’re going to break down everything you need to know about the single crochet, from the basic “how-to” to those annoying little troubleshooting tips that will make your work look professional.
What Exactly is the Single Crochet (sc)?
At its simplest, the single crochet is a short, dense stitch. Unlike the double crochet (which is taller and airier), the single crochet creates a tight fabric with very little space between the stitches. This is exactly why it’s the go-to choice for things that need to be durable or hold a shape.
Think of it as the “utility player” of crochet. It’s not the fastest stitch to work up—since it’s short, you have to do more rows to get the same length as a double crochet—but the payoff is a fabric that feels solid and high-quality. If you’re making something that needs to hold stuffing (like a crochet bee or a dinosaur), the single crochet is your only real option because it prevents the stuffing from peeking through the holes.
How to Actually Do It: A Step-by-Step Breakdown
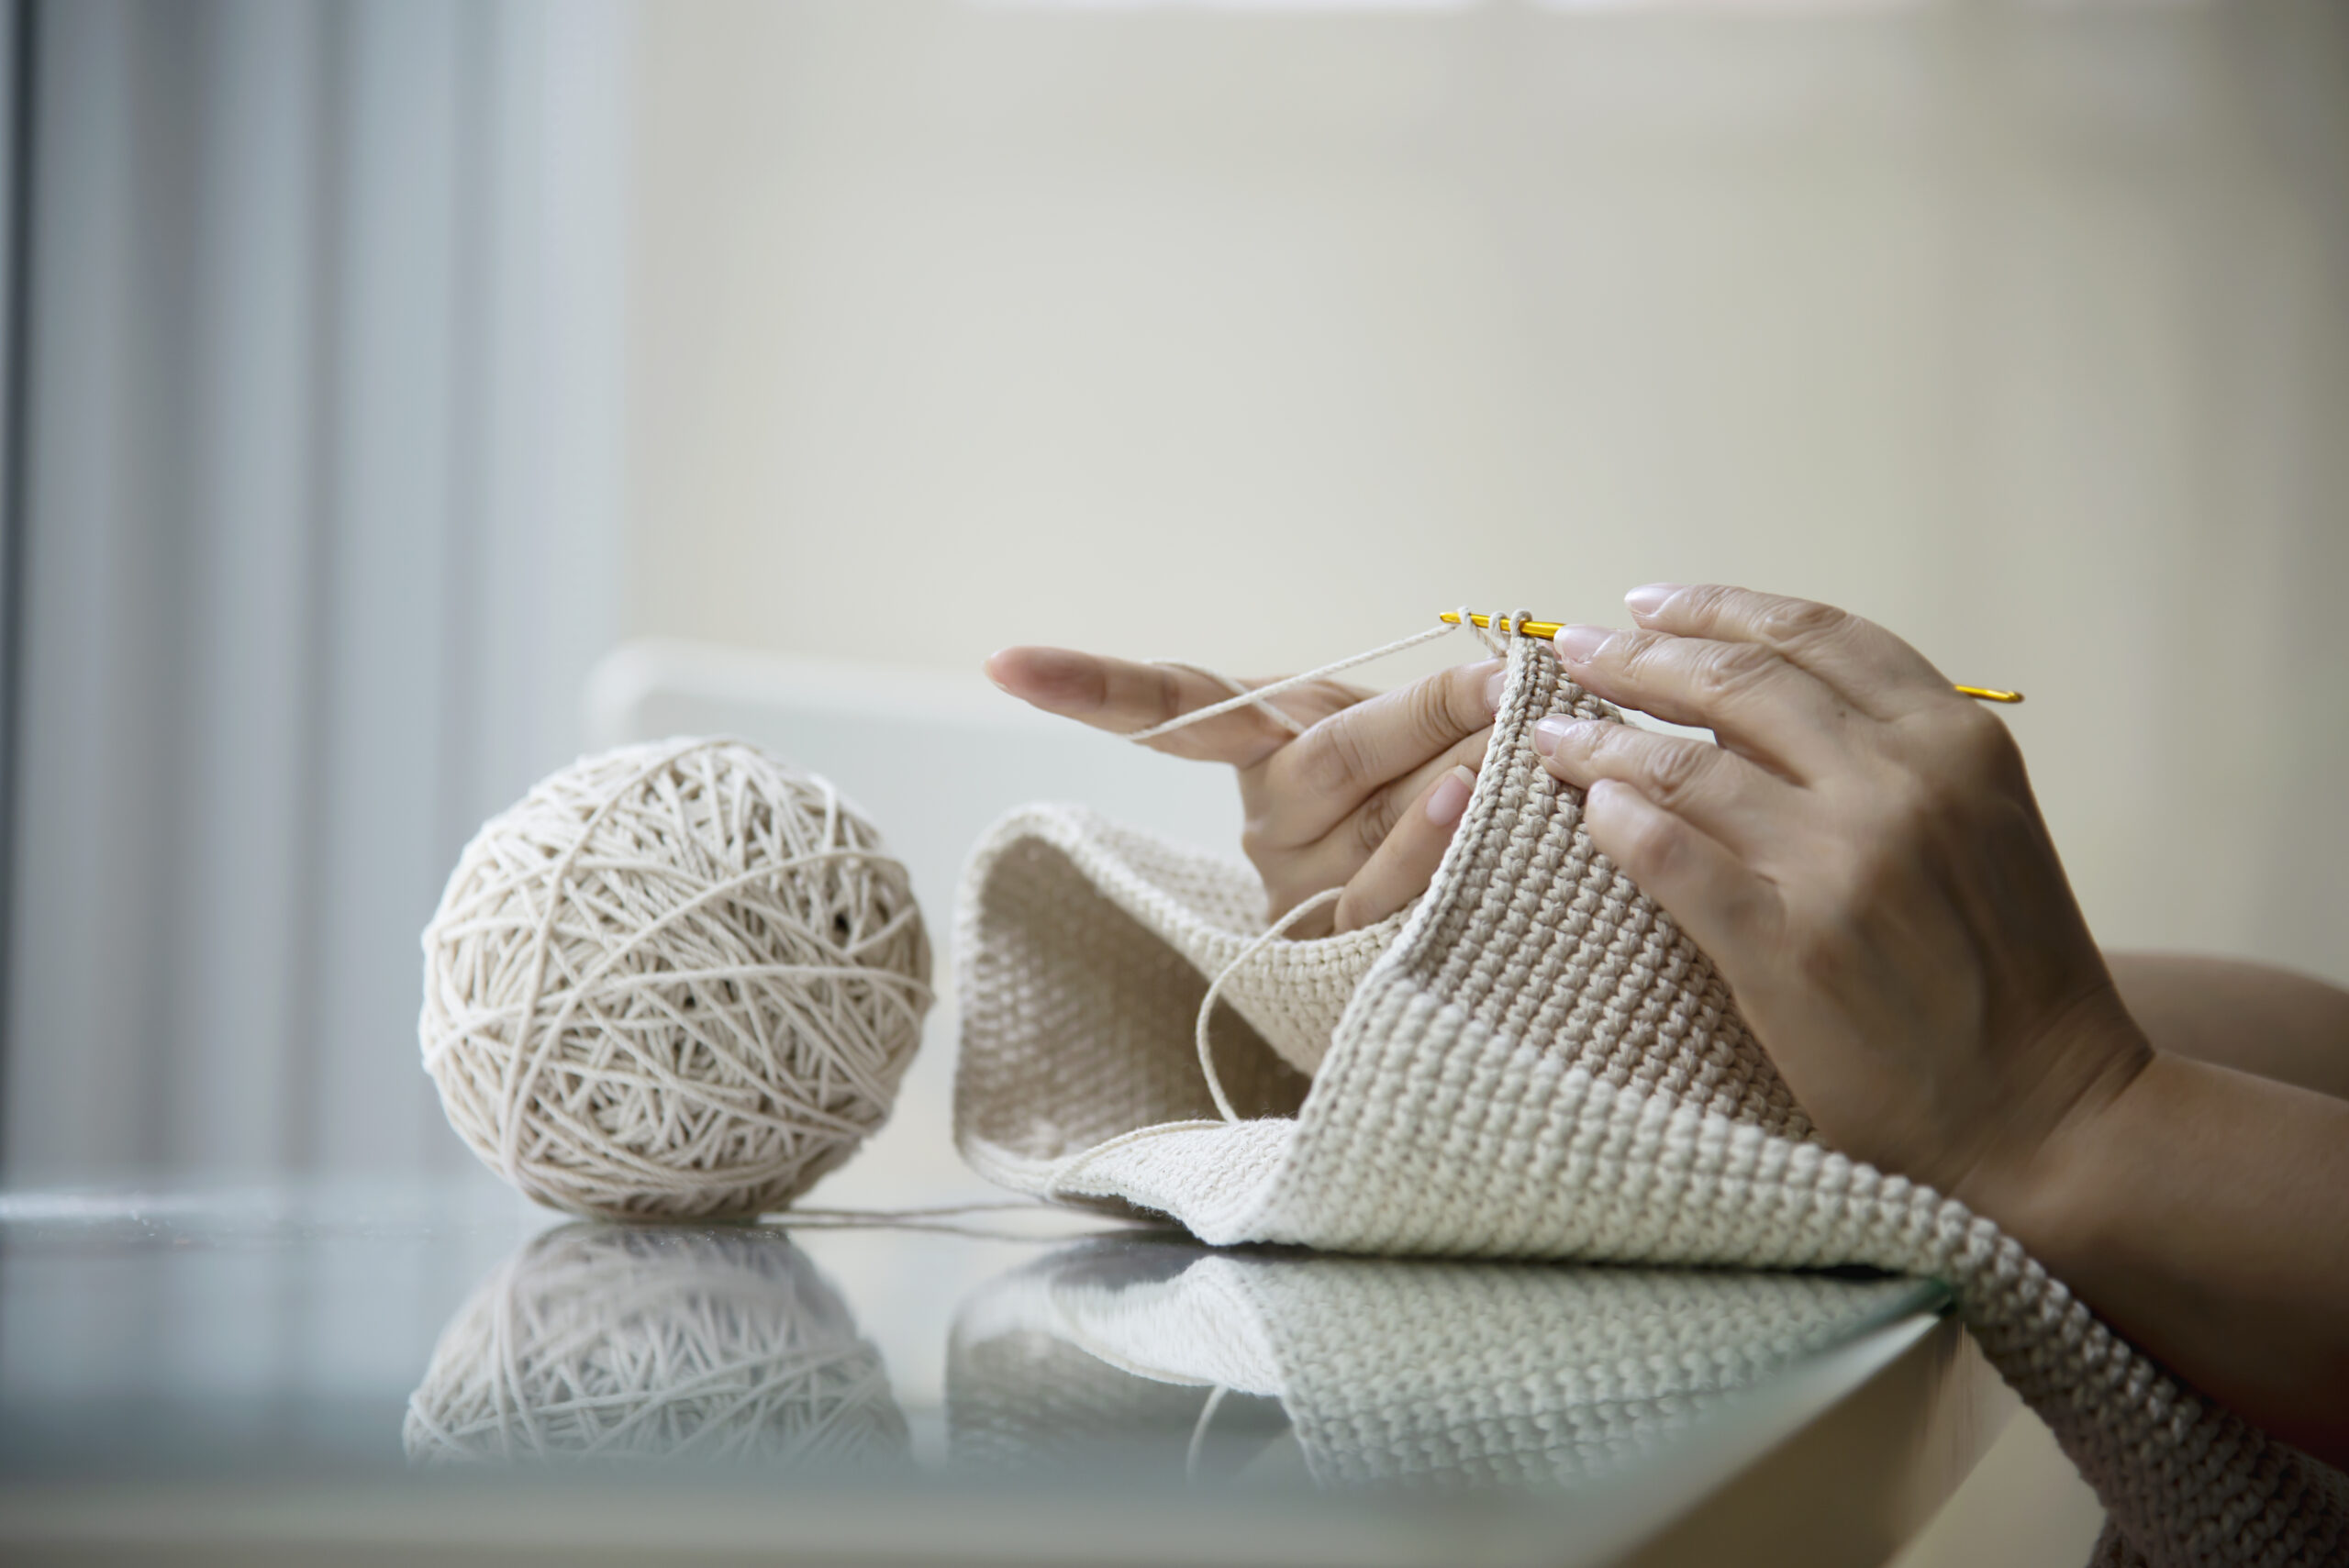
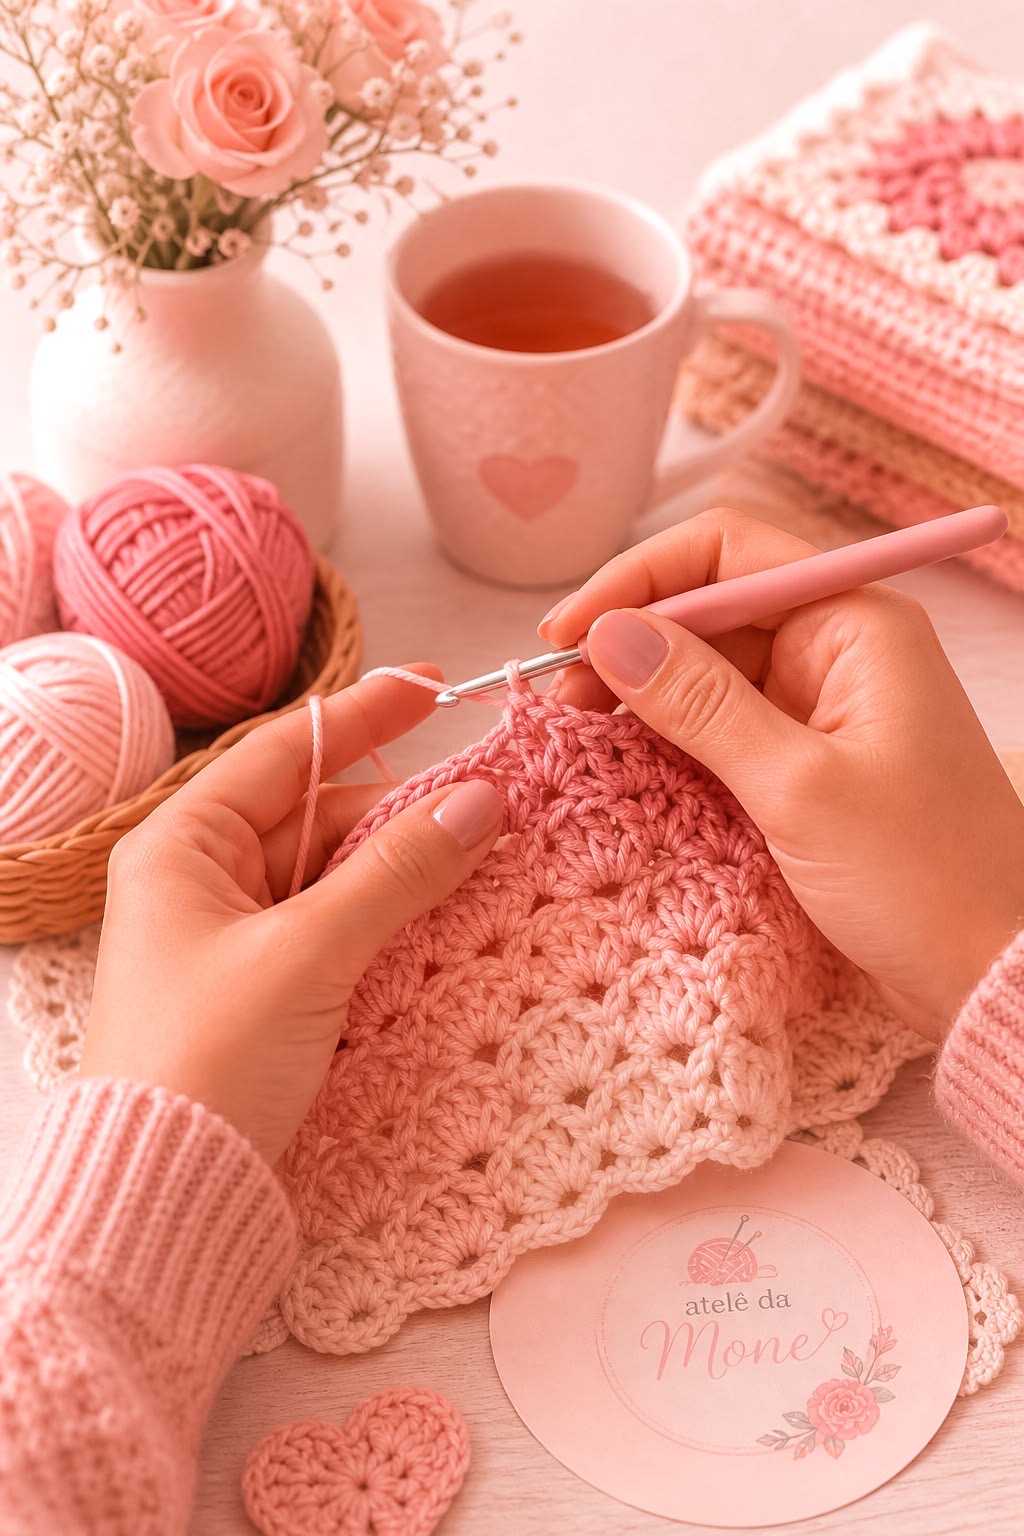
If you’re following a video tutorial, you’ve probably seen this a million times, but sometimes having the steps written out helps it click. Here is the basic rhythm of a US single crochet:
- Insert: Push your hook through the designated stitch or chain.
- Yarn Over: Wrap the yarn over your hook from back to front.
- Pull Through: Pull that loop through the stitch. You should now have two loops on your hook.
- Yarn Over Again: Wrap the yarn over your hook once more.
- Finish: Pull that loop through both of the loops already on your hook. Boom! You’ve just made one single crochet.
The key here is the rhythm. Once you get that “insert, pull, pull” flow down, your hands will start doing it on autopilot, and you can get back to the fun part—watching your project grow!
Choosing Your Supplies for the Perfect Stitch
Not all yarns and hooks are created equal, and since the single crochet is already a dense stitch, your choice of materials can really change how the finished piece feels.
The Yarn Factor
If you are a total beginner, I highly recommend starting with a medium-weight (worsted) acrylic yarn in a light, solid color. Why? Because dark colors (like navy or black) make it nearly impossible to see where your hook is supposed to go, and “fuzzy” yarns can hide the stitches, making it hard to tell if you’ve missed a spot. Cotton yarn is fantastic for things like dishcloths or coasters because it’s sturdy, but be warned: it has less “give” than acrylic, which can be a bit tougher on your wrists if your tension is tight.
Picking the Right Hook
Usually, the yarn label will suggest a hook size. For a standard worsted weight yarn, a 5.0mm (H-8) hook is a classic. However, if you find that your single crochet is coming out feeling like a piece of cardboard, try going up a hook size. Using a slightly larger hook gives the stitches more room to breathe and makes the fabric softer and more flexible.
Pro Tips for a Tidier Stitch
Once you’ve got the basic movement down, you’ll want your work to look neat. Here are a few “insider” tips that usually take months of trial and error to figure out.
Mind Your Tension
Tension is just a fancy word for how tightly you hold the yarn. If you pull too hard, your stitches will be tiny and stiff, and you’ll struggle to get your hook back into them on the next row. If you hold it too loose, the project will look gappy. The goal is “consistent.” Try to relax your shoulders and let the yarn slide comfortably through your fingers.
The “Turning Chain” Struggle
When you reach the end of a row and need to turn back, you’ll usually see “ch 1” (chain one) in your pattern. This chain doesn’t count as a stitch; it’s just a “step stool” to get your hook up to the height of the next row. A common mistake is forgetting to crochet into the very last stitch of the row before turning. If you do this every time, your project will slowly shrink into a triangle. Always double-check that you’ve hit that final stitch!
Counting Your Stitches
I can’t stress this enough: count your stitches! Especially when you’re starting out, it is incredibly easy to accidentally add or lose a stitch at the ends of your rows. Count your stitches at the end of every single row for the first few inches of your project. Once you develop a “feel” for the edges, you can count less often, but early on, it’s a lifesaver.
Single Crochet vs. The Rest: Which Stitch Should You Use?
You might be wondering if you should stick with the single crochet or move on to something else. Here is a quick comparison to help you decide:
- Single Crochet (sc): Short, dense, sturdy. Best for amigurumi, bags, and warm winter hats.
- Half-Double Crochet (hdc): A middle-ground stitch. It’s a bit taller than a sc but denser than a dc. Great for baby blankets.
- Double Crochet (dc): Tall, airy, and fast. This is the best choice for scarves or garments where you want a nice “drape” (meaning the fabric flows and hangs rather than staying stiff).
Troubleshooting: Why Does My Project Look… Weird?
Even the pros have “off” days where their crochet looks a little funky. If you’re staring at your work and something feels wrong, check these common culprits:
The Edges are Curling
If your project is curling up like a taco, it’s usually a tension issue. You’re likely pulling the yarn too tight. Try using a larger hook or consciously reminding yourself to loosen your grip. If it’s a small project, you can also “block” it (wetting it and pinning it flat to dry), which works wonders for shaping.
The Fabric is Too Stiff
If your “soft” blanket feels more like a rug, you might be using a hook that is too small for your yarn. Switch to a hook one or two sizes larger. The single crochet is naturally tight, so giving it some extra space makes a huge difference in the hand-feel of the project.
I Can’t Find the Top of the Stitch
This is the most common frustration with the single crochet. Because the stitch is so short, it can be hard to see where to put your hook. Pro tip: look for the “V” shape on the top of the stitch. You want to slide your hook under both loops of that V.
Fun Ideas for Your First Single Crochet Projects
Ready to put your skills to the test? Instead of jumping into a giant blanket (which can be overwhelming), try these quick wins:
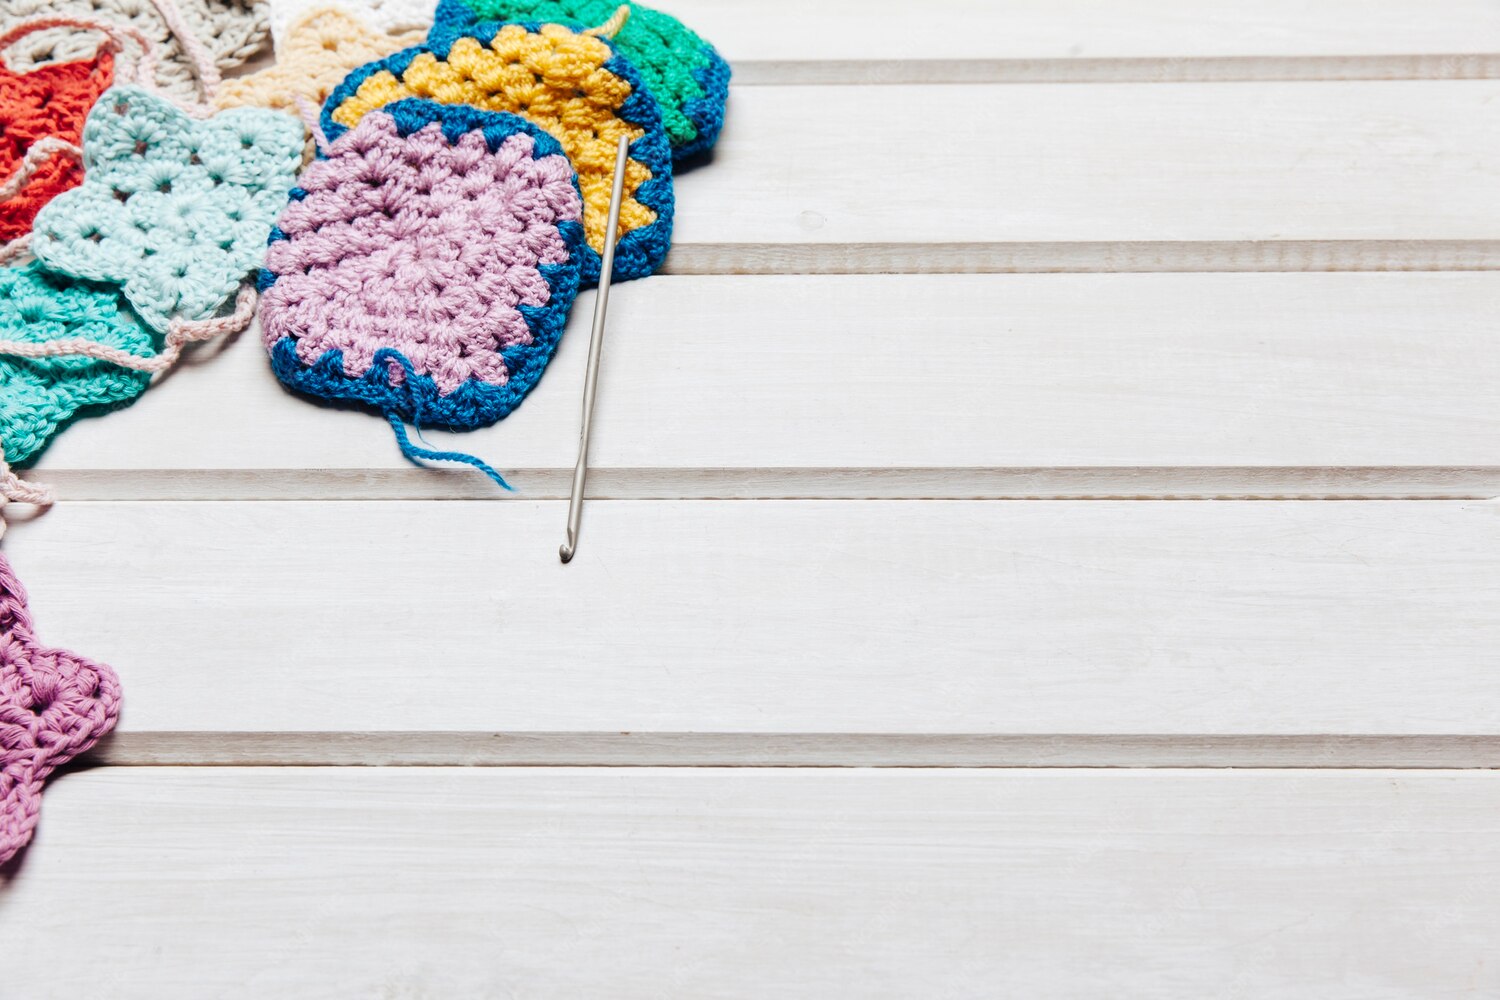
- Simple Coasters: Just a few rows of single crochet in a square or circle.
- A Chunky Beanie: Use a bulky yarn and a large hook to make a cozy hat in a few hours.
- A Small Amigurumi Ball: Learn how to work in a “magic circle” and use the single crochet to make a little sphere.
- Washcloths: Use cotton yarn to make something practical for your bathroom.
Wrapping Up
The single crochet might seem basic, but it is the foundation for so much of the beautiful work you see in the crochet community. The more you practice, the more “invisible” the process becomes, allowing you to focus on the creativity and the joy of making something with your own two hands.
Don’t get discouraged if your first few rows look a bit wonky—that’s just part of the process! Just keep hooking, keep counting, and remember that every expert was once a beginner who didn’t know where the “V” was. Happy crocheting!