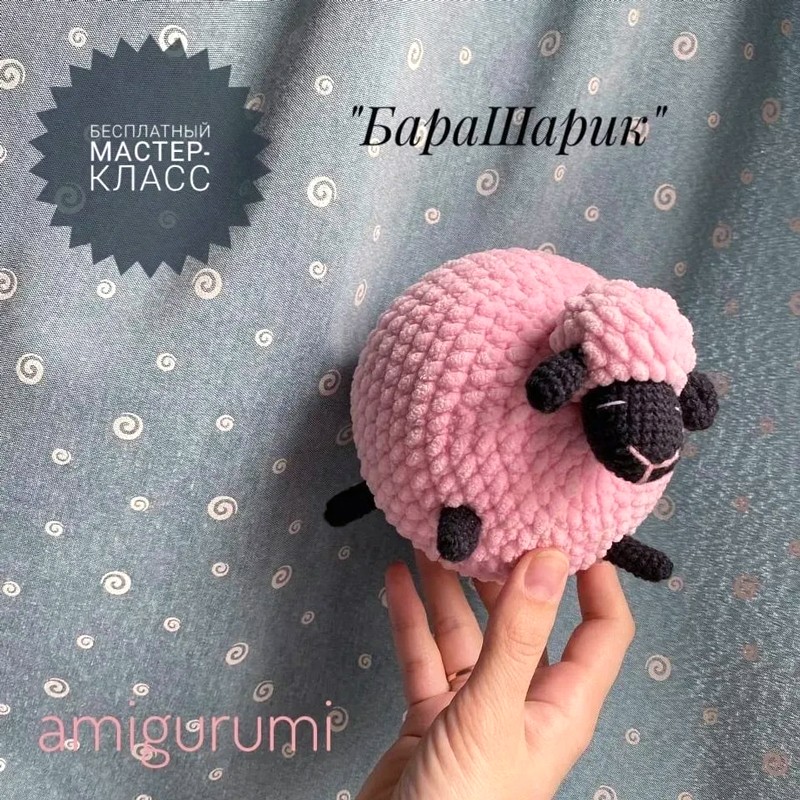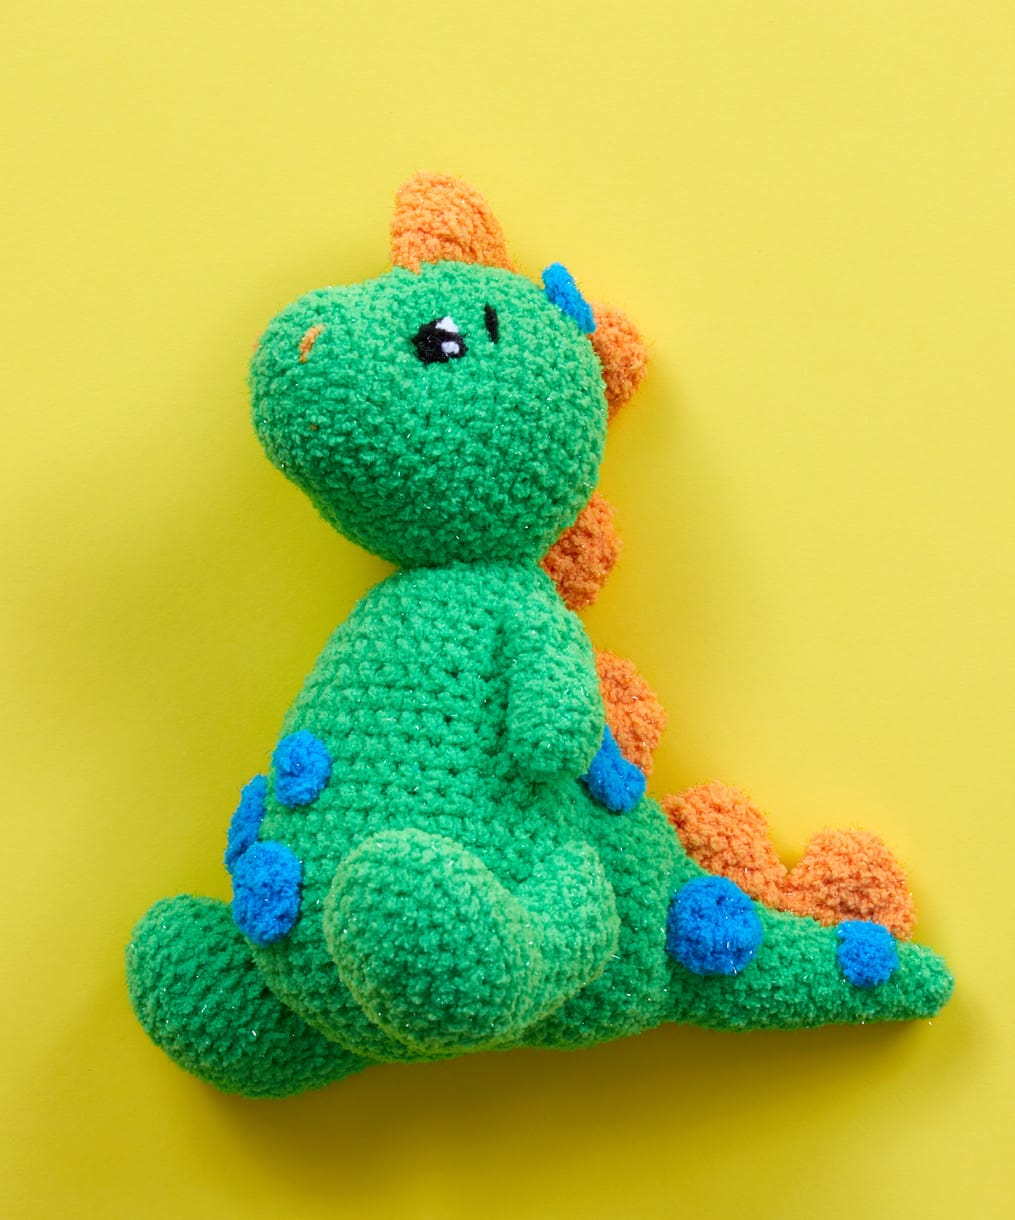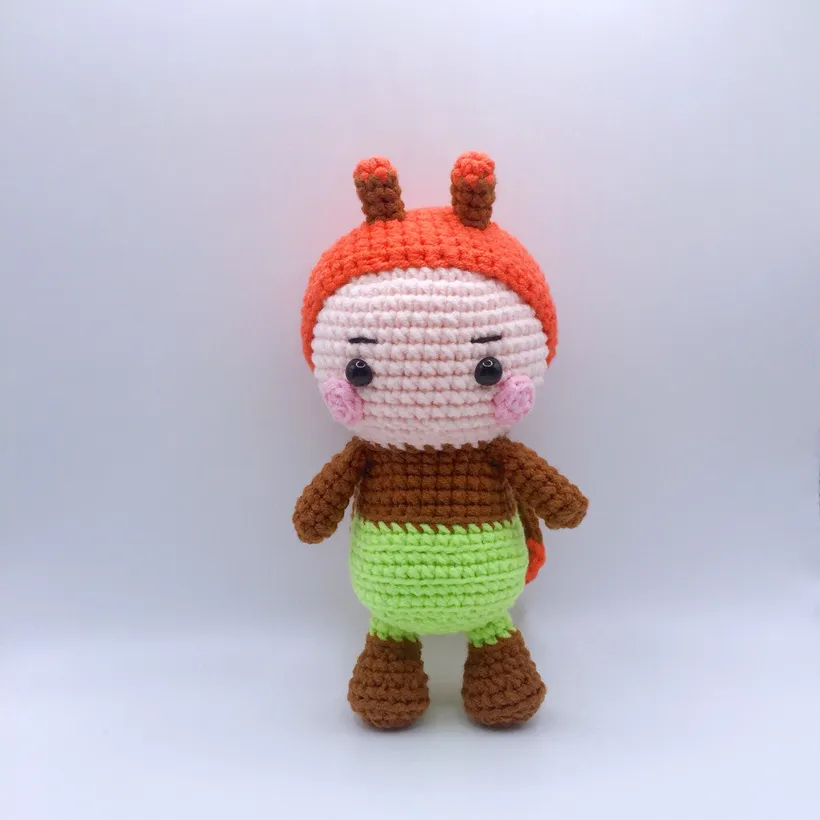
Easy Crochet Chubby Bunny Pattern: DIY Kawaii Amigurumi Tutorial
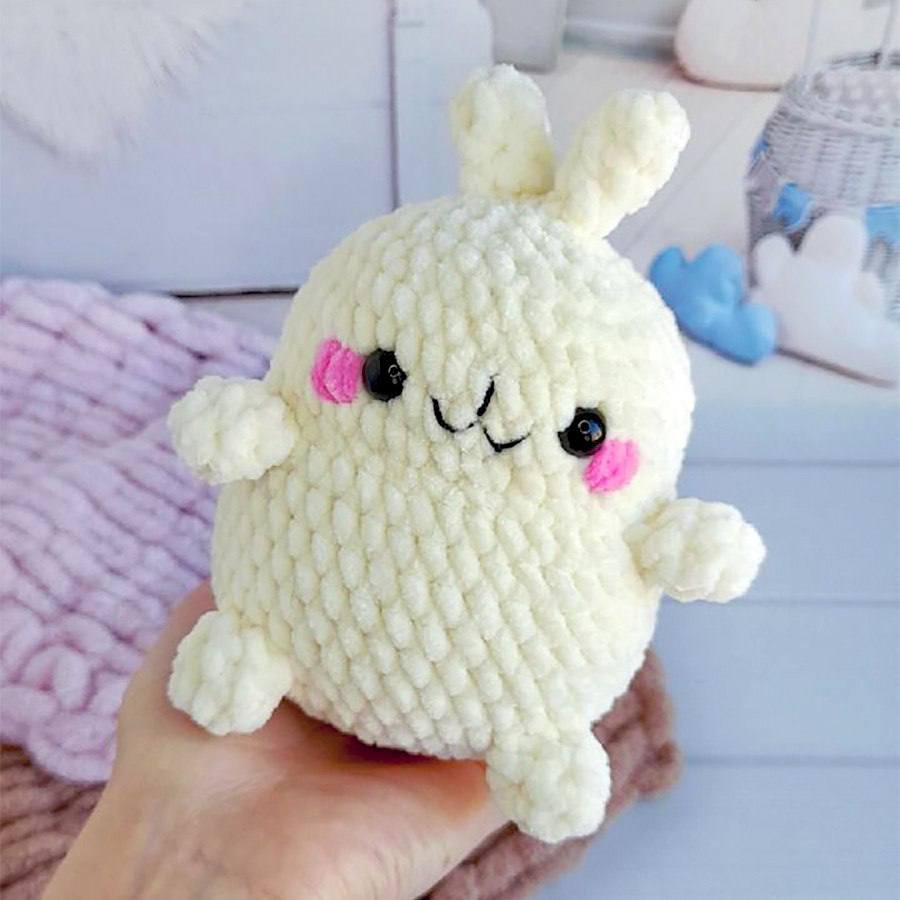
If you are looking for a project that is as adorable as it is simple, you have come to the right place! This chubby bunny, inspired by the popular “Molang” style, is the ultimate cozy crochet project. With its round, squishy body and tiny limbs, this little friend is perfect for nursery decor, a desk companion, or a quick handmade gift for a loved one.
This pattern is designed with beginners in mind. We will be using velvet or chenille-style yarn, which makes the stitches very forgiving and creates an incredibly soft, huggable texture. By the end of this tutorial, you will have mastered the basics of amigurumi construction, including working limbs directly into the body and creating expressive facial features.
Materials & Abbreviations
To ensure your bunny turns out just as soft and squishy as the one in the photos, please gather the following supplies:
- Main Yarn: Bulky weight chenille or velvet yarn in white or cream (approximately half a skein).
- Accent Yarn: A small amount of pink plush yarn for the cheeks.
- Detail Yarn: Light pink cotton yarn (fingering or sport weight) for the mouth and black cotton yarn for the facial details.
- Crochet Hooks: 4.0 mm (US size G/6) for the main body and 2.0 mm (US size B/2) for the facial details.
- Eyes: 10 mm safety eyes or black beads.
- Stuffing: Polyfill or fiberfill.
- Tools: A large-eye tapestry needle, scissors, and a small piece of felt (optional, for reinforcing the eyes).
- Extra: Strong thread in a matching cream color for sewing the ears.
Abbreviations (US Terms)
- MR: Magic Ring
- sc: Single crochet
- inc: Increase (2 sc in one stitch)
- dec: Decrease (sc 2 stitches together)
- ch: Chain
- sl st: Slip stitch
Step-by-Step Instructions
The Ears (Make 2)
The ears are simple, small ovals that add to the bunny’s cute silhouette.
- 1. 5 sc in a MR (5)
- 2 – 4. 5 sc (3 rounds total)
- Join with a sl st and fasten off, leaving a small tail for sewing.
The Paws (Make 4)
These tiny limbs give the bunny its signature “chubby” look.
- 1. 6 sc in a MR (6)
- 2 – 3. 6 sc (2 rounds total)
- Join with a sl st and fasten off.
The Head-Body
This piece is worked in one continuous piece to create the seamless, egg-shaped body. Remember to stuff firmly as you go!
- 1. 6 sc in a MR (6)
- 2. 6 inc (12)
- 3. (1 sc, inc) x 6 (18)
- 4. (2 sc, inc) x 6 (24)
- 5. (3 sc, inc) x 6 (30)
- 6. (4 sc, inc) x 6 (36)
- 7. (5 sc, inc) x 6 (42)
- 8. Attaching the Legs: This round joins the legs to the body. Work as follows: 25 sc, then crochet 3 sc into/around the first leg to join it, 7 sc, then crochet 3 sc into/around the second leg to join it, and finish with 4 sc (42)
- 9 – 13. 42 sc (5 rounds total)
- 14. Attaching the Arms: 23 sc, then crochet 3 sc into/around the first arm to join it, 13 sc, then crochet 3 sc into/around the second arm to join it (42)
- 15. 24 sc, (1 sc, dec) x 6 (36)
- 16. 24 sc, (1 sc, inc) x 6 (42)
- 17 – 18. 42 sc (2 rounds total)
- 19. (5 sc, dec) x 6 (36)
Placing the Eyes
Before continuing with the decreases, it is time to add the eyes. Place your 10 mm safety eyes between rounds 17 and 18. Ensure they are spaced approximately 8 sc apart. Pro-tip: For extra durability, place a small circle of felt on the inside of the body before snapping the safety eye back to keep them secure.
- 20. (4 sc, dec) x 6 (30)
- 21. (3 sc, dec) x 6 (24)
- 22. (2 sc, dec) x 6 (18)
- 23. (1 sc, dec) x 6 (12)
- 24. 6 dec (6)
Fasten off, pull the remaining thread to close the hole tightly, and weave the end into the body.
The Tail
- 1. 6 sc in a MR (6)
- 2. 6 sc (6)
- Join with a sl st and fasten off. Note: Do not stuff the tail; keep it flat and squishy!
Finishing
Assembly
Sewing the Ears
Position the ears on the very top of the head. Place them slightly toward the back, away from the point where you closed the body. Sew them side-by-side so they stand upright.
Sewing the Tail
Attach the tail to the back of the bunny. Count 8 rounds up from the bottom of the body to find the perfect placement.
Creating the Face
The face is what brings your bunny to life! Follow these steps carefully:
The Cheeks
Using your pink plush yarn and a large tapestry needle, embroider two small, soft oval shapes on the cheeks, directly beside and slightly below the eyes.
The Mouth
Using the light pink cotton yarn and your smaller hook:
- Chain 3.
- In the 2nd chain from your hook, work: 1 sc, then 4 sc into that same stitch, then 1 sc.
- This will create a tiny little pink nub. Sew this directly between the eyes.
- Finally, use your black cotton thread to embroider a tiny “w” shape or a small smile just below the pink mouth to add character.
Tips for Success
To make your amigurumi look professional and polished, keep these tips in mind:
- Tension is Key: When working with chenille/velvet yarn, try to maintain even tension. If you crochet too loosely, the stuffing might peek through the stitches.
- Stitch Markers: Always use a stitch marker at the beginning of your rounds. In amigurumi, it is incredibly easy to lose count, especially when working with thick, fuzzy yarn.
- Stuffing Technique: Stuff your project in small increments. This allows you to push the stuffing into the corners (like the legs and arms) to ensure a smooth, rounded shape without lumps.
- Hide Your Ends: When weaving in ends, make sure to go through several stitches and into the center of the stuffing to ensure the tails don’t pop out later.
Congratulations! Your chubby, adorable bunny is finished and ready for cuddles!