How to Crochet a Cute Baby Elephant: Free Amigurumi Pattern
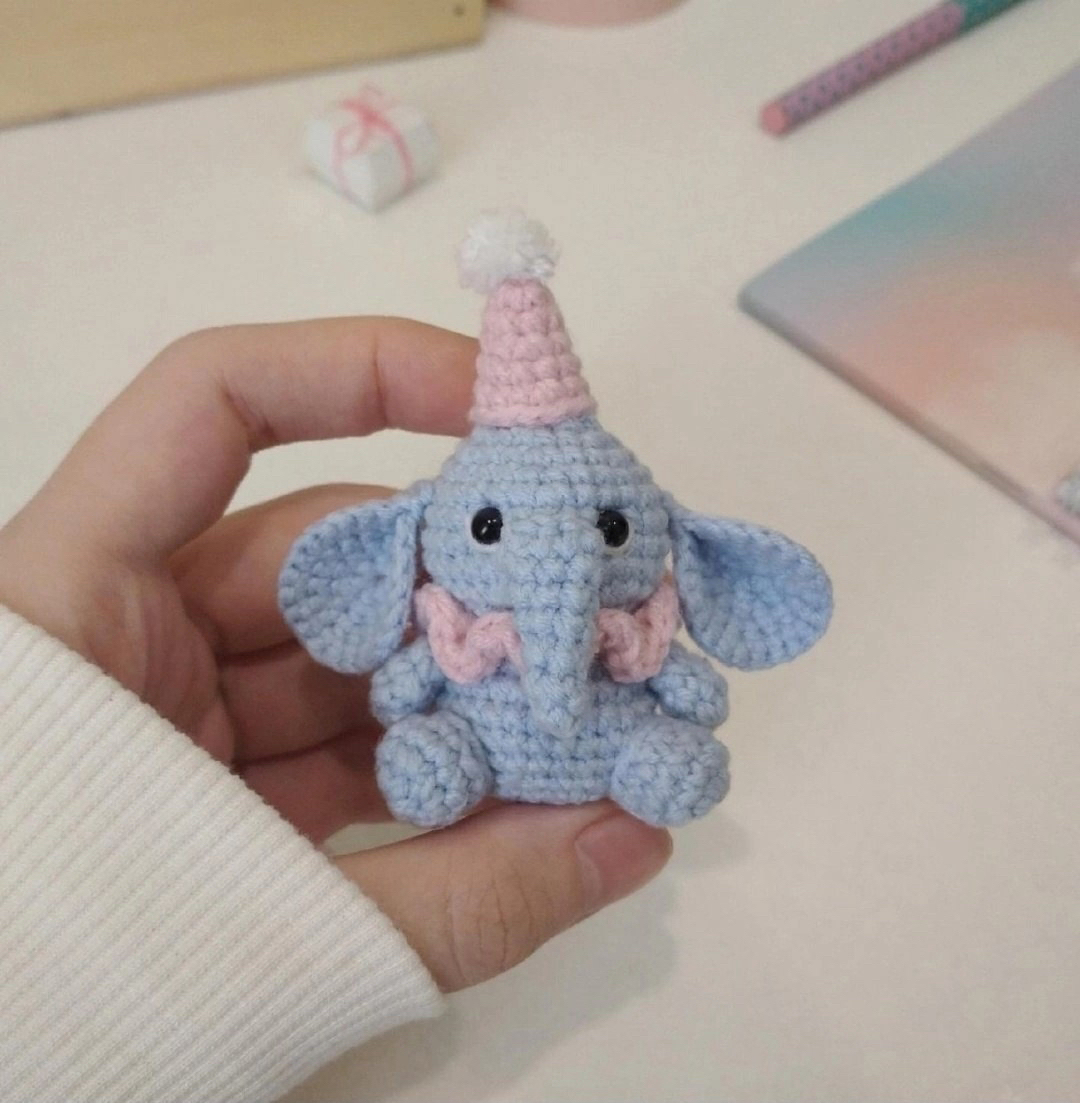
Looking for a quick and adorable project to brighten up your desk or a sweet gift for a newborn? This tiny baby elephant amigurumi is the perfect project for crafters of all levels. With its oversized ears, tiny party hat, and sweet expression, this little guy is designed to be a “kawaii” companion that fits right in the palm of your hand.
Amigurumi (the Japanese art of knitting or crocheting small, stuffed yarn creatures) is a wonderful way to practice your shaping skills. In this tutorial, we will guide you through the process of creating this miniature elephant step-by-step. Whether you are a seasoned pro or a beginner picking up a hook for the first time, this pattern is written to be accessible and easy to follow.
Materials & Abbreviations
To get started, gather your supplies. For this project, we recommend a cotton-blend yarn to keep the stitches crisp and defined, which is essential for small amigurumi pieces.
Supplies Needed
- Yarn: Medium-weight cotton or cotton-blend yarn (such as YarnArt Jeans). You will need light blue for the body, light pink for the hat and collar, and a small amount of white for the pompom. Approximately 150-200 yards of the main color should be plenty.
- Crochet Hook: 2.25mm or 2.5mm hook (adjust size to ensure your stuffing doesn’t show through the stitches).
- Safety Eyes: 5mm black plastic safety eyes.
- Stuffing: Polyester fiberfill or scrap yarn.
- Tools: Yarn needle, scissors, and a stitch marker.
Abbreviations (US Terms)
- MR: Magic Ring
- Sc: Single Crochet
- Inc: Increase (two single crochets in the same stitch)
- Dec: Decrease (single crochet two stitches together)
- Ch: Chain
- Hdc: Half Double Crochet
- BLO: Back Loop Only
- St(s): Stitch(es)
- Rnd: Round
Step-by-Step Instructions
This elephant is worked primarily in continuous spirals. I highly recommend using a stitch marker at the start of each round so you don’t lose your place!
Head and Body
The head and body are worked as one continuous piece to minimize sewing.
- Rnd 1: 6 sc in MR (6)
- Rnd 2: 6 inc (12)
- Rnd 3: (1 sc, inc) x 6 (18)
- Rnd 4: (2 sc, inc) x 6 (24)
- Rnd 5: 24 sc (24)
- Rnd 6: (3 sc, inc) x 6 (30)
- Rnd 7: (4 sc, inc) x 6 (36)
- Rnd 8-9: 36 sc (36)
- Rnd 10: (4 sc, dec) x 6 (30)
- Rnd 11: (3 sc, dec) x 6 (24)
- Rnd 12: 12 dec (12)
- Rnd 13: 12 inc (24)
- Rnd 14: 24 sc (24)
- Rnd 15: (3 sc, inc) x 6 (30)
- Rnd 16-18: 30 sc (30)
- Rnd 19: (3 sc, dec) x 6 (24)
- Rnd 20: (2 sc, dec) x 6 (18)
- Rnd 21: (1 sc, dec) x 6 (12)
- Rnd 22: 6 dec (6). Fasten off, weave the tail through the remaining stitches to close the hole tightly, and secure the end.
Eye Placement: Insert the 5mm safety eyes between Rounds 7 and 8, spacing them 7 stitches apart.
The Ears (Make 2)
- Rnd 1: 6 sc in MR (6)
- Rnd 2: 6 inc (12)
- Rnd 3: (1 sc, inc) x 6 (18)
- Rnd 4: (2 sc, inc) x 6 (24)
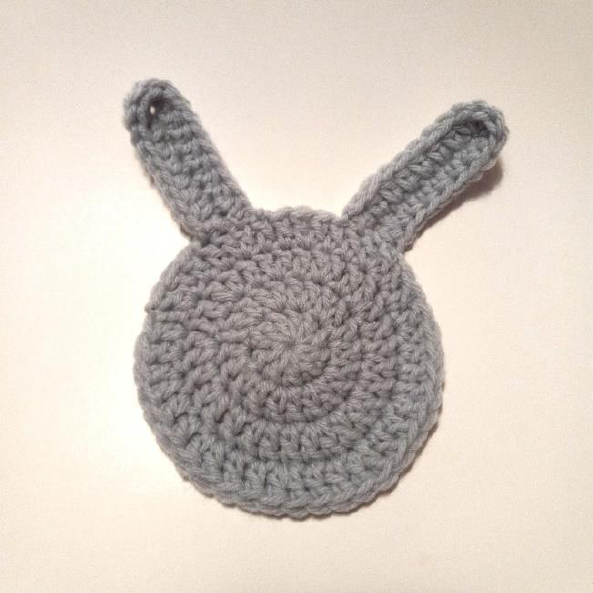
Fold the ear piece in half and crochet 2 sc through both layers to close the bottom. Leave a long tail for sewing.
The Trunk
- Rnd 1: 4 sc in MR (4)
- Rnd 2: 4 sc (4)
- Rnd 3: (1 sc, inc) x 2 (6)
- Rnd 4: 6 sc (6)
- Rnd 5: (2 sc, inc) x 2 (8)
- Rnd 6: 8 sc (8)
Fold the trunk in half and crochet across the opening with sc to close it. Leave a long tail for sewing.
The Legs (Make 2)
- Rnd 1: 6 sc in MR (6)
- Rnd 2: 6 inc (12)
- Rnd 3: 12 sc (12)
- Rnd 4: (2 sc, dec) x 3 (9)
Stuff the legs lightly and leave a tail for sewing.
The Arms (Make 2)
- Rnd 1: 6 sc in MR (6)
- Rnd 2-3: 6 sc (6)
Fold the arm in half and sc through both layers to close. Leave a tail for sewing.
The Party Hat
- Rnd 1: 4 sc in MR (4)
- Rnd 2: (1 sc, inc) x 2 (6)
- Rnd 3: (1 sc, inc, 1 sc) x 2 (8)
- Rnd 4: (3 sc, inc) x 2 (10)
- Rnd 5: (2 sc, inc, 2 sc) x 2 (12)
- Rnd 6: (5 sc, inc) x 2 (14)
Fasten off and attach a small white pompom to the tip of the hat.
The Collar
Using pink yarn, chain 19. Starting from the 3rd chain from the hook, work one hdc-BLO (half double crochet in the back loop only) into each chain across. Fasten off.
Finishing
Now comes the assembly! This is where your little elephant really comes to life. Use a yarn needle and the tails you left on each piece.
- Ears: Sew the ears to the head between Rounds 6 and 7.
- Trunk: Sew the trunk to the face between Rounds 7 and 8.
- Arms: Attach the arms to the body between Rounds 13 and 14.
- Legs: Sew the legs to the bottom of the body between Rounds 16 and 20.
- Collar: Wrap the pink collar around the neck area and sew the ends together.
- Hat: Sew the party hat securely to the top of the head.
Tips for a Professional Finish
If you want your amigurumi to look like it came from a boutique, keep these a few pro tips in mind:
Tension is Key
When crocheting amigurumi, you want your stitches to be tight so the stuffing doesn’t peek through. If you see gaps, try dropping down a hook size (e.g., move from a 2.5mm to a 2.0mm hook).
The Invisible Decrease
To avoid the “bumps” often seen with standard decreases, use the invisible decrease method. Instead of inserting your hook through the whole stitch, insert it only into the front loops of the next two stitches, then complete the sc. This creates a much smoother surface.
Perfect Stuffing
Stuff your pieces firmly but not too tightly. Over-stuffing can stretch the stitches and make the elephant look distorted; under-stuffing can make him slouchy. Use a chopstick or a crochet hook to push stuffing into the narrow parts of the legs and arms.
Customizing Your Elephant
Feel free to change the colors! A soft grey for a classic look, a mint green for something whimsical, or a lilac for a fairy-tale vibe. You can also swap the party hat for a tiny bow or a flower to change the character’s personality.