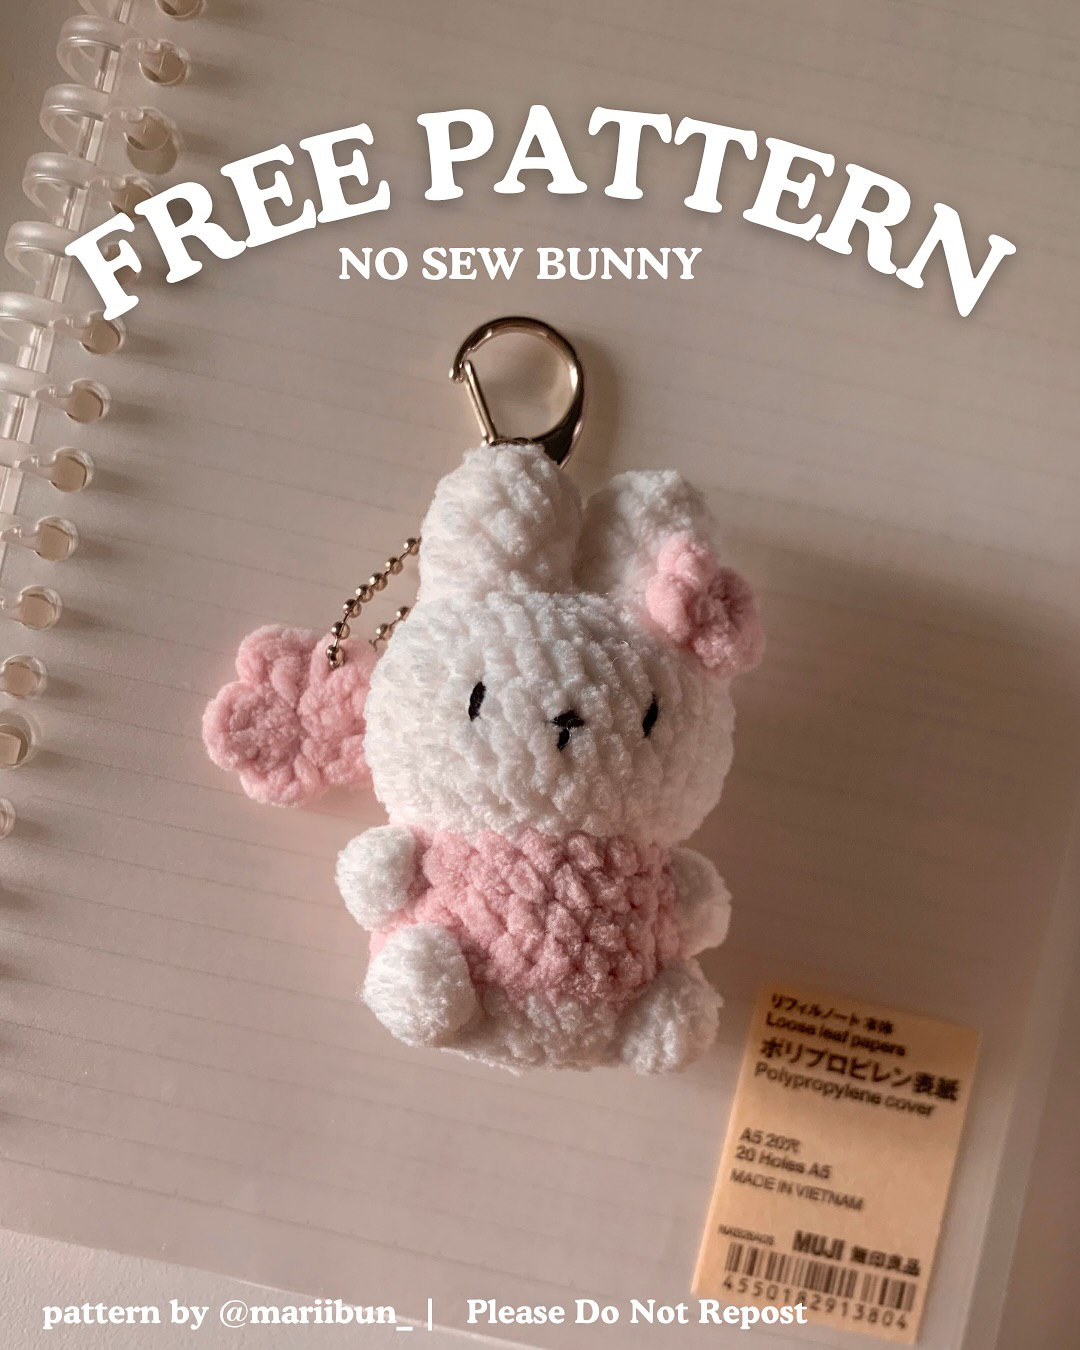
Adorable No-Sew Crochet Bunny Pattern: Easy Amigurumi Keychain Tutorial
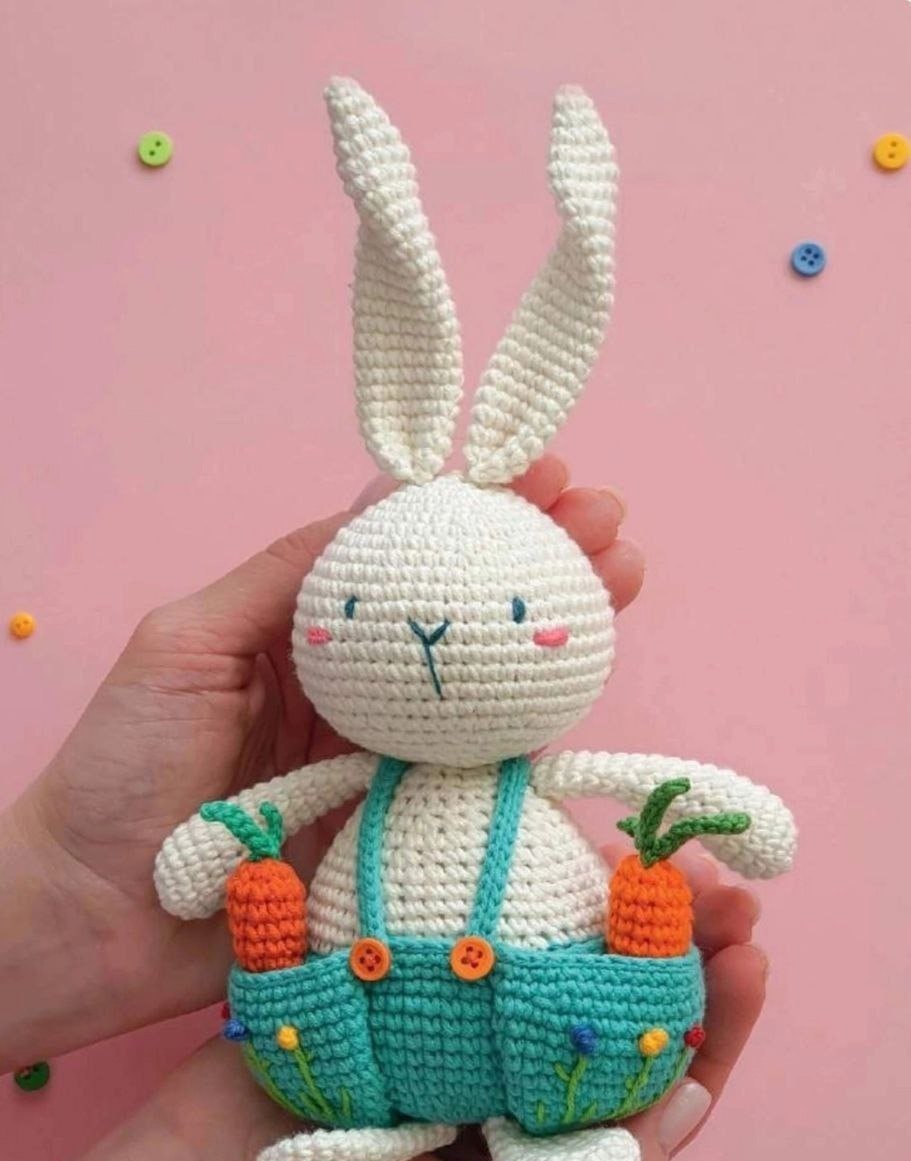
If you love the charm of amigurumi but dread the tedious process of sewing multiple pieces together, this no-sew crochet bunny is for you! This project is designed to be a quick, satisfying make that results in a super cute, fluffy rabbit perfect for a keychain, bag charm, or a small gift for a loved one.
The beauty of this pattern is that we build the bunny from the ears down, integrating the head and body into one continuous piece. By using a few clever stitches, we can even create the little paws without needing to sew them on later. Whether you are a seasoned pro or a beginner looking for your first amigurumi project, this tutorial will guide you through every stitch.
Materials & Abbreviations
To get started, gather your supplies. Because this is a small project, it is a great way to use up scrap yarn. For the look seen in the photos, a plush chenille or velvet yarn is recommended to give the bunny its signature “squishy” feel.
Supplies Needed
- Yarn: Medium-weight plush yarn in White and Pink.
- Crochet Hook: A size that fits your yarn (typically 3.5mm to 4.5mm for plush yarns).
- Stuffing: Polyester fiberfill.
- Tools: Yarn needle, scissors, and a stitch marker.
- Details: Small safety eyes (6mm or 8mm) or black embroidery thread, a small piece of black felt, and textile glue.
- Keychain Hardware: A lobster clasp and a small bead chain.
US Crochet Terms & Abbreviations
- MR: Magic Ring
- sc: Single crochet
- inc: Increase (two single crochets in one stitch)
- dec: Decrease (invisible decrease recommended)
- sl st: Slip stitch
- ch: Chain
- dc: Double crochet
- FLO: Front Loop Only
- Bobble: Bobble stitch (detailed in the instructions)
Step-by-Step Instructions
The Ears
We start by making two ears. We will create the first one, fasten it off, and then create the second one and join it to the first to begin the head.
Using White Yarn:
- Round 1: Make a MR and work 4 sc into the ring. (4 sts)
- Round 2: inc in each stitch around. (8 sts)
- Rounds 3-5: sc in each stitch around. (8 sts for 3 rounds)
Fasten off the first ear. Repeat the steps above for the second ear, but do not fasten off. Instead, join the second ear to the first ear using a single crochet. This creates the foundation for the top of the head.
The Head
Now we will work around both ears to create the sphere of the head.
- Round 6: Work 8 sc around the first ear, then 8 sc around the second ear. (16 sts)
- Round 7: (1 sc, inc) repeat 8 times. (24 sts)
- Round 8: (3 sc, inc) repeat 6 times. (30 sts)
- Rounds 9-11: sc in each stitch around. (30 sts for 3 rounds)
- Round 12: (3 sc, dec) repeat 6 times. (24 sts)
- Round 13: (2 sc, dec) repeat 6 times. (18 sts)
Face Details: Before you finish stuffing, place your safety eyes between Rounds 10 and 11, approximately 4 to 5 stitches apart. Using black embroidery thread or a small piece of felt, stitch a tiny “T” shape between the eyes to create a cute little nose and mouth.
Stuff the ears and the head firmly with fiberfill.
The Body
The body transition allows us to create a little “outfit” for the bunny and integrated paws.
Change to Pink Yarn:
- Round 14: Working in FLO: (5 sc, inc) repeat 3 times. (21 sts)
- Round 15: 6 sc, 1 bobble, 8 sc, 1 bobble, 5 sc. (21 sts) (The bobbles here represent the front paws)
- Round 16: sc in each stitch around. (21 sts)
- Round 17: (6 sc, inc) repeat 3 times. (24 sts)
Change back to White Yarn:
- Round 18: 1 sc, 1 bobble, 7 sc, 1 bobble, 6 sc, 1 bobble, 7 sc. (24 sts) (These bobbles create the feet/bottom paws)
- Round 19: (2 sc, dec) repeat 6 times. (18 sts)
- Round 20: (1 sc, dec) repeat 6 times. (12 sts)
- Round 21: dec 6 times. (6 sts)
Finish stuffing the body firmly. Fasten off and use your yarn needle to weave the remaining tail through the last 6 stitches to close the hole securely.
The Decorative Flowers
To give your bunny some extra personality, we will add two small pink flowers.
Small Ear Flower
- Ch 3.
- In the 3rd chain from the hook, work: (sl st, ch 2) 5 times.
- Fasten off, leaving a long tail for sewing. Attach this flower to the front of the bunny’s ear at the level of Round 6 using the tail or a drop of textile glue.
Keychain Flower
- In a MR: (ch 2, dc, ch 2, sl st) repeat 5 times.
- Fasten off and weave in the ends.
- Attach this flower to the bead chain of your keychain for a polished, professional look.
Finishing Touches
Once your bunny is complete and the flowers are attached, it’s time to turn it into a keychain. Attach your lobster clasp to the top of the head, between the ears. If you are using a plush yarn, ensure your knots are tight and reinforced with a bit of glue if necessary, as plush yarn can sometimes slip.
Tips for Success
- The Bobble Stitch: For the paws, the pattern suggests “unfinished” double crochets. To do this, yarn over and pull up a loop for a dc, but do not finish the stitch. Repeat this 4 to 6 times in the same stitch, then yarn over and pull through all loops at once.
- Symmetry: If your bobble paws aren’t lining up perfectly on the sides, don’t worry! You can add or subtract a single sc before or after the bobble to shift its position.
- Tension: When working with plush yarn, try not to pull too tight. If your tension is too tight, the stitches can “collapse” or the stuffing may show through the gaps.
- Invisible Decrease: To keep the head and body smooth, always use the invisible decrease method (working into the front loops only) rather than a standard decrease.