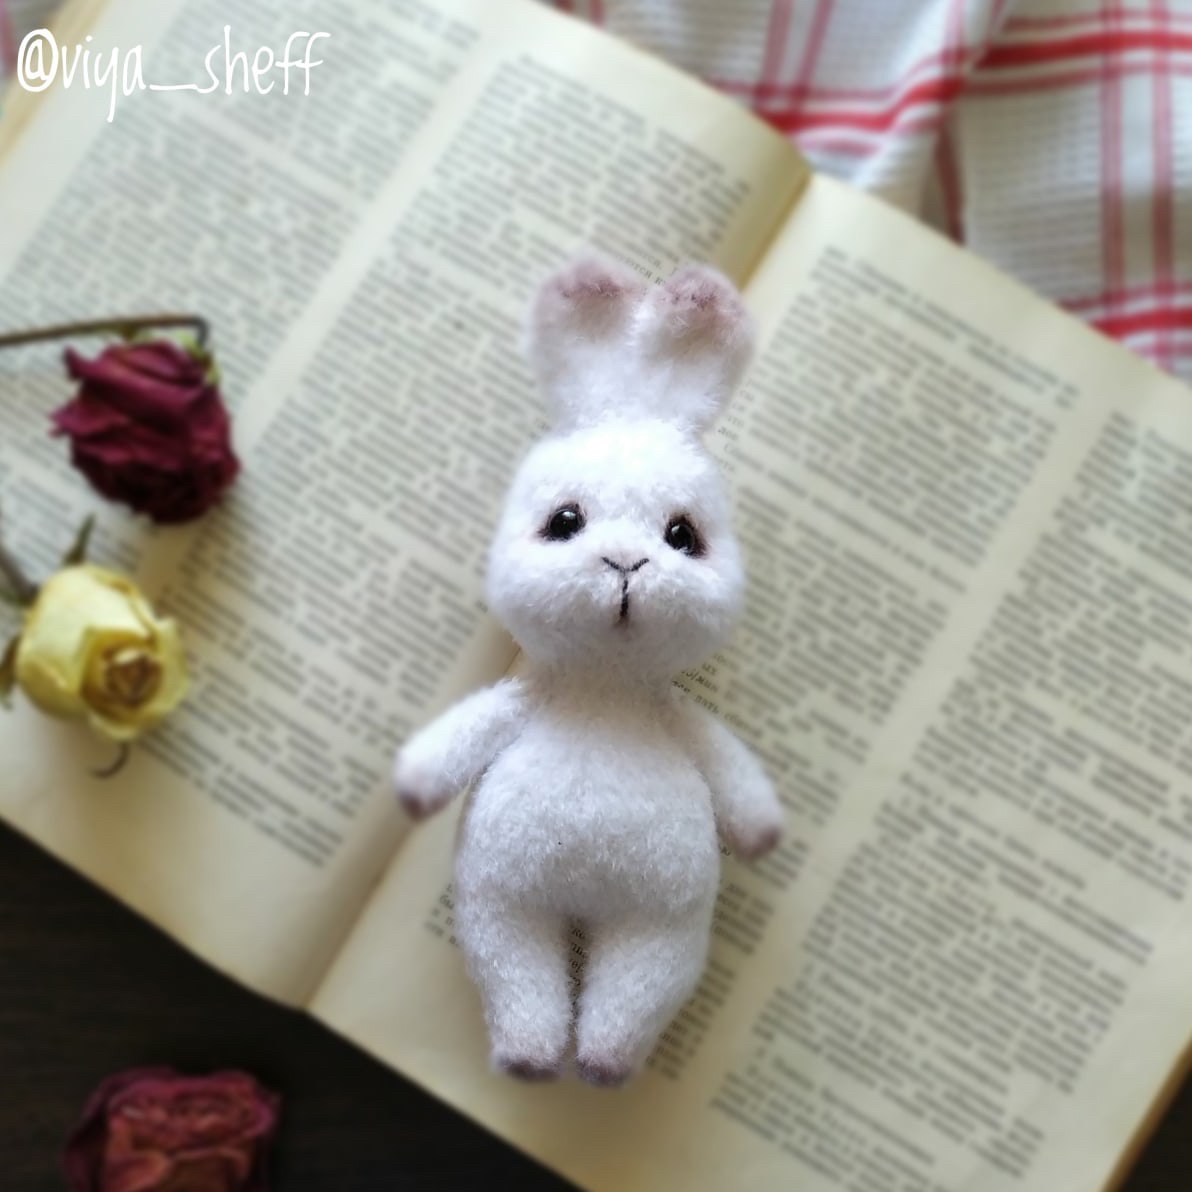
Amigurumi Bunny Crochet Pattern: A Complete Beginner-Friendly Tutorial
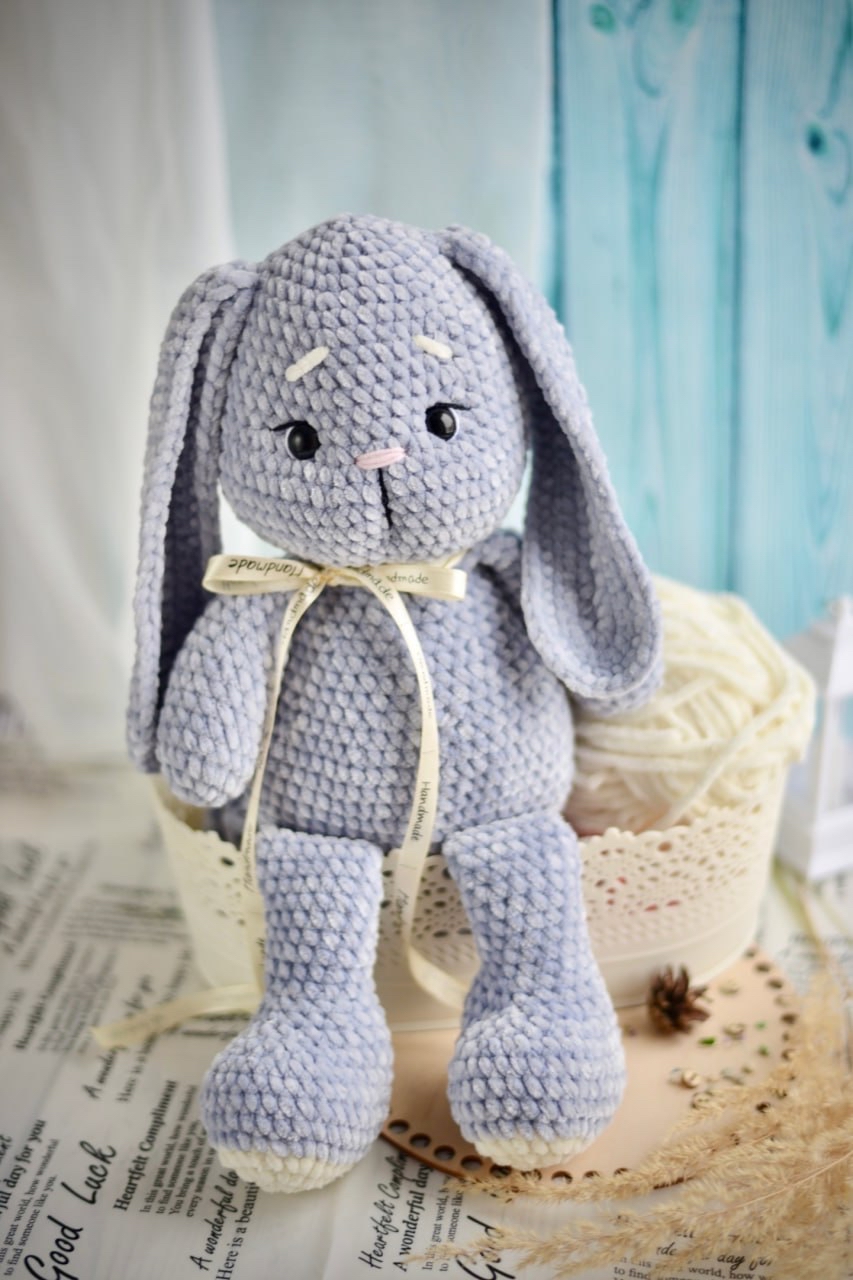
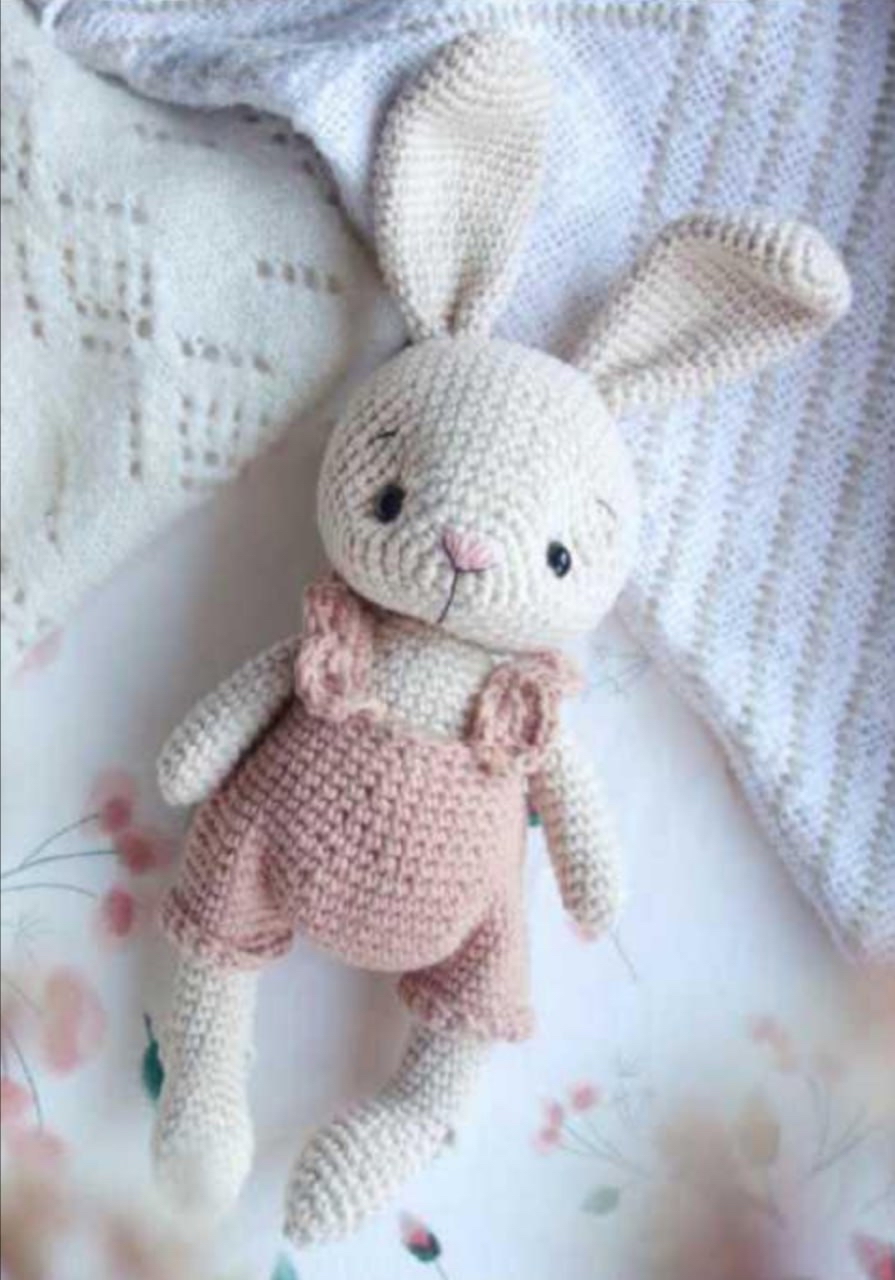
There is nothing quite as heartwarming as a handmade stuffed animal. Whether you are looking to create a special gift for a nursery or simply want to add a cuddly new friend to your own collection, this adorable amigurumi bunny is the perfect project. This little bunny features a sweet, minimalist face and comes complete with a tiny, cozy jumpsuit that makes it even more charming!
This tutorial is designed with beginners and intermediate crocheters in mind. We will walk through every step, from crafting the tiny ears to assembling the final outfit. By the end of this guide, you will have a soft, 10-inch bunny ready for hugs.
Introduction
Amigurumi is the Japanese art of knitting or crocheting small, stuffed yarn creatures. This pattern focuses on clean lines and simple shapes, making it an excellent way to practice your tension and shaping skills. The bunny is worked primarily in continuous rounds (spirals), which is a staple technique in amigurumi to avoid visible seams. While the pattern is straightforward, pay close attention to your stitch counts to ensure your bunny stays perfectly shaped!
Materials & Abbreviations
Materials Needed
To ensure your bunny turns out exactly like the photos, I recommend using the following materials. If you choose different yarn weights, please be aware that the final size of your bunny will change.
- Crochet Hook: 2.5 mm (approximately a B/1 or C/2 size).
- Yarn: Cotton or cotton-blend yarn works best for amigurumi because it provides excellent stitch definition.
- Ecru/Off-white (for the bunny body)
- Mocca/Tan (for the jumpsuit)
- Pink (for the nose and details)
- Black (for the nose outline and eyebrows)
- White (optional, for a different jumpsuit color)
- Safety Eyes: 8 mm safety eyes.
- Stuffing: High-quality polyester fiberfill.
- Embroidery Needle: A blunt-tipped tapestry needle.
- Embroidery Thread: Pink and Black thread for facial details.
Common Crochet Abbreviations
This pattern uses standard US crochet terminology. Please ensure you are using US terms before beginning!
- MR: Magic Ring (also known as Magic Circle)
- sc: Single crochet
- inc: Increase (2 sc in the same stitch)
- dec: Decrease (invisible decrease is highly recommended for amigurumi)
- st: Stitch
- ch: Chain
- sl st: Slip stitch
- hdc: Half double crochet
- [ ]: Repeat the instructions inside the brackets the specified number of times
- ( ): Repeat the instructions inside the parentheses
Step-by-Step Instructions
The Head
Using the ecru yarn and a 2.5 mm hook, begin by making a Magic Ring. Work in continuous rounds.
- 6 sc in MR (6)
- 6 inc (12)
- (1 sc, 1 inc) x 6 (18)
- (2 sc, 1 inc) x 6 (24)
- (3 sc, 1 inc) x 6 (30)
- (4 sc, 1 inc) x 6 (36)
- 36 sc (36)
- (5 sc, 1 inc) x 6 (42)
- 42 sc (42)
- (6 sc, 1 inc) x 6 (48)
- 48 sc (48)
- (7 sc, 1 inc) x 6 (54)
- Rounds 13-19: 54 sc (54)
Note: Before continuing with the decreases, insert your 8 mm safety eyes between rounds 7 and 9. Ensure there are 12 stitches visible between the two eyes to keep the face symmetrical.
- (7 sc, 1 dec) x 6 (48)
- 48 sc (48)
- (6 sc, 1 dec) x 6 (42)
- 42 sc (42)
- (5 sc, 1 dec) x 6 (36)
- (4 sc, 1 dec) x 6 (30)
- (3 sc, 1 dec) x 6 (24)
- (2 sc, 1 dec) x 6 (18)
- (1 sc, 1 dec) x 6 (12)
- 6 dec (6)
Fasten off, leaving a long tail. Pull the opening closed using your tapestry needle and weave in the ends.
The Ears (Make 2)
Using ecru yarn, start with a Magic Ring.
- 6 sc in MR (6)
- 6 inc (12)
- (1 sc, 1 inc) x 6 (18)
- 18 sc (18)
- (5 sc, 1 inc) x 3 (21)
- Rounds 6-7: 21 sc (21)
- (6 sc, 1 inc) x 3 (24)
- Rounds 9-11: 24 sc (24)
- (10 sc, 1 dec) x 2 (22)
- Rounds 13-14: 22 sc (22)
- (9 sc, 1 dec) x 2 (20)
- (8 sc, 1 dec) x 2 (18)
- Rounds 17-18: 18 sc (18)
- (7 sc, 1 dec) x 2 (16)
- Rounds 20-21: 16 sc (16)
- (6 sc, 1 dec) x 2 (14)
- 14 sc (14)
Fasten off, leaving a long tail for sewing the ears to the head later.
The Arms (Make 2)
Using ecru yarn, start with a Magic Ring.
- 6 sc in MR (6)
- 6 inc (12)
- Rounds 3-15: 12 sc (12)
Stuff the arms lightly. Fasten off, leaving a long tail for sewing.
The Legs (Make 2)
Using ecru yarn, start with a Magic Ring.
- 6 sc in MR (6)
- 6 inc (12)
- 12 sc (12)
- (2 sc, 1 inc) x 4 (16)
- Rounds 5-7: 16 sc (16)
- (2 sc, 1 dec) x 4 (12)
- Rounds 9-10: 12 sc (12)
Heel Construction: Now we will work in rows to create the heel shape. Do not join at the end of these rows; turn your work instead.
- 6 sc, ch 1, turn
- 6 sc, ch 1, turn
- 6 sc, ch 1, turn
- 6 sc, ch 1, turn
- 6 sc (do not turn)
- Round 11: 6 sc
Now, find the first stitch of the previous row and begin working in continuous rounds again.
- Rounds 12-24: 12 sc (12)
Stuff the legs firmly. Fasten off, leaving a long tail for sewing.
The Body
Using ecru yarn, start with a Magic Ring.
- 6 sc in MR (6)
- 6 inc (12)
- (1 sc, 1 inc) x 6 (18)
- (2 sc, 1 inc) x 6 (24)
- (3 sc, 1 inc) x 6 (30)
- (4 sc, 1 inc) x 6 (36)
- (5 sc, 1 inc) x 6 (42)
- Rounds 9-12: 48 sc (48)
- (6 sc, 1 dec) x 6 (42)
- 42 sc (42)
- (5 sc, 1 dec) x 6 (36)
- 36 sc (36)
- (4 sc, 1 dec) x 6 (30)
- 30 sc (30)
- (3 sc, 1 dec) x 6 (24)
- Rounds 20-21: 24 sc (24)
- (2 sc, 1 dec) x 6 (18)
Important: Do not stuff the body yet! We will stuff it during final assembly to make sure the jumpsuit fits perfectly.
The Jumpsuit (Mocca Color)
Part 1: The Legs
Using mocca yarn, ch 18. Join to the beginning with a sl st to form a circle.
Rounds 2-4: 18 sc (18). Fasten off for the first leg. Repeat for the second leg, but do not fasten off the second leg; continue to the next part.
Part 2: The Main Body
Join the two legs together by chaining 9. Work 18 sc around the first leg, 9 sc along the chain, 18 sc around the second leg, and 9 sc along the other side of the chain. This gives you 54 sc total.
- 54 sc (54)
- (18 sc, 1 inc, 3 sc, 1 inc, 3 sc, 1 inc…) follow pattern to reach 60 sc
- Rounds 4-7: 60 sc (60)
- (8 sc, 1 dec) x 6 (54)
- 54 sc (54)
- (7 sc, 1 dec) x 6 (48)
- 48 sc (48)
- (6 sc, 1 dec) x 6 (42)
- 42 sc (42)
- (5 sc, 1 dec) x 6 (36)
- 36 sc (36)
- (4 sc, 1 dec) x 6 (30)
- 30 sc (30)
- (3 sc, 1 dec) x 6 (24)
- Rounds 20-21: 24 sc (24)
- (2 sc, 1 dec) x 6 (18)
Fasten off, leaving a long tail.
Part 3: The Straps (Choose your favorite style!)
Option 1: Textured Straps
- Ch 12 + 1 ch for height, turn.
- 12 sc, turn.
- (2 hdc, 1 ch, 2 hdc, 1 sl st) x 4 + 1 ch, turn.
- (5 hdc, 1 sl st) x 4.
Option 2: Simple Straps
- Ch 15 + 1 ch, turn.
- 15 sc, turn.
- 15 sc.
Fasten off, leaving a long tail for sewing.
Finishing
Facial Details
- Mouth: Place markers between rounds 7 and 8, centered between the eyes. Thread your needle with black thread. Insert the needle at the first point, pass it through both eyes, and pull through a second point below the eyes. Pull firmly and tie a knot to create a cute little mouth indentation. Hide the thread inside the head.
- Nose: Using pink thread, embroider a small nose. Use black thread to create a delicate outline around the pink nose for extra detail.
- Eyebrows: Using black thread, embroider two small eyebrows between rounds 10 and 11. Each eyebrow should be 2 stitches wide, with a 14-stitch gap between them.
Final Assembly
- Body: Lightly stuff the body with fiberfill so it is soft enough to slide into the jumpsuit.
- Legs: Sew the legs to the body between rounds 8 and 9 of the body.
- Arms: Sew the arms onto the body, approximately two rows below the neck area.
- Clothing: Slide the jumpsuit onto the bunny. Use pins to position the straps, then sew them in place.
- Full Stuffing: Once the clothes are on, finish stuffing the body firmly.
- Ears: Sew the ears onto the head between rounds 20 and 21. Leave a 6-stitch gap between the ears.
- Head: Finally, sew the head to the body between rounds 10 and 16 of the head.
Tips
To make your amigurumi look professional, keep your stitches tight. This prevents the stuffing from peeking through the holes. When doing decreases, I highly recommend the “invisible decrease” method (working only through the front loops of the next two stitches) to avoid gaps in your work. If you find your bunny is looking a little lopsided, don’t worry! This is part of the handmade charm. Just adjust your stuffing and re-pin your accessories until it looks just right.
Happy crocheting!