Crochet Bunny Rabbit: A Complete Amigurumi Tutorial
Now Work the Heel (Turning Rows)
- Row 12 (right side): 6 sc, sl st into next stitch, ch 1, turn
- Row 13 (wrong side): 7 sc (first sc goes into the sl st from previous row), sl st into next stitch, ch 1, turn
- Row 14 (right side): 8 sc, sl st into next stitch, ch 1, turn
- Row 15 (wrong side): 9 sc, sl st into next stitch, ch 1, turn
Continue Leg
- Rounds 13-31 (19 rounds): 18 sc (18)
Switch to White Yarn (Pantaloons Section)
Work 8 extra stitches to position the color change at the back of the leg.
- Rounds 32-36 (5 rounds): 18 sc (18)
Stuff the leg up to approximately Round 30. Then, work enough extra stitches so the toe faces forward. Make 1 turning chain and crochet both sides of the leg together with 9 sc. Cut yarn, leaving a long tail for sewing.
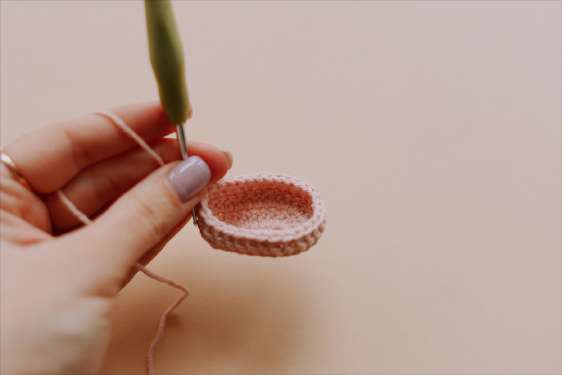
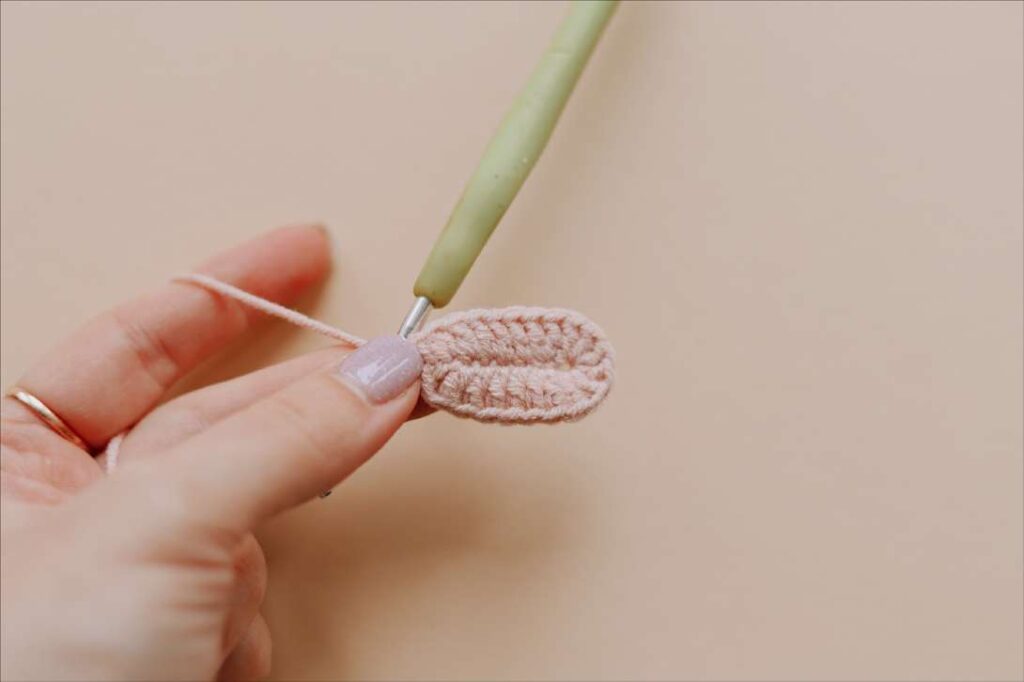
Part 7: Shoes (Make 2)
Work with dusty pink yarn.
- Round 1: Chain 7 + 3 ch (counts as dc). Work dc in 4th chain from hook, 4 dc (1 in each chain), dc inc in next stitch, 6 dc in last chain, then continue on opposite side of chain: dc inc, 5 dc, sl st to 3rd ch of beginning. (20)
- Round 2: Ch 3, dc inc, 5 dc, 8 dc inc in a row, 5 dc, dc inc, sl st to 3rd ch. (30)
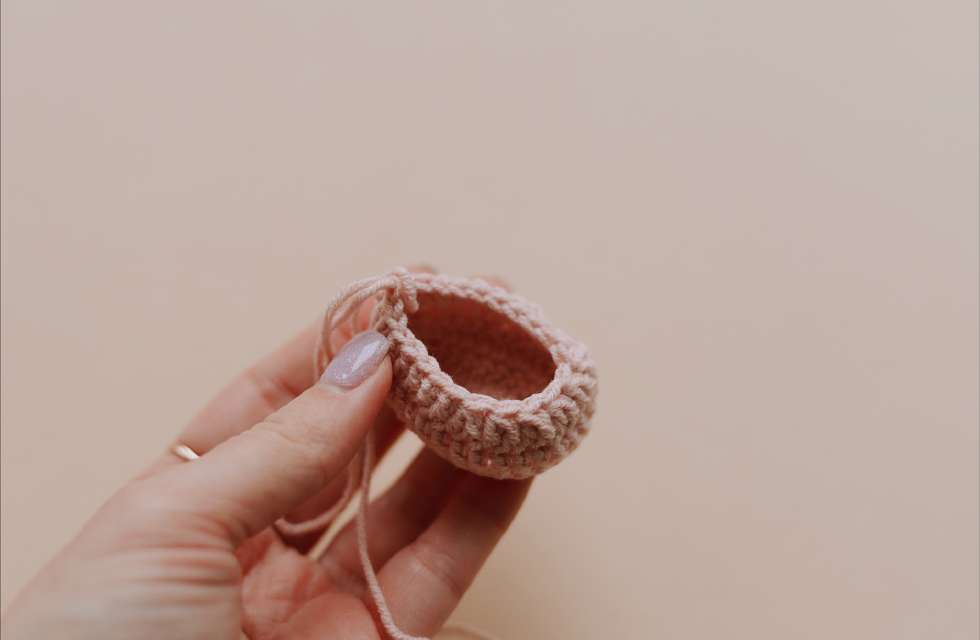
- Round 3: Work in back loop only for entire round: Ch 3, 30 dc, sl st to 3rd ch. (30)
- Round 4: Ch 3, 7 dc, 8 dc dec, 7 dc, sl st to 3rd ch. (22)
Cut yarn, leaving a long tail for sewing.
To Attach Shoe
Place the shoe onto the leg. Attach yarn as shown in the photo, chain 6, and join with a sl st on the opposite side. Cut the yarn and use the remaining tails to sew the shoe to the leg.
Part 8: Bonnet
*Work with dusty pink yarn using a 2.5-3.0 mm hook.*
The bonnet consists of 5 wedges. All rows are worked in back loop only.
One Wedge:
- Row 1: Chain 26 + 1 turning chain. Starting from 2nd chain from hook: 19 sc, sl st into next stitch, ch 1, turn
- Row 2: 20 sc in back loops, ch 1, turn
- Row 3: 21 sc in back loops, sl st into next stitch, ch 1, turn
- Row 4: 22 sc in back loops, ch 1, turn
- Row 5: 23 sc in back loops, sl st into next stitch, ch 1, turn
- Row 6: 24 sc in back loops, ch 1, turn
- Row 7: 25 sc in back loops, sl st into next stitch, ch 1, turn
- Row 8: 26 sc in back loops, ch 1, turn
Repeat for 4 more wedges (5 wedges total).
Assembly
Sew the knitted fabric together (or join with sl st using a hook). Using a yarn needle, gather the stitches at the top to close.
Part 9: Collar
Work with beige yarn using a 2.5 mm hook.
Chain 30 + 30 (total 60 chains – this creates two equal tails at each end).
Starting from the 2nd chain from hook: work 29 sc.
Then:
- Ch 1, turn
- Sc into 2nd chain from hook, skip 1 stitch, work an arch of 6 dc into next stitch
- Skip 1 stitch, sc into next stitch
- Repeat alternating pattern to end of row
Total arches: 7
At the end, chain 30 and cut the yarn
Part 10: Pantaloons
Work with beige yarn.
- Round 1: Chain 52, join into a ring with sl st. Ch 3, 52 dc, sl st to 3rd ch. (52)
- Rounds 2-8 (7 rounds): Ch 3, 52 dc, sl st to 3rd ch. (52)
Divide for Leg Opening
- Round 9: Ch 3, 26 dc, sl st to 3rd ch. (26)
- Rounds 10-13 (4 rounds): Ch 3, 26 dc, sl st to 3rd ch. (26)
- Round 14: Ch 1, 26 sc, sl st to ch 1. (26)
Cut yarn. Attach yarn and work the second leg identically.
Top Straps
From the beginning of the pantaloons, count 18 stitches to the left. Attach yarn at the 19th stitch:
- Ch 3, 20 dc
- Without cutting the yarn, chain 30 for the first strap
- Secure with sl st to the back of the pantaloons, cut yarn
- Attach yarn and work the second strap identically
Part 11: Cardigan / Jacket
Work with cream/milk-colored yarn. We’ll use raglan increases.
R = raglan stitch = (dc, ch, dc) into one stitch
- Row 1: Chain 34 + 3 ch (counts as dc). Starting from 4th chain:
- 5 dc, R, 4 dc, R, 12 dc, R, 4 dc, R, 5 dc
- Row 2: Ch 3, 6 dc, R (always work into the arch from previous row), 6 dc, R, 14 dc, R, 6 dc, R, 6 dc
- Row 3: Ch 3, 7 dc, R, 8 dc, R, 16 dc, R, 8 dc, R, 7 dc
- Row 4: Ch 3, 8 dc, R, 10 dc, R, 18 dc, R, 10 dc, R, 8 dc
- Row 5: Ch 3, 9 dc, R, 12 dc, R, 20 dc, R, 12 dc, R, 9 dc
Join Fronts and Back
- Row 6: Ch 3, 10 dc, skip the first sleeve stitches (14), work 22 dc, skip the second sleeve stitches (14), work 10 dc (42 total)
- Rows 7-10 (4 rows): Ch 3, 42 dc (42)
Optional – Decorative Arches (Row 10)
- Work 6 dc into one stitch, skip 1 stitch, sc into next stitch, skip 1 stitch, 6 dc into next stitch – repeat alternating to end of row
Finish Edges
Attach yarn and work sc along both front panels.
Sleeves
Attach yarn and work:
- 5 rows: Ch 3, 14 dc + 2 dc picked up from underarm (16 dc)
- Border row: Ch 1, 16 sc
Part 12: Assembly
Step 1: Attach Legs
Sew the legs to the bottom of the body.
Step 2: Attach Arms
Sew the arms to the sides of the body.
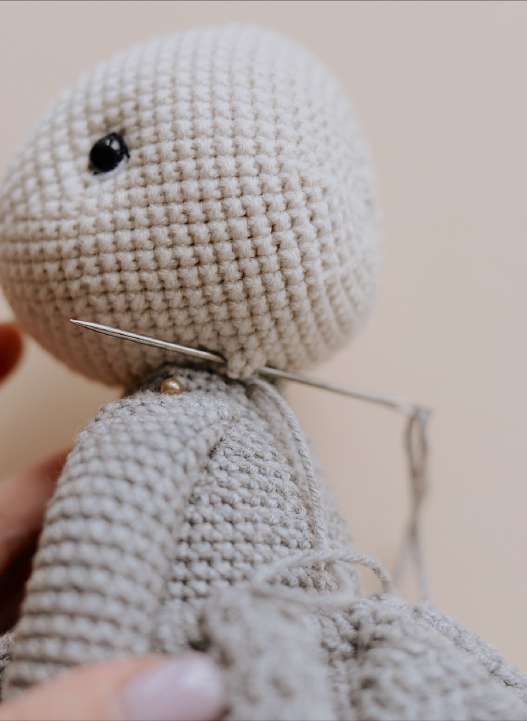
Step 3: Attach Head
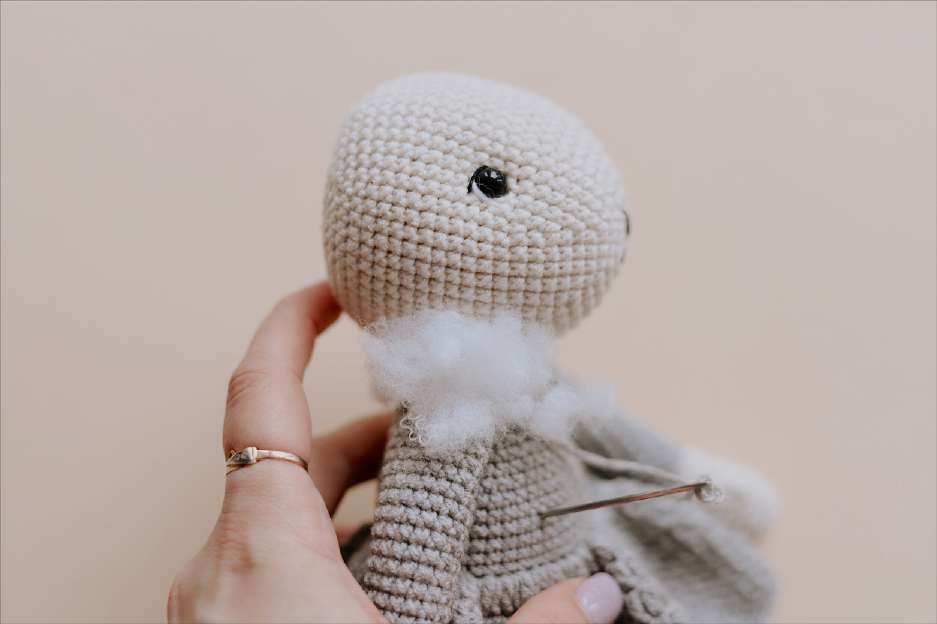
Sew the head to the body. When a small opening remains, stuff the gap between head and body with hollow fiber.
Step 4: Attach Ears
Sew the ears to the head.
Step 5: Attach Bonnet
Sew the bonnet onto the head, positioned between the ears.
Step 6: Add Blush
Using regular blush or chalk pastels, add a touch of pink to the bunny’s cheeks
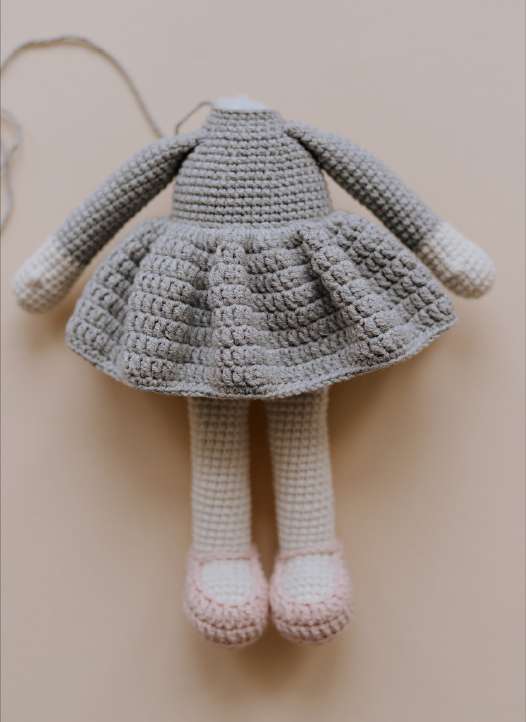
Dressing Your Bunny
Pantaloons
Dress the bunny in the pantaloons first. The top straps go over the shoulders.
Cardigan
Put the cardigan on over the pantaloons.
Shoes
Slip the shoes onto the feet. They should stay in place from the chain you worked earlier.
Bonnet and Collar
Place the bonnet on the head. Tie the collar around the neck – it helps hide the seam between head and body
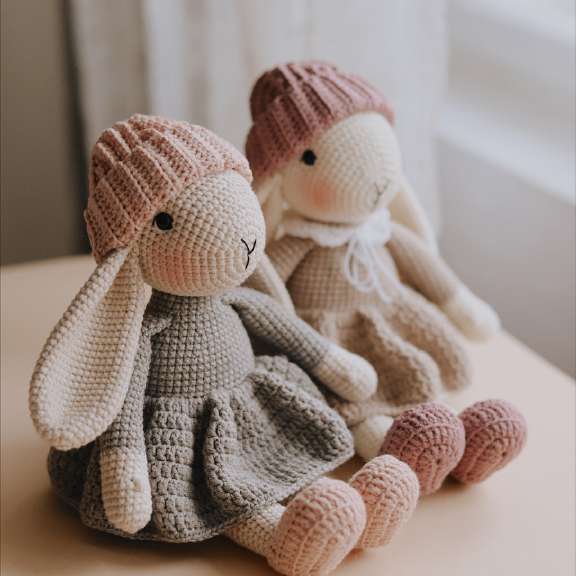
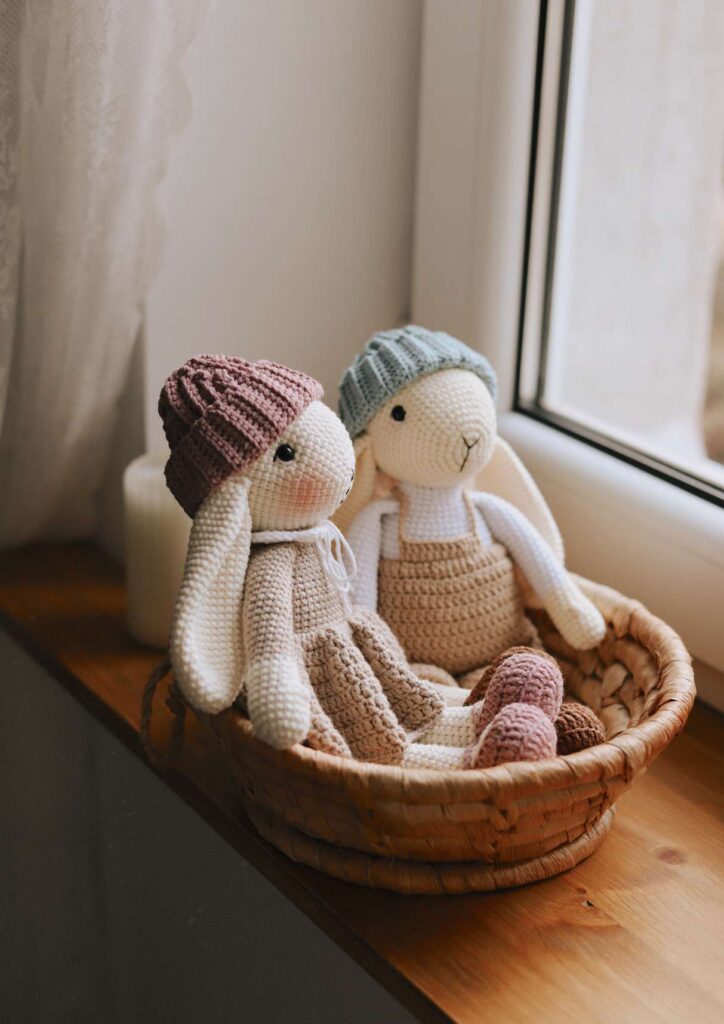
Congratulations! Your Bunny Rabbit Is Complete
Thank you so much for purchasing this pattern and crocheting along with me. I hope your heart is full of joy looking at the sweet bunny you’ve created with your own two hands. Every stitch was made with love, and that’s what makes handmade gifts so incredibly special.
When you share your finished bunnies on social media, please use the hashtag #bobulki so I can see your beautiful work!
May your days be filled with cozy yarn, warm tea, and the quiet magic of crochet.
With love,
Diana Patskun