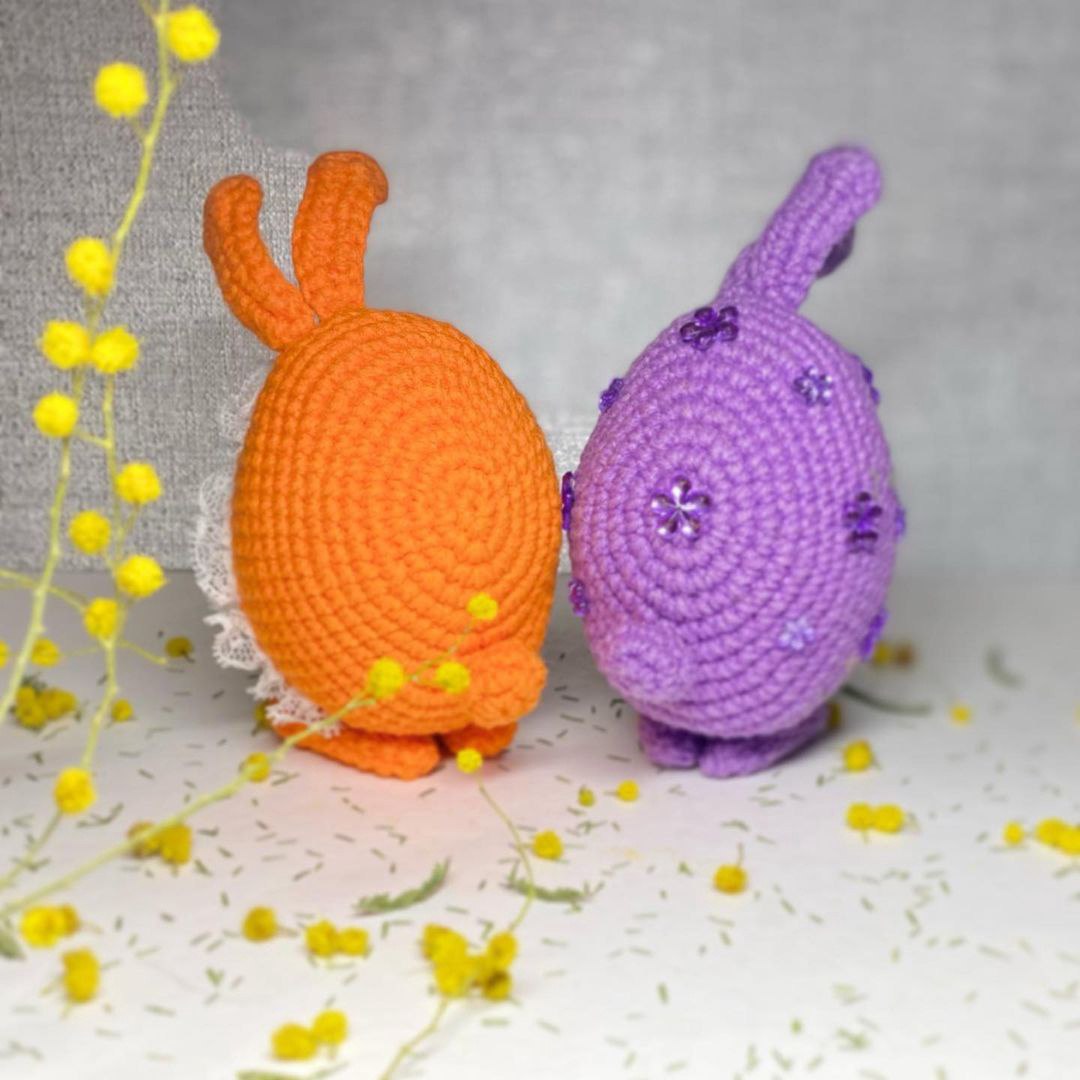
Crochet Bunny Pajama Egg Cozy Pattern: The Ultimate DIY Easter Decor
Easter is just around the corner, and there is nothing quite like a beautifully set spring brunch to make the season feel special. If you are looking for a way to add a touch of whimsy and handmade charm to your holiday table, you have come to the right place! These adorable Bunny Pajama Egg Cozies are the perfect project for crafters looking to create something unique, functional, and incredibly cute.
Imagine your colorful Easter eggs tucked snugly into these little crochet “pajamas,” complete with tiny bunny ears and feet. Whether you are making them as gifts for friends, treats for a children’s Easter basket, or simply as decor for your own home, these egg cozies are guaranteed to be a conversation starter. Best of all, this pattern is beginner-friendly and works up quickly, making it a fantastic weekend project.
In this tutorial, we will walk through everything you need to know to create these charming little characters. From selecting the right yarn to the final assembly, we’ve got you covered. Let’s pick up those hooks and get started on some springtime magic!
Materials & Abbreviations
Before we dive into the stitches, let’s make sure you have everything you need on your crochet table. To achieve the best results and a clean, professional look, I recommend using a cotton-blend yarn, which holds its shape beautifully around the egg.
What You Will Need
- Yarn: A medium weight (worsted or DK) cotton/acrylic blend yarn. Look for something with approximately 160 meters (about 175 yards) per 50-gram skein. For the classic look shown in the photos, vibrant orange and bright purple work wonderfully.
- Crochet Hook: A hook size that complements your yarn choice (typically between 3.5mm and 4.0mm).
- Tapestry Needle: A blunt-tipped needle for weaving in ends and sewing the various pieces together.
- Stitch Marker: Highly recommended to mark the beginning of your rounds, as amigurumi is worked in a continuous spiral.
- Optional Decorations: Lace trim, small buttons, or decorative beads to customize your bunny’s “pajamas.”
US Crochet Abbreviations
This pattern uses standard US crochet terminology. Please ensure you are using US terms to avoid confusion with UK terminology.
- MR: Magic Ring (amigurumi ring)
- ch: Chain
- sc: Single crochet
- inc: Increase (2 sc in the same stitch)
- dec: Decrease (sc 2 stitches together)
- hdc: Half double crochet
- dc: Double crochet
- (…) *: Repeat the instructions within the parentheses the specified number of times
Note: All parts are worked in a continuous spiral. Work through both loops of the stitch for a neat, tight texture.
Step-by-Step Instructions
We will begin by making the smaller components: the tail, the ears, and the feet. Once these are complete, we will move on to the main body of the pajama cozy.
The Bunny Tail
The tail is a small, rounded piece that adds a sweet finishing touch to the back of the cozy.
- Start with a MR of 6 sc.
- Round 1: 6 inc (12)
- Round 2: 12 sc (12)
- Round 3: 6 dec (6)
- Fasten off, leaving a long tail of yarn for sewing the tail to the body later.
The Bunny Ears (Make 2)
These ears give your egg cozy its unmistakable bunny character. They are worked in a flat, elongated shape.
- Foundation: Chain 11.
- Starting from the 2nd chain from your hook:
- 3 sc, 5 hdc, 2 dc in the very last stitch, 5 dc in the next stitch.
- Now, work along the opposite side of the foundation chain:
- 2 dc in the first stitch, 5 hdc, 3 sc.
- Fasten off, leaving a long tail for sewing.
The Tiny Feet (Make 2)
These little feet add a sense of “standing” to your cozy, making the bunny look even more lifelike.
- Start with a MR of 5 sc.
- Round 1: 5 inc (10). *Place your stitch marker here.*
- Rounds 2-3: 10 sc (2 rounds total).
- Round 4: 3 sc, 1 dec, 5 sc (9)
- Round 5: 4 sc, 1 dec, 3 sc (8)
- Round 6: 8 sc (8)
- Round 7: 4 sc, 1 inc, 3 sc (9)
- Round 8: 9 sc (9)
- Round 9: (1 sc, 1 dec) repeat 3 times (6)
- Fasten off, pull the remaining stitches closed, and leave a long tail for sewing.
The Main Pajama Body
The body is shaped to fit an egg. This section creates the “suit” that the egg will sit inside.
- Start with a MR of 7 sc.
- Round 1: 7 inc (14). *Place your stitch marker.*
- Round 2: (1 sc, 1 inc) repeat 7 times (21)
- Round 3: (2 sc, 1 inc) repeat 7 times (28)
- Round 4: 1 sc, (inc, 3 sc) repeat 6 times, 1 inc, 2 sc (35)
- Round 5: 6 sc, 1 inc, 1 sc, 1 inc, 14 sc, 1 inc, 1 sc, 1 inc, 9 sc (39)
- Round 6: 6 sc, 1 inc, (1 sc, 1 inc) repeat 2 times, 14 sc, 1 inc, (1 sc, 1 inc) repeat 2 times, 9 sc (45)
- Round 7: (6 sc, 1 inc) repeat 3 times, (7 sc, 1 inc) repeat 2 times, 8 sc (50)
- Round 8: 7 sc, 1 inc, (3 sc, 1 inc) repeat 2 times, 16 sc, (1 inc, 3 sc) repeat 2 times, 1 inc, 9 sc (56)
- Rounds 9-13: 56 sc (5 rounds total)
- Round 14: 7 sc, 1 dec, (2 sc, 1 dec) repeat 2 times, 17 sc, 1 dec, (3 sc, 1 dec) repeat 2 times, 10 sc (50)
- Round 15: 50 sc (50)
- Round 16: 7 sc, 1 dec, 3 sc, 1 dec, 18 sc, 1 dec, 4 sc, 1 dec, 10 sc (46)
- Fasten off and weave in all ends securely.
Finishing
Now comes the fun part—assembly! This is where your individual crochet pieces transform into a cute bunny character.
Using your tapestry needle and the long tails left from your pieces, sew the following onto the main body:
- The Ears: Position them at the top of the cozy. You can sew them upright or slightly floppy for a different look.
- The Tail: Sew this to the center-back of the body.
- The Feet: Sew these to the bottom edge of the cozy so the bunny looks like it is standing.
Once the assembly is complete, take a moment to check the fit. Place a hard-boiled or decorative egg inside to ensure the cozy sits snugly around it. If you want a more “fancy” look, you can sew a bit of lace trim around the opening of the pajama suit or add small buttons to the front.
Tips
To make your Bunny Pajama Egg Cozies look their absolute best, keep these professional tips in mind:
- Tension is Key: Since these are meant to hold an egg, you want your stitches to be tight and even. This prevents the egg from peeking through the gaps in the crochet.
- Use a Stitch Marker: Because amigurumi is worked in a continuous spiral, it is very easy to lose your place. Always use a marker at the start of every round.
- Work Through Both Loops: To ensure a smooth, professional surface, make sure you are inserting your hook into both the front and back loops of the stitch.
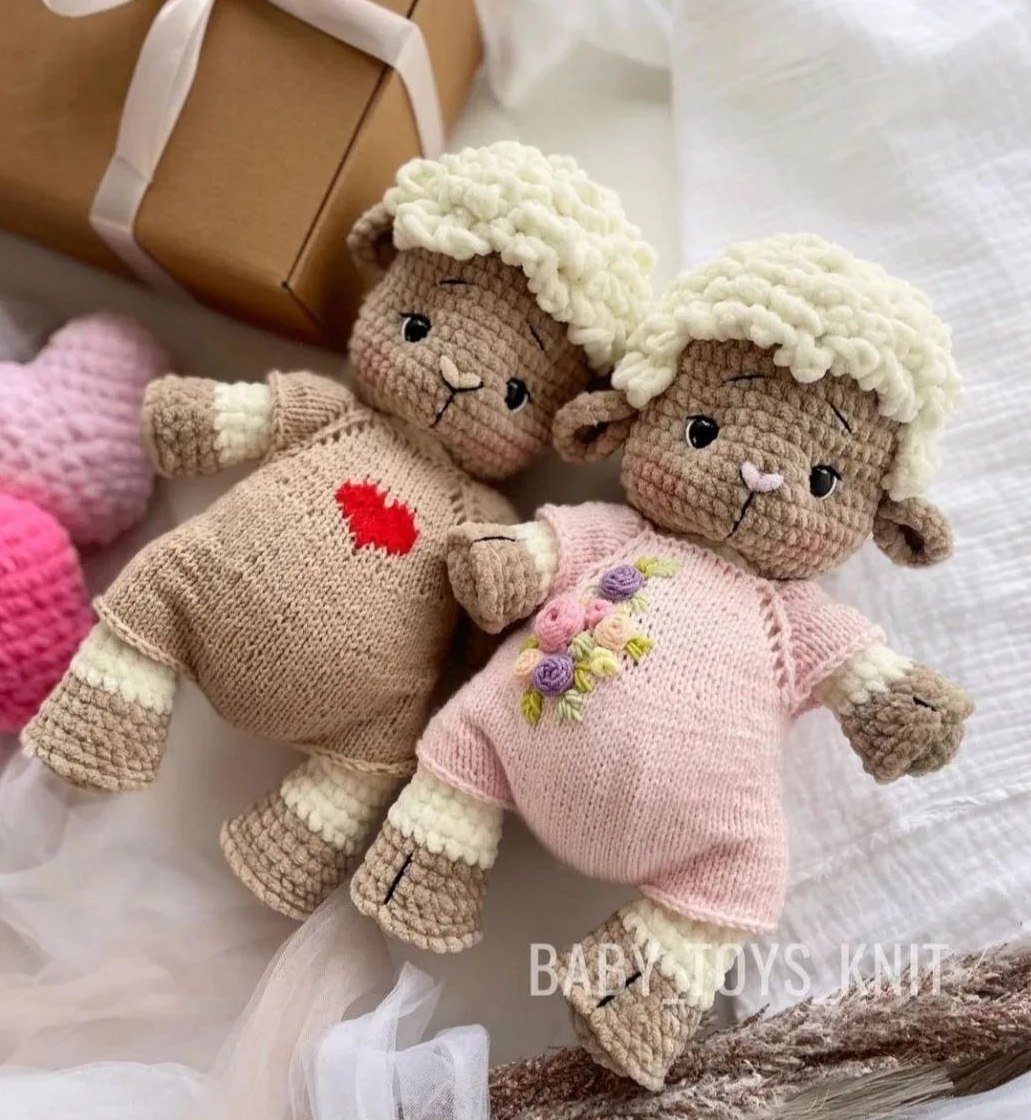
- Personalize Your Creation: Don’t be afraid to get creative! You can use different colors for each bunny, or even add small embroidered details like eyes or little flower patterns to mimic the “floral” look seen in the inspiration photos.
- Weave in Ends Carefully: Since these items might be handled frequently during a meal, ensure all your yarn tails are woven in deeply so they don’t pop out later.