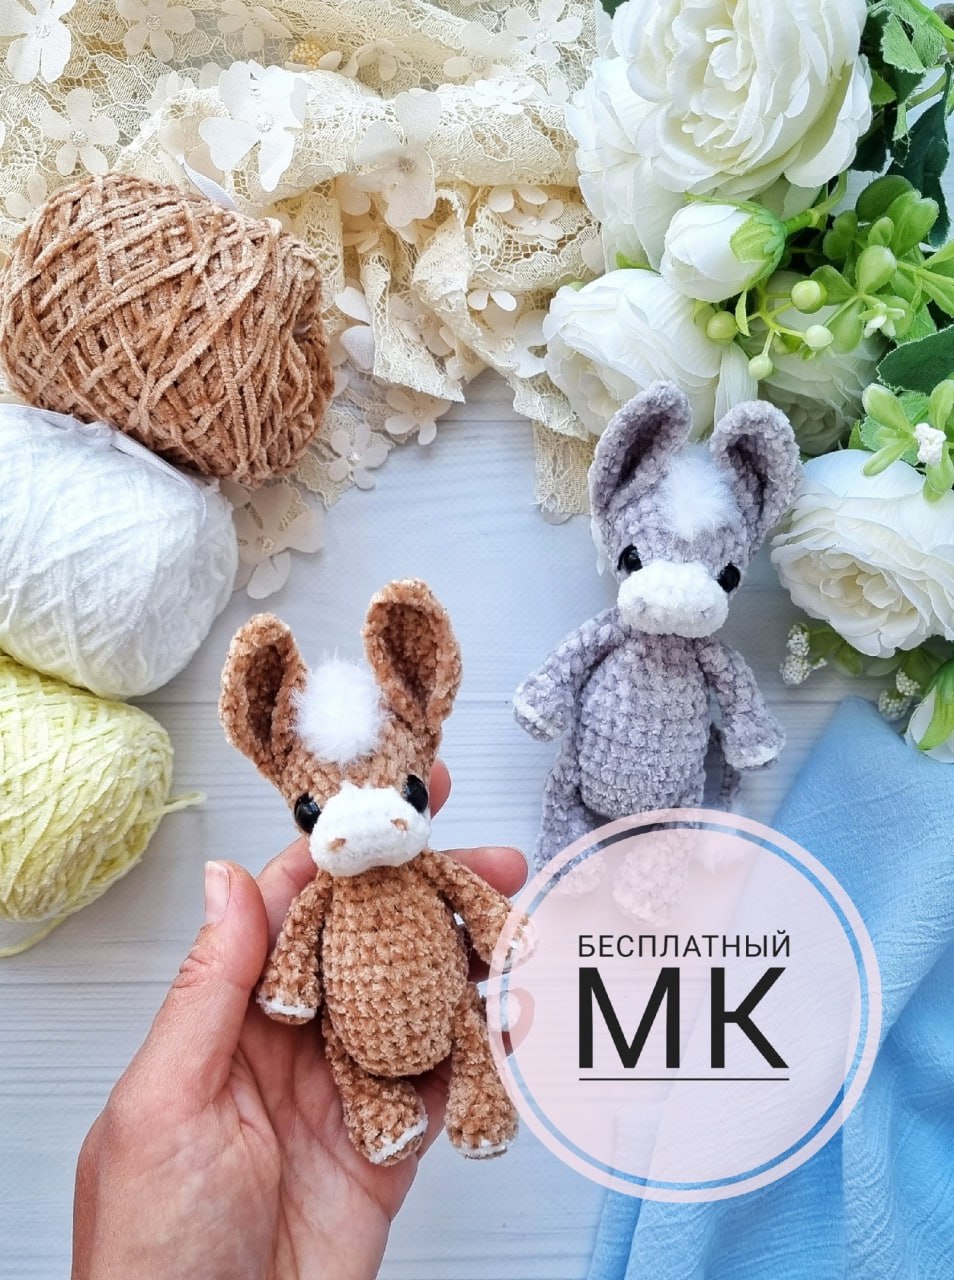
Adorable Amigurumi Donkey Crochet Pattern: A Step-by-Step Guide
There is nothing quite as charming as a tiny, handcrafted amigurumi friend. If you are looking for your next crochet project, this adorable little donkey (or pony!) is the perfect choice. With its oversized ears, soft texture, and sweet expression, this little creature makes a wonderful nursery decoration or a thoughtful handmade gift for a loved one.
This pattern is designed with a beginner-friendly approach in mind. While it uses some specialized techniques like working in rows for the ears and creating a textured mane, the steps are broken down clearly so you can follow along with ease. Grab your favorite soft yarn, and let’s bring this little donkey to life!
Materials & Abbreviations
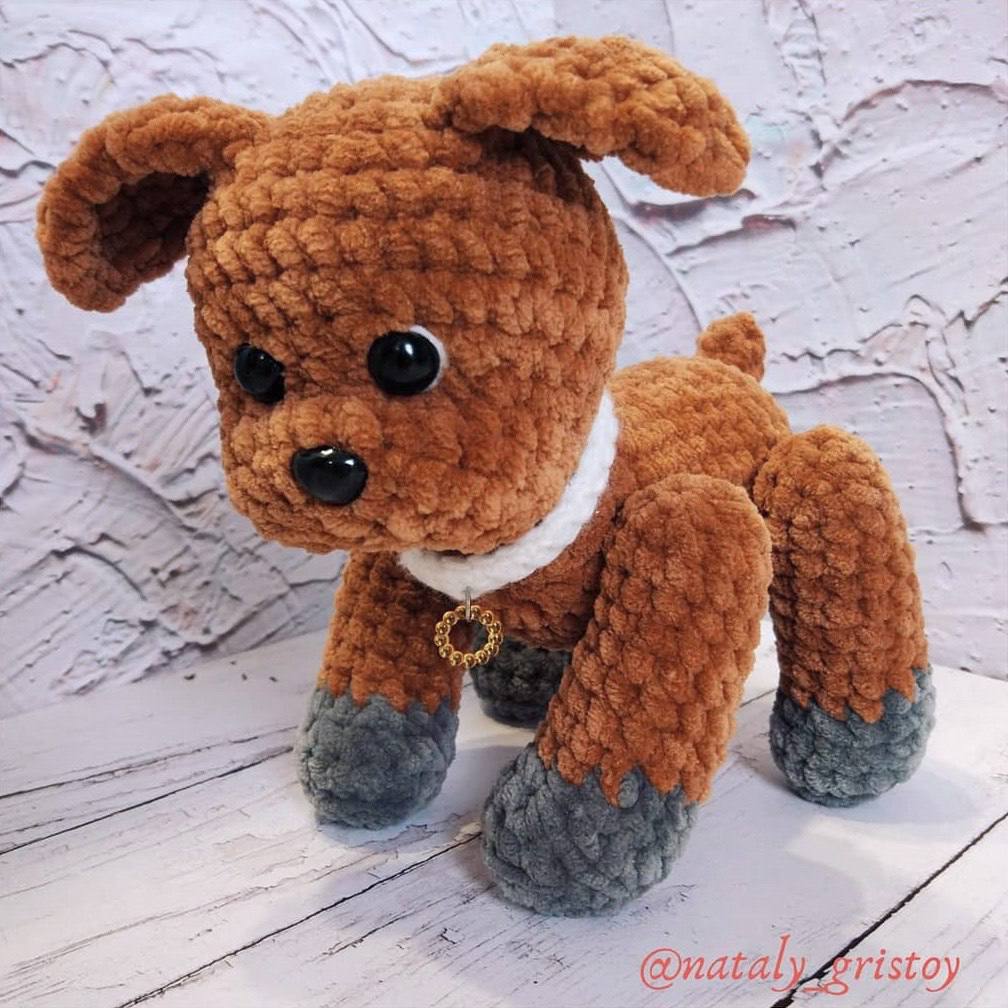
To ensure your donkey turns out as soft and cuddly as the one in the photos, I recommend using a high-quality microvelour yarn. This type of yarn provides that signature “plush” feel that makes amigurumi so huggable.
Required Materials
- Yarn: Microvelour yarn (approximately 3-4 mm thickness). You will need two colors: Brown (main body) and White (for the mane, tail, and muzzle).
- Crochet Hook: 1.5 mm (or the size recommended for your specific yarn to ensure tight stitches).
- Safety Eyes: 7 mm black safety eyes.
- Stuffing: High-quality polyester fiberfill.
- Embroidery Floss: Black and White for facial details.
- Notions: A sewing needle, scissors, and a stitch marker.
Abbreviations (US Terms)
- ch: chain
- sc: single crochet
- dc: double crochet
- inc: increase
- dec: decrease
- sl st: slip stitch
- MR: magic ring
- BLO: back loops only
- FLO: front loops only
Step-by-Step Instructions
The Head
We begin the head using the white yarn.
Round 1: Make a magic ring and work 7 sc into it. In the second chain from the hook, work 5 sc, then 3 sc into the last chain. Now, working on the other side of the foundation chain: 4 sc, 1 inc = 14 sts.
Round 2: 1 inc, 4 sc, 3 inc, 4 sc, 2 inc = 20 sts.
Round 3: 20 sc.
Round 4: (2 sc, 1 dec) repeat 5 times = 15 sts.
Switch to the brown yarn.
Round 5: 1 sc, 6 inc (using double crochet stitches to create a textured ridge), 8 sc = 21 sts.
Round 6: 5 sc, 3 inc, 13 sc = 24 sts.
Rounds 7-10: 24 sc (4 rounds total).
Note: Insert the 7 mm safety eyes between Rounds 4 and 5, ensuring they are approximately 10 stitches apart. Begin stuffing the head firmly as you continue.
Round 11: (2 sc, 1 dec) repeat 6 times = 18 sts.
Round 12: (1 sc, 1 dec) repeat 6 times = 12 sts.
Round 13: 6 dec.
Join with a sl st, fasten off, and weave in the end. Close the hole tightly.
The Ears (Make 2)
The ears are worked in rows (turning at the end of each row). Leave a long tail at the start for sewing the ears to the head.
Row 1: Ch 3. In the 2nd ch from the hook, work 1 sc, 1 inc, and 1 ch.
Row 2: 2 sc, 1 inc, 1 ch.
Row 3: 3 sc, 1 inc, 1 ch.
Row 4: 4 sc, 1 inc, 1 ch.
Rows 5-7: 6 sc, 1 ch (3 rows total).
Row 8: Skip 1 sc, 5 sc, 1 ch.
Row 9: Skip 1 sc, 4 sc, 1 ch.
Row 10: Skip 1 sc, 3 sc, 1 ch.
Row 11: Skip 1 sc, 2 sc, 1 ch.
Row 12: Skip 1 sc, 1 sc.
Finish by working a round of sc around the entire edge of the ear to smooth it out. Fasten off and hide the thread.
The Mane
Use the white yarn to create the mane.
Ch 15. In the 2nd ch from the hook, work 14 sc. The length of this piece should match the height of the head (measure approximately 13 rows starting from Round 6 of the head). Join with a sl st, leave a long tail for sewing.
The Body
We will work the body from the bottom up using brown yarn.
Round 1: 6 sc in a magic ring.
Round 2: 6 inc = 12 sts.
Round 3: (1 sc, 1 inc) repeat 6 times = 18 sts.
Round 4: (2 sc, 1 inc) repeat 6 times = 24 sts.
Round 5: 24 sc.
Round 6: (7 sc, 1 inc) repeat 3 times = 27 sts.
Rounds 7-10: 27 sc (4 rounds total).
Round 11: (7 sc, 1 dec) repeat 3 times = 24 sts.
Round 12: 24 sc.
Begin stuffing the body firmly.
Round 13: (6 sc, 1 dec) repeat 3 times = 21 sts.
Round 14: (5 sc, 1 dec) repeat 3 times = 18 sts.
Round 15: (4 sc, 1 dec) repeat 3 times = 15 sts.
Round 16: 15 sc.
Round 17: (3 sc, 1 dec) repeat 3 times = 12 sts.
Round 18: 12 sc.
Join with a sl st, leave a long tail for sewing the head to the body.
The Upper Limbs (Make 2)
Start with brown yarn.
Round 1: 4 sc in a magic ring.
Round 2: 4 inc = 8 sts.
Switch to white yarn.
Round 3: 8 sl st in front loops only (FLO).
Switch back to brown yarn.
Round 4: 8 sc in back loops only (BLO).
Round 5: 2 sc, 2 dec, 2 sc = 6 sts.
Stuff the bottom half (up to Round 6).
Rounds 6-11: 6 sc (6 rounds total).
Round 12: Work 2 additional sc for a flat edge. Fold the limb in half and sc through both layers (2-3 sc) to close the limb. Fasten off, leaving a long tail.
The Lower Limbs (Make 2)
Start with brown yarn.
Round 1: 5 sc in a magic ring.
Round 2: 5 inc = 10 sts.
Switch to white yarn.
Round 3: 10 sl st in front loops only (FLO).
Switch back to brown yarn.
Round 4: 10 sc in back loops only (BLO).
Rounds 5-6: 10 sc (2 rounds total).
Stuff the bottom half (up to Round 7).
Round 7: 2 sc, 2 dec, 4 sc = 8 sts.
Rounds 8-12: 8 sc (5 rounds total).
Round 13: Work 1 additional sc for a flat edge. Fold the limb in half and sc through both layers (3-4 sc) to close. Fasten off, leaving a long tail.
The Tail
To create the tail, use a long piece of yarn. Secure the yarn by creating a series of loops. Place the working yarn on your index finger and the long tail below. Loop the long end over the hook away from you, then pull the working yarn through. Continue this looping process until you reach your desired length. Finish by pulling the yarn through all loops and securing it with a slip stitch. Leave a 2-inch tail for attaching to the body.
Finishing
The assembly stage is where your donkey truly gets its personality!
Assembly Steps
- Eye Tensioning: Before sewing, pull the threads of the safety eyes inward to create a slight indentation. This helps the eyes sit more naturally in the face.
- The Muzzle: Using white embroidery floss, create the muzzle. Insert the needle near the mouth area and bring it out at the bottom edge of the right eye. Make small stitches between the eyes down to the bottom edge of the left eye, then bring the needle out at the base of the mouth. Pull the thread firmly to set the shape.
- Eye Details: Using black embroidery floss, stitch upper eyelids just above the safety eyes. You can also use the main brown yarn to add a bit of shadow around the eyes for extra depth.
- Nostrils: Use a small amount of the main brown yarn to embroider the nostrils.
- Ears: Fold the ears in half lengthwise. Sew them onto the head at Rounds 9-10, approximately 10-12 stitches apart.
- Mane: Sew the white mane piece strictly in the center, between the ears.
- Head and Body: Sew the head to the body.
- Limbs: Attach the upper and lower limbs to the body using your preferred sewing method (thread attachment is recommended for stability).
- Tail: Sew the tail between Rounds 5 and 6 of the body. Secure it with a knot and hide the yarn tails inside the body.
Tips for Success
- Tight Tension is Key: When working with microvelour, keep your stitches tight. This prevents the white stuffing from peeking through the stitches.
- Use Stitch Markers: In amigurumi, it is very easy to lose count. Always use a marker to identify the first stitch of every round.
- Stuffing Technique: Don’t just cram the stuffing in. Work it into the corners of the head and body to ensure there are no lumps or flat spots.
- Safety First: If this toy is intended for a very young child, consider embroidering the eyes instead of using plastic safety eyes to prevent any choking hazards.