Adorable Crochet Puppy Pattern: An Easy Amigurumi Tutorial for Beginners
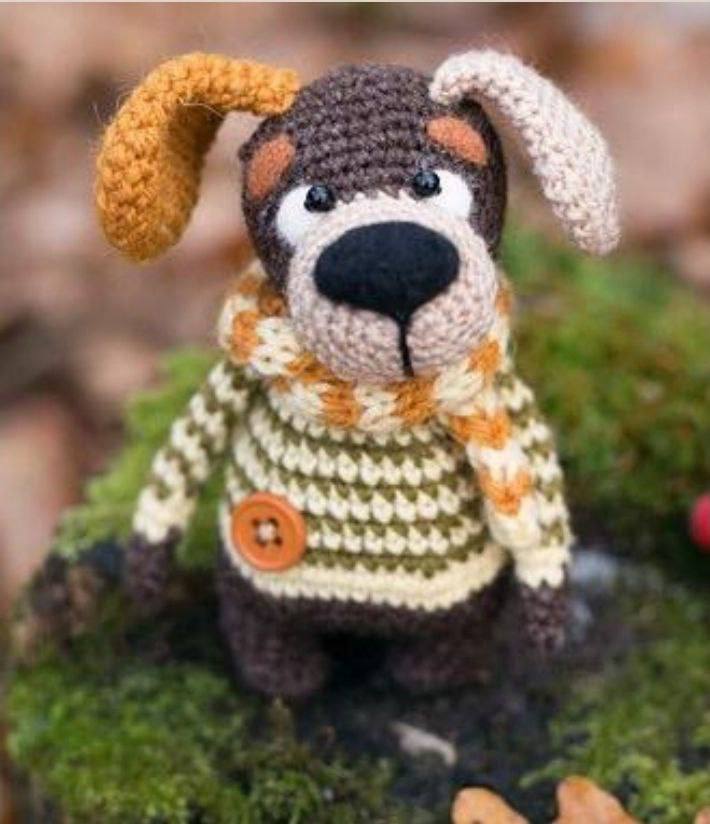
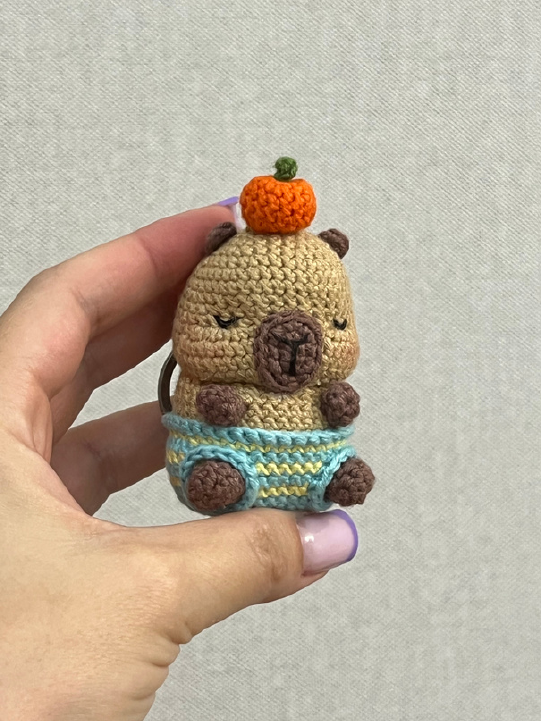
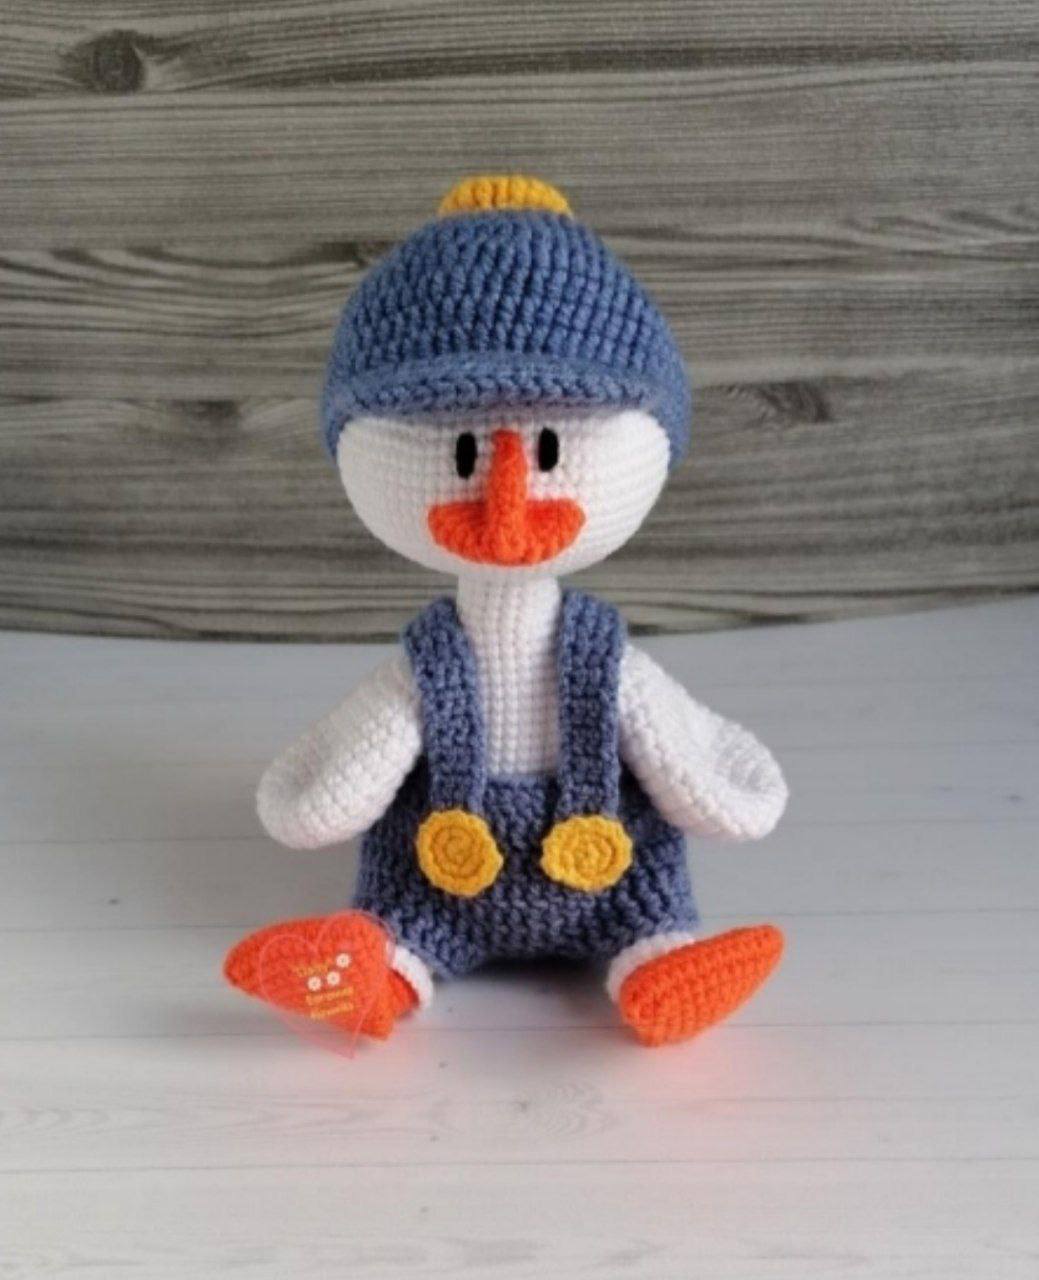
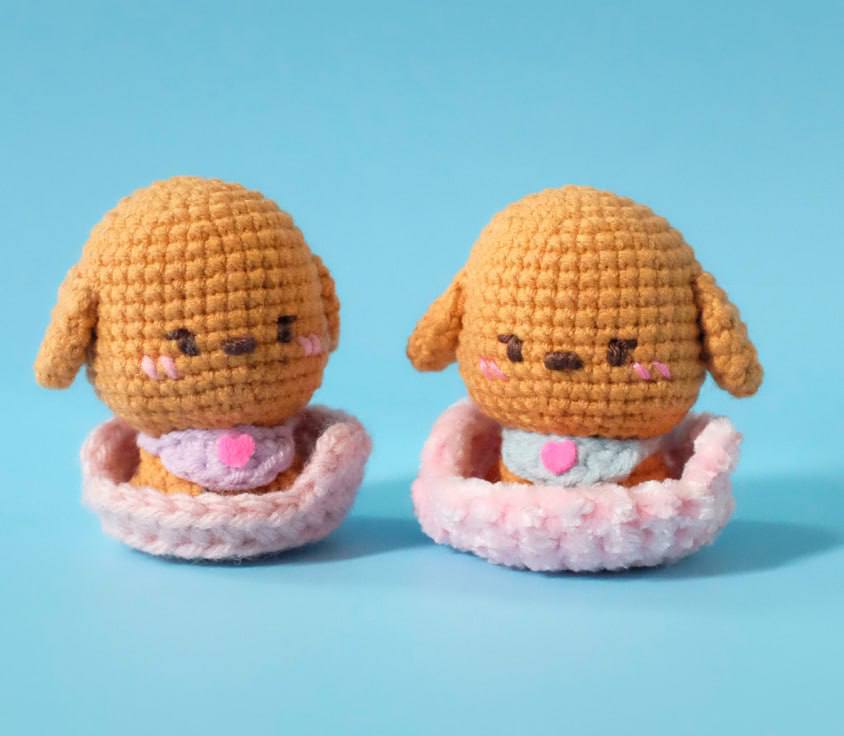
Are you looking for your next heartwarming crochet project? Look no further! This adorable little crochet puppy is the perfect addition to your amigurumi collection. Whether you are looking to create a tiny companion for a nursery, a sweet gift for a friend, or just want to practice your stitches, this puppy pattern is designed with simplicity and cuteness in mind.
This project is wonderful because it combines several essential amigurumi techniques, such as working in a continuous spiral, creating facial features with embroidery, and assembling multiple parts. Best of all, the finished pup is quite small—roughly 2.75 inches wide by 2.36 inches tall—making it a quick and satisfying “win” for your crochet journey. Let’s grab our hooks and get started on making your very own little pup!
Materials & Abbreviations
To ensure your puppy turns out just as cute as the photos, I recommend using the following materials. Using different hook sizes for different parts (like the body versus the bed) helps create the right amount of structure and softness.
Materials Needed
- Crochet Hooks: 2.5 mm (for the body and details) and 4 mm (for the pet bed).
- Yarn:
- #3 DK Light weight cotton: Brown (main body), Light Blue (bib), and Dark Brown (facial details).
- #4 Medium Worsted weight acrylic: Soft Pink (for the pet bed).
- Pink embroidery thread (for rosy cheeks).
- Stuffing: Polyester fiberfill.
- Felt: A small piece of pink felt (to make a tiny heart for the bib).
- Notions: Yarn needle, pins, scissors, and a stitch marker (or a scrap of different colored yarn).
Abbreviations (US Terms)
Please note that this pattern uses standard US crochet terminology. Work in a continuous spiral unless otherwise noted.
- MR: Magic Ring
- Ch: Chain
- Sc: Single Crochet
- Inc: Increase (2 sc in one stitch)
- Dec: Decrease (sc 2 together)
- Sl st: Slip stitch
- Hdc: Half Double Crochet
- Dc: Double Crochet
- FLO: Front Loop Only
- BLO: Back Loop Only
- Bobble: Bobble Stitch
- St(s): Stitch(es)
- [ * ]: Repeat the instructions inside the brackets
Step-by-Step Instructions
The Head and Body
Use Brown yarn and a 2.5 mm hook.
R1: 6 sc in a MR (6)
R2: 6 inc (12)
R3: [1 sc, inc] x6 (18)
R4: [2 sc, inc] x6 (24)
R5: [3 sc, inc] x6 (30)
R6: [inc, 4 sc] x6 (36)
R7-R11: 36 sc [5 rounds] (36)
R12: 5 sc, inc, [3 sc, inc] x2, 8 sc, [3 sc, inc] x2, 5 sc, inc (42)
R13-R14: 42 sc [2 rounds] (42)
R15: [5 sc, dec] x6 (36)
R16: [4 sc, dec] x6 (30)
R17: [dec, 3 sc] x6 (24)
*Start stuffing the head and body here. When placing the eyes, insert them between rounds 12 and 13, approximately 5 stitches apart from each other.*
R18: [1 sc, dec] x8 (16)
R19: FLO, [1 sc, inc] x8 (24)
R20-R21: 24 sc [2 rounds] (24)
R22: 5 sc, bobble, 3 sc, bobble, 1 sc, dec, 1 sc, bobble, 3 sc, bobble, 5 sc (23)
R23: BLO, 23 sc (23)
R24: 11 dec, 1 sc (12)
Finish stuffing firmly. Fasten off, leaving a tail, and sew the opening closed by weaving the needle through the front loops.
Facial Details
Use Dark Brown yarn and a yarn needle.
The Nose
Using your dark brown yarn, embroider one horizontal line between rounds 12 and 13 in the center of the head. Wrap the yarn around this line one more time so you have two distinct horizontal lines. To make the nose more “3D” and prominent, insert your needle under these two lines and wrap the yarn around them 4 times (or more if you want a thicker nose). Once you are happy with the shape, pass the needle back into the head.
The Eyes
Embroider the eyes on round 12, keeping them 2 stitches away from the nose. Wrap the dark brown yarn around the eye area three times (or until you reach your desired thickness). Finally, embroider one small horizontal line across the top of each eye to give the puppy a sleepy, sweet expression.
The Cheeks
Use pink embroidery thread.
Embroider two small, slanted vertical lines on either side of the eyes to create cute, blushing cheeks.
The Ears
Use Brown yarn and a 2.5 mm hook.
R1: 6 sc in a MR (6)
R2: [1 sc, inc] x3 (9)
R3: [2 sc, inc] x3 (12)
R4: 12 sc (12)
R5: [2 sc, dec] x3 (9)
R6: Sc around both edges of the piece (4)
Leave a long tail for sewing. Sew the ears to the head at the level of Round 9, approximately 4 stitches away from the eyes. Use a small piece of crochet to secure the flap behind the ear if needed.
The Tail
Use Brown yarn.
Chain 4. Sl st in the 2nd ch from the hook, then sl st in the next 2 chains. Sew the tail to the back of the puppy.
The Bib
Use Light Blue yarn and a 2.5 mm hook.
Starting with a 5-inch tail for tying, chain 7. Starting from the 2nd ch from the hook: sc, hdc, dc, dc, hdc, sc (6).
To attach: Cut a separate 5-inch piece of light blue yarn. Turn the bib clockwise so the two yarn tails are on the left. Insert your needle into the first chain of the bib, wrap the yarn tail around the puppy’s neck, and then secure the tail to the other side of the bib. Finally, cut a tiny heart out of pink felt and glue it to the center of the bib for an extra touch of cuteness!
The Pet Bed
Use Soft Pink yarn and a 4 mm hook.
R1: 6 sc in a MR (6)
R2: 6 inc (12)
R3: [1 sc, inc] x6 (18)
R4: [2 sc, inc] x6 (24)
R5: BLO, 24 sc (24)
R6-R7: 16 sc [2 rounds] (16)
Tip: As you work the bed, pull the fabric slightly to keep it flat and prevent it from curling upward.
Finishing
Once all parts are crocheted, carefully assemble the puppy. Use pins to hold the ears, tail, and bib in place before sewing to ensure everything is symmetrical. Double-check that your stuffing is distributed evenly so the puppy sits upright comfortably in its little bed.
Tips for Success
- Tension Matters: When working on the body, keep your stitches tight so the stuffing doesn’t peek through the holes. For the bed, a slightly looser tension helps maintain a flat shape.
- The Magic Ring: If you are a beginner, remember that the Magic Ring is the best way to start amigurumi to ensure there is no hole in the center of your work.
- Customization: Don’t be afraid to get creative! You can change the colors of the yarn to make different breeds of dogs, or use different colored felt for the heart on the bib.
- Eye Placement: The placement of the eyes and nose determines the entire “personality” of your puppy. Use pins to test the look before you commit to the embroidery.