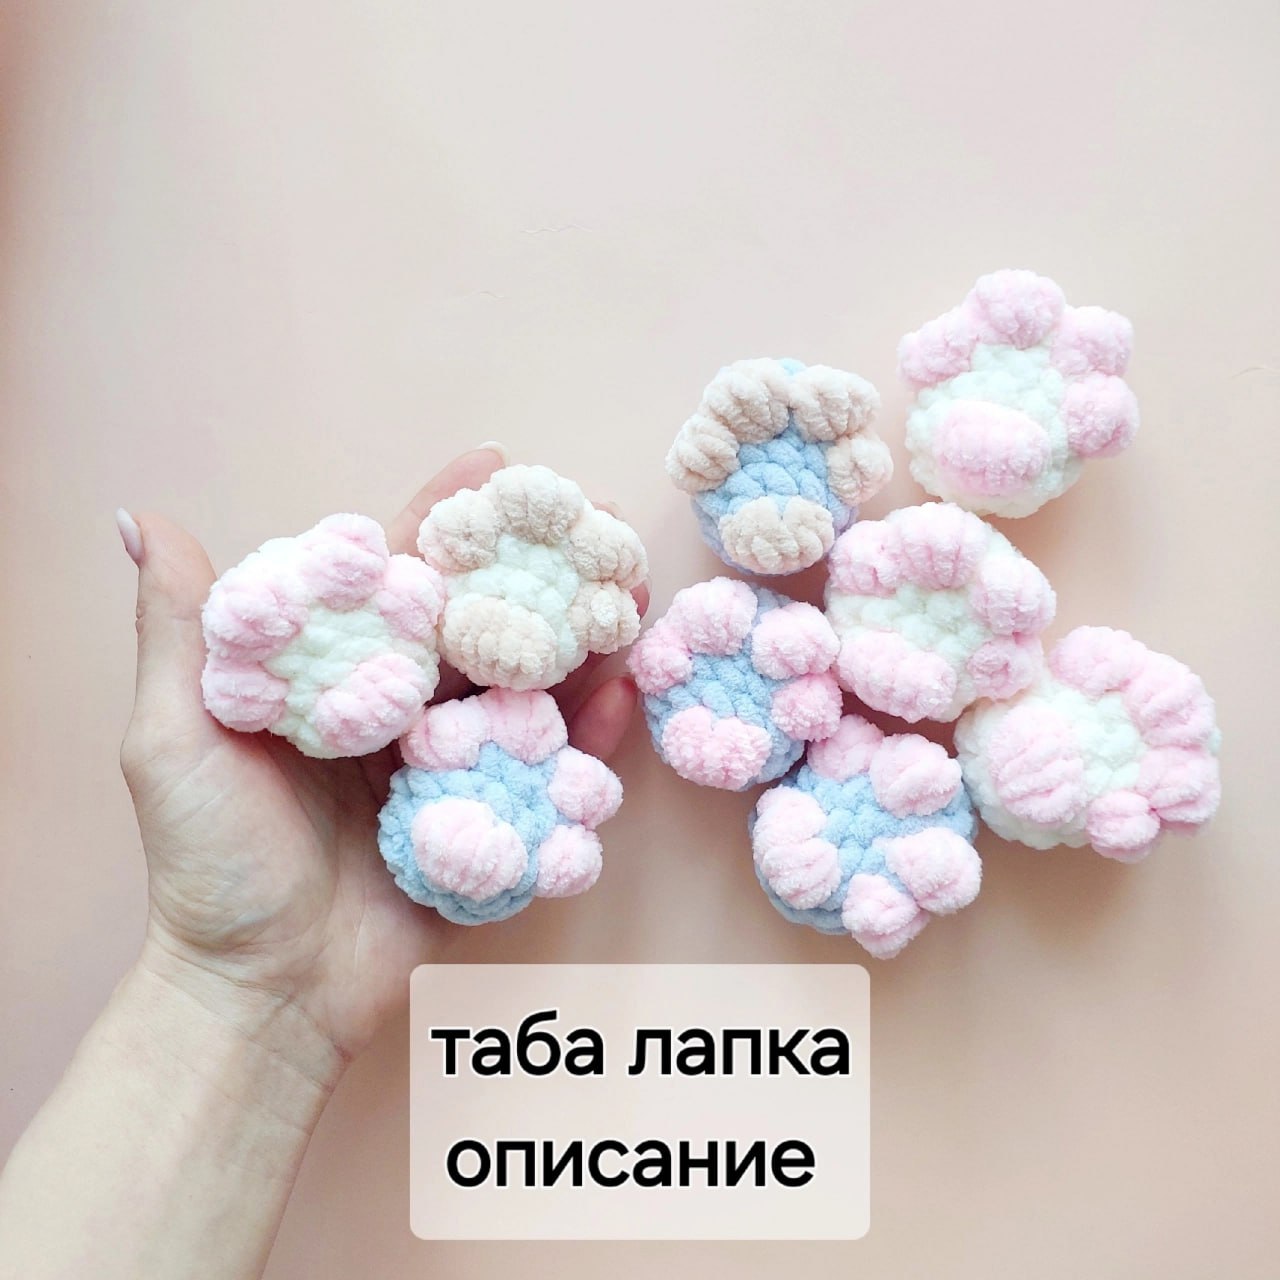
Easy Plush Crochet Cat Paw Pattern: Squishy Taba Paw Tutorial
If you have spent any time on social media lately, you have probably seen the viral “taba paw” squishy toys. These adorable, sensory-friendly cat paws are incredibly satisfying to squeeze. But did you know you can make your very own soft, huggable version using plush yarn?
This easy plush crochet cat paw pattern is quick to make, beginner-friendly, and perfect for scrap yarn. In less than 20 minutes, you can crochet a squishy little kitty paw that works perfectly as a keychain, pocket companion, or quick market prep item.
Let’s grab our hooks and dive into this fun, quick crochet project!
Materials & Abbreviations
Supplies Needed
- Main Yarn: Super Bulky (#6) plush/chenille yarn in your choice of main color (approx. 10–12 yards). Great options include Premier Parfait Chunky, Bernat Blanket, or Himalaya Dolphin Baby.
- Contrast Yarn: Super Bulky (#6) plush yarn in Pink for the paw pads (approx. 3–5 yards).
- Hook: Size US G/6 (4.0 mm) or H/8 (5.0 mm) crochet hook (choose a size that keeps your stitches tight so stuffing doesn’t show through).
- Stuffing: Small amount of polyester fiberfill.
- Tools: Yarn needle, scissors, and a stitch marker.
Crochet Terms (US)
- MR: Magic Ring (Magic Circle)
- sc: Single crochet
- inc: Increase (work 2 single crochets in the same stitch)
- dec: Decrease (invisible single crochet decrease)
- MC: Main Color yarn
- CC: Contrast Color yarn (Pink)
- St(s): Stitch(es)
Special Stitches
-
Bobble Stitch: This pattern uses bobble stitches to create the 3D toe pads.
- To make a 4-dc Bobble (ideal for standard plush yarns like Wolans Bunny Baby): Yarn over (YO), insert hook into stitch, YO, pull up a loop, YO, pull through 2 loops (2 loops on hook). Repeat this 3 more times in the same stitch until you have 5 loops on your hook. To keep the color changes clean, always yarn over with your MC (Main Color) to pull through all 5 loops and close the bobble.
- To make a 3-dc Bobble (better for extra thick plush yarns like Velluto): Follow the same steps as above, but only work 3 unfinished double crochets (4 loops on your hook before closing).
-
Bobble Decrease: This unique stitch creates the large main paw pad while simultaneously decreasing the round.
- Using CC, work 3 unfinished double crochets in the first stitch, then work another 3 unfinished double crochets in the next stitch. To finish, yarn over with your MC and pull through all loops on your hook. (If using extra thick yarn like Velluto, work 2 unfinished double crochets in the first stitch and 2 in the second).
Step-by-Step Instructions
This pattern is worked in continuous rounds. Do not join at the end of each round unless specified. Use your stitch marker to keep track of the first stitch of each round.
The Cat Paw Body
Round 1: Using your Main Color (MC), work 6 sc into a Magic Ring (MR). Pull the ring closed. [6 sts]
Round 2: Work 1 inc in each of the next 6 stitches. [12 sts]
Round 3: 1 sc, 1 Bobble (using CC, closed with MC), 1 sc, 1 Bobble (using CC, closed with MC), 8 sc. [12 sts]
Note: This round creates the first two toe pads of your cat paw.
Round 4: 1 Bobble (using CC, closed with MC), 3 sc, 1 Bobble (using CC, closed with MC), 7 sc. [12 sts]
Note: This round adds the remaining two toe pads, completing the row of 4 cute little toes.
Round 5: Work 12 sc evenly around using MC. [12 sts]
Round 6: 1 dec, 1 Bobble Decrease (using CC, closed with MC), 4 dec. [6 sts]
Note: The Bobble Decrease creates the large main pad on the bottom of the paw while successfully closing the shape!
Finishing
Before closing the small remaining hole, add a small pinch of polyester fiberfill. Do not overstuff; you want your cat paw to remain flat, squishy, and easily squeezable just like a real silicone taba squishy!
Cut your yarn, leaving a 6-inch tail. Thread the tail onto your yarn needle, weave through the front loops of the remaining 6 stitches, and pull tightly to close the opening. Secure the yarn with a knot and weave the end inside the paw.
Tips for Crochet Success
- Keep Your Tension Firm: Amigurumi and plush toys require tight stitches so that the polyester fiberfill stuffing does not peek through. If your stitches look loose, try dropping down a half-millimeter hook size.
- Nail the Color Changes: For the cleanest look, always carry your pink yarn along the inside of the paw. When finishing any Bobble stitch, make sure the final pull-through is done with your Main Color. This prevents the pink yarn from showing on the top of the next single crochet.
- Turn It Into a Keychain: Simply attach a metal split ring or keychain clip to the top center of Round 1 using a jump ring or a small loop of yarn. It makes the ultimate backpack charm!