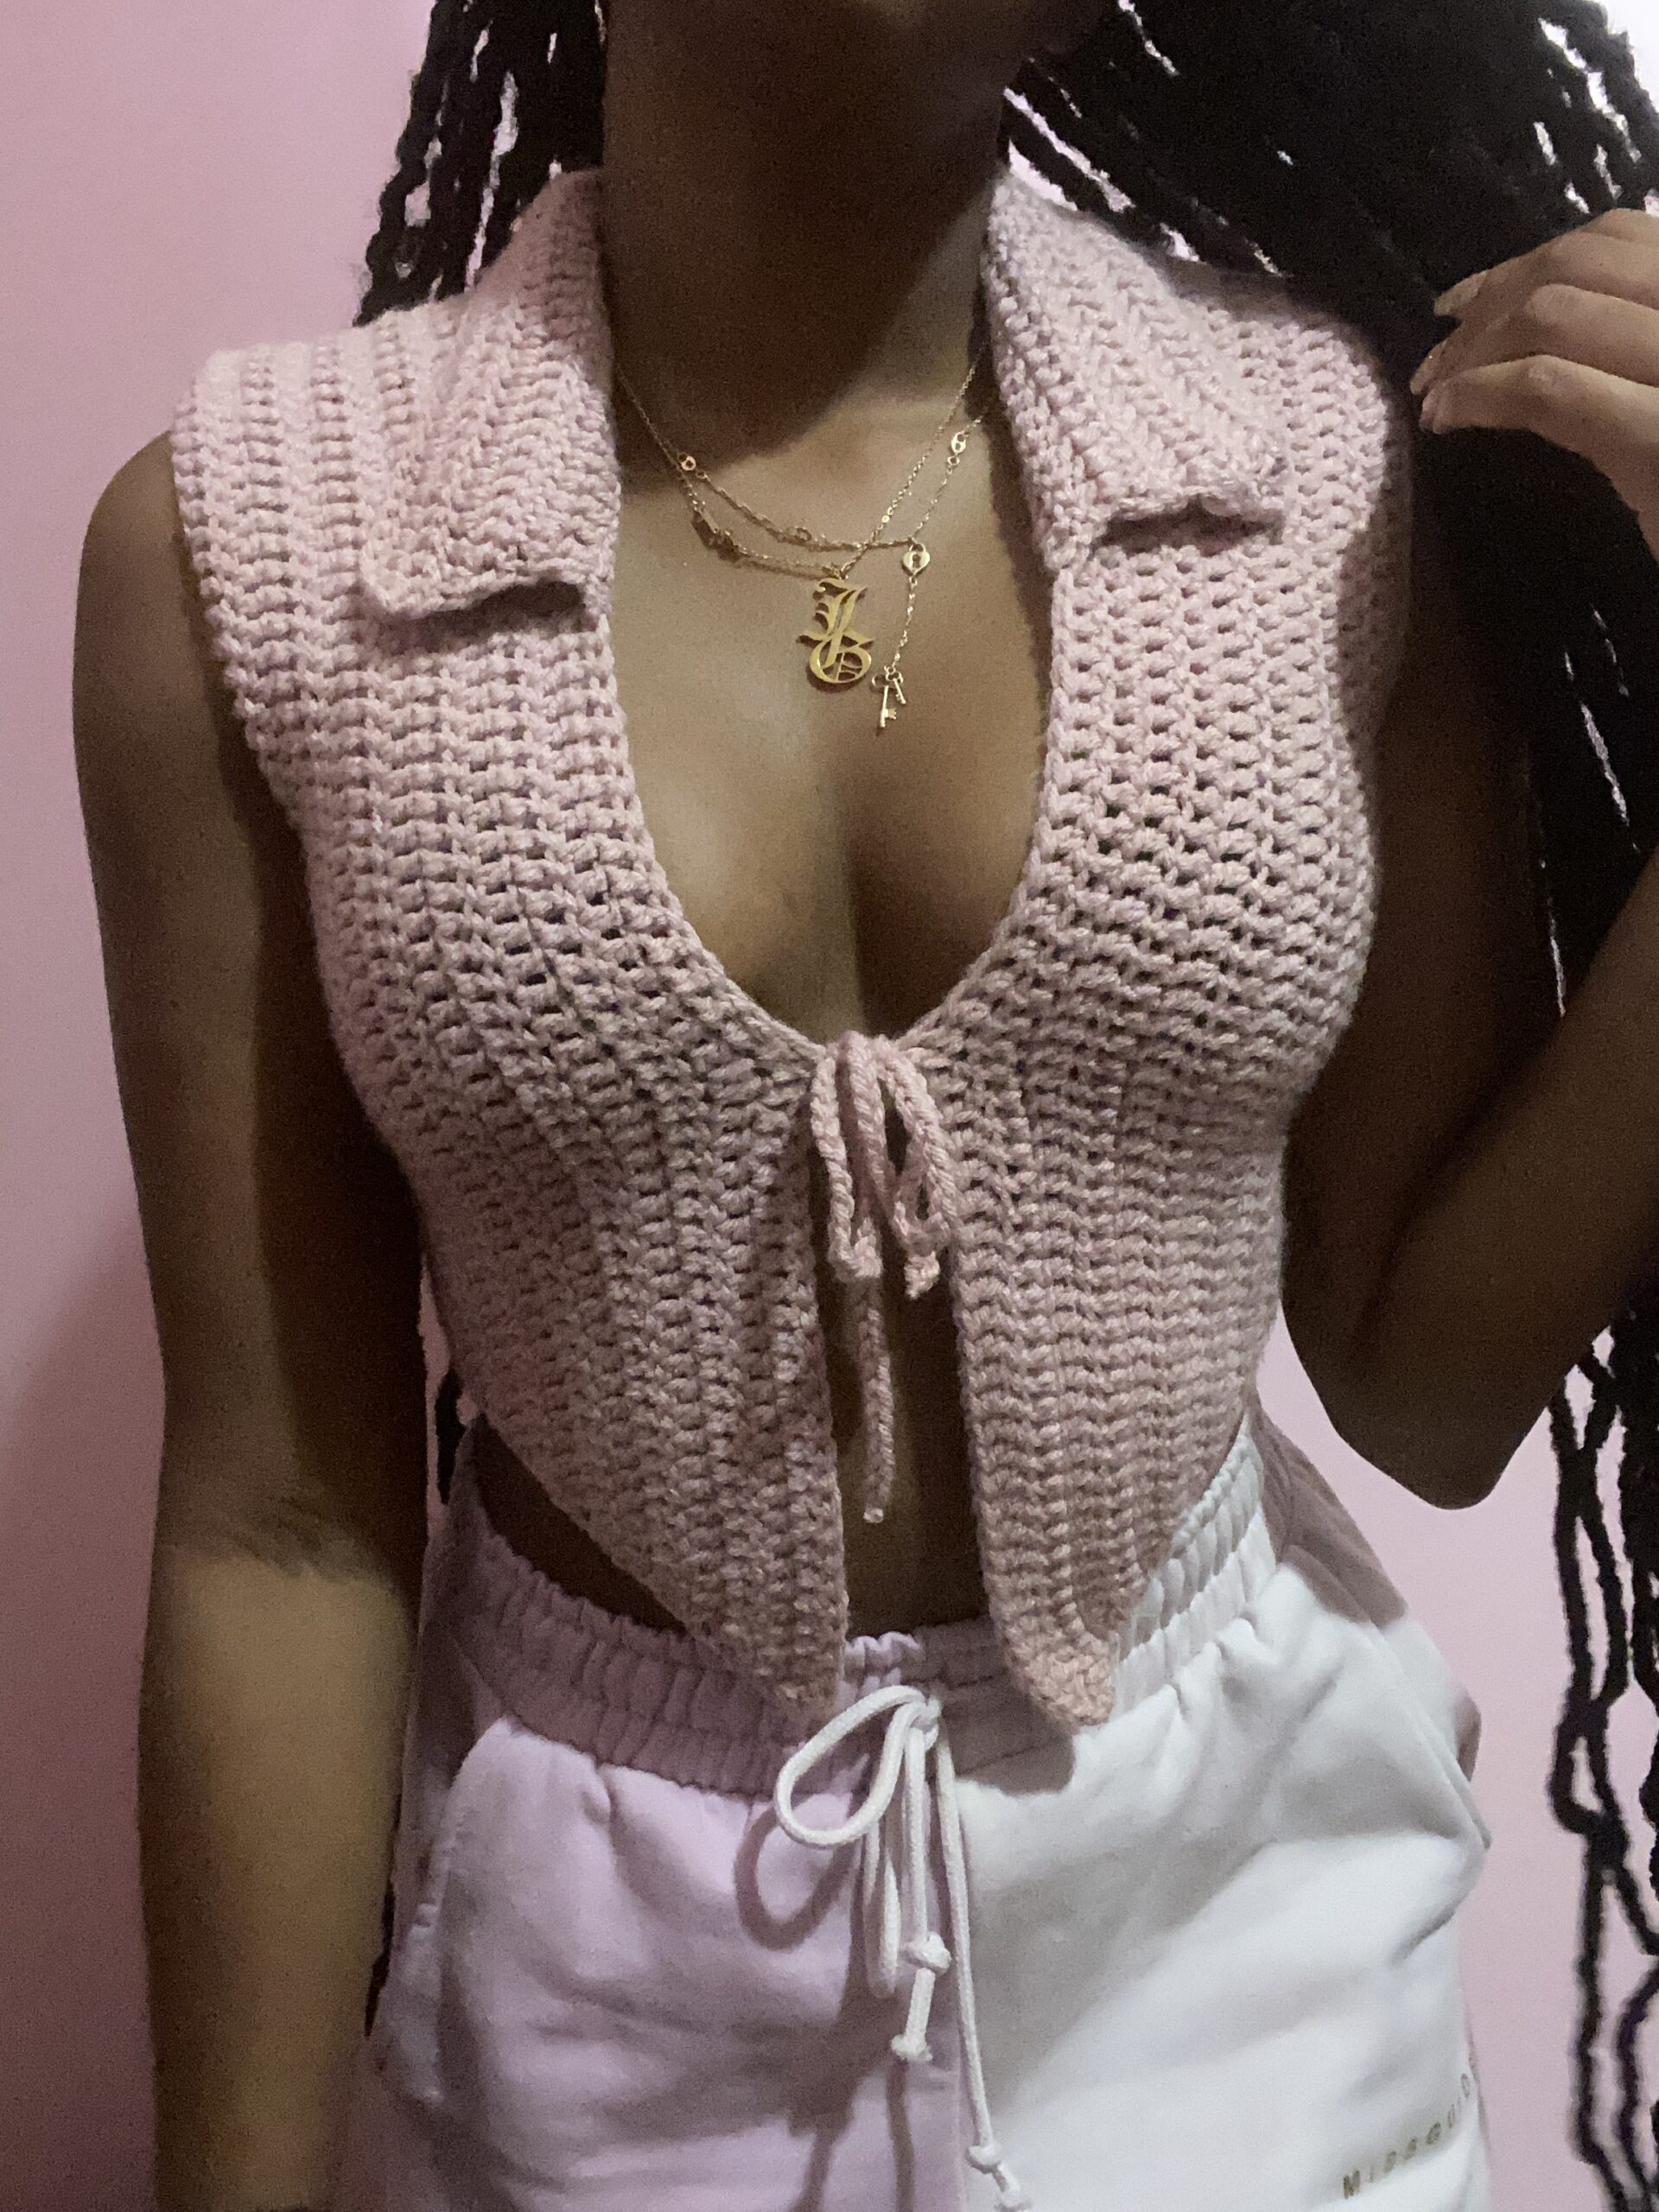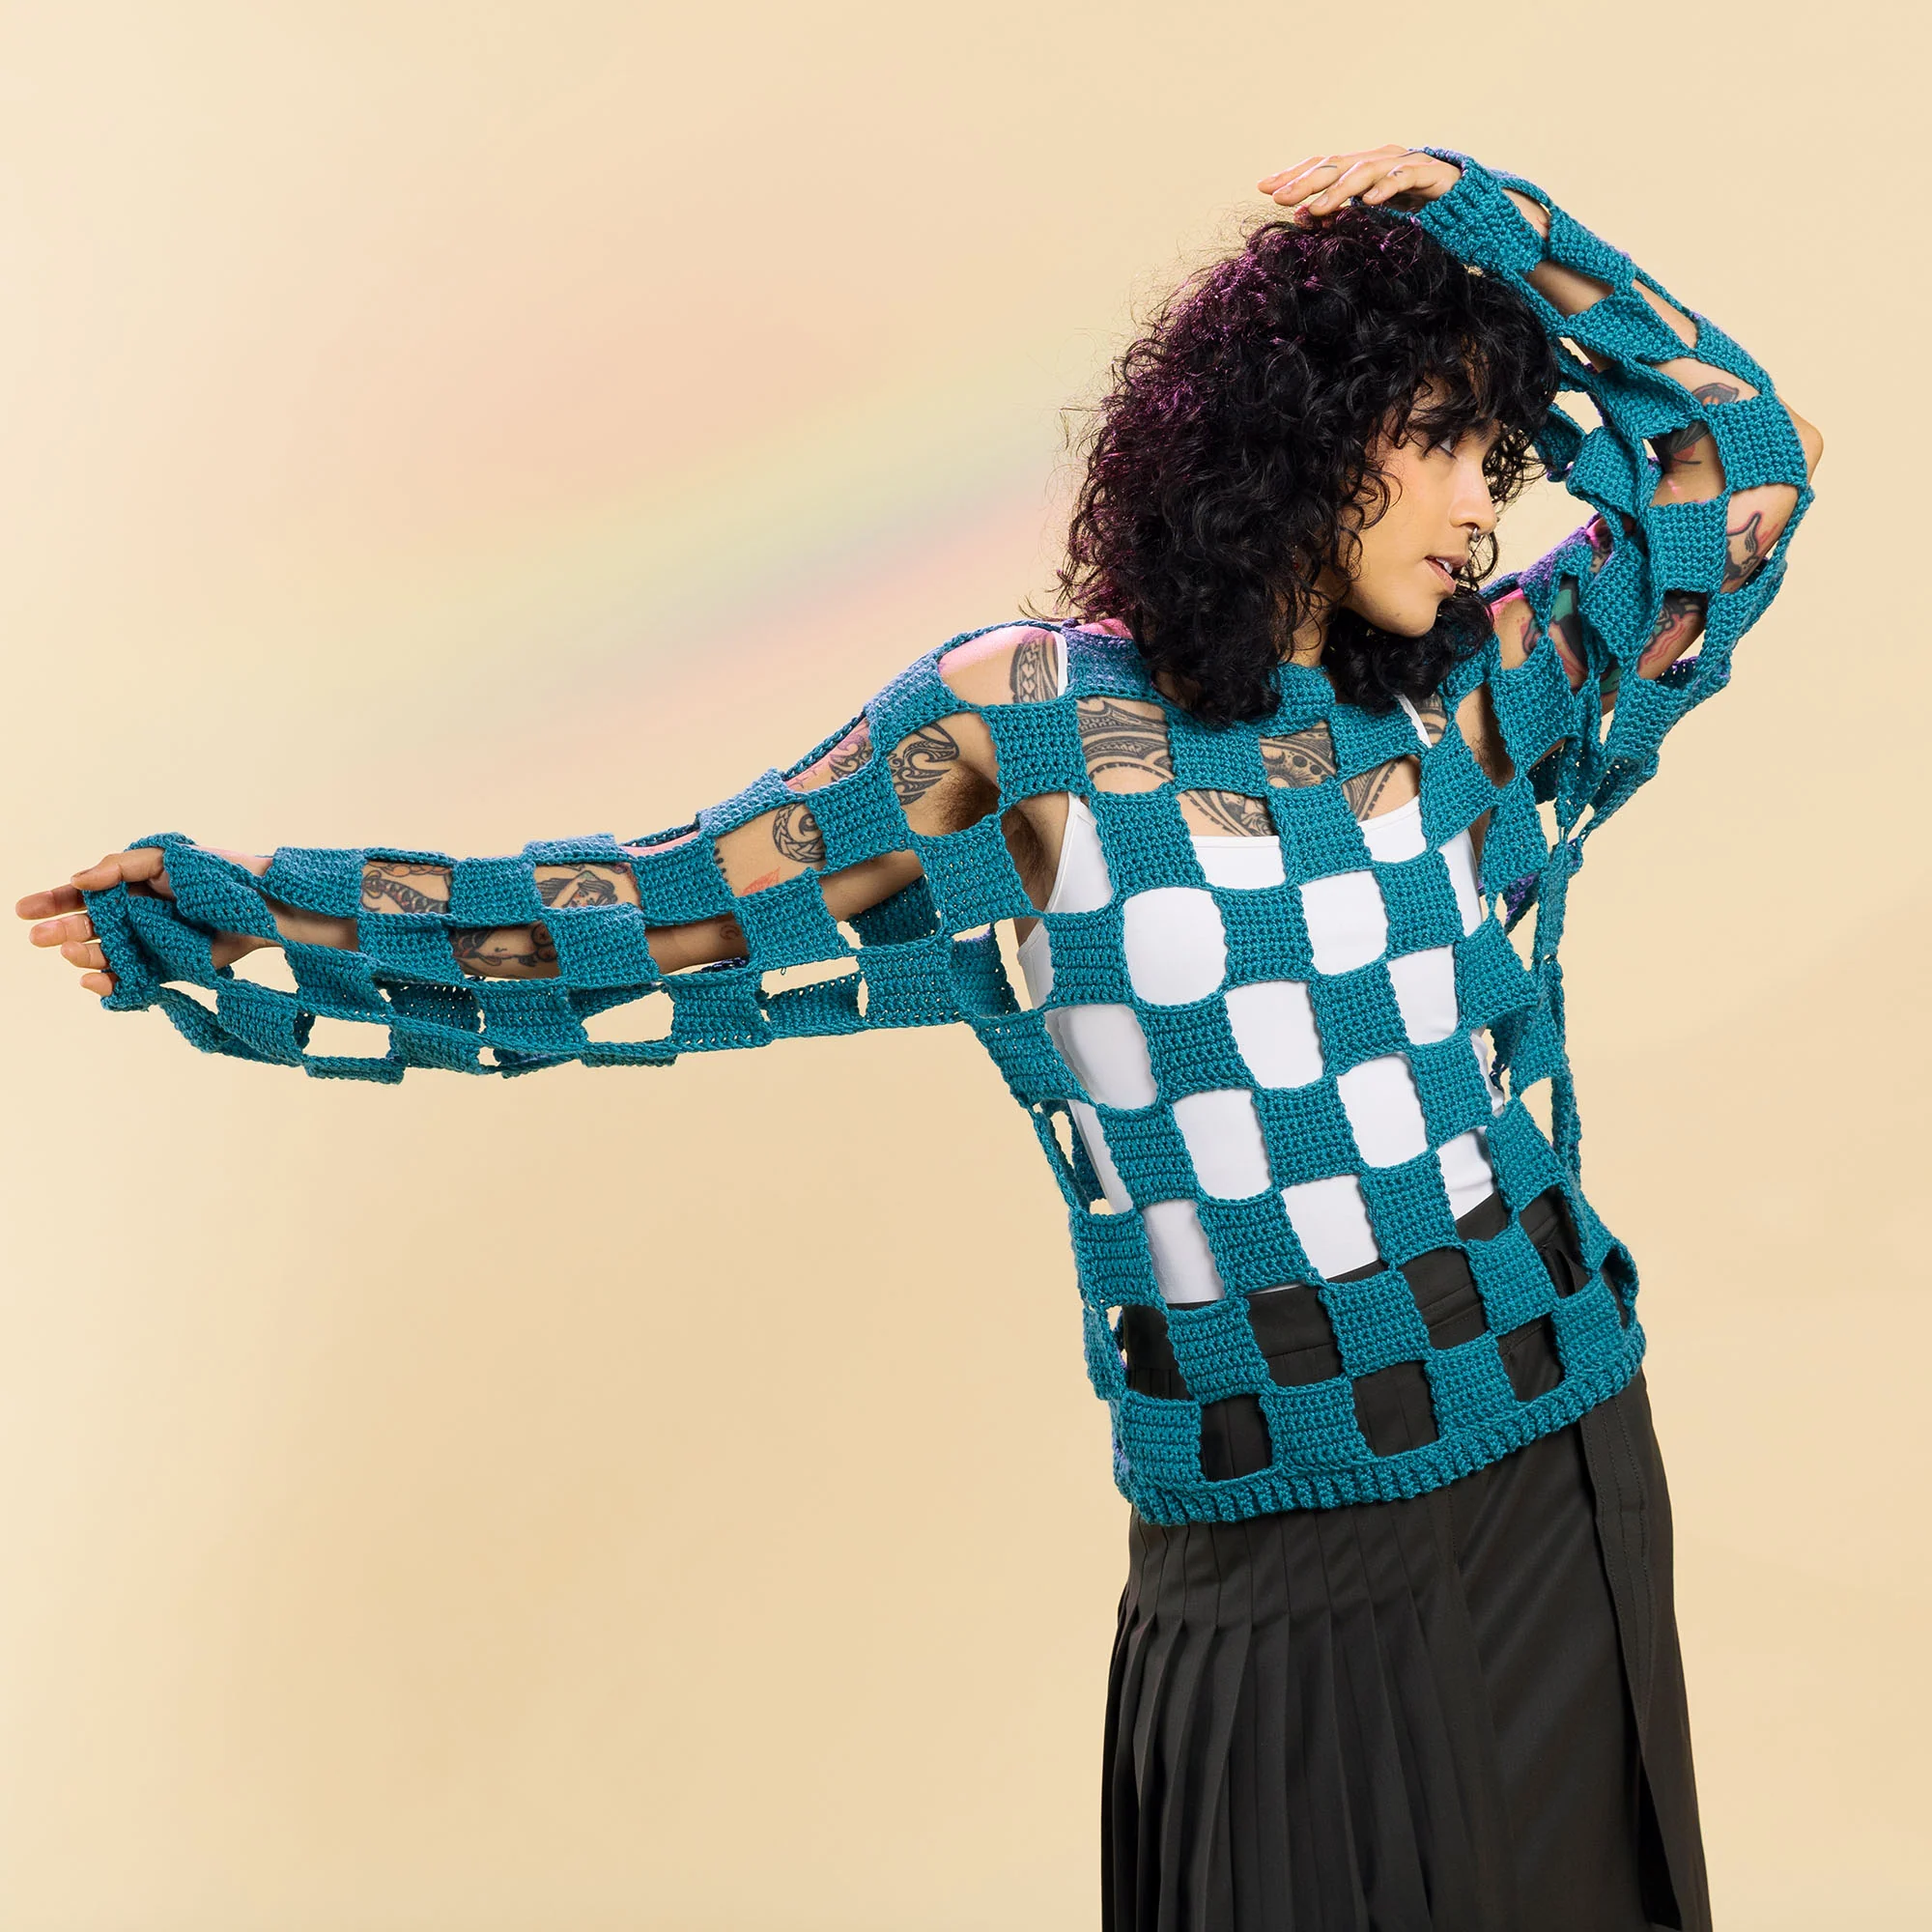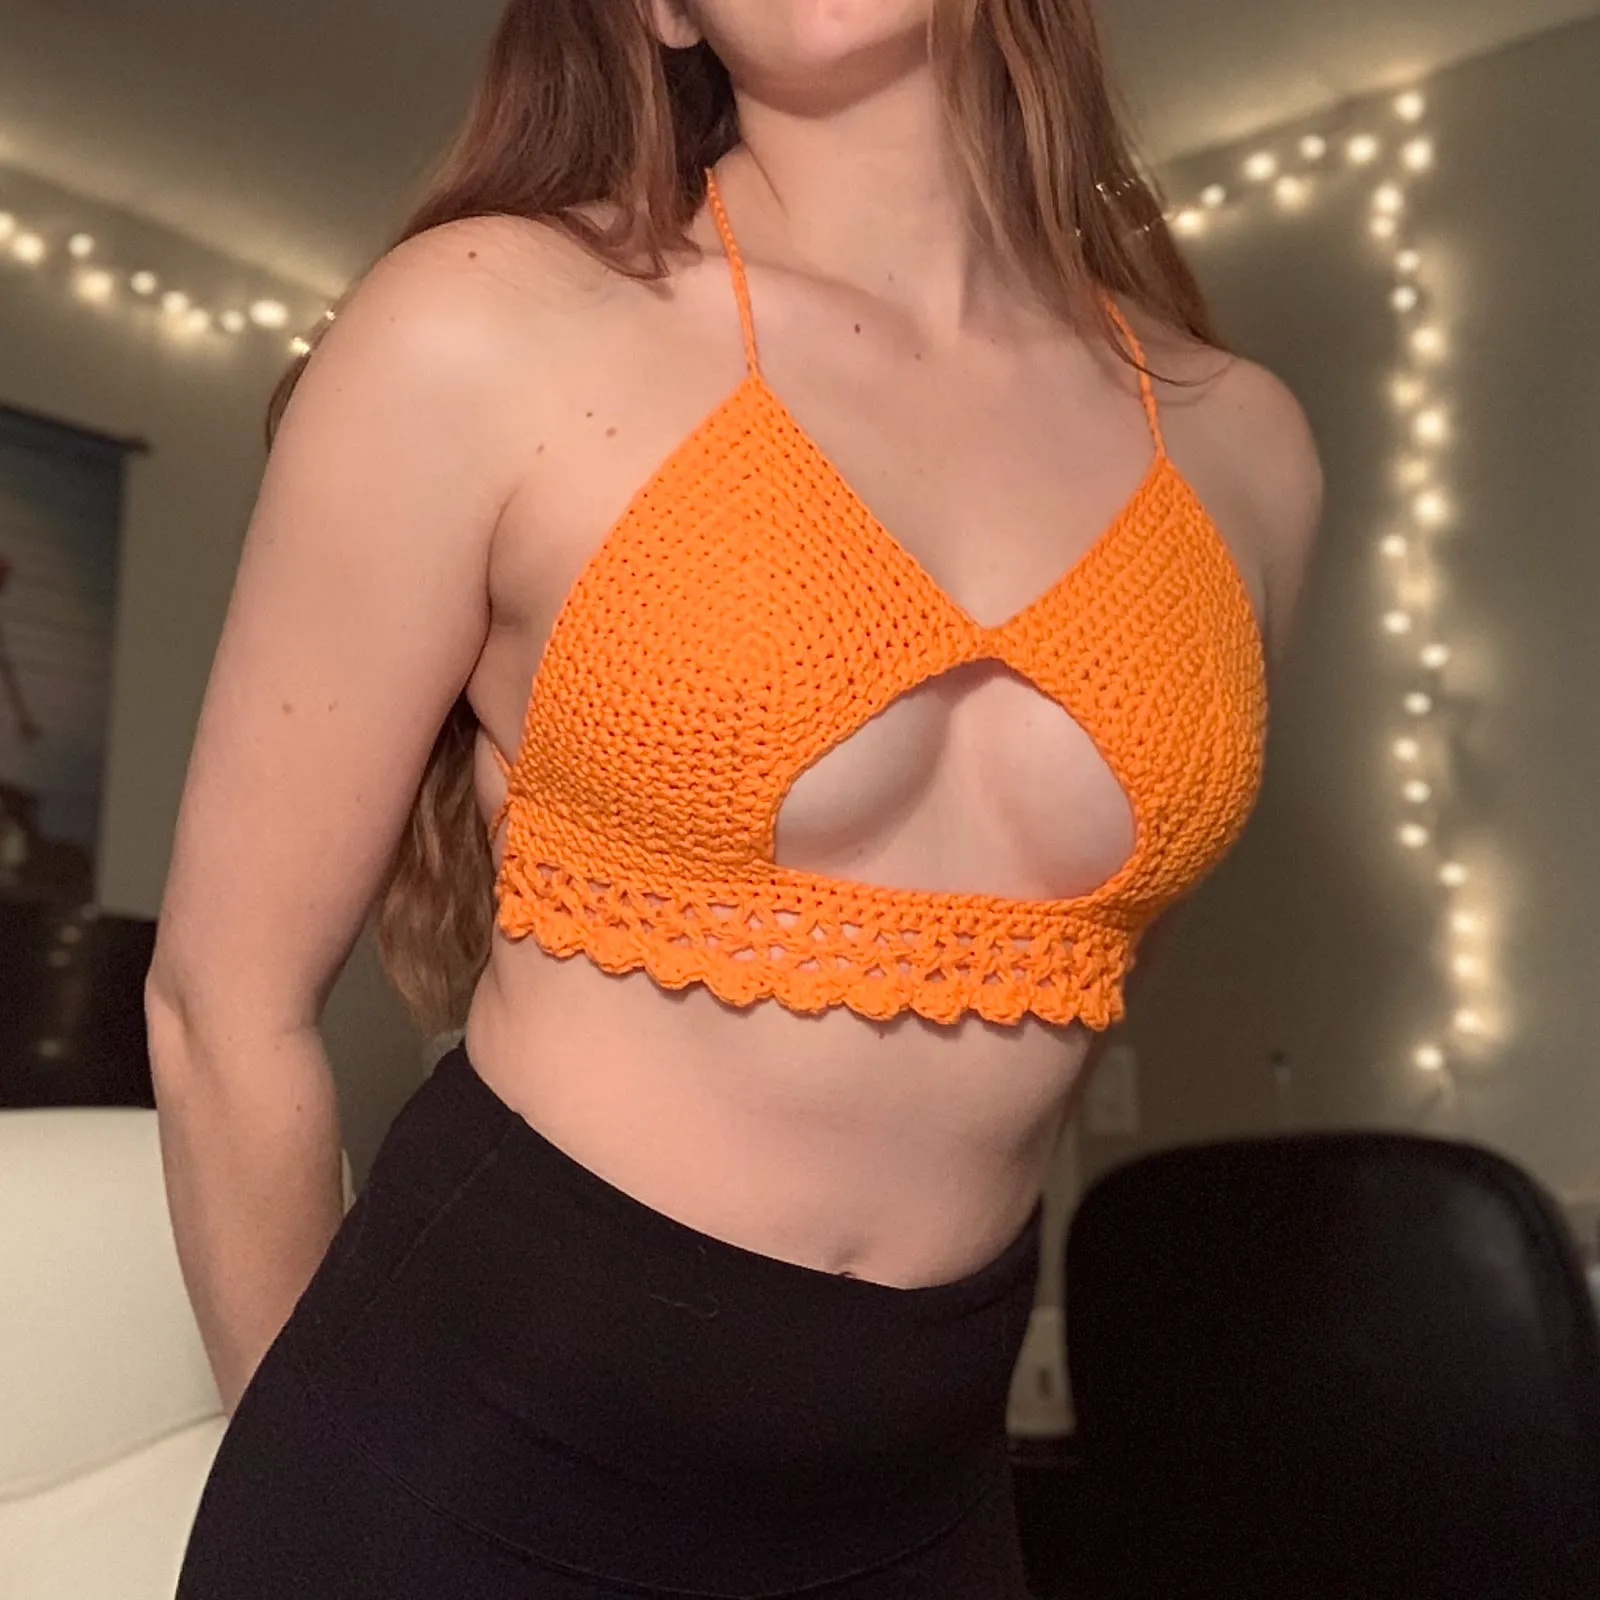
Airy Off-the-Shoulder Crochet Jumper Pattern: A Step-by-Step Tutorial
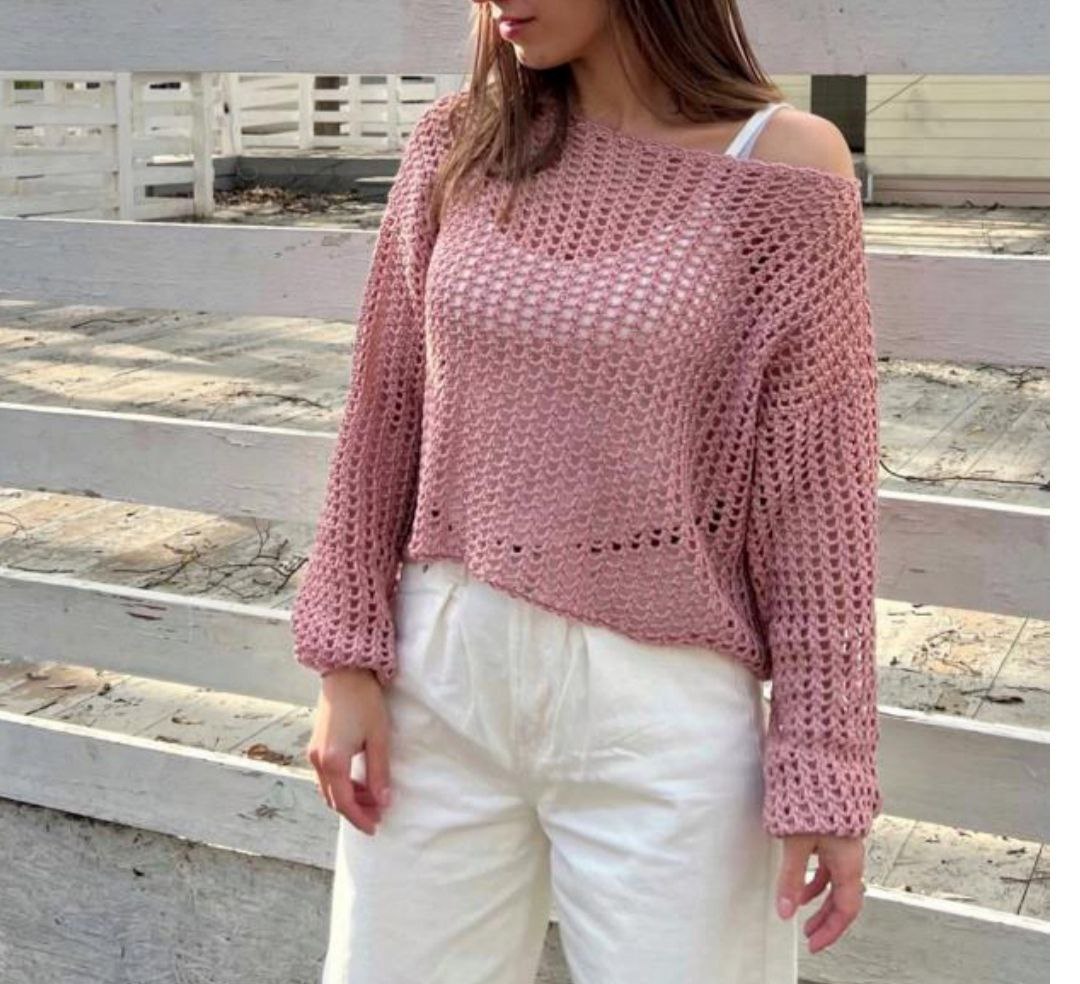
Looking for the perfect blend of boho-chic and effortless elegance? This airy, off-the-shoulder crochet jumper is a stunning addition to any wardrobe. Designed with a relaxed, slightly oversized fit and an open-work lace texture, it is ideal for layering over a camisole during spring or wearing as a lightweight cover-up in the summer.
Unlike traditional sweaters that are worked from the bottom up, this jumper is created using a transverse (side-to-side) technique. This means we work the garment in rectangular sections—front, back, and sleeves—which makes the process much more beginner-friendly and allows for easy customization of the length and width.
Materials & Abbreviations
Materials Needed
- Yarn: A lightweight cotton and viscose blend is recommended to give the garment a beautiful drape and a slight sheen.
- Small/Medium: Approx. 450 yards / 16 oz
- Large: Approx. 500 yards / 17.5 oz
- XL: Approx. 550 yards / 19 oz
- XXL: Approx. 650 yards / 23 oz
- Crochet Hooks:
- Main hook: 3.0mm (US E/4)
- Foundation chain hook: 2.5mm (US C/3.25) to keep the edges neat and tight.
- Notions: Stitch markers, yarn needle for sewing, measuring tape, and scissors.
Abbreviations (US Terms)
- ch: chain
- dc: double crochet
- sc: single crochet
- st: stitch
- sl st: slip stitch
- rep: repeat
- inc: increase
- dec: decrease
Gauge
To ensure the jumper fits correctly, please make a swatch. A 4″ x 4″ (10cm x 10cm) square should consist of 25 stitches and 12 rows using the main stitch pattern. If your gauge is too tight, move up a hook size; if it is too loose, move down.
Step-by-Step Instructions
The Main Stitch Pattern
The jumper is worked in a repeating lace mesh. To practice the stitch, chain 25 using your 3.0mm hook. The pattern is a multiple of 3 + 1.
The design alternates between rows of double crochets and single crochets separated by chains, creating a series of decorative “windows” or holes. Ensure your tension remains consistent so the fabric doesn’t pucker.
The Front Panel
The front is worked side-to-side, starting from the side seam and moving toward the shoulder.
1. Foundation Chain
Using the smaller 2.5mm hook to ensure the edge is stable, chain the following based on your size (representing the length of the jumper):
- S: 112 chains
- M: 118 chains
- L: 124 chains
- XL: 130 chains
- XXL: 136 chains
2. Working the First Shoulder
Switch to the 3.0mm hook. Begin working the main stitch pattern. To create the slope of the shoulder, you will perform increases. Starting from Row 5, add one dc or one ch at the top edge in Rows 5, 9, 13, and 17. This creates a gentle diagonal angle that fits the natural shape of the shoulder.
3. The Neckline
Once the first shoulder is complete, you will reach the neckline. Work straight across (no increases or decreases) for the width of the neck. For a size Small, this is approximately 9 inches (23 cm), or about 29 rows.
4. The Second Shoulder
Mirror the first shoulder. You will now perform decreases in the same rows where you previously increased (Rows 5, 9, 13, etc., relative to the start of the shoulder) to bring the edge back down to the side seam width.
The Back Panel
The back is worked identically to the front, with one important modification: the length. To prevent the jumper from sliding forward while wearing it, the back panel is made slightly longer than the front. Add 3 to 4 pattern repeats to your foundation chain.
- S: 121 chains
- M: 127 chains
- L: 133 chains
- XL: 142 chains
- XXL: 148 chains
The Sleeves (Make 2)
The sleeves are worked as simple rectangles without increases or decreases.
1. Foundation Chain
Calculate the length of your sleeve (from shoulder to wrist) and subtract the width of the shoulder. Chain the following:
- S: 106 chains
- M/L: 109 chains
- XL: 112 chains
- XXL: 115 chains
2. Body of the Sleeve
Work in the main stitch pattern until the sleeve reaches the desired width (approximately 15 inches or 38 cm for size S). Ensure you end on an odd-numbered row (a right-side row) for a cleaner finish.
Finishing the Jumper
Blocking (Essential Step)
Because this jumper uses viscose and cotton, it will stretch and settle significantly after wetting. Submerge the panels in lukewarm water for 5 minutes, gently squeeze out excess water (do not wring), and lay them flat on a towel. Gently pull the shoulder points upward to shape the neckline and the overall silhouette. Let dry completely.
Assembly
- Shoulder Seams: Place the front and back panels right sides together. Use a yarn needle and a “stitch-to-stitch” join to sew the shoulders together.
- Armholes: Mark the armhole height on the wrong side of the panels (approx. 8″ to 9″ depending on size). Center the top of the sleeve at the shoulder seam, shifting it 0.5″ toward the back for a better fit. Pin and sew the sleeve into the armhole.
- Side Seams: Sew the side seams of the body and the inner seam of the sleeves using a neat stitch-to-stitch join.
The Finishing Touches
Neckline and Bottom Edge: Work a decorative “fan” or “shell” border around the neckline and the bottom hem. This is achieved by working a sequence of (dc, ch 1, dc) into a single stitch, separated by chains, creating a delicate scalloped edge.
Sleeve Cuffs: To create a “balloon sleeve” effect, work the cuff using the 2.5mm hook. Join the cuff to the sleeve using only 3 stitches from the sleeve’s edge to create a gathered look. Work 2-3 inches of single crochet or a 1×1 ribbing (sc in back loop only).
Tips for Success
- Yarn Choice: If you prefer a more structured look, use 100% cotton. For a fluid, “liquid” drape, stick with the cotton-viscose blend.
- Tension: The transverse technique can pull if you crochet too tightly. Keep your stitches relaxed, especially during the foundation chains.
- Customization: Want a crop top? Simply reduce the number of foundation chains for the front and back panels.
- The “Slide” Factor: If you find the off-the-shoulder neckline too wide, you can add a thin elastic thread to the interior of the neckline border.