Cute Purple Amigurumi Crochet Pattern: How to Crochet “Lu”
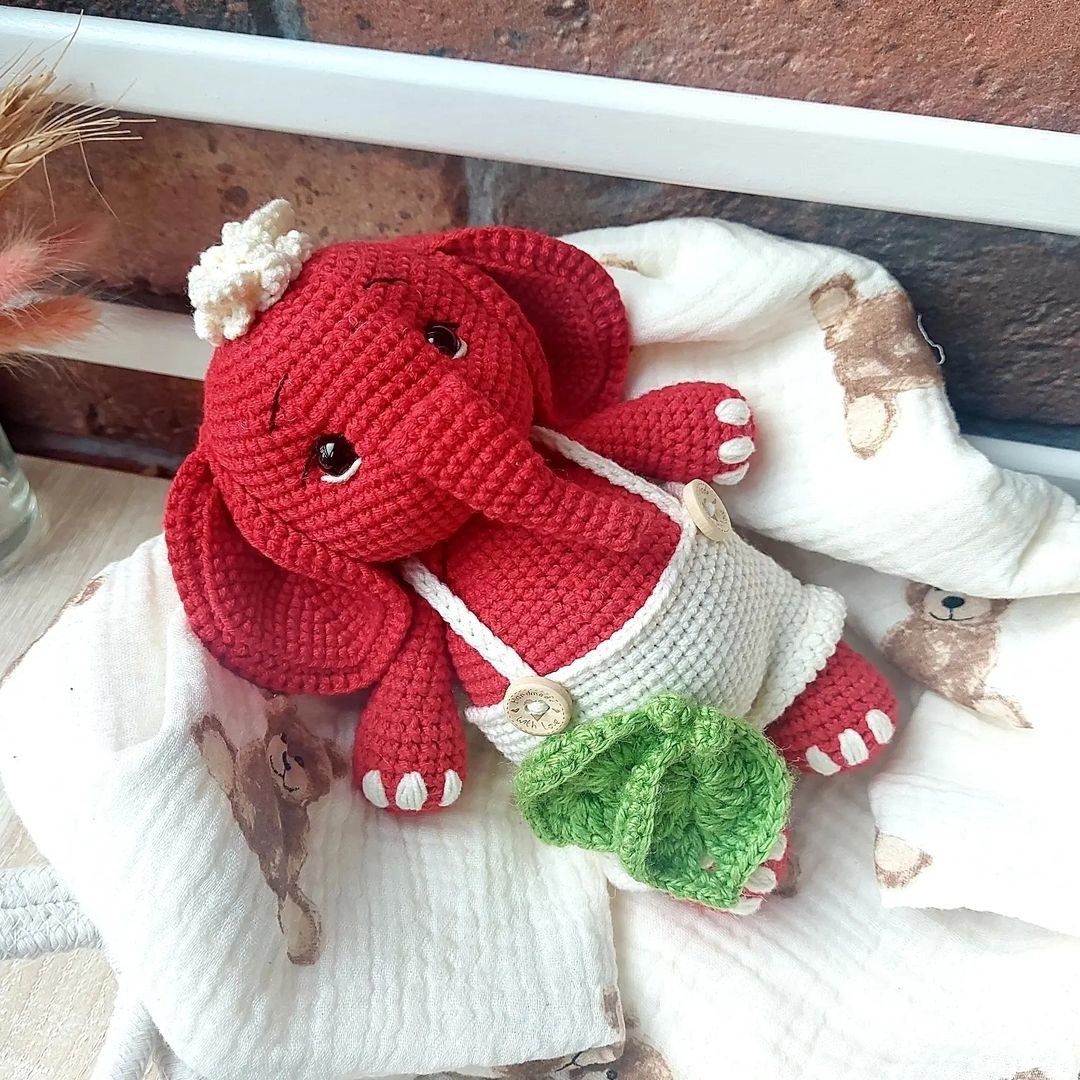
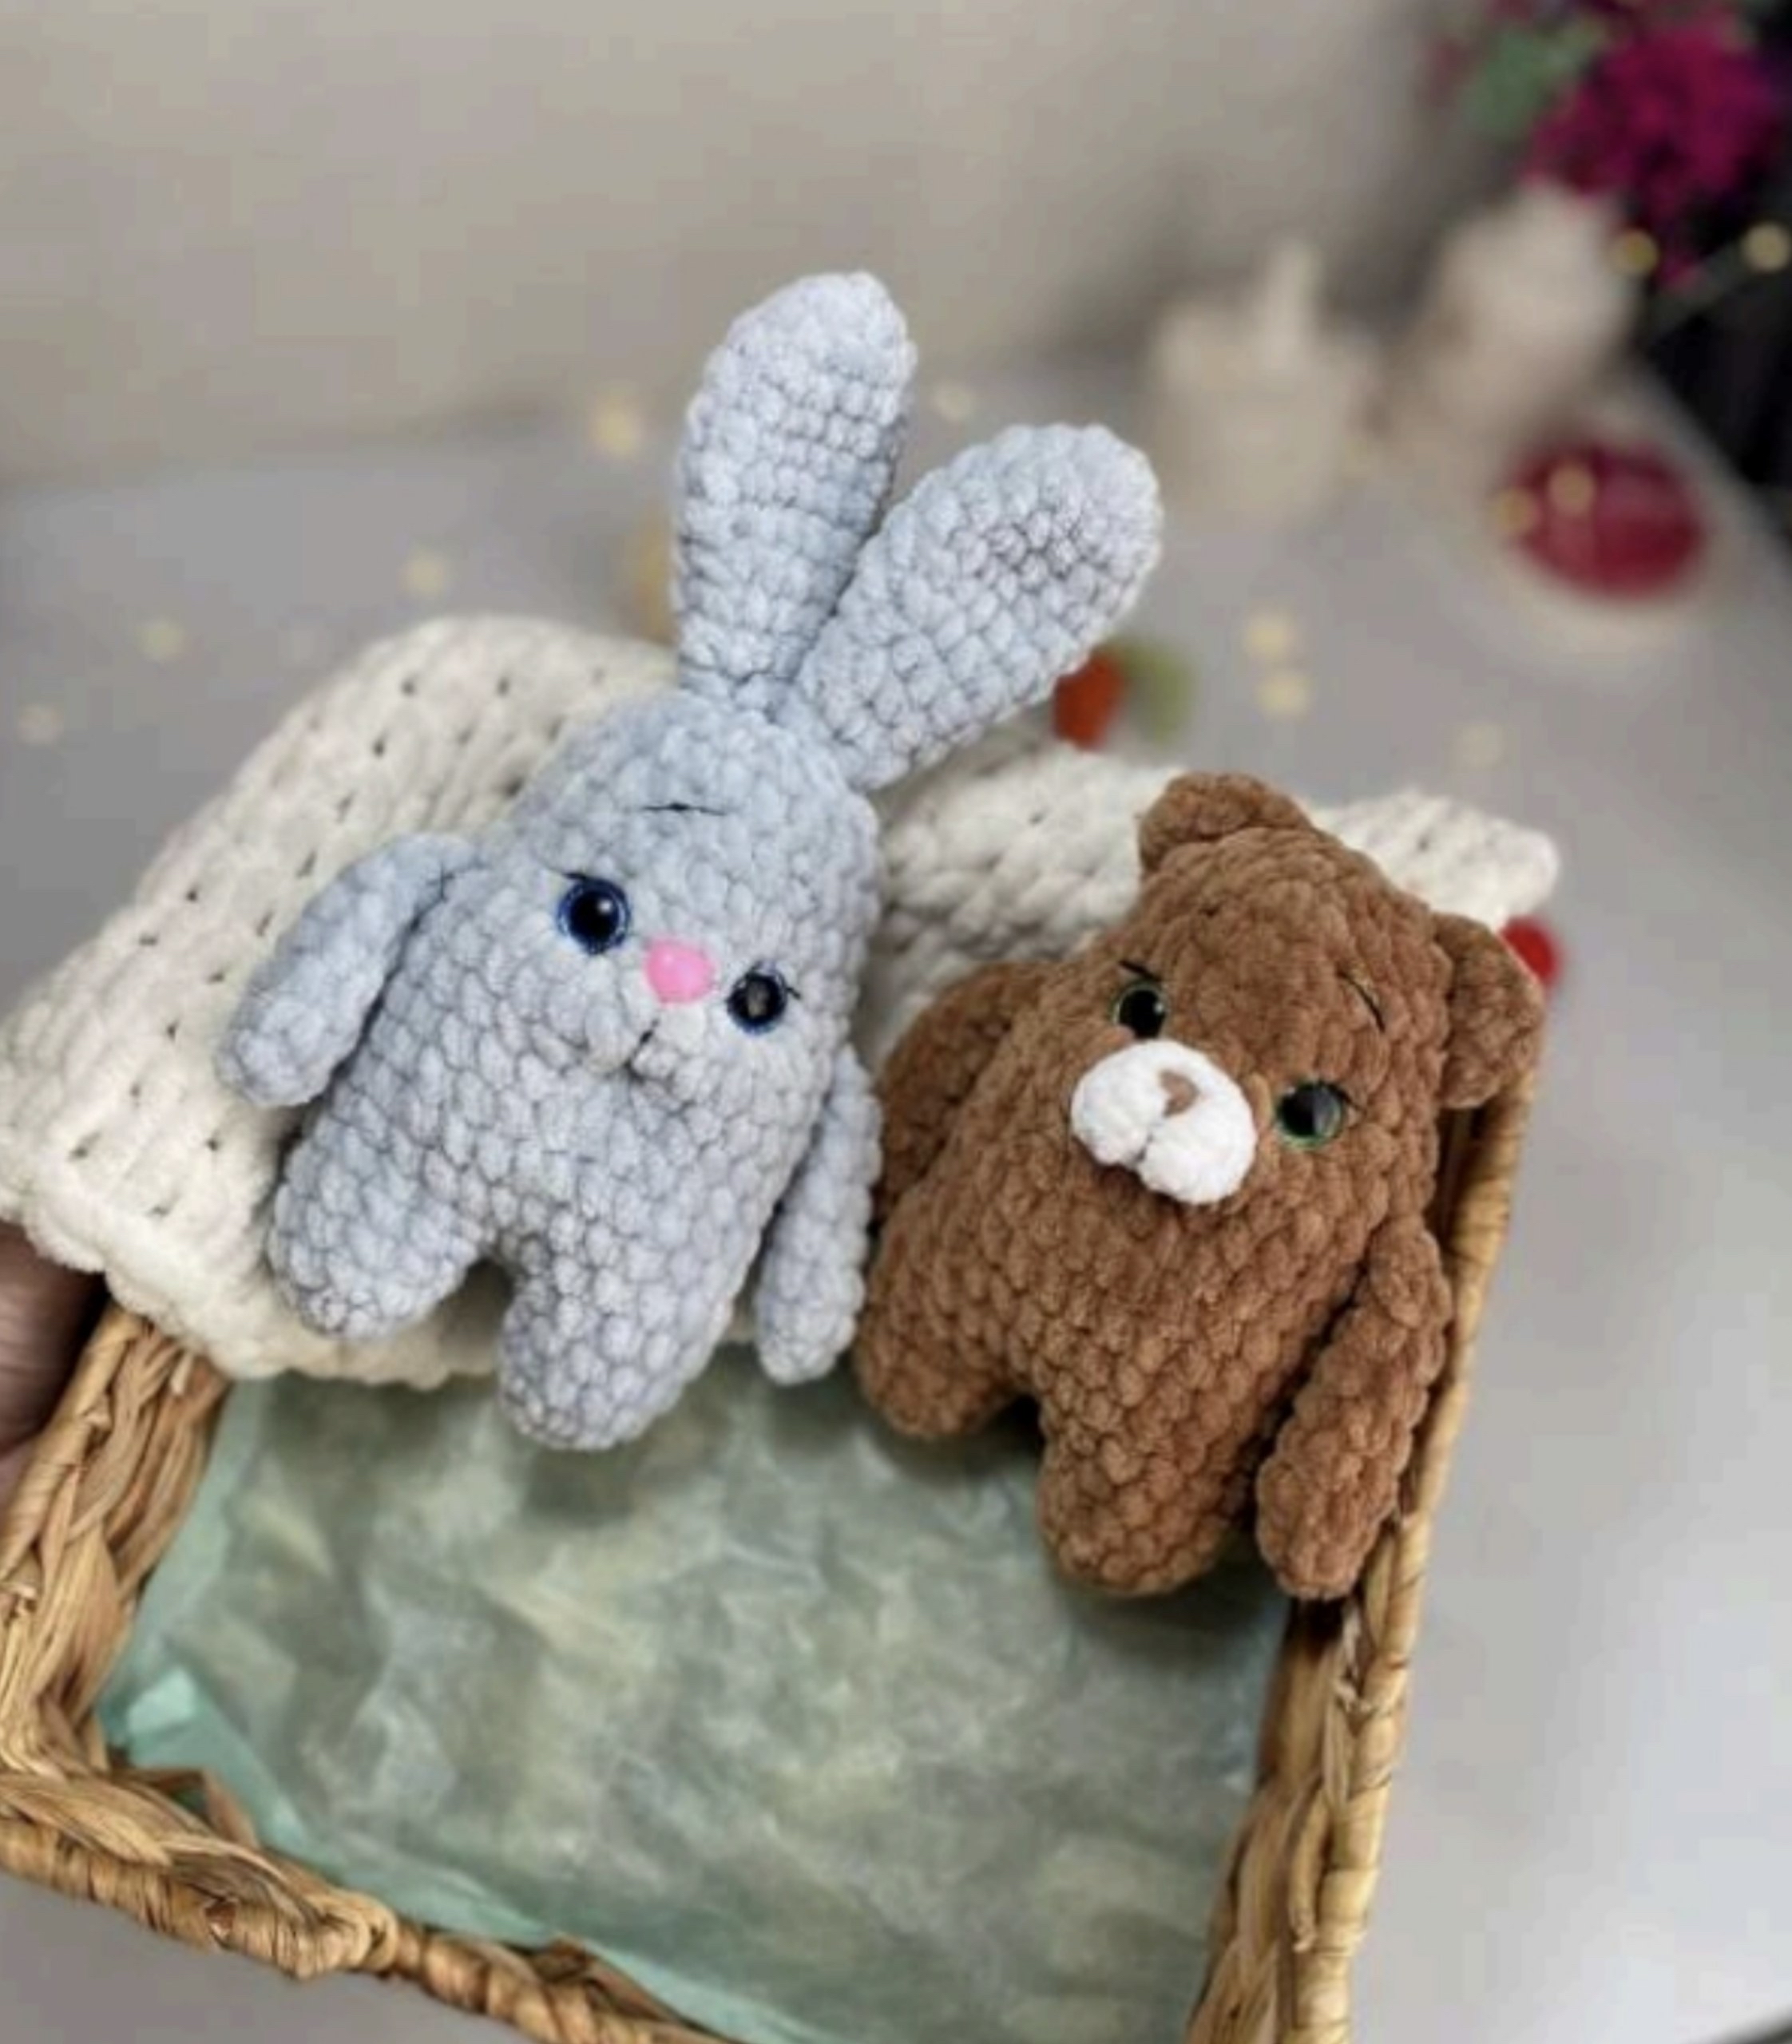
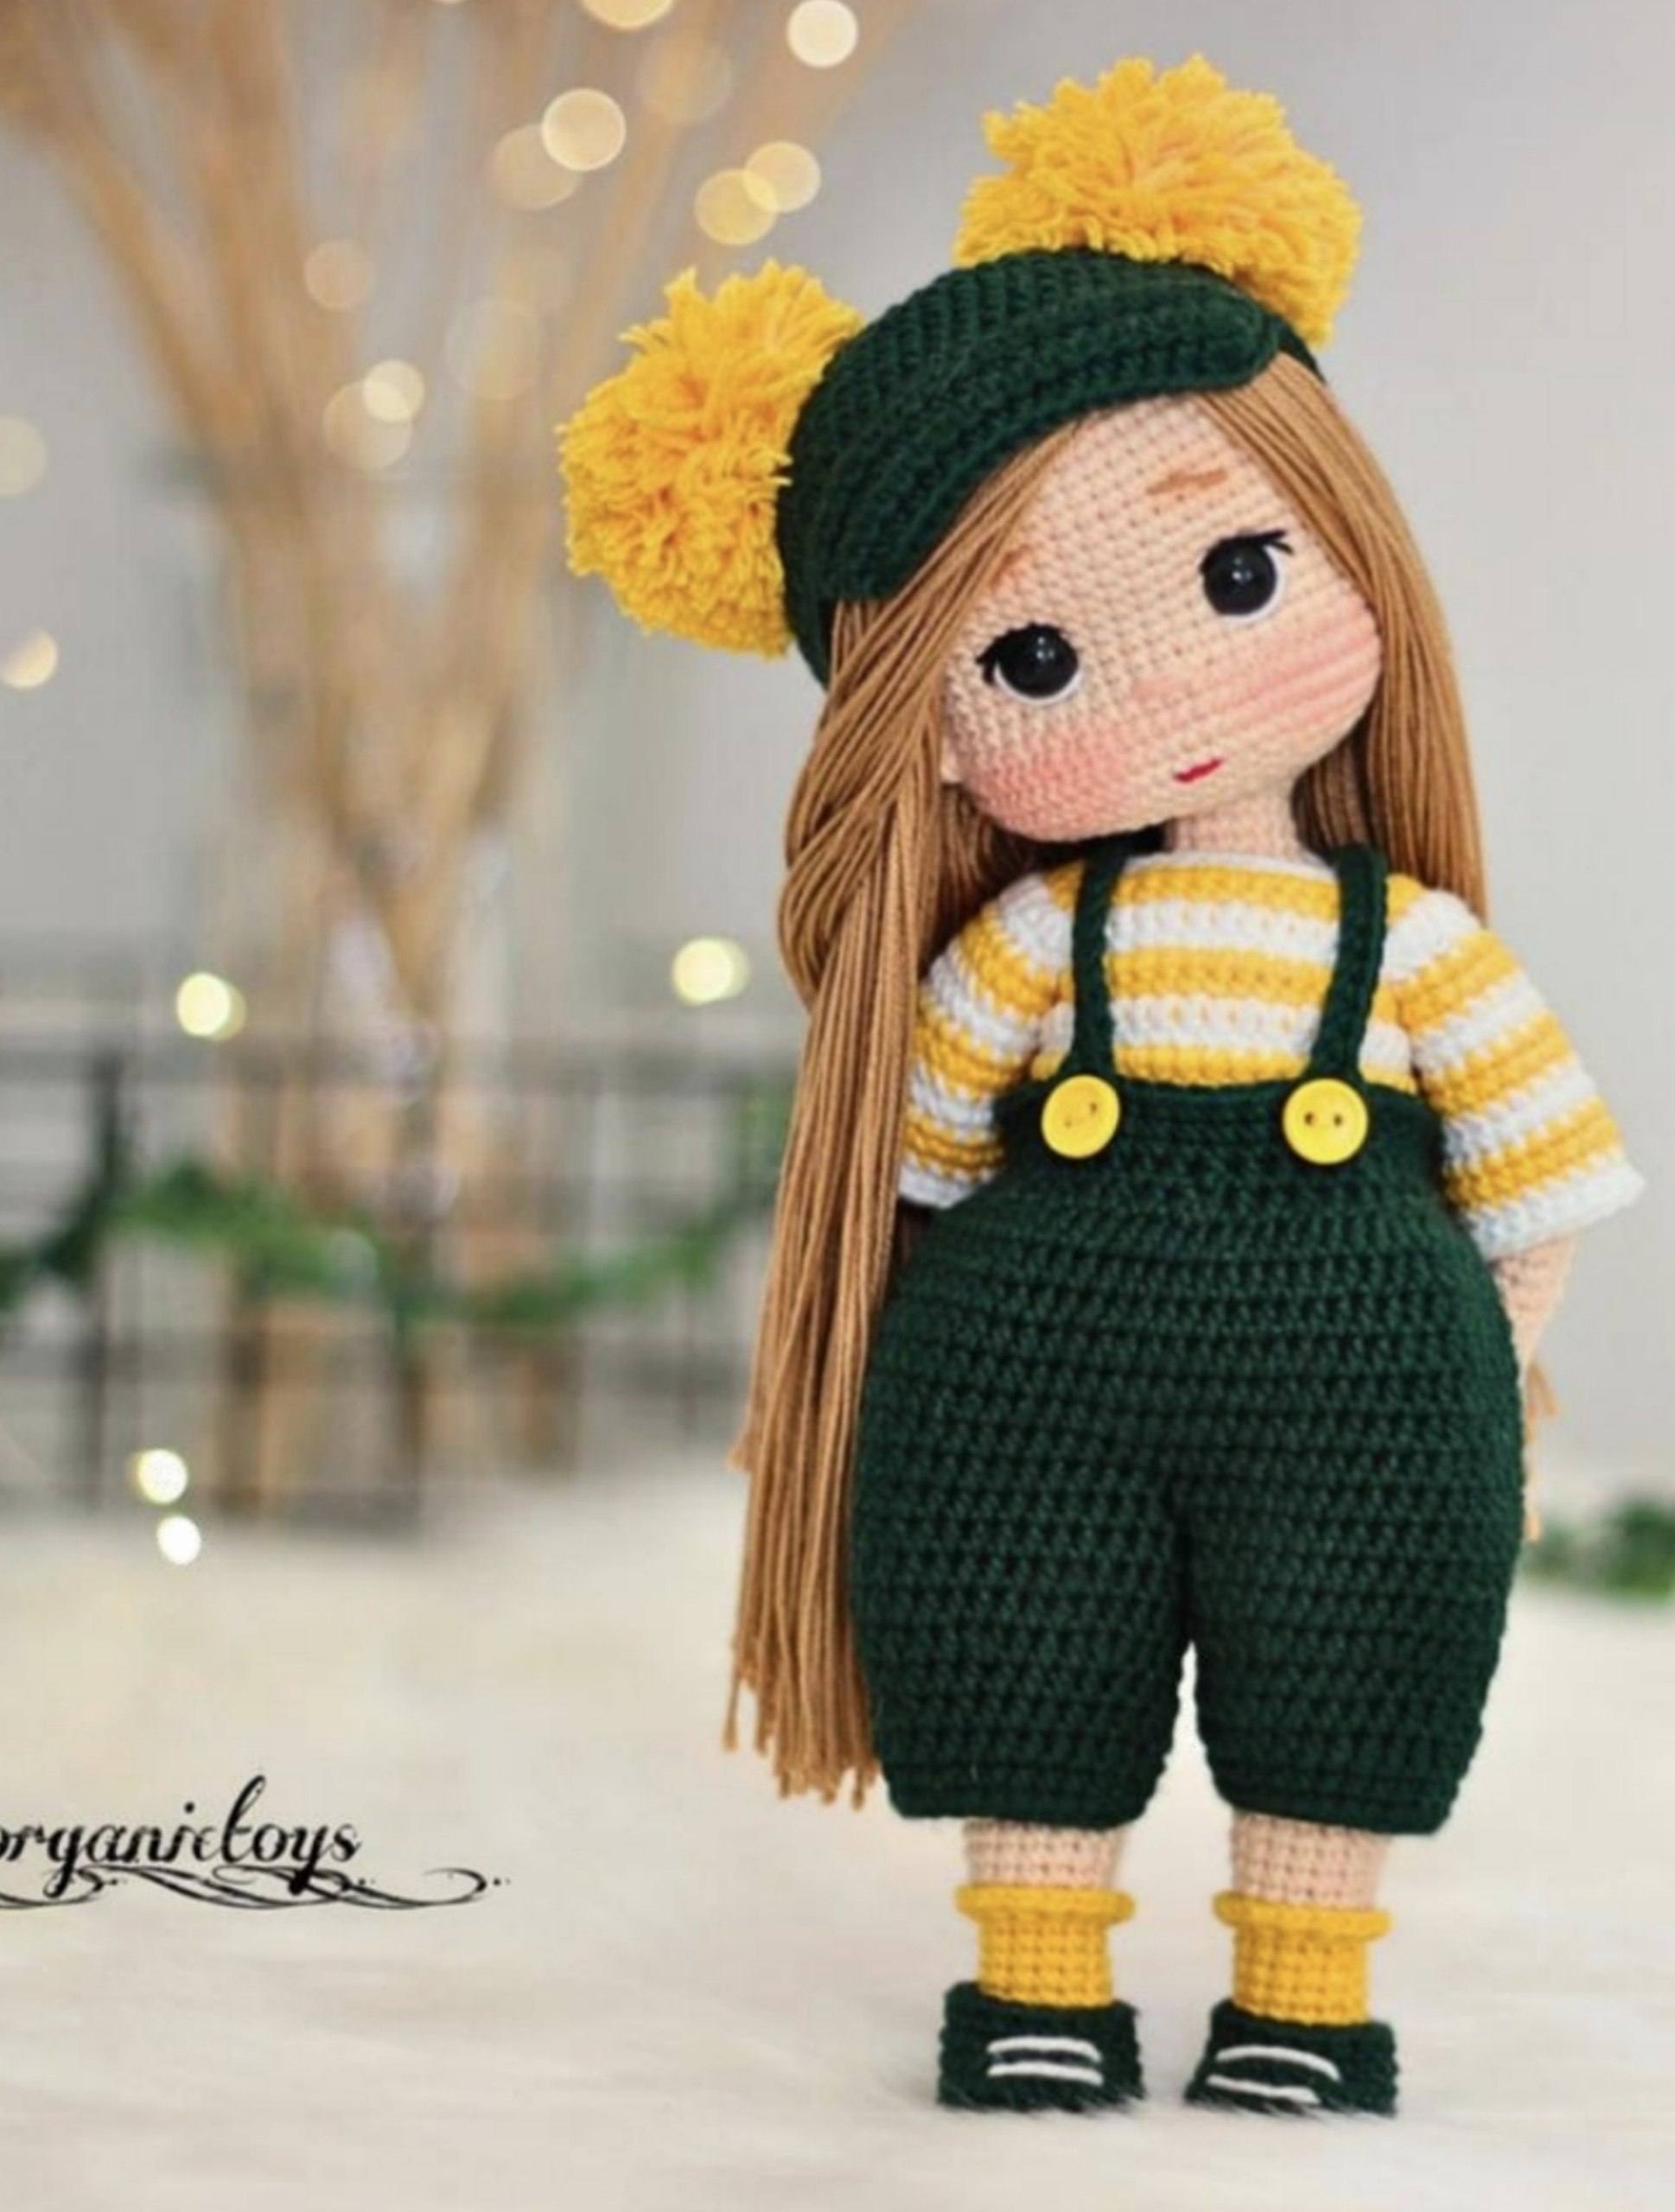
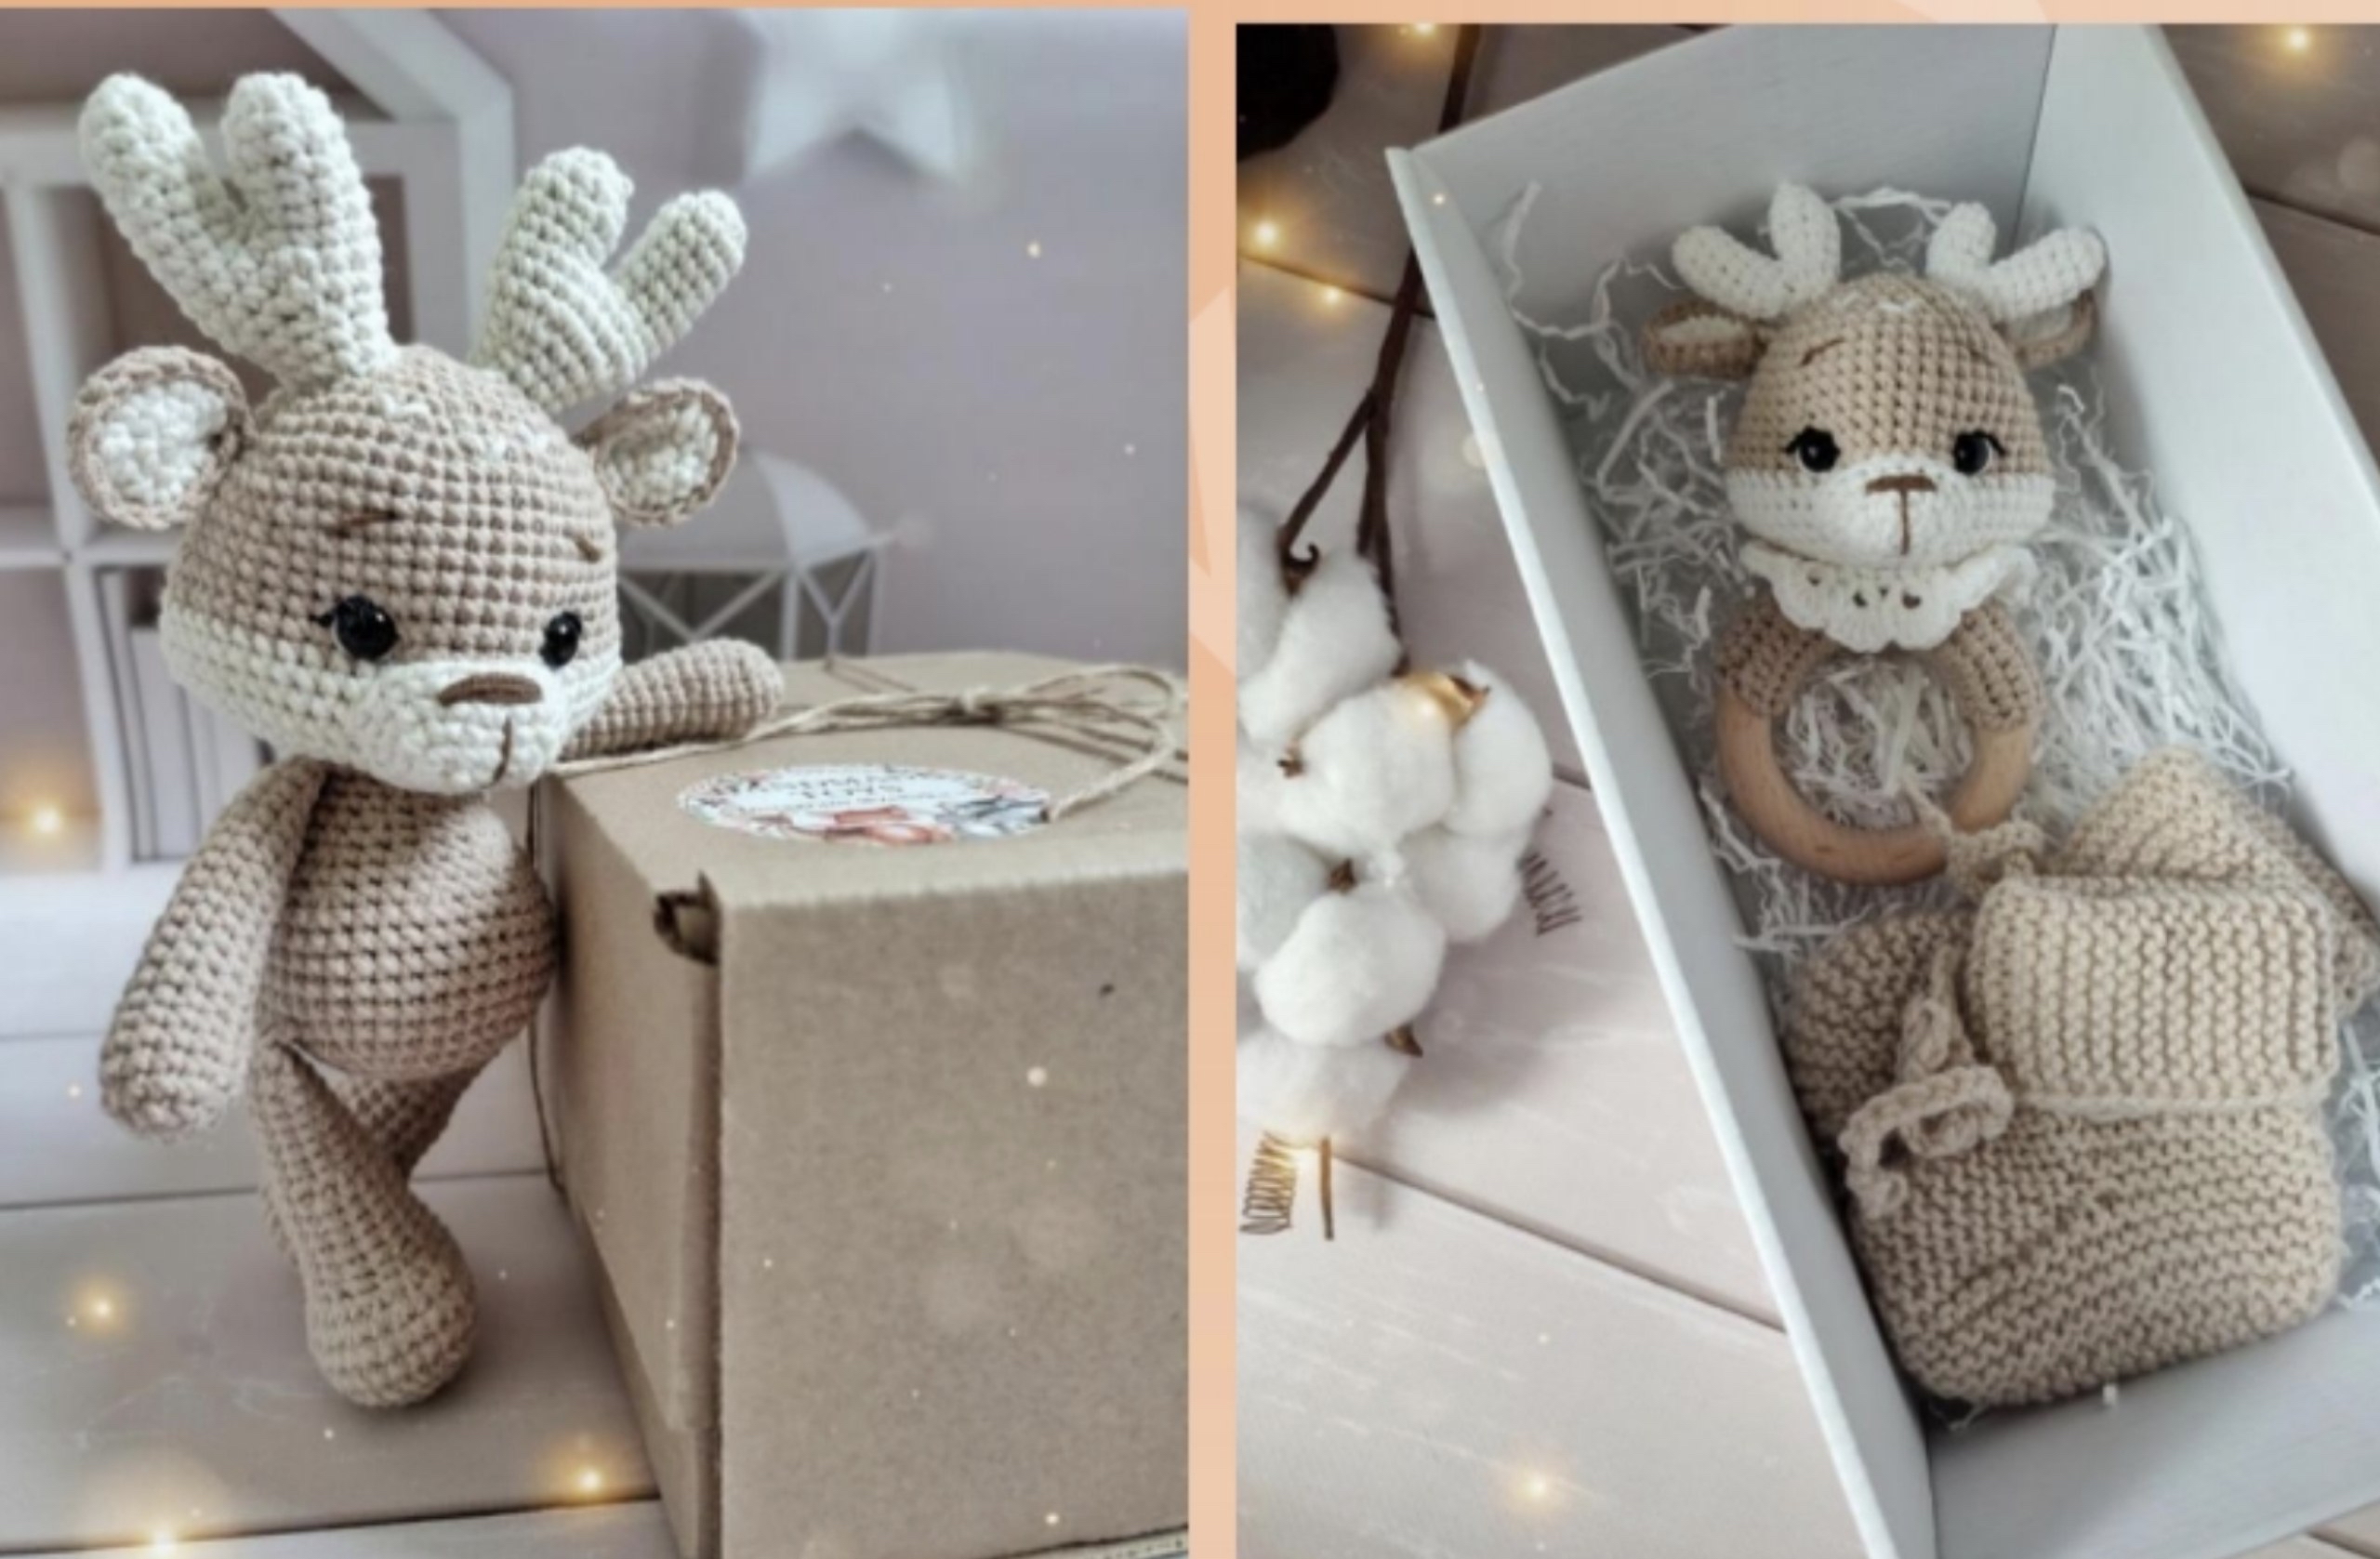
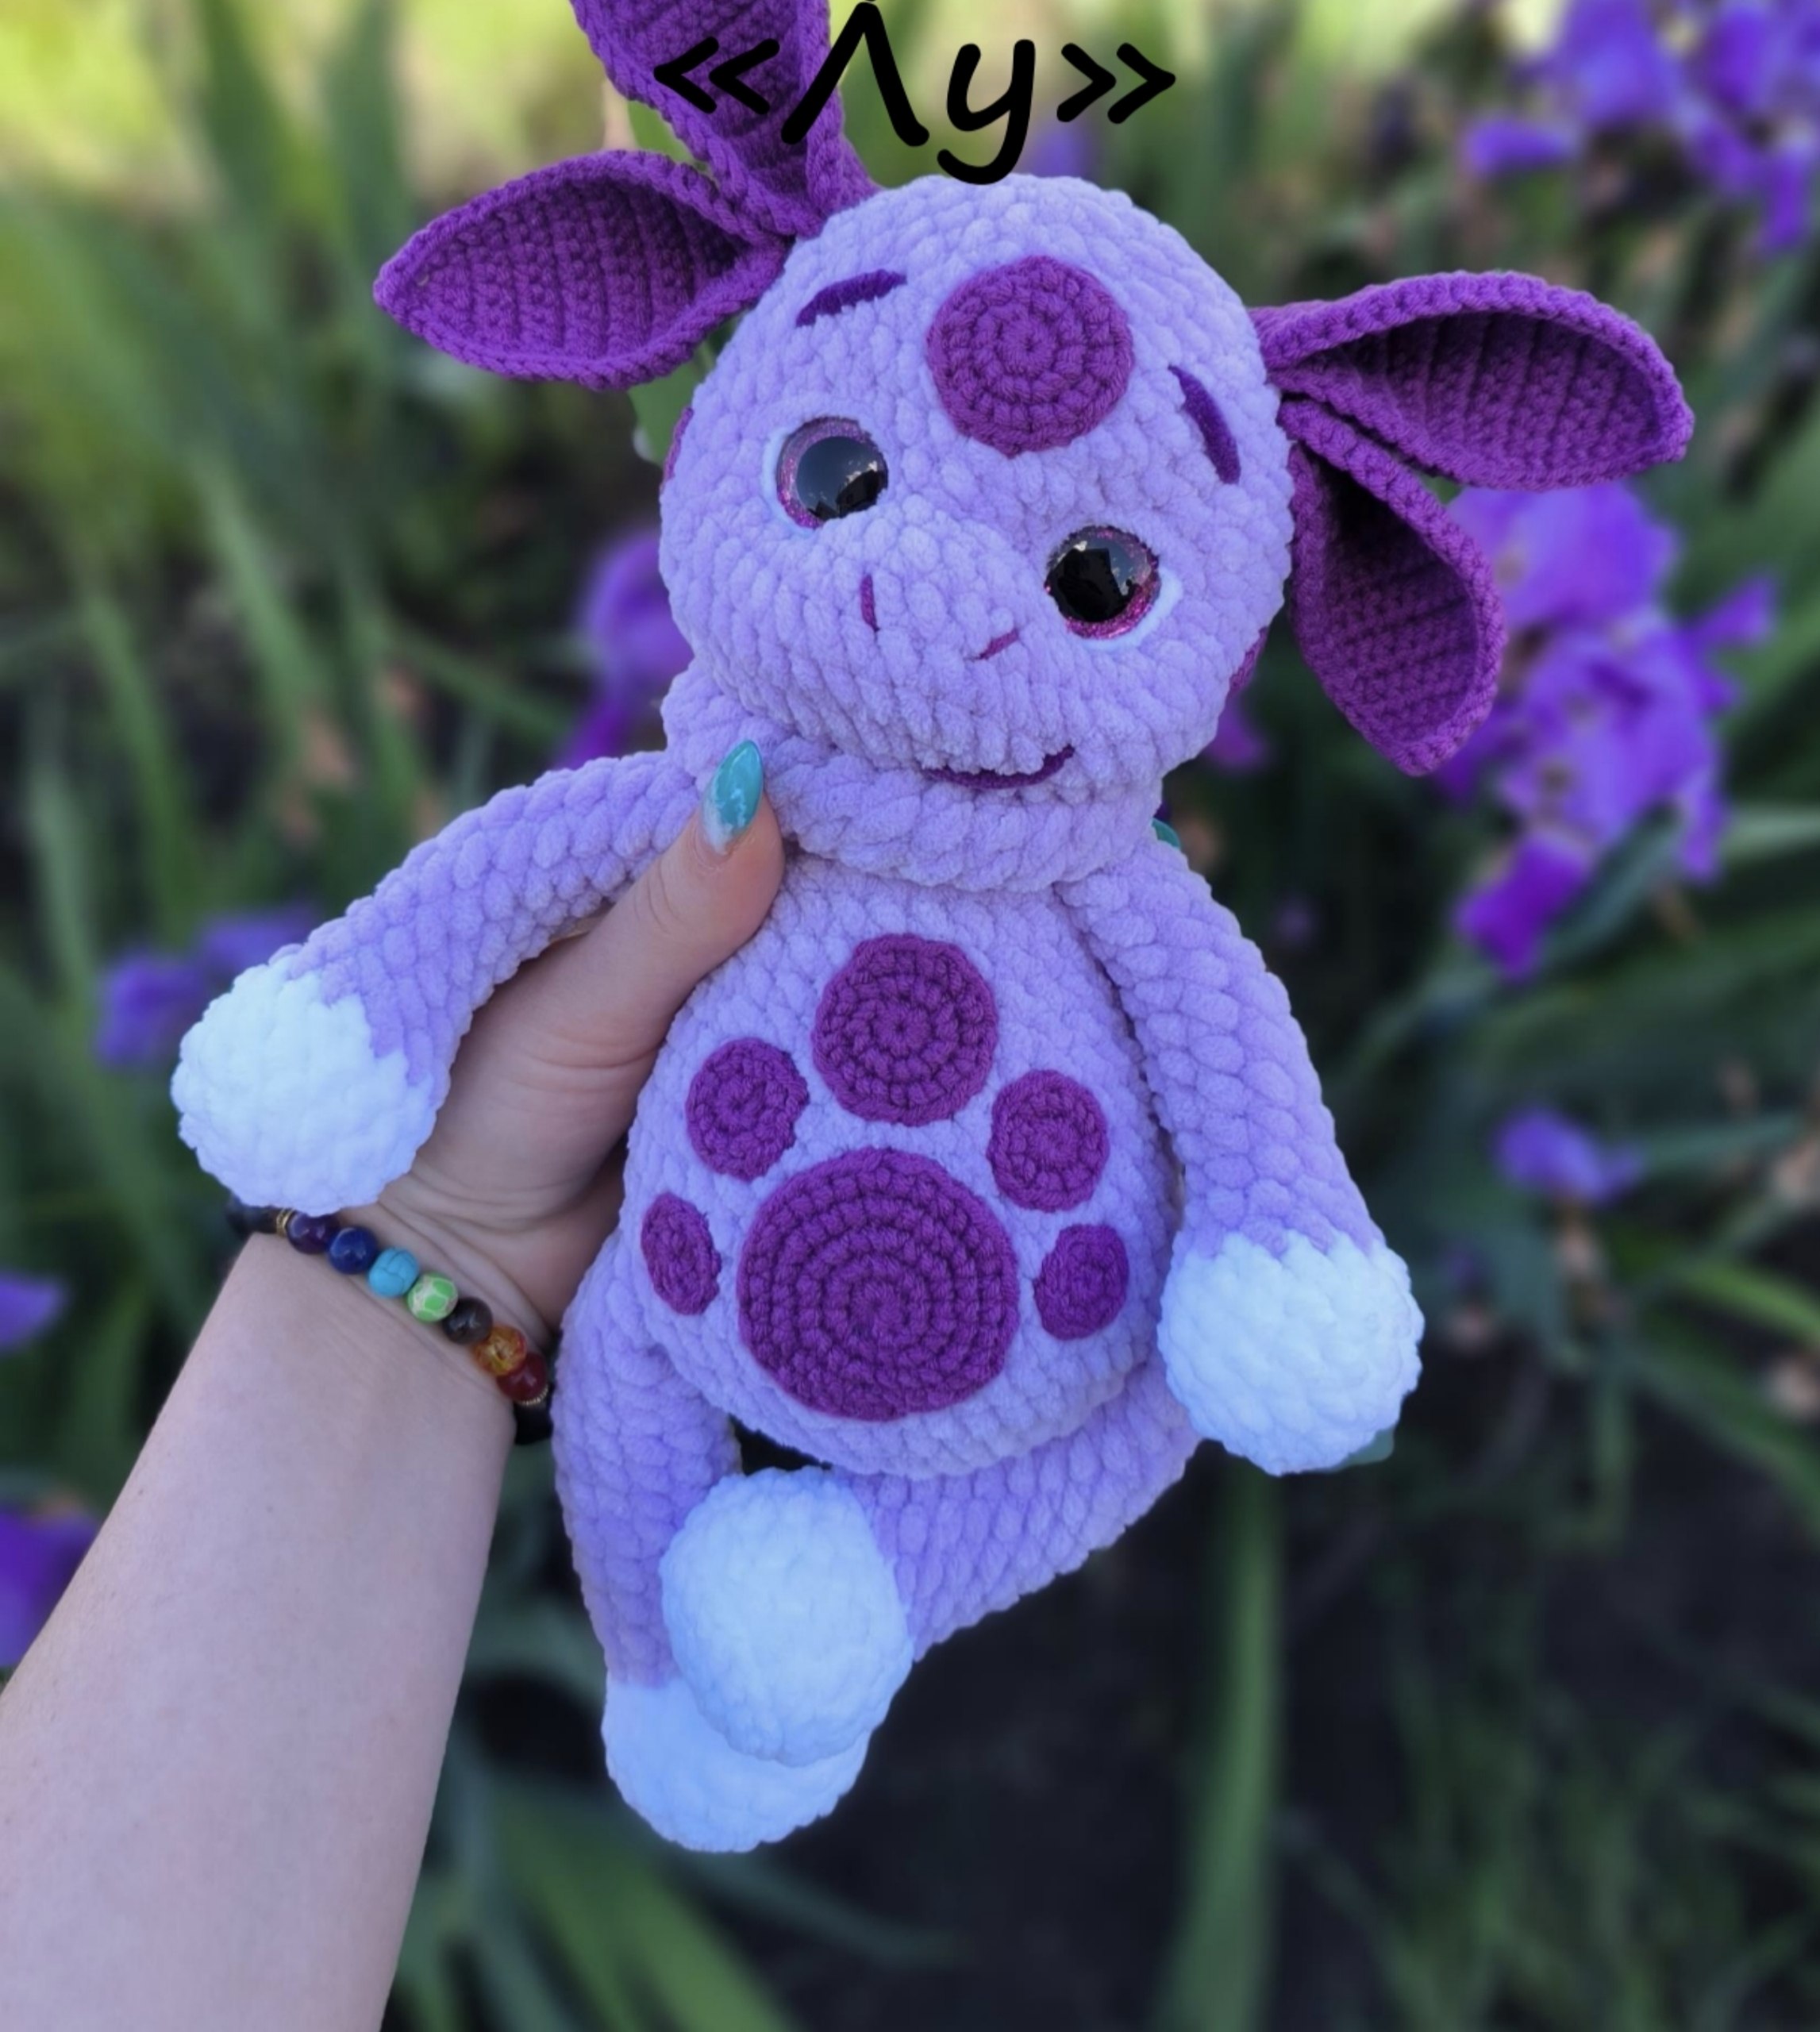
If you are looking for your next adorable crochet project, look no further! Meet Lu, a charming, chunky, and incredibly soft purple creature that is perfect for cuddling. This amigurumi pattern creates a character that is approximately 11.5 inches tall, making it the perfect size for a nursery decoration, a gift for a child, or a whimsical addition to your crochet collection.
Because we are using plush, chenille-style yarn, Lu has a high-end, store-bought feel right from the moment you finish. This tutorial is designed to be beginner-friendly, guiding you through the process of creating limbs, a body, and those signature adorable ears. Whether you are a seasoned pro or just starting your amigurumi journey, this pattern is a rewarding and cozy project.
Materials & Abbreviations
To ensure your Lu looks exactly like the photos, I recommend using the following materials. Please note that the yarn suggested is a velvet/chenille style, which gives the toy its signature softness.
Materials Needed
- Main Yarn (Lilac): Approximately 3.5 oz (100g) of bulky chenille-style yarn (e.g., Himalaya Dolphin Baby in Lilac).
- Accent Yarn (White): Approximately 0.7 oz (20g) of the same chenille-style yarn in white.
- Accent Yarn (Purple): A small amount of purple chenille-style yarn.
- Detail Yarn (Purple): Approximately 0.7 oz (20g) of standard cotton/acrylic yarn (e.g., YarnArt Jeans in Purple) for the ears and spots.
- Safety Eyes: 20mm (approx. 0.75 inch) safety eyes.
- Crochet Hooks: 3.5 mm (for the main body) and 2.5 mm (for the details like ears and spots).
- Stuffing: High-quality polyfill or fiberfill.
- Notions: Scissors, stitch markers, tapestry needle, and a strong adhesive (like clear glue).
US Crochet Abbreviations
All measurements are in inches/yards unless otherwise noted. This pattern is worked in US terms.
- MR: Magic Ring
- sc: Single crochet
- inc: Increase (2 sc in one stitch)
- dec: Decrease (sc 2 together)
- ch: Chain
- sl st: Slip stitch
- BLO: Back loops only
- FLO: Front loops only
- st(s): Stitch(es)
- turn: Turn your work
Step-by-Step Instructions
The Lower Legs (Make 2)
We begin the legs using the white yarn and a 3.5 mm hook.
- MR, 6 sc (6)
- 6 inc (12)
- (1 sc, 1 inc) repeat 6 times (18)
- In BLO: 18 sc (18)
- Rows 5-6: In both loops: 18 sc (2 rows) (18)
- (1 sc, 1 dec) repeat 6 times (12)
Note: Stuff the leg firmly up to Row 7, but do not stuff the remaining part of the leg.
Switch to lilac yarn. Fasten off the white yarn and weave the end inside the piece. Continue with the lilac yarn:
- In BLO: 12 sc (12)
- Rows 9-18: In both loops: 12 sc (10 rows) (12)
To ensure the leg is straight, work slip stitches along the edge to reach the opposite side of where you changed colors. Fold the leg in half and sc through both layers (6 sc). Fasten off, leaving a long tail for sewing to the body.
The Upper Legs (Make 2)
Begin with white yarn and a 3.5 mm hook.
- MR, 5 sc (5)
- 5 inc (10)
- (1 sc, 1 inc) repeat 5 times (15)
- Rows 4-6: 15 sc (3 rows) (15)
Switch to lilac yarn. Fasten off the white yarn and weave the end inside. Continue with the lilac yarn:
- (3 sc, 1 dec) repeat 3 times (12)
- (4 sc, 1 dec) repeat 2 times (10)
Note: Stuff the leg firmly up to Row 8, but do not stuff the rest.
- Rows 9-17: 10 sc (9 rows) (10)
Work slip stitches along the side to finish on the opposite edge from the color change. Fold in half and sc through both layers (5 sc). Fasten off, leaving a long tail for sewing.
The Body & Attaching Limbs
Using lilac yarn and a 3.5 mm hook, we will create the main torso. This section will transition directly into the head, so do not cut your yarn after finishing the body!
- MR, 6 sc (6)
- 6 inc (12)
- (1 sc, 1 inc) repeat 6 times (18)
- (2 sc, 1 inc) repeat 6 times (24)
- (3 sc, 1 inc) repeat 6 times (30)
- (4 sc, 1 inc) repeat 6 times (36)
- (inc, 5 sc) repeat 6 times (42)
- 42 sc (42)
Row 9: Attaching the Lower Legs
In this row, we will join the lower legs directly to the body: 7 sc, [6 sc worked together with the leg and body], 15 sc, [6 sc worked together with the leg and body], 8 sc (42 total stitches).
- Rows 10-12: 42 sc (3 rows) (42)
- (5 sc, 1 dec) repeat 6 times (36)
- Rows 14-15: 36 sc (2 rows) (36)
- (4 sc, 1 dec) repeat 6 times (30)
- Rows 17-19: 30 sc (3 rows) (30)
- (3 sc, 1 dec) repeat 6 times (24)
- 24 sc (24)
Stuff the body firmly.
Row 22: Attaching the Upper Legs
4 sc, [5 sc worked together with the leg and body], 6 sc, [5 sc worked together with the leg and body], 4 sc (24 total stitches).
- (2 sc, 1 dec) repeat 6 times (18)
- 18 sc (18)
Stuff the body firmly. Do not cut the yarn; we move straight into the head.
The Head
- In FLO: (2 sc, 1 inc) repeat 6 times (24)
- In both loops: (3 sc, 1 inc) repeat 6 times (30)
- (4 sc, 1 inc) repeat 6 times (36)
- (5 sc, 1 inc) repeat 6 times (42)
- (6 sc, 1 inc) repeat 6 times (48)
- Rows 30-32: 48 sc (3 rows) (48)
Note: Use a stitch marker to keep track of the back of the head.
- 16 sc, 8 dec (centered at the front), 16 sc (40)
- Rows 34-36: 40 sc (3 rows) (40)
- (8 sc, 1 dec) repeat 4 times (36)
- (4 sc, 1 dec) repeat 6 times (30)
- (3 sc, 1 dec) repeat 6 times (24)
- (2 sc, 1 dec) repeat 6 times (18)
- (1 sc, 1 dec) repeat 6 times (12)
- 6 dec (6)
Stuff the head very firmly. Insert the safety eyes between rows 33 and 34. The distance between the bottom of the eyes should be 8 sc.
The Ears (Make 4)
Use purple yarn (standard cotton/acrylic) and a 2.5 mm hook. These are worked in rows (turn at the end of each row).
- MR, 2 sc, ch 1, turn (2)
- 2 inc, ch 1, turn (4)
- inc, 2 sc, inc, ch 1, turn (6)
- 6 sc, ch 1, turn (6)
- inc, 4 sc, inc, ch 1, turn (8)
- 8 sc, ch 1, turn (8)
- inc, 6 sc, inc, ch 1, turn (10)
- 10 sc, ch 1, turn (10)
- inc, 8 sc, inc, ch 1, turn (12)
- Rows 10-11: 12 sc, ch 1, turn (2 rows) (12)
- inc, 10 sc, inc, ch 1, turn (14)
- Rows 13-17: 14 sc, ch 1, turn (5 rows) (14)
- dec, 10 sc, dec, ch 1, turn (12)
- 12 sc (12)
Do not fasten off. Work sc around the long sides of the ear, making an inc (3 sc in one stitch) at the corner. Fold the top half in half and sc through both layers (6 sc). Fasten off, leaving a tail for sewing.
The Collar
Using lilac chenille yarn and a 3.5 mm hook.
- MR, 6 sc (6)
Continue crocheting in rounds (no need to count stitches or use a marker) until the collar is approximately 9 inches long. Fasten off, leaving a long tail to sew the ends together.
The Decorative Spots
Use purple yarn (standard cotton/acrylic) and a 2.5 mm hook. After each spot, use a slip stitch and fasten off, leaving a long tail for sewing.
Large Spot (1 needed for belly):
MR, 8 inc (16), (1 sc, 1 inc) x 8 (24), (3 sc, 1 inc) x 6 (30), (4 sc, 1 inc) x 6 (36).
Medium Spot (1 for belly, 1 for forehead):
MR, 8 inc (16), (1 sc, 1 inc) x 8 (24).
Small-Medium Spot (2 for belly, 2 for cheeks):
MR, 8 inc (16).
Small Spot (2 for belly):
MR, 6 inc (12).
Finishing
The final details bring Lu to life!
- Eye Detail: Using strong thread, pull the eye sockets inward vertically (from the sides) and horizontally (from the bottom) to create depth and expression.
- Assembly:
- Sew the 6 spots onto the belly (one large, one medium, two small-medium, and two small).
- Place the medium spot on the forehead, centered between the eyes.
- Sew the two small-medium spots onto the cheeks between rows 30 and 32, about 3 sc away from the outer edge of the eyes.
- Sew the collar around the neck and join the ends at the back.
- Attach the ears symmetrically. Place the lower pair between rows 36 and 37, and the upper pair one row higher.
- Embroidery:
- Nose: Using purple yarn, embroider the nostrils in row 32 (2 sc between the lower points, 4 sc between the upper points).
- Mouth & Brows: Use purple chenille yarn to embroider the mouth and eyebrows.
- Eyes: Use white chenille yarn to embroider the whites of the eyes and lilac chenille yarn to embroider the eyelids.
Tips for Success
- Tension is Key: When working with chenille yarn, try to keep your tension even. If you crochet too loosely, the stuffing might show through the gaps.
- Stuffing Firmly: For amigurumi, “firm” is better than “soft.” You want the character to hold its shape and not feel squishy like a pillow.
- Color Changes: When changing colors, try to do it on the last pull of the previous color to make the transition look seamless.
- Use Markers: Even if you think you can count, stitch markers are a lifesaver, especially when joining limbs or working in rounds.