No Needles, No Stress: Create Your Own Modern Chunky Loopy Pillow
“`html
How to Make a DIY Chunky Loopy Pillow: Step-by-Step Tutorial
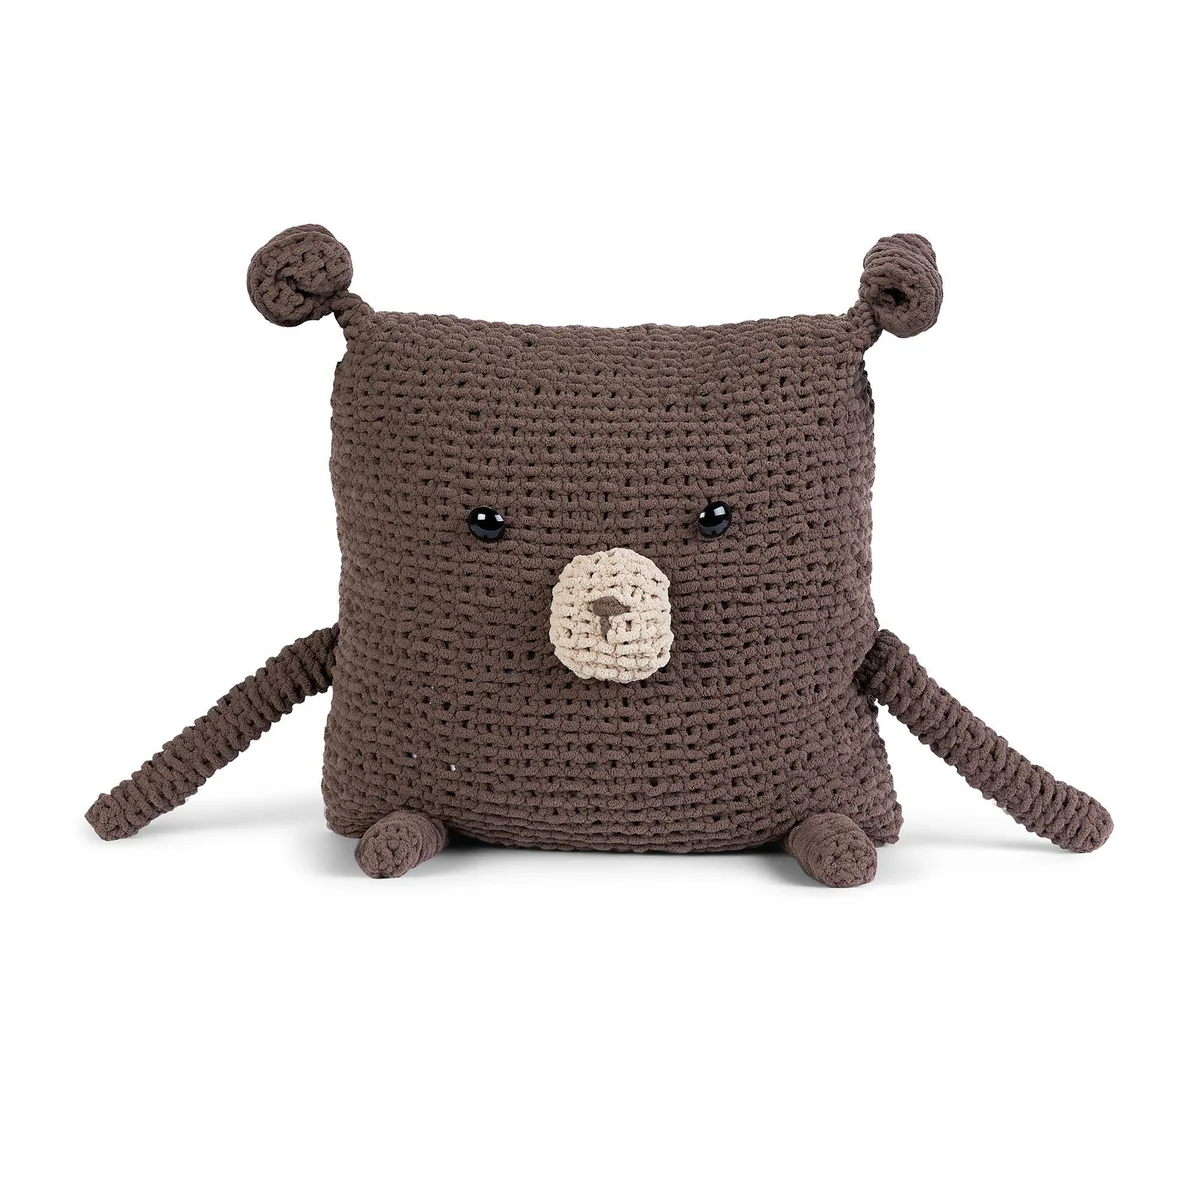
Add a touch of cozy, modern texture to your home with this chunky loopy pillow. This project is perfect for beginners because it uses a unique loop yarn that creates a high-end look with very simple movements. The best part? You don’t even need to turn your work!
Project Overview
- Skill Level: Easy
- Finished Size: Approximately 20″ x 20″ (51 cm square)
- Gauge: 5 stitches = 4″ (10 cm)
Materials Needed
- Yarn: 3 balls of Bernat Alize Blanket-EZ (approx. 6.4 oz/180 g per ball)
- Color: Dark Gray (or any color of your choice)
Important Tips for Success
Before you begin, keep these a few key rules in mind to ensure your pillow turns out perfectly:
- Right Side Only: The right side of the project should always face you.
- No Turning: Unlike traditional knitting or crochet, do not turn your work at the end of the rows.
- Working Yarn: Always keep your “working yarn” behind the stitches.
- Direction: Always pull loops from the working yarn through the stitches from the back to the front.
Step 1: Creating the Front Panel
The front panel features the decorative “loopy” texture. Begin by counting out 28 loops for your foundation row. Make sure the yarn end is at the far right and all loops are facing upwards.
Row 1 (Foundation Row)
Working from left to right, pull the 29th loop (from the working yarn) up through the 28th loop (the last loop of your foundation) from behind to create a knit stitch. Continue pulling the next loop from the working yarn up through the next loop of the foundation until you reach the end of the row. You should have 28 stitches. Do not turn.
Row 2 (Loopy Row)
Fold the row of loops from the previous row toward the lower edge to expose the horizontal “bump” behind each stitch. Working from right to left, pull the next loop from the working yarn up from behind and through the first exposed bump. Repeat this process across the row. Do not turn.
Row 3 (Loopy Row)
Again, fold the loops toward the lower edge to expose the bumps. Working from left to right, pull the next loop from the working yarn up from behind and through the first exposed bump. Repeat across the row. Do not turn.
Row 4 (Plain Row)
Working from right to left, pull the next loop from the working yarn up from behind and through the last stitch worked on the previous row. Repeat across the row. Do not turn.
Row 5 (Loopy Row)
Fold loops toward the lower edge to expose the bumps. Working from left to right, pull the next loop from the working yarn up from behind and through the first exposed bump. Repeat across the row. Do not turn.
Row 6 (Loopy Row)
Fold loops toward the lower edge to expose the bumps. Working from right to left, pull the next loop from the working yarn up from behind and through the first exposed bump. Repeat across the row. Do not turn.
Row 7 (Plain Row)
Working from left to right, pull the next loop from the working yarn up from behind and through the last stitch worked on the previous row. Repeat across the row. Do not turn.
Repeat: Continue repeating Rows 2 through 7 until the front panel measures 20″ (51 cm).
Binding Off the Front
Working in the same direction as your last row, pull the 2nd stitch through the 1st stitch. Then, pull the 3rd stitch through the 2nd, and the 4th through the 3rd. Continue this across the row. Cut the last loop to create a yarn tail, tie it securely, and weave in the ends.
Step 2: Creating the Back Panel
The back panel is a simpler, plainer stitch. Count out 26 loops for the foundation row, with the yarn end at the far right and loops facing upward.
Row 1
Working from left to right, pull the 27th loop (working yarn) up through the 26th loop (last loop of foundation) from behind to create a knit stitch. Continue pulling the working yarn through each foundation loop to the end of the row. You should have 26 stitches. Do not turn.
Row 2
Working from right to left, pull the next loop from the working yarn up from behind and through the last stitch worked on the previous row. Repeat across the row. Do not turn.
Row 3
Working from left to right, pull the next loop from the working yarn up from behind and through the last stitch worked on the previous row. Repeat across the row. Do not turn.
Repeat: Continue repeating Rows 2 and 3 until the back panel measures 20″ (51 cm).
Binding Off the Back
Working in the same direction as your last row, pull the 2nd stitch through the 1st, the 3rd through the 2nd, and so on. Cut the last loop, tie securely, and weave in your ends.
Step 3: Finishing Your Pillow
Now that you have your two panels, place them together (right sides facing each other) and sew the edges together using a tapestry needle and matching yarn, leaving a small opening to insert your pillow form. Once the pillow form is inside, sew the remaining gap closed.
“`