How to Crochet a Tiny Fuzzy Kitten: Free Amigurumi Pattern
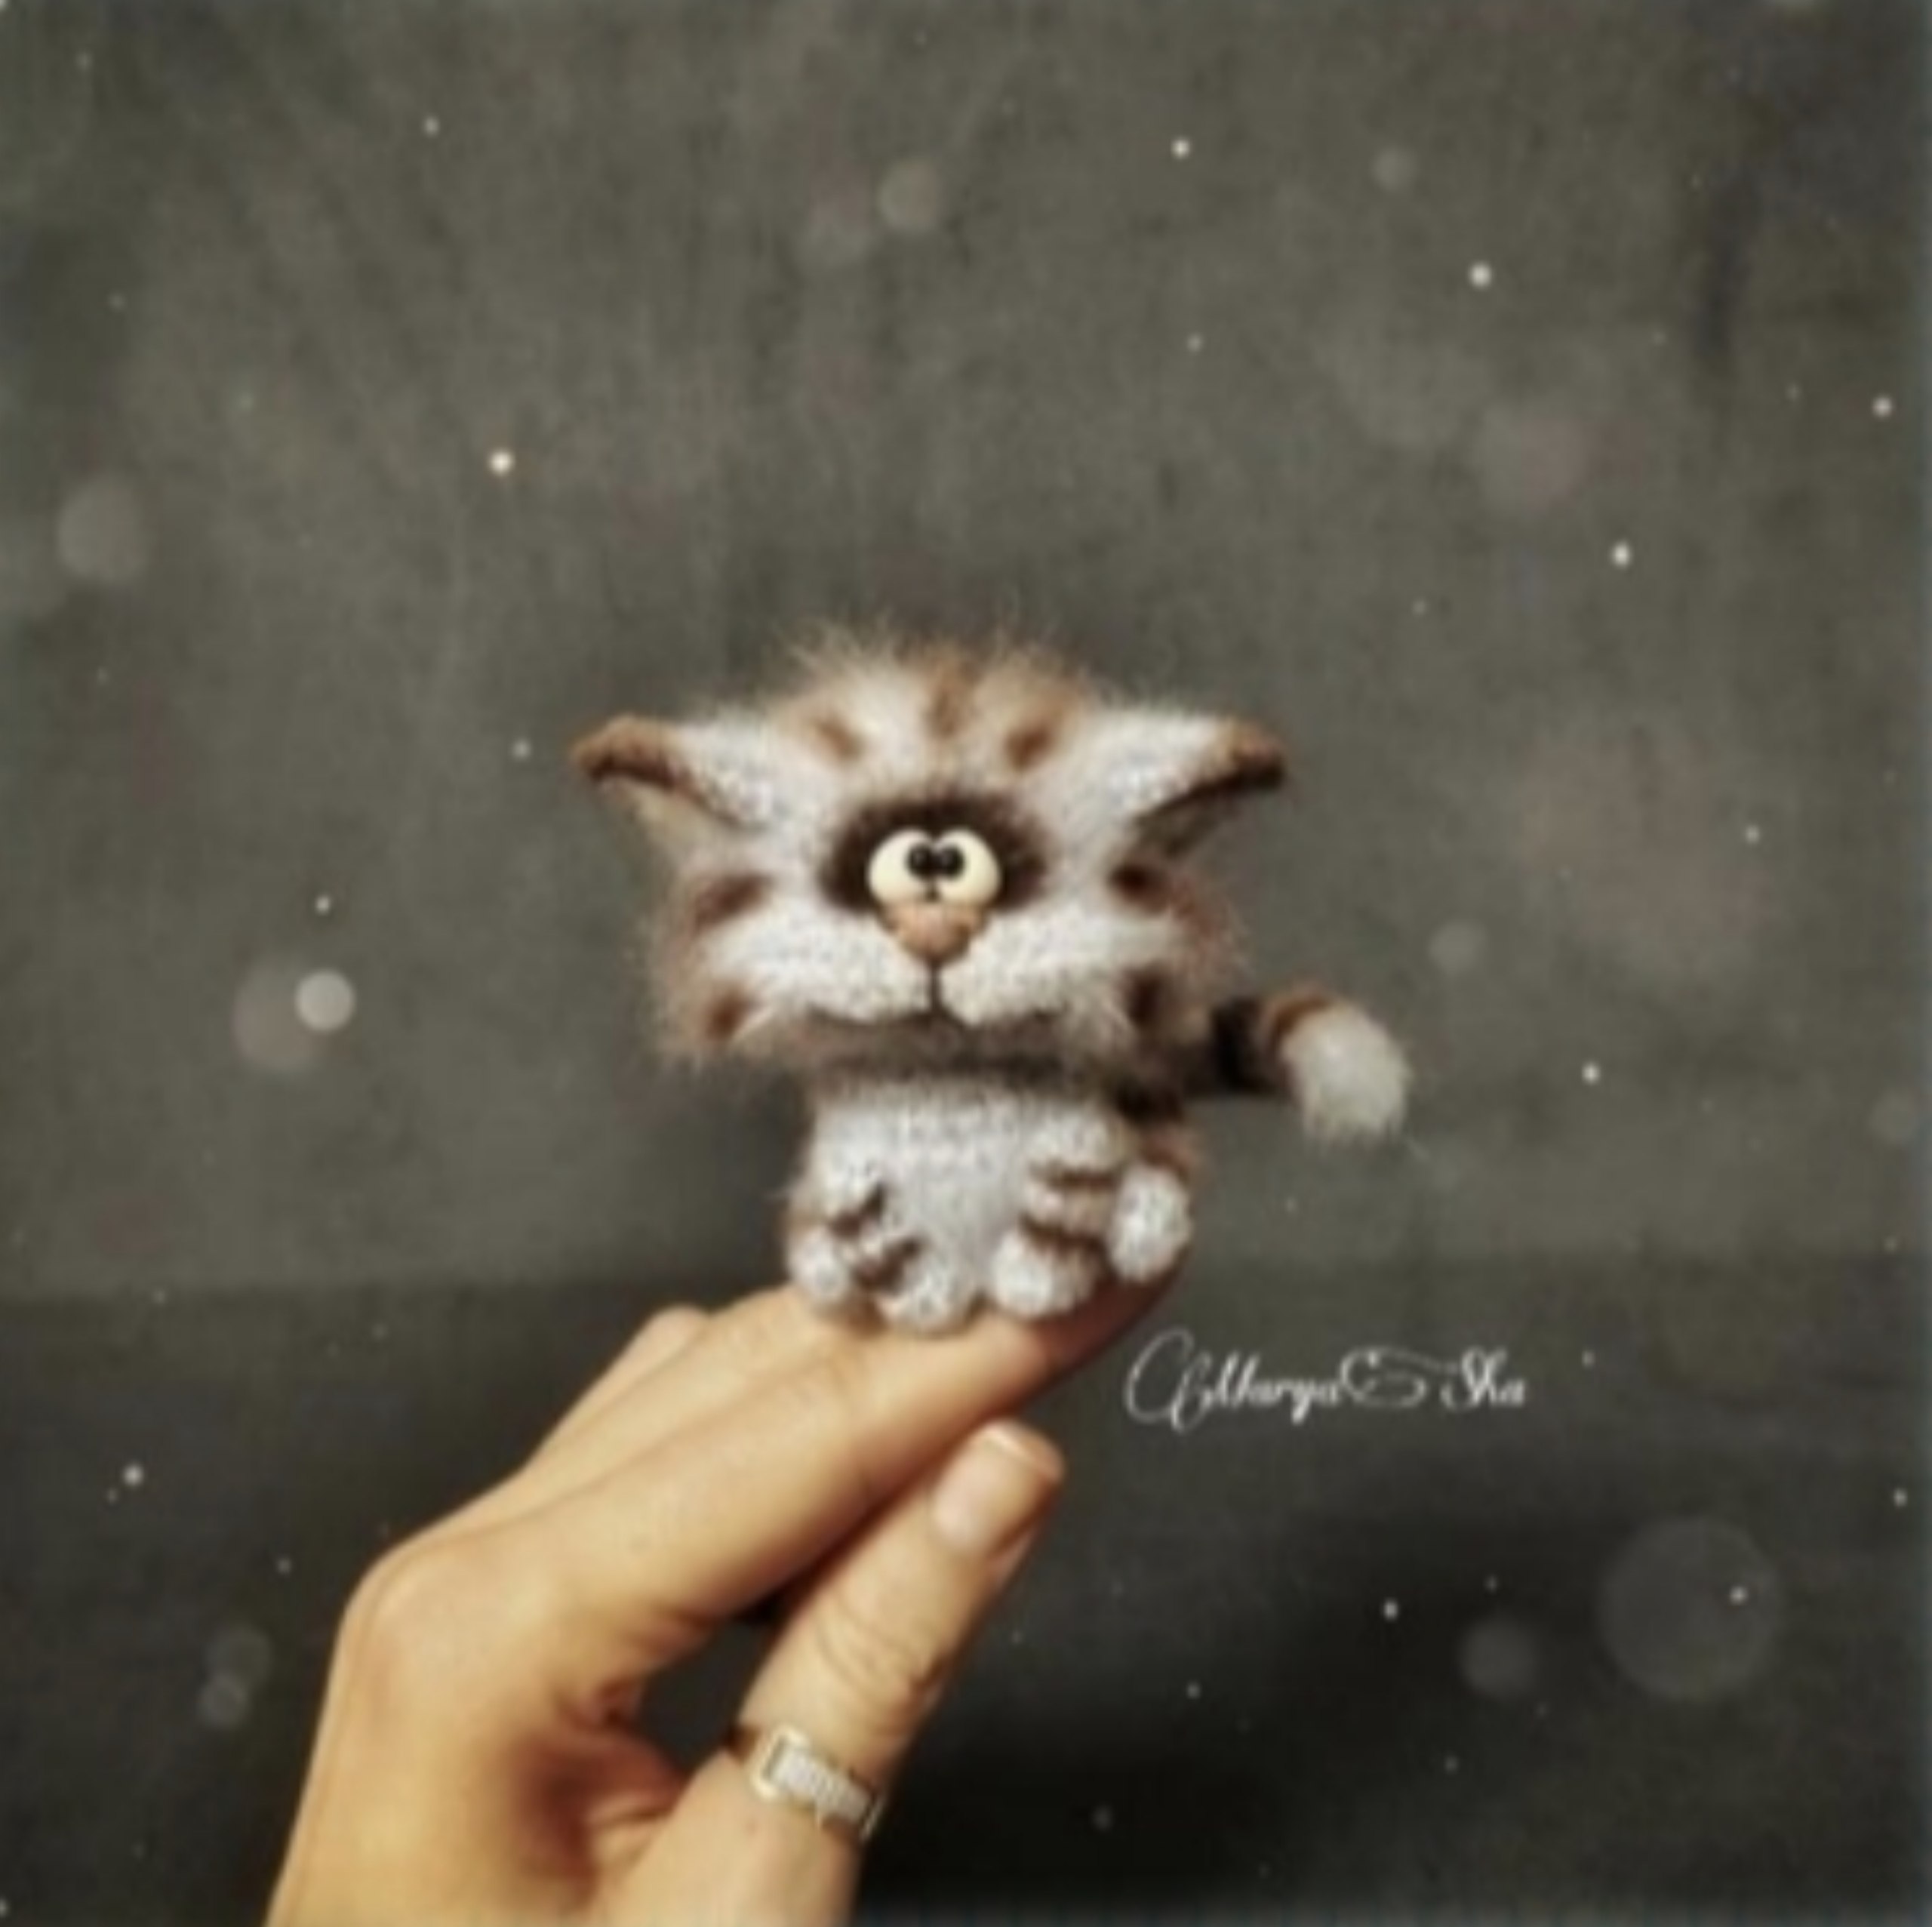
Looking for a project that is small in size but huge on personality? This tiny fuzzy kitten is the perfect project for crocheters who love miniatures and “art toys.” This isn’t just a standard amigurumi; it’s a mixed-media piece that combines crochet, sculpting, and painting to create a realistic, fluffy companion. Standing at only about 2.4 inches tall, this kitten is a wonderful way to practice your detail work and face-sculpting techniques.
Because this kitten uses mohair-style yarn and involves a bit of “grooming” (brushing and trimming), the final result looks more like a plush collectible than a traditional crochet toy. Whether you’re making this as a gift or a cute desk buddy, this step-by-step guide will walk you through the entire process.
Materials & Abbreviations
To get that signature fluffy look, we use a blend of wool and acrylic. You can substitute the yarns, but keep in mind that thicker yarn will result in a larger kitten and will require thicker wire for the internal supports.
Materials Needed
- Yarn: A fine wool/acrylic blend (such as Alize Angora Real 40) in your choice of main color, and a matching Kid Mohair for added fluffiness.
- Crochet Hook: 1.0mm hook (US size 0 or 00).
- Stuffing: Polyester fiberfill.
- Wires: Thin jewelry wire (0.3-0.5mm) for the ears and chenille wire for the tail.
- Sculpting & Finishing:
- Polymer clay (white, black, and flesh tones) for eyes and nose.
- Acrylic paints or soft pastels (sepia/brown and white).
- A flat synthetic brush, a toothbrush (for blending), and tweezers.
- A slicker brush (pet brush) or a piece of strong Velcro for fluffing the yarn.
- A felting needle (optional, for securing stuffing).
- Small piece of stiff cardboard or plastic (approx. 1.4 inches in diameter) for the body base.
- Fabric glue or a hot glue gun.
- Embroidery needle and strong matching thread.
Abbreviations (US Terms)
- MR: Magic Ring
- ch: Chain
- sc: Single crochet
- inc: Increase (two single crochets in one stitch)
- dec: Decrease (two single crochets joined together)
- sl st: Slip stitch
- st(s): Stitch(es)
Pro Tip: This pattern is worked in a continuous spiral. Do not join rounds with a slip stitch unless specified. To keep your place, use a stitch marker. All decreases should be “invisible decreases” (worked through the front loops only) to keep the fabric tight and seamless.
Step-by-Step Instructions
The Upper Paws (Make 2)
These are the tiny front paws that will eventually be joined to the body.
- Round 1: 6 sc in MR.
- Rounds 2-7: 6 sc (6 sts).
- Finish: Crochet 3 sc across the opening to flatten the paw. Fasten off, weave in ends. You can brush these now or wait until the end.
The Lower Paws (Make 2)
These form the base of the kitten’s sit.
- Round 1: 7 sc in MR.
- Rounds 2-4: 7 sc (7 sts).
- Finish: Fasten off and weave in ends. Leave these unstuffed.
The Body
The marker should be placed in the center of the belly.
- Round 1: 8 sc in MR.
- Round 2: inc x 8 (16 sts).
- Round 3: (1 sc, inc) x 8 (24 sts).
- Round 4: 4 sc, (1 sc, inc) x 8, 4 sc (32 sts).
- Round 5: 6 sc, 3 sc joined together with the stitches of a lower paw, 14 sc, 3 sc joined with the second lower paw, 6 sc (32 sts).
- Round 6: 6 sc, 4 sc worked into the remaining stitches of the first paw, 14 sc, 4 sc worked into the remaining stitches of the second paw, 6 sc (34 sts).
- Rounds 7-8: 34 sc (34 sts).
- Round 9: 10 sc, dec x 3, 2 sc, dec x 3, 10 sc (28 sts).
- Round 10: 3 sc, 3 sc joined with an upper paw, 6 sc, dec x 2, 6 sc, 3 sc joined with the second upper paw, 3 sc (26 sts).
Body Base: Now, cut a small circle of cardboard (about 1.4 inches wide) and insert it into the bottom of the body. This provides stability so the kitten can sit upright.
- Round 11: dec, (dec, 2 sc) x 5, dec x 2 (18 sts).
- Finish: Crochet 9 sc to shift the seam, then sl st. Fasten off. Stuff the body firmly, focusing on the back and rear. If you have a felting needle, use it to secure the stuffing at the closing hole; otherwise, simply sew it shut with decreases.
The Head
The marker must be exactly in the center of the face.
- Round 1: 8 sc in MR.
- Round 2: inc x 8 (16 sts).
- Round 3: (1 sc, inc) x 8 (24 sts).
- Round 4: 1 sc, (inc, 2 sc) x 7, inc, 1 sc (32 sts).
- Rounds 5-8: 32 sc (32 sts).
- Round 9: 2 sc, inc x 4, 20 sc, inc x 4, 2 sc (40 sts). These increases create the chubby cheeks.
- Rounds 10-11: 40 sc (40 sts).
- Round 12: 2 sc, dec x 4, 20 sc, dec x 4, 2 sc (32 sts).
- Round 13: (2 sc, dec) x 8 (24 sts).
- Round 14: 1 sc, (dec, 2 sc) x 5, dec, 1 sc (18 sts).
- Finish: Crochet 12 sc to shift the end of the round to the left side, sl st. Stuff the head firmly but leave a little room for face sculpting.
The Ears (Make 4)
Ears are worked in rows. You will need 2 in the main color and 2 in white. Do not use mohair for the ears.
- Row 1: ch 2, in 2nd ch from hook: inc (2 sts). Turn.
- Row 2: inc, 1 sc (3 sts). Turn.
- Row 3: inc, 1 sc, inc (5 sts). Turn.
- Row 4: inc, 4 sc (6 sts). Turn.
- Row 5: inc, 5 sc (7 sts).
Assembly: Join one white ear piece to one main-color ear piece. Wrap thin jewelry wire around the edges of the combined pieces to give the ears shape and structure. Fasten off and brush the outer edges.
The Tail
- Round 1: 6 sc in MR.
- Round 2: (2 sc, inc) x 2 (8 sts).
- Rounds 3-4: 8 sc (8 sts).
- Round 5: dec, 6 sc (7 sts).
- Rounds 6-8: 7 sc (7 sts).
- Round 9: dec, 5 sc (6 sts).
- Rounds 10-16: 6 sc (6 sts).
- Finish: Fasten off. Brush the tail thoroughly to make it fluffy. Insert a piece of chenille wire inside for poseability.
Finishing & Face Sculpting
Sculpting the Face
To give the kitten a realistic expression, we use a technique called “sculpting” or “tensioning.” Place pins in the head to mark these points:
- T1 & T2: Between rounds 6 and 7, about 4 stitches apart.
- T3: Between T1 and T2, one row below (this is the nose).
- T4: Directly below T3, between rounds 11 and 12 (the mouth).
- T5 & T6: Between rounds 11 and 12, about 5 stitches to the left and right of T4.
The Process:
- Insert your needle at T4, go up to T2, stitch 2 stitches toward the center of the head, and return to T4. Pull tight to create a dimple. Repeat on the other side.
- Create the smile by stitching from T2 to T6 and T1 to T5, pulling firmly.
- Stitch from T4 to T3, pulling the needle through the bottom of the head to create the nose bridge.
- Embroider the smile line using a matching thread, following the dimples you just created.
Finally, add a bit more stuffing to the cheeks to round them out. Brush the face, then carefully trim the muzzle area with scissors until it is a smooth, velvet-like surface.
Painting & Final Assembly
Adding Color: Use your flat brush and a toothbrush for blending.
- White: Apply to the muzzle and blend into the cheeks.
- Brown/Sepia: Paint semi-circles around the eye sockets, a thin line down the center of the muzzle, the smile line, and the tips of the ears. Add stripes to the paws, body, and tail.
Final Steps:
- Eyes & Nose: Sculpt tiny beads and a small triangle out of polymer clay. Bake/cure them and glue them onto the prepared spots on the face.
- Ears: Pin the ears to the head (Front: between R4-5, Back: between R7-8, Top: R4). Sew them in place and blend the seams using a brush.
- Head to Body: Pin the head to the body, adjust the angle, and sew it securely.
- Tail: Use tweezers to make a small hole in the rear, insert the chenille wire, and sew the tail in place.
Tips for Success
- Grooming is Key: Don’t be afraid to brush your kitten! The “magic” happens when you brush out the yarn and trim it into a realistic shape.
- Tension Matters: When sculpting the face, be careful not to pull so hard that you rip the crochet fabric. Work in small, controlled increments.
- Wire Safety: Ensure the ends of your wires are tucked securely into the stuffing or bent over so they don’t poke through the fabric.