How to Crochet a Cozy Dragon Neck Pillow: Step-by-Step Pattern
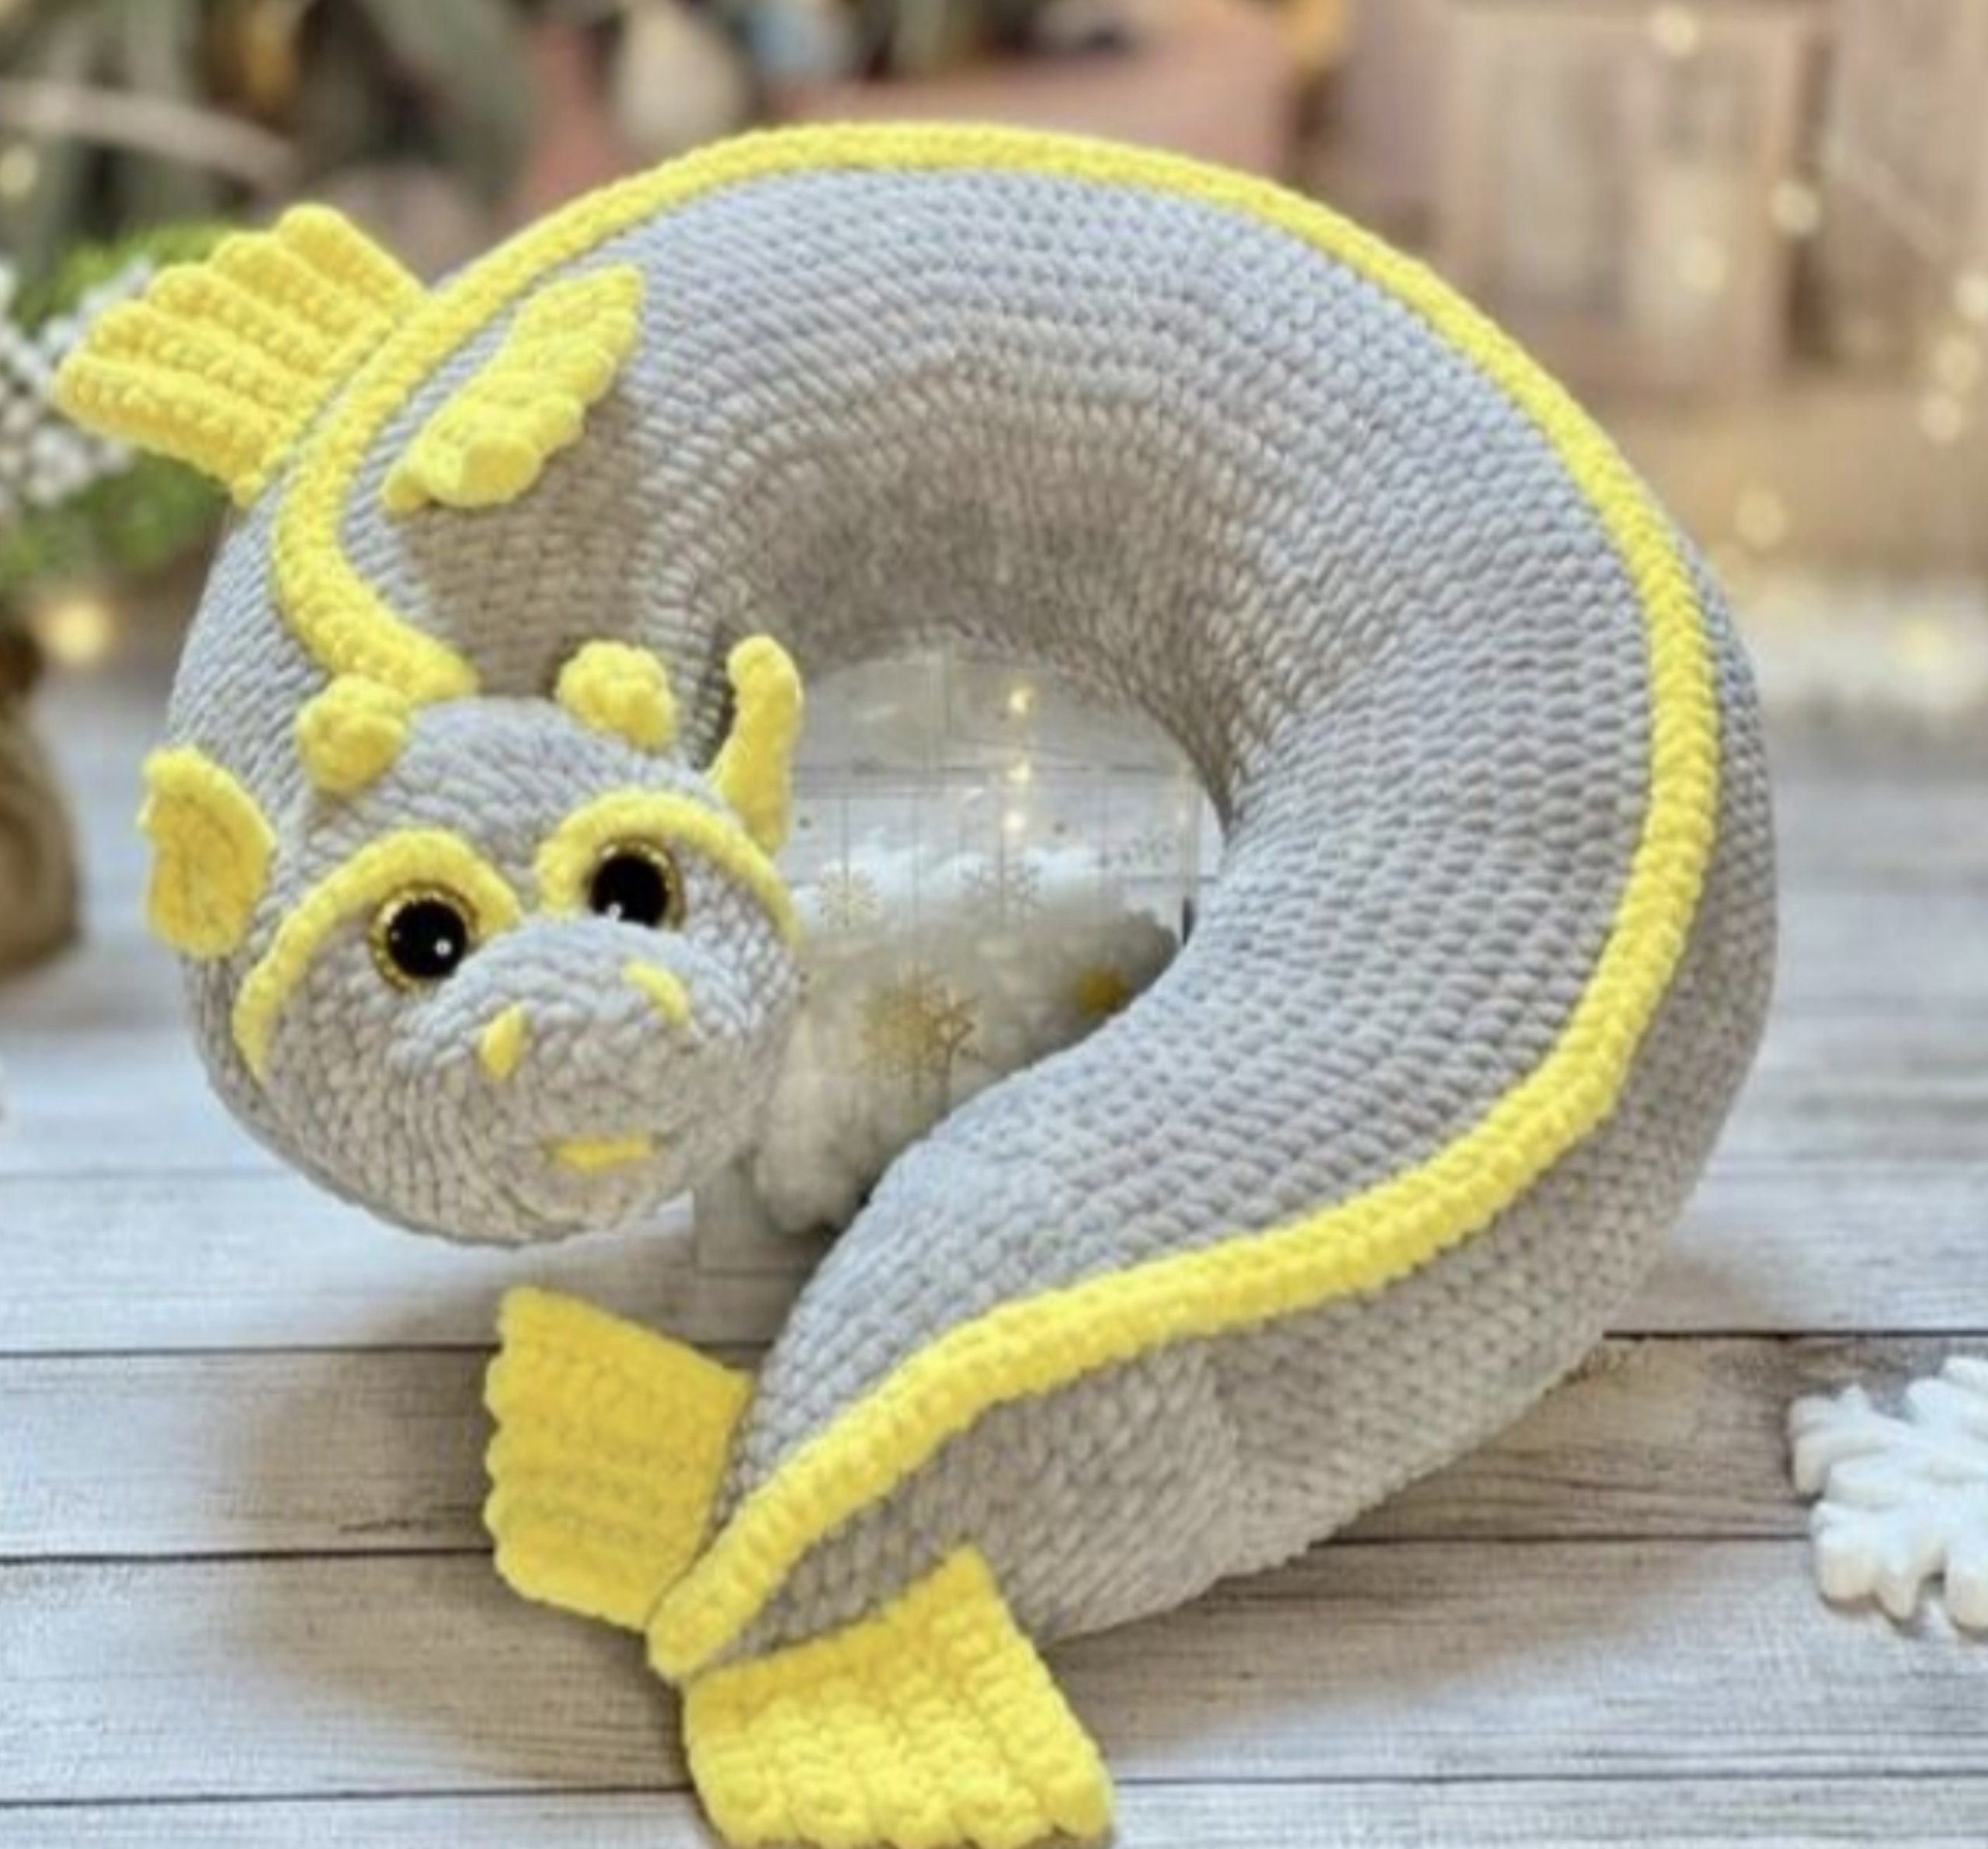
Imagine curling up for a long flight or a cozy afternoon nap with a plush, oversized dragon wrapped around your neck. This Crochet Dragon Neck Pillow combines the functionality of a travel pillow with the charm of an amigurumi toy. Using super-soft chenille yarn, this project creates a chunky, velvety texture that is perfect for hugging.
Whether you are looking for a unique gift or a whimsical addition to your own travel gear, this pattern is designed to be beginner-friendly. We will walk you through every step, from the large, curved body to the tiny, adorable horns.
Materials & Abbreviations
To get that signature “cloud-like” feel, we recommend using a plush chenille or blanket-style yarn. This makes the pillow soft and helps the project work up quickly.
Materials Needed
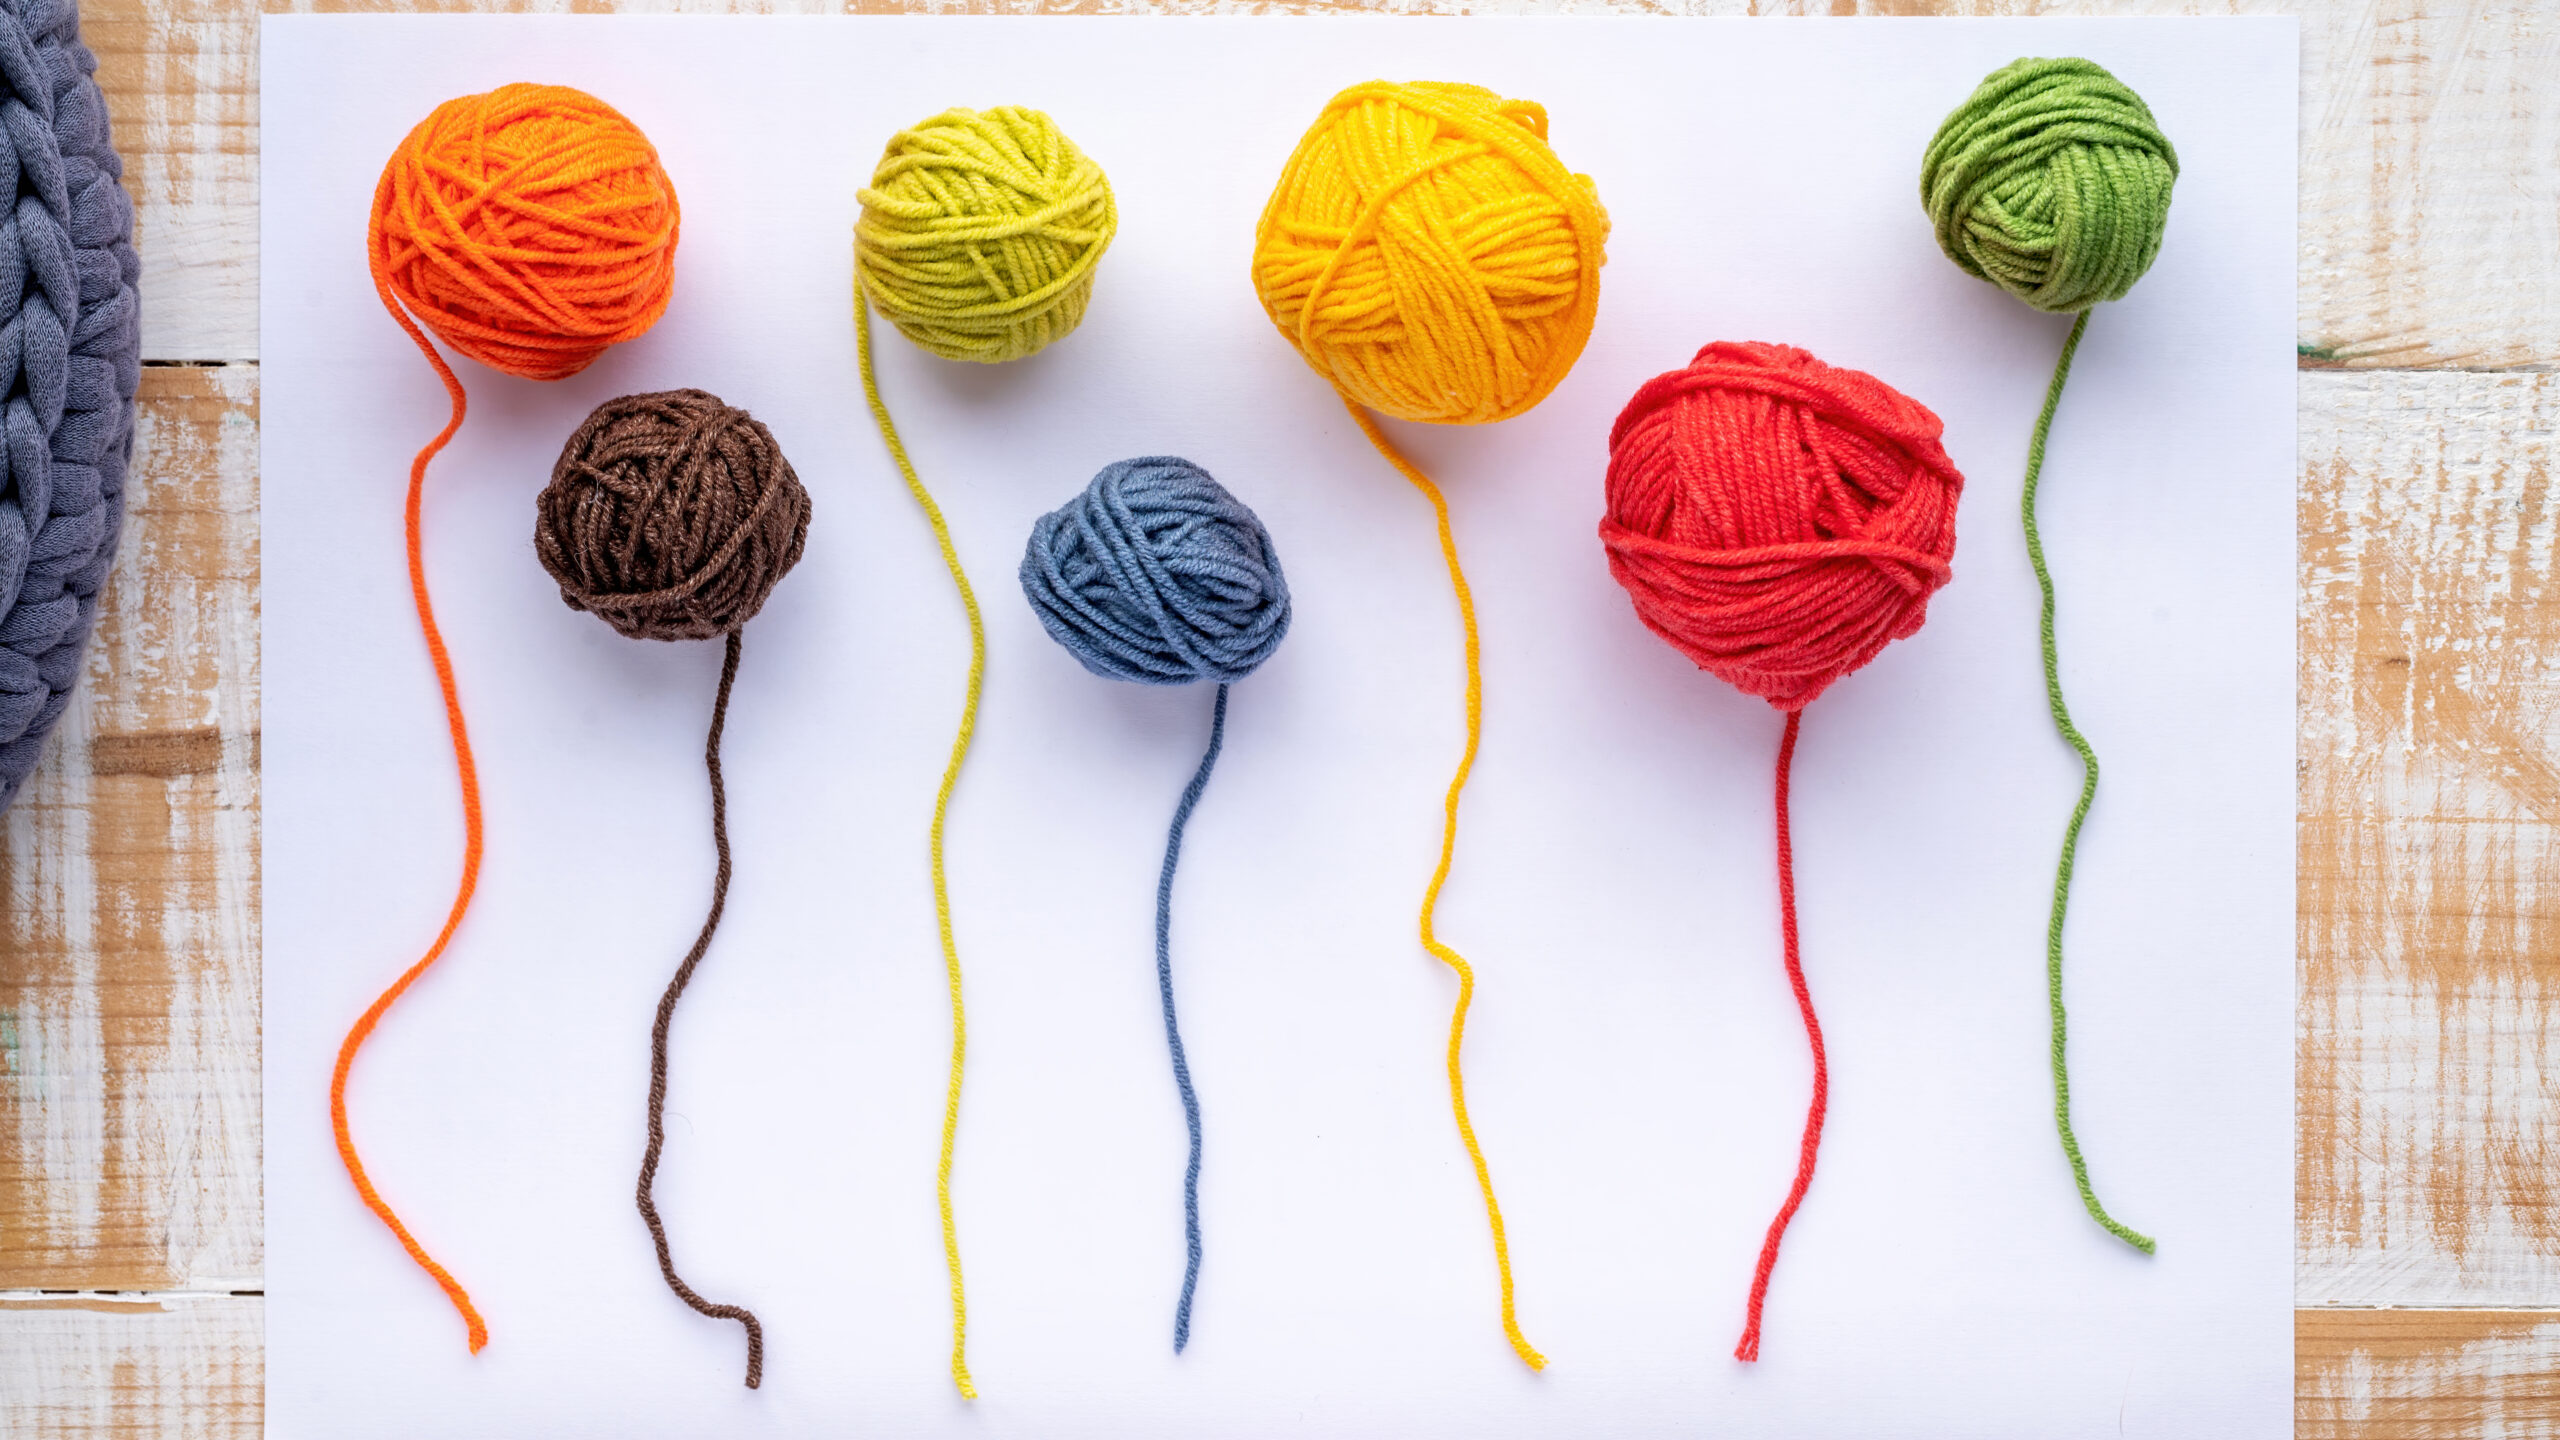
- Main Yarn: Approximately 1.5 skeins of super bulky chenille yarn (such as Himalaya Dolphin Baby or YarnArt Dolce) in your choice of primary color (grey or black).
- Accent Yarn: A small amount of super bulky chenille yarn in yellow.
- Crochet Hook: 4.0 mm (G) hook.
- Eyes: 16 mm safety eyes with irises.
- Stuffing: High-quality polyester fiberfill.
- Tools: Yarn needle, scissors, and a piece of strong dental floss (used for sculpting and tightening the face).
- Optional: A small amount of hot glue for the mouth detail.
Abbreviations (US Terms)
- MR: Magic Ring
- ch: Chain
- sc: Single crochet
- inc: Increase (two sc in the same stitch)
- dec: Decrease (sc two stitches together)
- hdc: Half double crochet
- sl st: Slip stitch
- BLO: Back loop only
- st(s): Stitch(es)
Finished Size: Approximately 11 inches in outer diameter and 3.5 inches in inner diameter (depending on your tension).
Step-by-Step Instructions
The Body
The body is worked as a large, flat oval that is later stuffed and sewn into a donut shape. Stuff the body firmly as you sew the ends together to maintain the pillow’s structure.
- Row 1: Ch 49. Starting in the 2nd ch from the hook: (3 sc, inc) 11 times, 3 sc, 3 sc in the next stitch, 2 sc, (inc, 3 sc) 11 times, inc. (120 sts)
- Row 2: (4 sc, inc) 24 times. (144 sts)
- Row 3: (5 sc, inc) 24 times. (168 sts)
- Row 4: sc in each st around. (168 sts)
- Row 5: (6 sc, inc) 24 times. (192 sts)
- Row 6: sc in each st around. (192 sts)
- Row 7: (7 sc, inc) 24 times. (216 sts)
- Row 8: sc in each st around. (216 sts)
- Row 9: (8 sc, inc) 24 times. (240 sts)
- Rows 10-11: sc in each st around for 2 rows. (240 sts)
- Row 12: (3 sc, dec) 2 times, (9 sc, inc) 9 times, 10 sc, (dec, 3 sc) 4 times, (9 sc, inc) 9 times, 10 sc, (3 sc, dec) 2 times. (250 sts)
- Row 13: sc in each st around. (250 sts)
- Row 14: (2 sc, dec) 2 times, (10 sc, inc) 9 times, 10 sc, (dec, 2 sc) 4 times, (10 sc, inc) 9 times, 10 sc, (2 sc, dec) 2 times. (260 sts)
- Row 15: sc in each st around. (260 sts)
- Row 16: (1 sc, dec) 2 times, (11 sc, inc) 9 times, 10 sc, (dec, 1 sc) 4 times, (11 sc, inc) 9 times, 10 sc, (1 sc, dec) 2 times. (270 sts)
- Row 17: sc in each st around. (270 sts)
- Row 18: 2 dec, (12 sc, inc) 9 times, 10 sc, 4 dec, (12 sc, inc) 9 times, 10 sc, 2 dec. (280 sts)
- Row 19: sc in each st around. (280 sts)
- Row 20: 2 dec, 134 sc, 3 dec, 134 sc, dec. (274 sts)
The Head
The head uses a combination of single crochet and half double crochet to create a rounded, slightly elongated snout.
- Round 1: 6 sc in MR.
- Round 2: 6 inc (12)
- Round 3: (3 sc, 3 inc) 2 times (18)
- Round 4: 3 sc, (1 sc, inc) 3 times, 3 sc, (1 sc, inc) 3 times (24)
- Rounds 5-6: sc in each st around (24)
- Round 7: 12 sc, 6 inc worked in hdc, 6 sc (30)
- Round 8: (2 sc, inc) 4 times, (1 hdc, inc in hdc) 6 times, (2 sc, inc) 2 times (42)
- Round 9: (6 sc, inc) 6 times (48)
- Round 10: 18 sc, (2 hdc, inc in hdc) 6 times, 12 sc (54)
- Rounds 11-13: sc in each st around (54)
Eyes: Place safety eyes between Rounds 7 and 8, approximately 8 stitches apart.
Dragon Details
Switch to your yellow yarn for these accent pieces.
Ears (Make 2)
- Row 1: Ch 6. Starting in 2nd ch from hook: 5 sc, ch, turn.
- Row 2: BLO 4 sc, ch, turn.
- Row 3: BLO 4 sc, ch, turn.
- Row 4: BLO 3 sc, ch, turn.
- Row 5: BLO 3 sc, ch, turn.
- Finish: Slip stitch along the side wall to close the ear shape.
Horns (Make 2)
- Round 1: 6 sc in MR.
- Round 2: 6 sc. Fasten off.
Lip (Make 1)
- Row 1: Ch 2. Starting in 2nd ch from hook: inc, ch, turn (2)
- Row 2: 2 inc, ch, turn (4)
- Row 3: inc, 2 sc, inc (6). Fasten off.
Tail (Make 1)
- Round 1: 6 sc in MR.
- Round 2: 6 sc.
- Round 3: (1 sc, inc) 3 times (9)
- Round 4: (2 sc, inc) 3 times (12)
- Rounds 5-16: Continue increasing by 3 stitches each round (e.g., Round 5 is 3 sc, inc; Round 6 is 4 sc, inc) until you reach 48 stitches in Round 16.
- Round 17: sc in each st around (48). Fasten off.
Wings (Make 4)
- Row 1: Ch 10. Starting in 2nd ch from hook: 9 sc, ch, turn (9)
- Row 2-3: BLO 8 sc, ch, turn (8)
- Row 4-5: BLO 7 sc, ch, turn (7)
- Row 6-7: BLO 6 sc, ch, turn (6)
- Row 8-9: BLO 5 sc, ch, turn (5)
- Finish: Work 9 slip stitches along the side of the wing.
Crest and Brows
- Crest: Ch 126. Sc in each ch across (125 sc).
- Brows (Make 2): Ch 15. Fasten off.
Finishing & Assembly
This is where your dragon comes to life! Follow these steps to assemble your plushie:
- Connect the Body: Sew the two ends of the body together, stuffing it firmly with fiberfill as you go.
- Attach the Head: Sew the head securely to the front of the body.
- Sculpt the Face: Use a piece of dental floss to create “pulls” from the snout to the back of the head. This creates the indented look around the eyes and defines the muzzle.
- Facial Features: Sew the ears, horns, and lip in place. Use a needle and yarn to embroider two small nostrils. For the mouth, you can use a small piece of yellow yarn (2 chains) and attach it with a dot of hot glue.
- The Tail: Sew the tail to the back of the body. Attach two of the wings to the tail.
- The Final Touches: Sew the brows above the eyes. Pin the crest and the remaining two wings along the back of the body to ensure they are centered, then sew them firmly in place.
Tips for Success
- Tension is Key: When working with chenille yarn, avoid pulling too tight, as the yarn can snap. However, keep your stitches tight enough so the stuffing doesn’t peek through.
- Finding Stitches: Plush yarn can hide your stitches. Use your fingers to feel for the spaces between the “v” shapes of the crochet stitches if you can’t see them clearly.
- Stuffing: Don’t be afraid to overstuff the neck area. Since this is a pillow, it needs to be supportive enough to hold its shape when used.
- Custom Colors: While grey and yellow are classic, this dragon looks great in emerald green and gold or deep purple and silver!