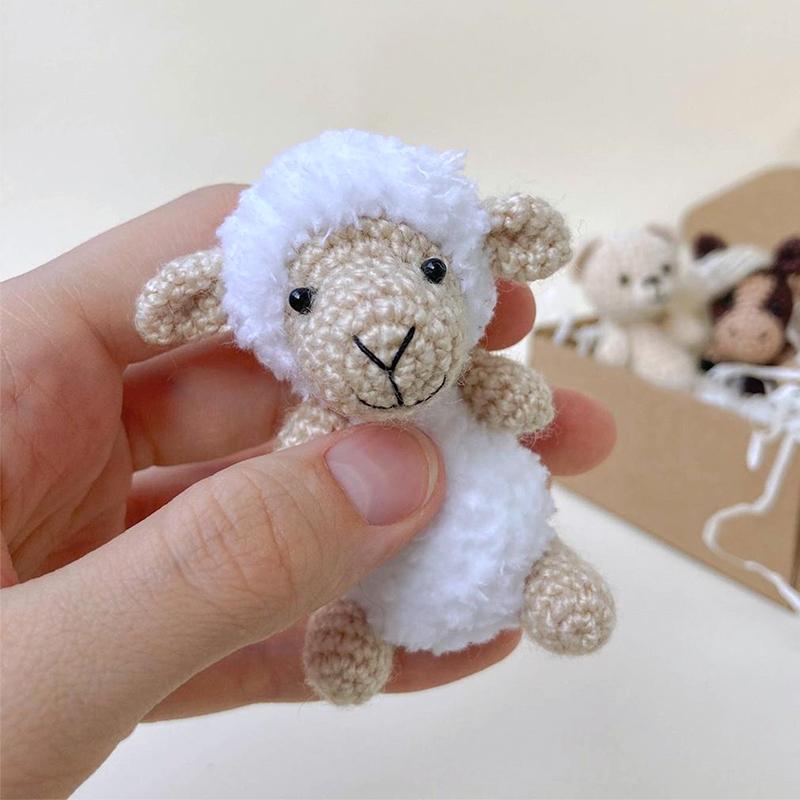
Fluffy Little Sheep Crochet Pattern: A Sweet Amigurumi
Part 6: Tail
Work with white fluffy yarn.
- Round 1: 5 sc in MR (5)
Pull the ring closed tightly. Cut the yarn, leaving a long tail for sewing the tail to the body.
Part 7: Assembly – Bringing Your Sheep to Life!
Step 1: Attach the Ears
Sew the ears to the sides of the head. The exact row placement is up to you – in the sample, the ears were placed so they are barely visible from the front, peeking out from the fluffy wool.
Step 2: Attach the Eyes
Glue the eyes (3 mm) between Rounds 6 and 7 of the head. Position them on the sides of the increases made in Round 7.
Step 3: Embroider the Face
Using fine black thread:
- Nose: Embroider on Rounds 1-2 of the head
- Mouth: Embroider between Rounds 3 and 4
- Vertical line: Embroider a vertical line from the nose down to the mouth (this creates the cute sheep “V” shaped mouth)
Step 4: Attach the Head to the Body
Sew the head to the body using the long tail left on the body. Position the head so the face is centered and the fluffy body creates a nice round shape.
Step 5: Attach the Arms
Attach the arms using thread attachment (or sew them directly) about 1 round below the seam between the head and the body. The arms can dangle loosely or be positioned to stick out slightly.
Step 6: Attach the Legs
Attach the legs using thread attachment (or sew them directly) between Rounds 4 and 5 of the body, positioned on the sides. This allows the sheep to sit nicely.
Step 7: Attach the Tail
Sew the tail to the back of the body, approximately on Rounds 5-6
Congratulations! Your Fluffy Sheep Is Complete.
You did it! Your little sheep is finished, and she is absolutely adorable. With her soft fluffy body, sweet little face, and tiny limbs, she is ready to be loved