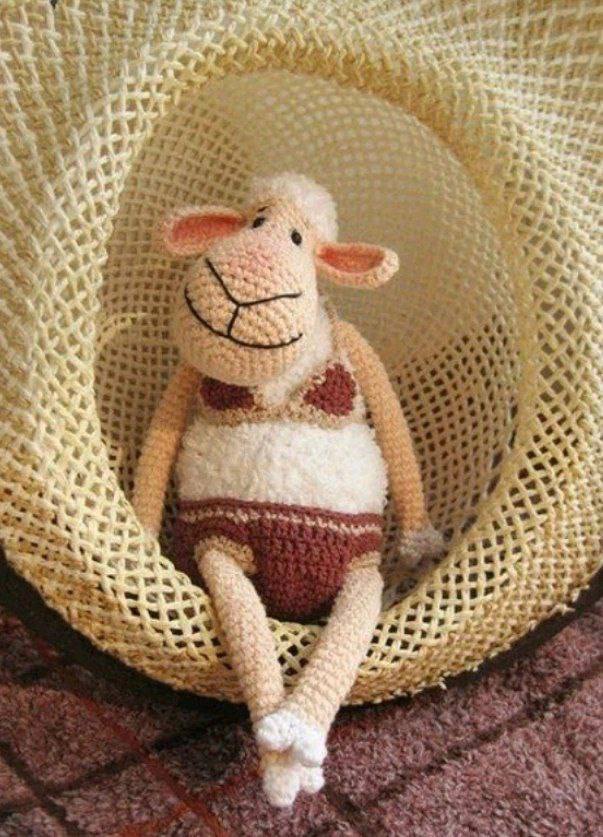
Adorable Crochet Lamb Amigurumi Pattern: A Step-by-Step Tutorial
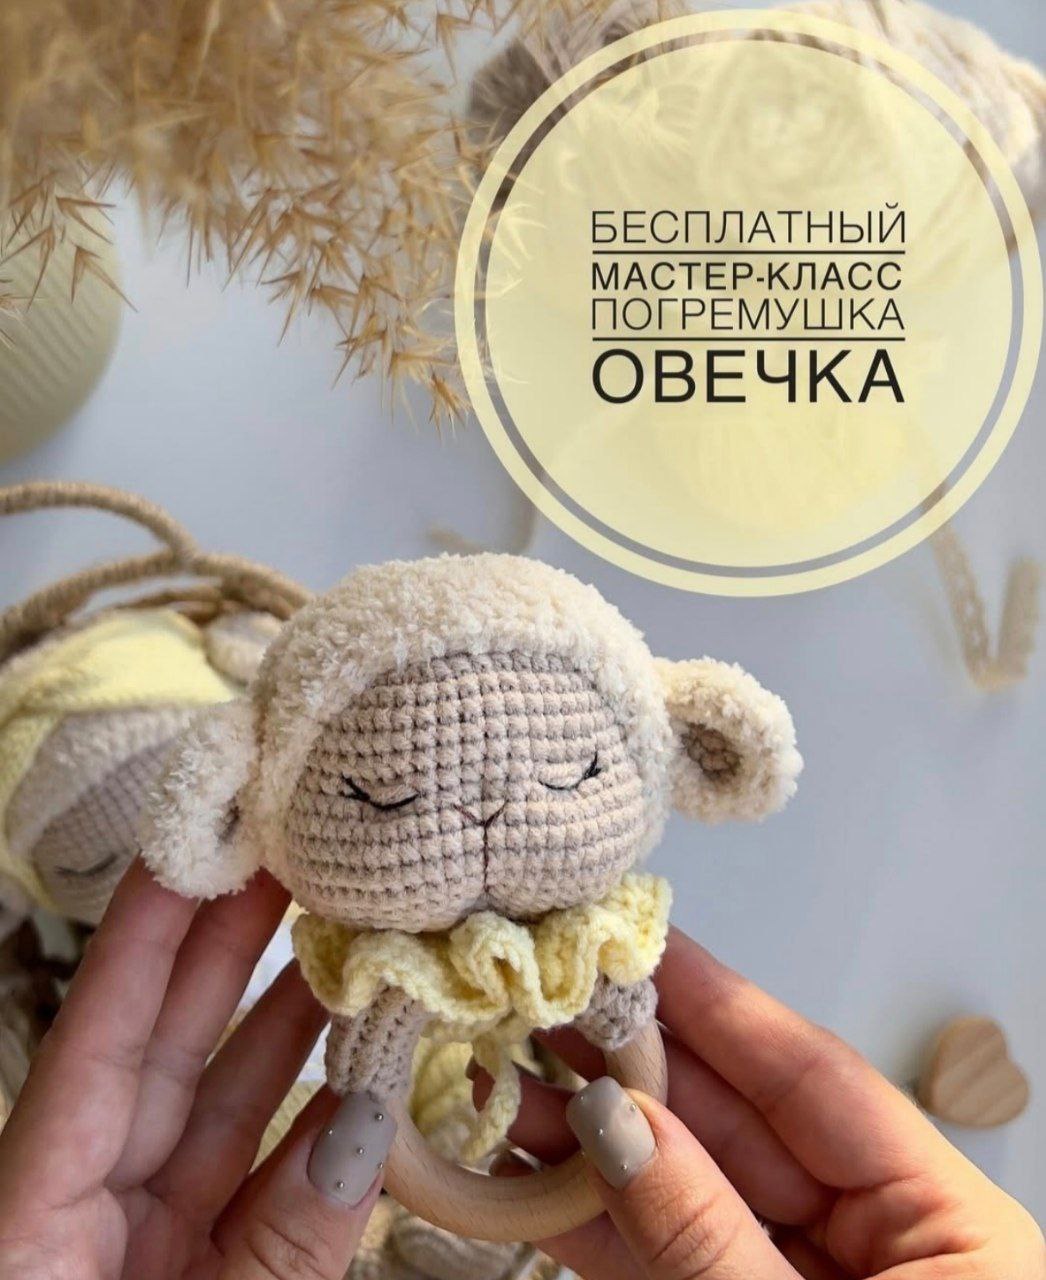
There is nothing quite as cozy as a handmade crochet animal, and this little lamb is the perfect project for anyone looking to create a sweet, cuddly companion. With its mix of textures and darling expression, this amigurumi sheep makes a wonderful gift for a newborn, a nursery decoration, or a charming addition to your own crochet collection.
This pattern is designed to be beginner-friendly, though it does include some shaping in the face and a clever technique for the hooves that adds a professional touch. When completed, your miniature lamb will stand approximately 9 inches tall. Let’s grab our hooks and yarn and get started!
Materials & Abbreviations
To achieve the look in the photos, you will want a combination of a fine cotton yarn for the details and a bulkier yarn for the body to give the lamb that “woolly” feel.
Materials Needed
- Yarn:
- White Cotton Sport weight yarn (for the head, horns, and legs)
- White Bulky or Chunky weight yarn (for the body and tail)
- Gray Cotton Sport weight yarn (for the ears)
- Black Cotton Sport weight yarn (for the hooves)
- Crochet Hooks: 1.5mm (for fine details) and 5.0mm (for the body)
- Stuffing: High-quality polyester fiberfill
- Eyes: Small plastic safety eyes or beads
- Notions: Yarn needle, scissors, and stitch markers
- Optional: Acrylic paint for shading the face and horns, embroidery floss for the nose and mouth
Abbreviations (US Terms)
- MR: Magic Ring
- Sc: Single crochet
- Inc: Increase (2 sc in one stitch)
- Dec: Decrease (sc 2 together)
- Hdc: Half double crochet
- Ch: Chain
- St: Stitch
- Sl st: Slip stitch
Step-by-Step Instructions
The Head
Use the 1.5mm hook and white cotton yarn.
- Round 1: 6 sc in MR. Pull tight. (6)
- Round 2: Inc in each st around. (12)
- Round 3: (1 sc, inc) * 6. (18)
- Round 4: (2 sc, inc) * 6. (24)
- Round 5: (3 sc, inc) * 6. (30)
- Round 6: (4 sc, inc) * 6. (36)
- Rounds 7–12: Sc in each st around. (36)
- Round 13: (4 sc, dec) * 6. (30)
- Round 14: Sc in each st around. (30)
- Round 15: Dec, 12 sc, inc, inc, 12 sc, dec. (30)
- Round 16: Sc in each st around. (30)
- Round 17: Dec, 26 sc, dec. (28)
- Round 18: 3 sc, dec, 3 sc, dec, 8 sc, dec, 3 sc, dec, 3 sc. (24)
- Round 19: Sc in each st around. (24)
- Round 20: (2 sc, dec) * 6. (18)
- Rounds 21–22: Sc in each st around. Stuff the head firmly with fiberfill. (18)
- Round 23: (1 sc, dec) * 6. (12)
- Round 24: Dec 6 times. Fasten off, leaving a long tail for sewing.
The Body
Use the 5.0mm hook and bulky white yarn.
- Round 1: 6 sc in MR. (6)
- Round 2: Inc in each st around. (12)
- Round 3: (1 sc, inc) * 6. (18)
- Round 4: (2 sc, inc) * 6. (24)
- Round 5: (3 sc, inc) * 6. (30)
- Round 6: (4 sc, inc) * 6. (36)
- Rounds 7–11: Sc in each st around. (36)
- Round 12: 12 sc, 6 dec, 12 sc. (30)
- Rounds 13–14: Sc in each st around. (30)
- Round 15: (3 sc, dec) * 6. (24)
- Rounds 16–17: Sc in each st around. (24)
- Round 18: (2 sc, dec) * 6. (18)
- Rounds 19–23: Sc in each st around. Stuff the body firmly. (18)
- Round 24: (1 sc, dec) * 6. (12)
- Round 25: Sc in each st around. (12)
- Round 26 (Neck Shaping): 2 sc, 1 hdc. Turn your work. Ch 1, 4 sc, 1 hdc. Fasten off. This special row creates a slight tilt, making it easier to sew the head on at a natural angle.
The Tail
Use the 5.0mm hook and bulky white yarn.
- Round 1: 6 sc in MR. (6)
- Rounds 2–4: Sc in each st around. Stuff lightly. (6)
- Fasten off and leave a tail for sewing.
The Ears (Make 2)
Use the 1.5mm hook and gray cotton yarn.
- Round 1: 6 sc in MR. (6)
- Round 2: Sc in each st around. (6)
- Round 3: (2 sc, inc) * 2. (8)
- Round 4: Sc in each st around. (8)
- Round 5: (2 sc, dec) * 2. (6)
- Fasten off and leave a tail for sewing.
The Horns (Make 2)
Use the 1.5mm hook and white cotton yarn.
- Round 1: 6 sc in MR. (6)
- Round 2: (2 sc, inc) * 2. (8)
- Rounds 3–12: Sc in each st around. (8)
- Round 13: (3 sc, inc) * 2. (10)
- Rounds 14–27: Sc in each st around. (10)
- Fasten off. Stuff the horns lightly. Gently curl the ends of the horns with your fingers before sewing them to the head.
The Legs & Hooves (Make 4)
Use the 1.5mm hook. The hooves are made in two parts to create a split-toe look.
Part 1: The First Half-Hoof
- Using black yarn: 6 sc in MR.
- Round 2: Sc in each st around. Fasten off and weave in ends. Turn the piece right side out.
Part 2: The Second Half-Hoof
- Using black yarn: 6 sc in MR.
- Round 2: Sc in each st around. Do not fasten off.
Joining the Hooves
- Round 3: Work 3 sc into the second half-hoof. Now, insert your hook into the 4th stitch of the second hoof, pick up the 1st stitch of the first hoof, and work a decrease (sc 3 stitches together). Work 3 sc into the second hoof, then pick up the 5th stitch of the first hoof and the 6th stitch of the second hoof and decrease again. (8 sts total).
- Sew the small gap between the two halves closed.
- Round 4: Sc in each st around. (8)
- Round 5: Change yarn color to white.
- Rounds 6–31: Sc in each st around. (8)
- Fasten off. You can leave the legs empty so they bend naturally, or add a tiny bit of plastic pellets at the bottom for weight.
Finishing & Assembly
Now comes the magic part where our lamb comes to life! Follow these steps to assemble your project:
- Facial Features: Before sewing the head to the body, place your plastic eyes. If you want a more realistic look, use a tiny bit of acrylic paint or blush to shade the area around the eyes.
- Embroidery: Using black embroidery floss or thin yarn, stitch a small “Y” shape for the nose and mouth. Add two small straight lines above the eyes for eyebrows to give the lamb a sweet expression.
- Head Assembly: Sew the ears and the curled horns onto the top of the head.
- Body Assembly: Sew the head onto the neck of the body. Attach the four legs to the bottom of the body and sew the tail to the back.
- Final Touch: Ensure all stuffing is smooth and all ends are woven in securely.
Tips for Success
- Tension is Key: When working with the 1.5mm hook, keep your tension tight. This prevents the stuffing from peeking through the stitches.
- Stitch Markers: Since this pattern is worked in continuous rounds, always use a stitch marker in the first stitch of every round to avoid losing your place.
- Customizing: Feel free to experiment with colors! A brown lamb or a pastel pink lamb can be just as cute.
- Sculpting: To give the face more character, you can do a “face sculpt” by inserting your needle through the head and pulling the yarn slightly to create a dip for the eyes.