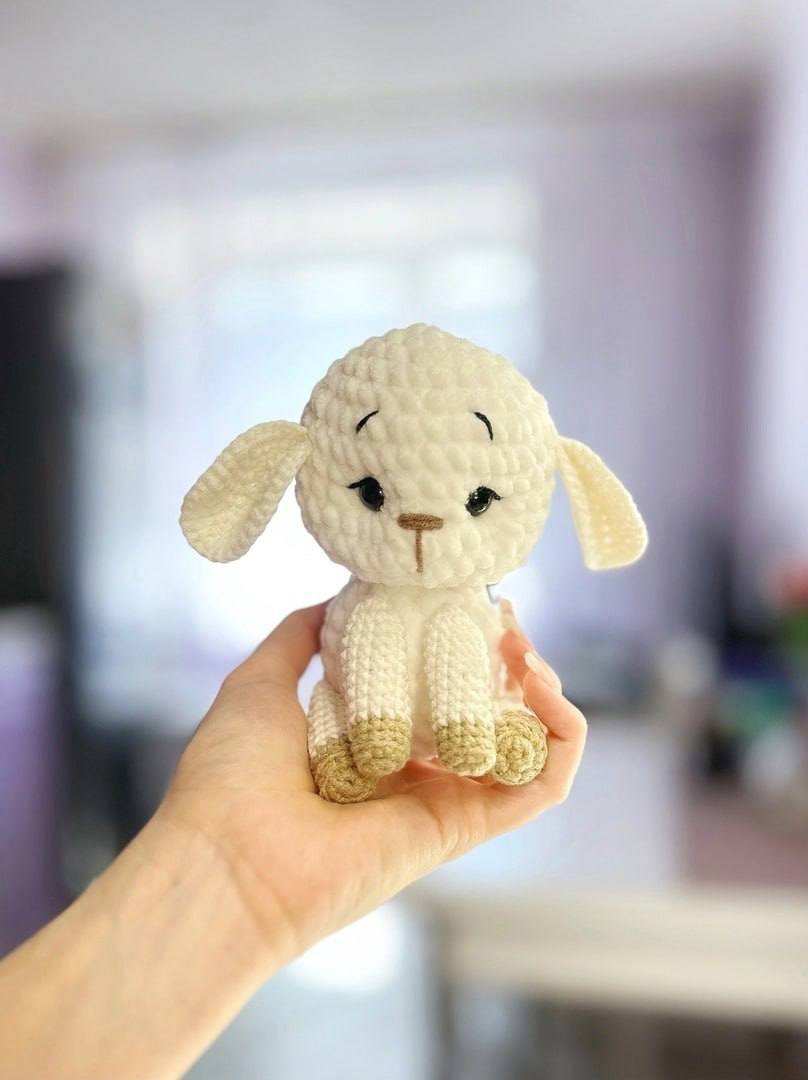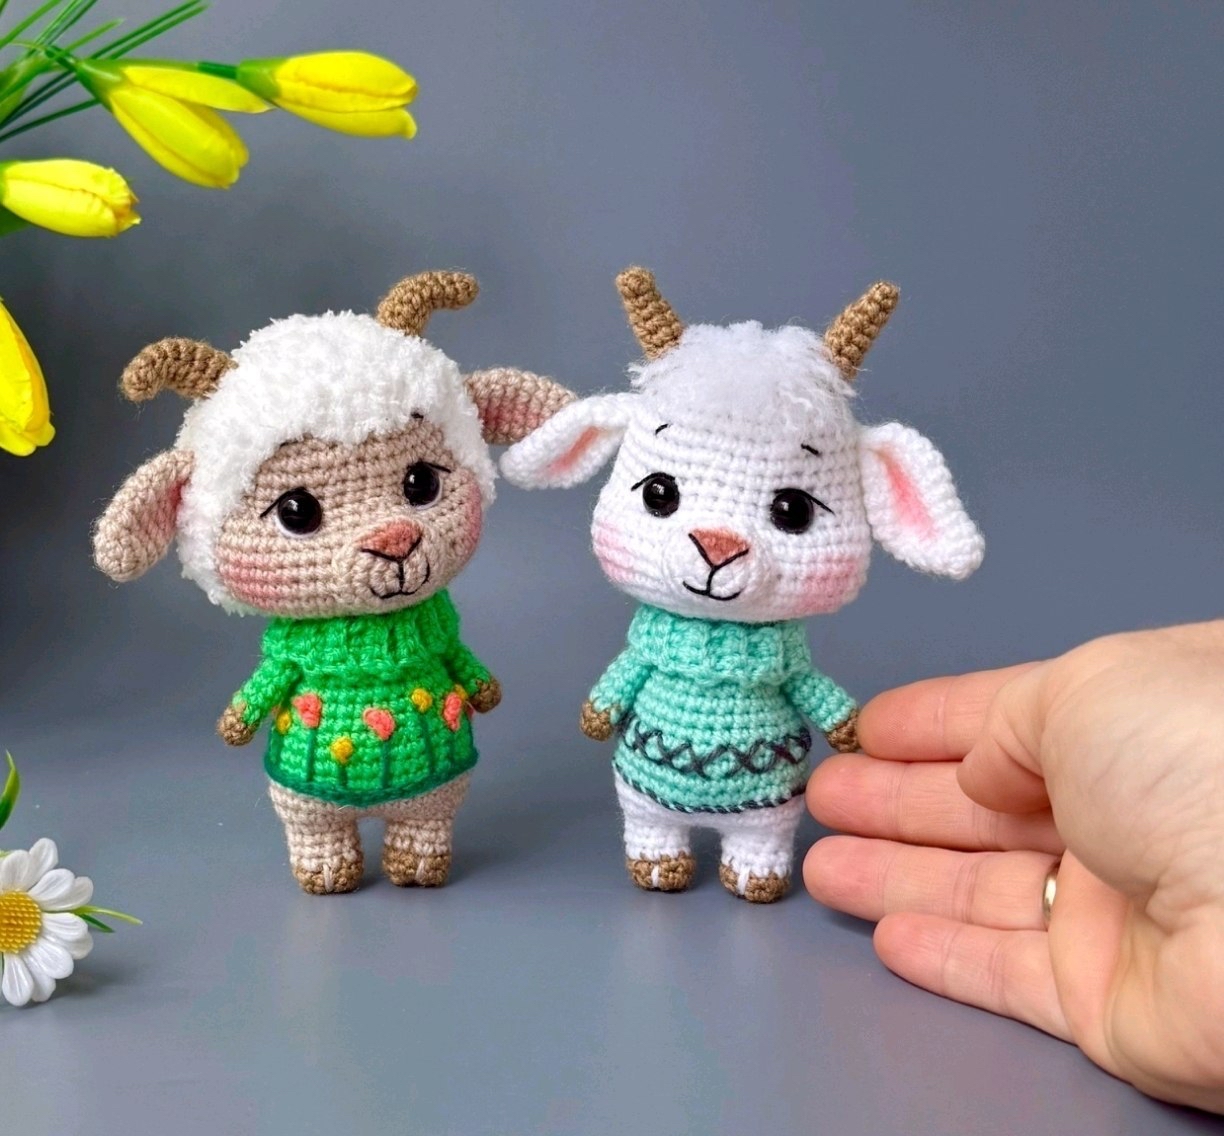
How to Crochet an Adorable Baby Goat and Sheep Amigurumi Duo
Introduction
Are you looking for your next charming amigurumi project? There is nothing quite as heartwarming as a pair of tiny, wide-eyed forest friends. In this tutorial, we are going to walk through the complete process of creating a pair of adorable baby goats and sheep. These little characters are perfect for nursery decor, personalized gifts, or simply adding a touch of whimsy to your crochet collection.
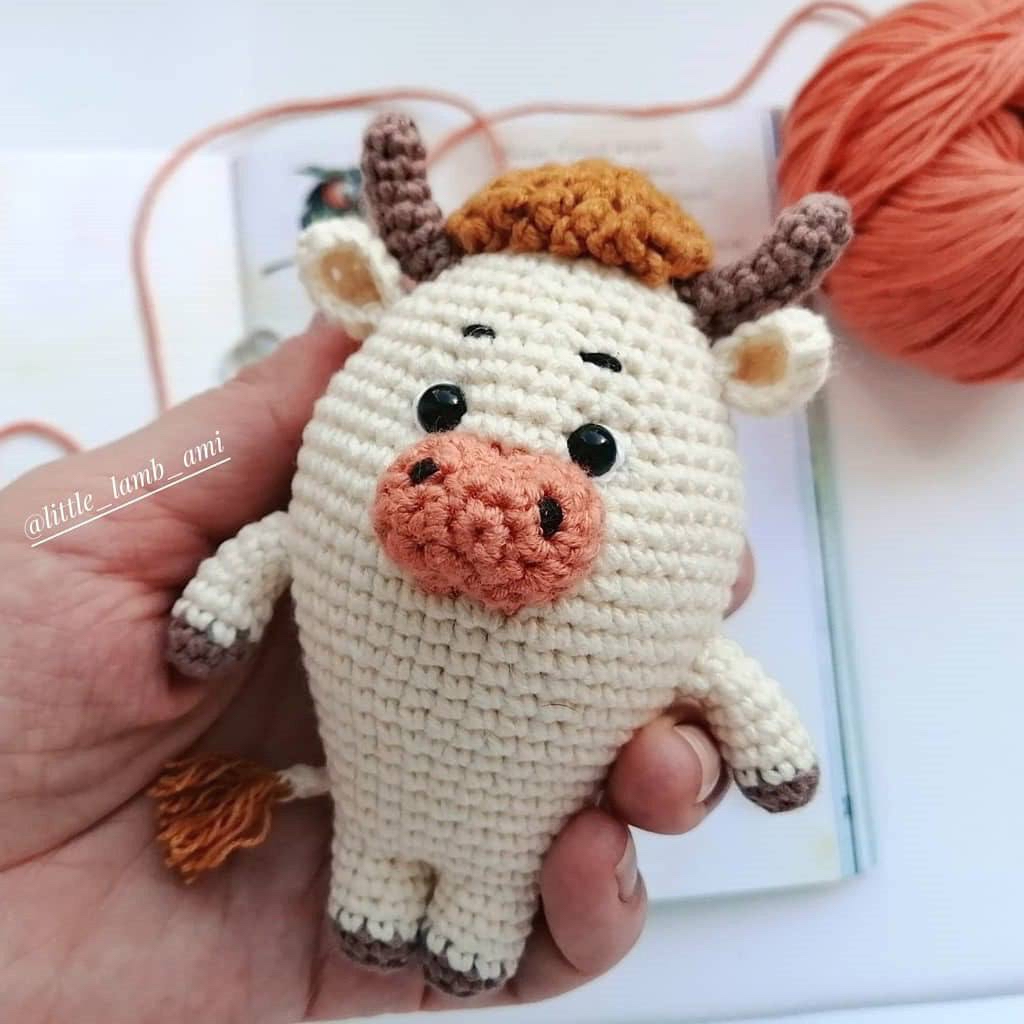
This pattern is designed to result in two small, approximately 4-inch tall figures. One character features a soft, fluffy “sheep” texture, while the other has a smooth, sweet “goat” appearance. Both are dressed in tiny, cozy sweaters that add an extra layer of cuteness. Whether you are looking to make a classic white sheep or a colorful little goat, this versatile pattern allows you to play with different yarn colors to suit your style.
This project is ideal for intermediate crocheters or ambitious beginners who are comfortable with working in rounds and basic increases and decreases. By the end of this guide, you will have mastered several specialized amigurumi techniques, including the “eye-pulling” method for expressive faces and the “underarm tightening” technique to give your characters a realistic, seated posture.
Materials & Abbreviations
Materials Needed
- Yarn: Medium weight cotton or a soft acrylic/cotton blend (approx. 150 yards total). You will need colors for the body (white or cream), the hooves (brown), the sweaters (green, teal, or any color of your choice), and a small amount of fluffy yarn if making the sheep version.
- Crochet Hook: 1.5mm or 1.75mm (US size B/1).
- Safety Eyes: 8mm to 9mm black safety eyes.
- Stuffing: Polyester fiberfill.
- Tapestry Needle: A large-eye needle for sewing and embroidery.
- Adhesive: Clear fabric glue (for securing eyes or details).
- Embroidery Thread: Fine thread for facial details.
- Coloring Tools: Red and brown colored pencils (for subtle shading of the nose and cheeks).
Abbreviations (US Terms)
- MR: Magic Ring (Amigurumi ring)
- ch: Chain
- sc: Single crochet
- inc: Increase (2 sc in one stitch)
- dec: Decrease (sc 2 together)
- BLO: Back Loop Only
- st(s): Stitch(es)
Step-by-Step Instructions
Making the Legs and Hooves
We will start by creating the lower legs and the hooves. These are worked in two parts: the hoof and the leg itself.
The Hooves (Upper Legs)
Using your chosen hoof color:
- MR, 7 sc (7)
- 7 sc (7)
- Change color to your body color or sweater color.
- 3-8. 7 sc for 6 rows (7)
The Legs
Using your hoof color:
- MR, 6 sc (6)
- (1 sc, inc) * 3 (9)
- 9 sc (9)
- Change color to your body color.
- 4-6. 9 sc for 3 rows (9)
Joining the Legs: Do not cut the yarn on the second leg. Use the remaining yarn to connect the legs to create the base of the body. From the second leg, ch 2. Then, work around the first leg: (2 sc, inc) * 3, 2 sc into the chain, (2 sc, inc) * 3, 2 sc into the chain = 28 stitches. Place a stitch marker on the spine to keep your rounds straight.
- (3 sc, inc) * 3, 2 sc, (3 sc, inc) * 3, 1 sc = 34
- inc, 32 sc, inc = 36
- 36 sc (10 rows total for the base)
Crafting the Body and Sweater
If you are making the character in a sweater, switch to your sweater color after the initial leg rounds.
- 11-13. 36 sc
- 14. (4 sc, dec) * 6 = 30
- 15. 30 sc
- 16. 2 sc, dec, 22 sc, dec, 2 sc = 28
- 17. 2 sc, dec, 20 sc, dec, 2 sc = 26
- 18. 26 sc
Attaching the Upper Legs
Now we will integrate the upper legs (hooves) into the body. This creates a seamless look.
- 4 sc, place the upper leg against the body. Insert your hook through the leg and then through the body, working 4 sc through both layers. Continue with 10 sc along the body, place the second upper leg and work 4 sc through both layers, then finish with 4 sc = 26 stitches.
- 4 sc, 3 sc along the remaining body stitches, 2 sc, dec, 2 sc, dec, 2 sc, 3 sc along the remaining leg stitches, 4 sc = 22
Stuffing Note: Stuff the bottom legs and the body firmly. Do not stuff the upper legs yet.
- 3 sc, dec, 2 sc, dec, 4 sc, dec, 2 sc, dec, 3 sc = 18
- (4 sc, dec) * 3 = 15
Change color back to your body color for the neck area.
- 23-24. 15 sc
Shaping the Head
The head is worked in a continuous spiral to create a smooth, rounded shape.
- (inc) * 15 = 30
- 30 sc
- (4 sc, inc) * 6 = 36
- (5 sc, inc) * 6 = 42
- 10 sc, (inc) * 3, 16 sc, (inc) * 3, 10 sc = 48
- 30-35. 48 sc
- 10 sc, (dec) * 3, (2 sc, dec) * 4, (dec) * 3, 10 sc = 38
- 37-38. 38 sc
- 16 sc, inc, 4 sc, inc, 16 sc = 40
- 40-41. 40 sc
- (8 sc, dec) * 4 = 36
- (4 sc, dec) * 6 = 30
- (3 sc, dec) * 6 = 24
- (2 sc, dec) * 6 = 18
- (1 sc, dec) * 6 = 12
- (dec) * 6 = 6
Fasten off and weave in ends. Stuff the head firmly, making sure to shape the cheeks, forehead, and the back of the head clearly.
Creating the Horns, Ears, and Muzzle
Horns (For Goat/Sheep)
- MR, 4 sc (4)
- 4 sc (4)
- (inc, 3 sc) * 1 = 5
- 5 sc (5)
- (inc, 4 sc) * 1 = 6
- 6 sc (6)
- (inc, 5 sc) * 1 = 7
- 7 sc (7)
Ears (Sheep Version)
- MR, 6 sc (6)
- (1 sc, inc) * 3 = 9
- 9 sc (9)
- (2 sc, inc) * 3 = 12
- 5-7. 12 sc
- (4 sc, dec) * 2 = 10
- 10 sc (10)
- Fold in half and sc through both sides for 5 stitches.
Muzzle (Nose)
- MR, 6 sc (6)
- (inc) * 6 = 12
- (1 sc, inc) * 6 = 18
- 18 sc (18)
Lightly stuff the muzzle and sew it to the face. Use a brown colored pencil to lightly shade the nose area for a realistic touch.
Finishing
The Expressive Eyes
To give your amigurumi that “soulful” look, use the eye-pulling technique. Insert your needle under the chin at the seam where the head meets the neck. Bring the needle up through the area where the eye should be (this will be around round 36). Catch 2 sc stitches, then pull the needle back down under the chin and tighten. This creates a slight “eyelid” effect. Repeat for the second eye, leaving 6 sc between them.
The Arms and Body Posture
To ensure the arms don’t stick out awkwardly to the sides, use the underarm tightening method. Insert your needle into one armpit, bring it out through the second armpit, catch 2 sc, and then pull the needle back under the first armpit. Pull slightly to make the arms hang naturally downward.
The Tail and Hooves
- Tail: At the junction of the sweater and the body, attach yarn and ch 2. Work 2 dc (double crochet) into the same top loop, then ch 2 and fasten off.
- Hoof Shaping: To make the hooves look sturdy, insert a needle into the center of the bottom of the magic ring and pull it up to the seam where the leg meets the hoof. Pass the yarn over the top of the hoof and return to the starting point, tightening slightly.
Tips
Use Stitch Markers: In amigurumi, it is very easy to lose your place. Always use a stitch marker at the beginning of every round to avoid mistakes.
Shading is Key: To take your plushies from “toy” to “character,” use colored pencils. A light dusting of red on the cheeks and brown on the nose adds incredible depth and charm.
Tension Control: Keep your stitches tight. If your stitches are too loose, the stuffing will show through, which can ruin the clean look of your character.
The Sheep “Fluff”: For the sheep version, you can attach long strands of fluffy white yarn to the head (like a fringe) and trim them to create a soft, woolly appearance.