Cute Amigurumi Pony Crochet Pattern: A Step-by-Step Plushie Tutorial
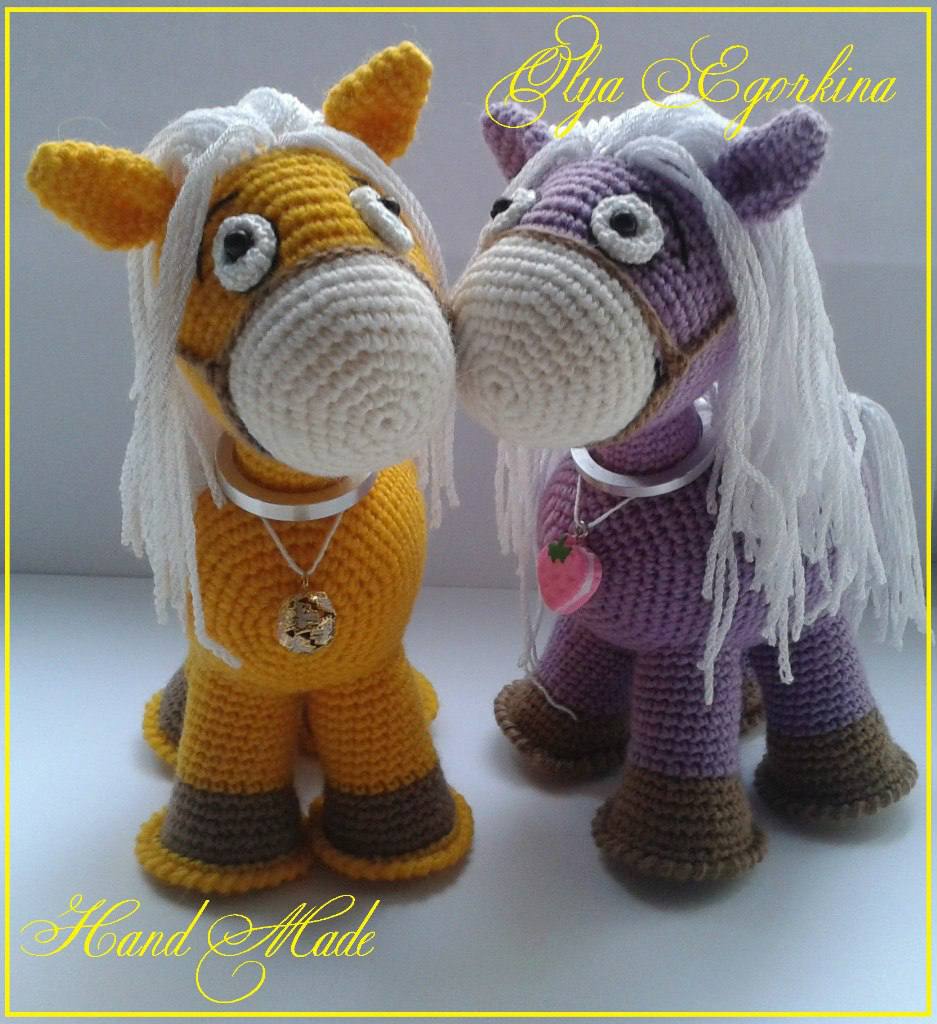
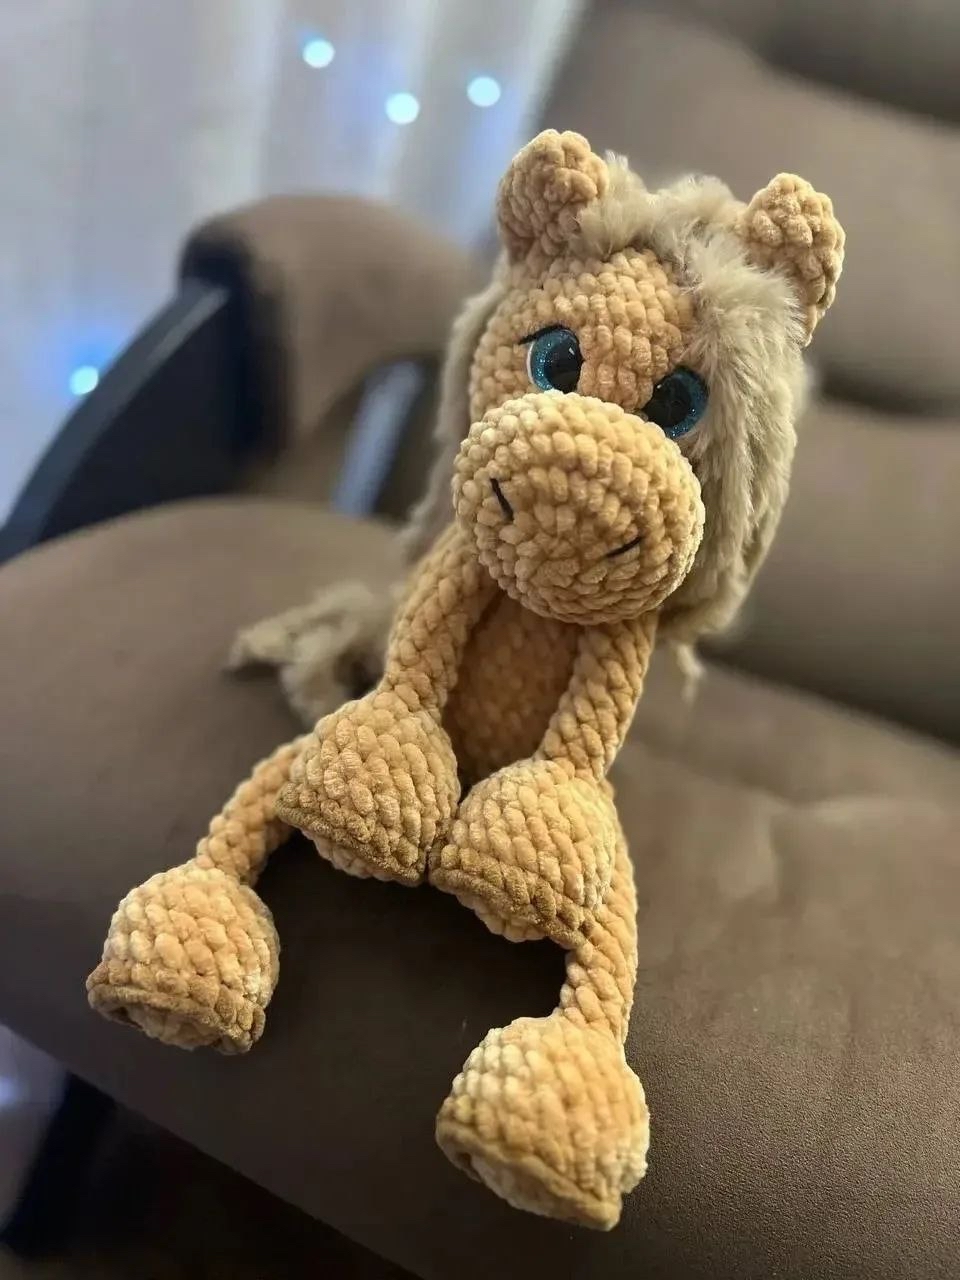
Are you looking for your next adorable crochet project? This little plushie pony is the perfect addition to your handmade collection! Whether you are making a nursery decoration, a gift for a little one, or just want to treat yourself to a cozy new friend, this amigurumi horse is incredibly rewarding to create. Because we use soft, chenille-style plush yarn, the finished result is extra squishy and huggable.
This tutorial is designed to be beginner-friendly. We will walk through every step, from the tiny hooves to the fluffy mane, ensuring you have a clear path to success. Grab your hook and some cozy yarn, and let’s get started on this sweet little equine friend!
Materials & Abbreviations
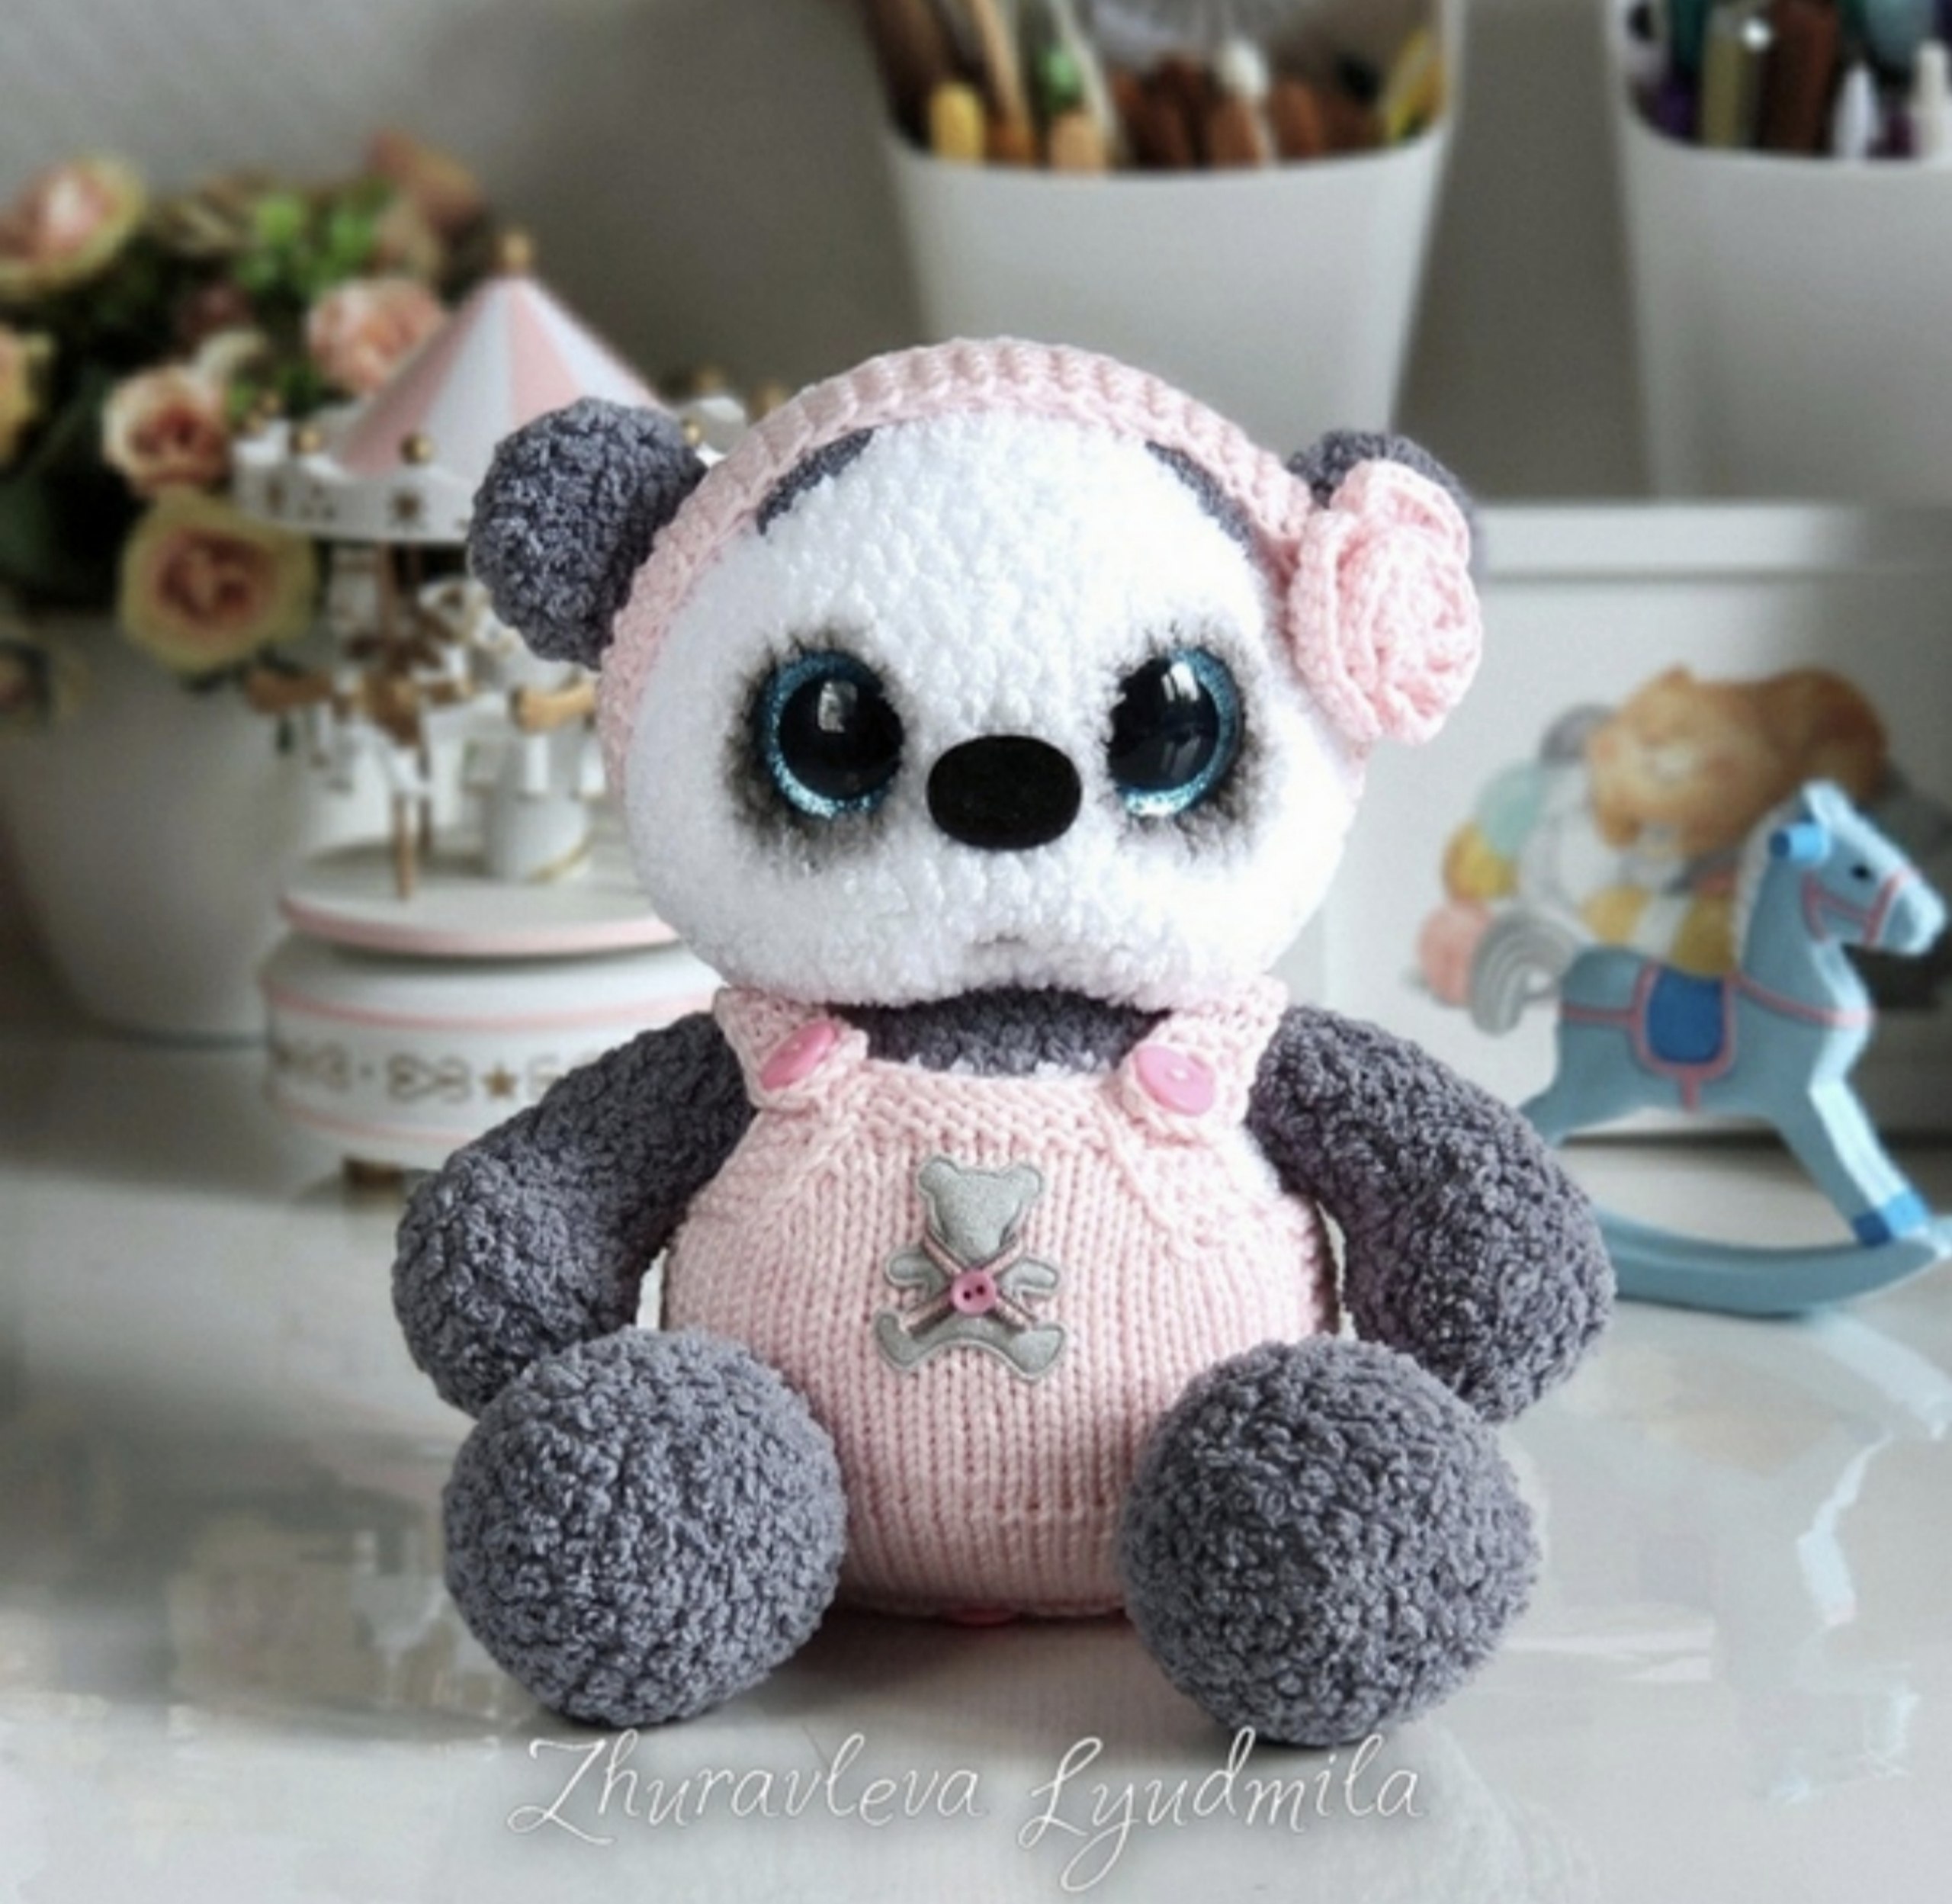
To achieve the signature soft texture seen in the photos, I highly recommend using a plush or chenille yarn. This makes the stitches “disappear” into the fuzz, creating a professional, seamless look.
Materials Needed:
- Plush Yarn: Use a soft chenille or “blanket” style yarn in two colors (a main body color and an accent color).
- Mane & Tail Yarn: A contrasting color of long-pile or fuzzy yarn to create a realistic, fluffy mane and tail.
- Embroidery Yarn: Cotton embroidery floss in black, white, and beige for the eyelashes, eyebrows, and nostrils.
- Crochet Hook: 4mm (approx. 5/32 inch). Note: Using a slightly smaller hook than the yarn suggests helps keep your stitches tight so the stuffing doesn’t show through.
- Safety Eyes: 20mm (approx. 3/4 inch) trapezoid-shaped safety eyes.
- Stuffing: Polyester fiberfill.
- Other Tools: A tapestry needle for sewing and sculpting, and scissors.
Abbreviations (US Terms):
- MR: Magic Ring
- sc: Single crochet
- inc: Increase (2 sc in the same stitch)
- dec: Decrease (sc 2 stitches together)
- BLO: Back loops only
- FLO: Front loops only
- st(s): Stitch(es)
- [ ]: Repeat the instructions inside the brackets
Step-by-Step Instructions
Bottom Hooves (Make 2)
Start with your main body color.
- R1: 6 sc in MR (6)
- R2: 6 inc (12)
- R3: [1 sc, inc] * 6 (18)
- R4: 18 sc in BLO (18)
- R5-6: 18 sc (2 rounds)
- R7: sc, dec * 6 (12)
Note: Stuff only the bottom portion of the hoof at this stage.
- R8: 6 dec (6)
- R9-20: 6 sc (12 rounds)
Fold the piece in half and sc 3 through both sides to close. Fasten off, leaving a tail for sewing. Repeat for the second hoof.
Adding Detail: Join your accent color to the front loops of R4. Work 18 sc in FLO. Fasten off and weave in your ends.
Top Hooves (Make 2)
Using the main body color:
- R1: 6 sc in MR (6)
- R2: 6 inc (12)
- R3: [1 sc, inc] * 6 (18)
- R4: 18 sc in BLO (18)
- R5-6: 18 sc (2 rounds)
- R7: sc, dec * 6 (12)
Note: Stuff only the bottom portion of the hoof.
- R8: 6 dec (6)
- R9-17: 6 sc (9 rounds)
Fold the piece in half and sc 3 through both sides to close. Fasten off. Join your accent color to the front loops of R4 and work 18 sc in FLO. Fasten off and weave in ends. Repeat for the second top hoof.
Head
Using the main body color:
- R1: 6 sc in MR (6)
- R2: 6 inc (12)
- R3: 12 inc (24)
- R4: [3 sc, inc] * 6 (30)
- R5-7: 30 sc (3 rounds)
- R8: sc, dec * 10 (20)
- R9: 20 sc (20)
- R10: 20 inc (40)
- R11: 15 sc, inc, 7 sc, inc, 18 sc (42)
- R12-16: 42 sc (5 rounds)
- R17: 5 sc, dec * 6 (36)
- R18: 4 sc, dec * 6 (30)
- R19: 3 sc, dec * 6 (24)
Important: Stuff the head very firmly at this stage to ensure it holds its shape. Before closing, insert your 20mm safety eyes into the 11th round. Place them in the increases so that there are exactly 7 sc between the legs of the eyes.
- R20: 2 sc, dec * 6 (18)
- R21: sc, dec * 6 (12)
- R22: 6 dec (6)
Fasten off, leaving a long tail for sewing.
Body
Using the main body color:
- R1: 6 sc in MR (6)
- R2: 6 inc (12)
- R3: 12 inc (24)
- R4: [3 sc, inc] * 6 (30)
- R5: [4 sc, inc] * 6 (36)
- R6-7: 36 sc (2 rounds)
Attaching the Legs:
- R8: 12 sc, [3 sc working the leg and body together], 6 sc, [3 sc working the leg and body together], 12 sc (36)
Note: For the leg attachment, you are working your leg stitches and body stitches in one continuous round.
- R9-12: 36 sc (4 rounds)
- R13: 7 sc, dec * 4 (32)
- R14: 32 sc (32)
- R15: 6 sc, dec * 4 (28)
- R16: 28 sc (28)
- R17: 5 sc, dec * 4 (24)
Attaching the Arms:
- R18: 8 sc, [3 sc working the arm and body together], 2 sc, [3 sc working the arm and body together], 8 sc (24)
Tip: Use a stitch marker to ensure your arms and legs are centered!
- R19: 2 sc, dec * 6 (18)
- R20-21: 18 sc (2 rounds)
Fasten off and weave in all ends.
Ears (Make 2)
Using the main body color:
- R1: 6 sc in MR (6)
- R2: sc, inc * 3 (9)
- R3: 2 sc, inc * 3 (12)
- R4: 12 sc (12)
- R5: 2 sc, dec * 3 (9)
- R6: sc, dec * 3 (6)
Fold the walls together and sc 3 through both sides. Then, fold it in half once more and sc 2 through both sides. Fasten off and weave in ends.
Finishing
Face Sculpting & Embroidery
To give your pony its adorable expression, you need to “sculpt” the face. Using a tapestry needle and your main color yarn (or a matching cotton yarn), pull the thread through the head to create indentations where the muzzle and eyes should be. This creates the characteristic “squished” look of amigurumi animals.
Once sculpted, use black embroidery floss to carefully stitch on the following:
- Long, delicate eyelashes.
- Small, cute eyebrows.
- Tiny nostrils on the muzzle.
Assembly
Using your tapestry needle, sew the head onto the body. Ensure it is positioned securely and upright. Next, sew the ears onto the top of the head, slightly angled for a more natural look.
The Mane and Tail
For a professional look, use the “loop method” with your crochet hook to attach the mane and tail. This creates a thick, voluminous texture.
- Fold a long strand of your fuzzy mane/tail yarn in half.
- Insert your crochet hook into a stitch on the head or tail base.
- Grab the folded loop of yarn with your hook and pull it through the stitch.
- Reach through the loop you just created, grab the long ends of the yarn, and pull them through the loop.
- Pull tight to create a knot.
- Repeat this process along the neck for the mane and at the rear for the tail until it looks as fluffy as you like!
Tips
Tension is Key: When working with plush yarn, it can be easy to accidentally create gaps. Keep your tension consistent and use a smaller hook than usual to keep the stuffing from peeking through.
Stuffing Tips: When stuffing the head and body, work in small increments. Use your finger or a tool to push the stuffing into the corners and extremities (like the ends of the legs) to avoid lumps.
Safety First: If you are making this for a child under 3, please consider embroidering the eyes instead of using plastic safety eyes to prevent any choking hazards.
Congratulations! Your adorable amigurumi pony is complete and ready to meet the world!