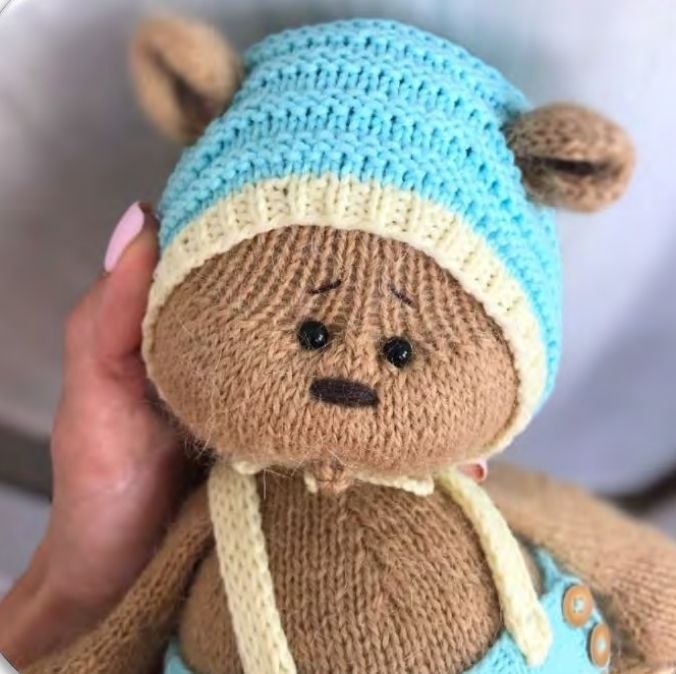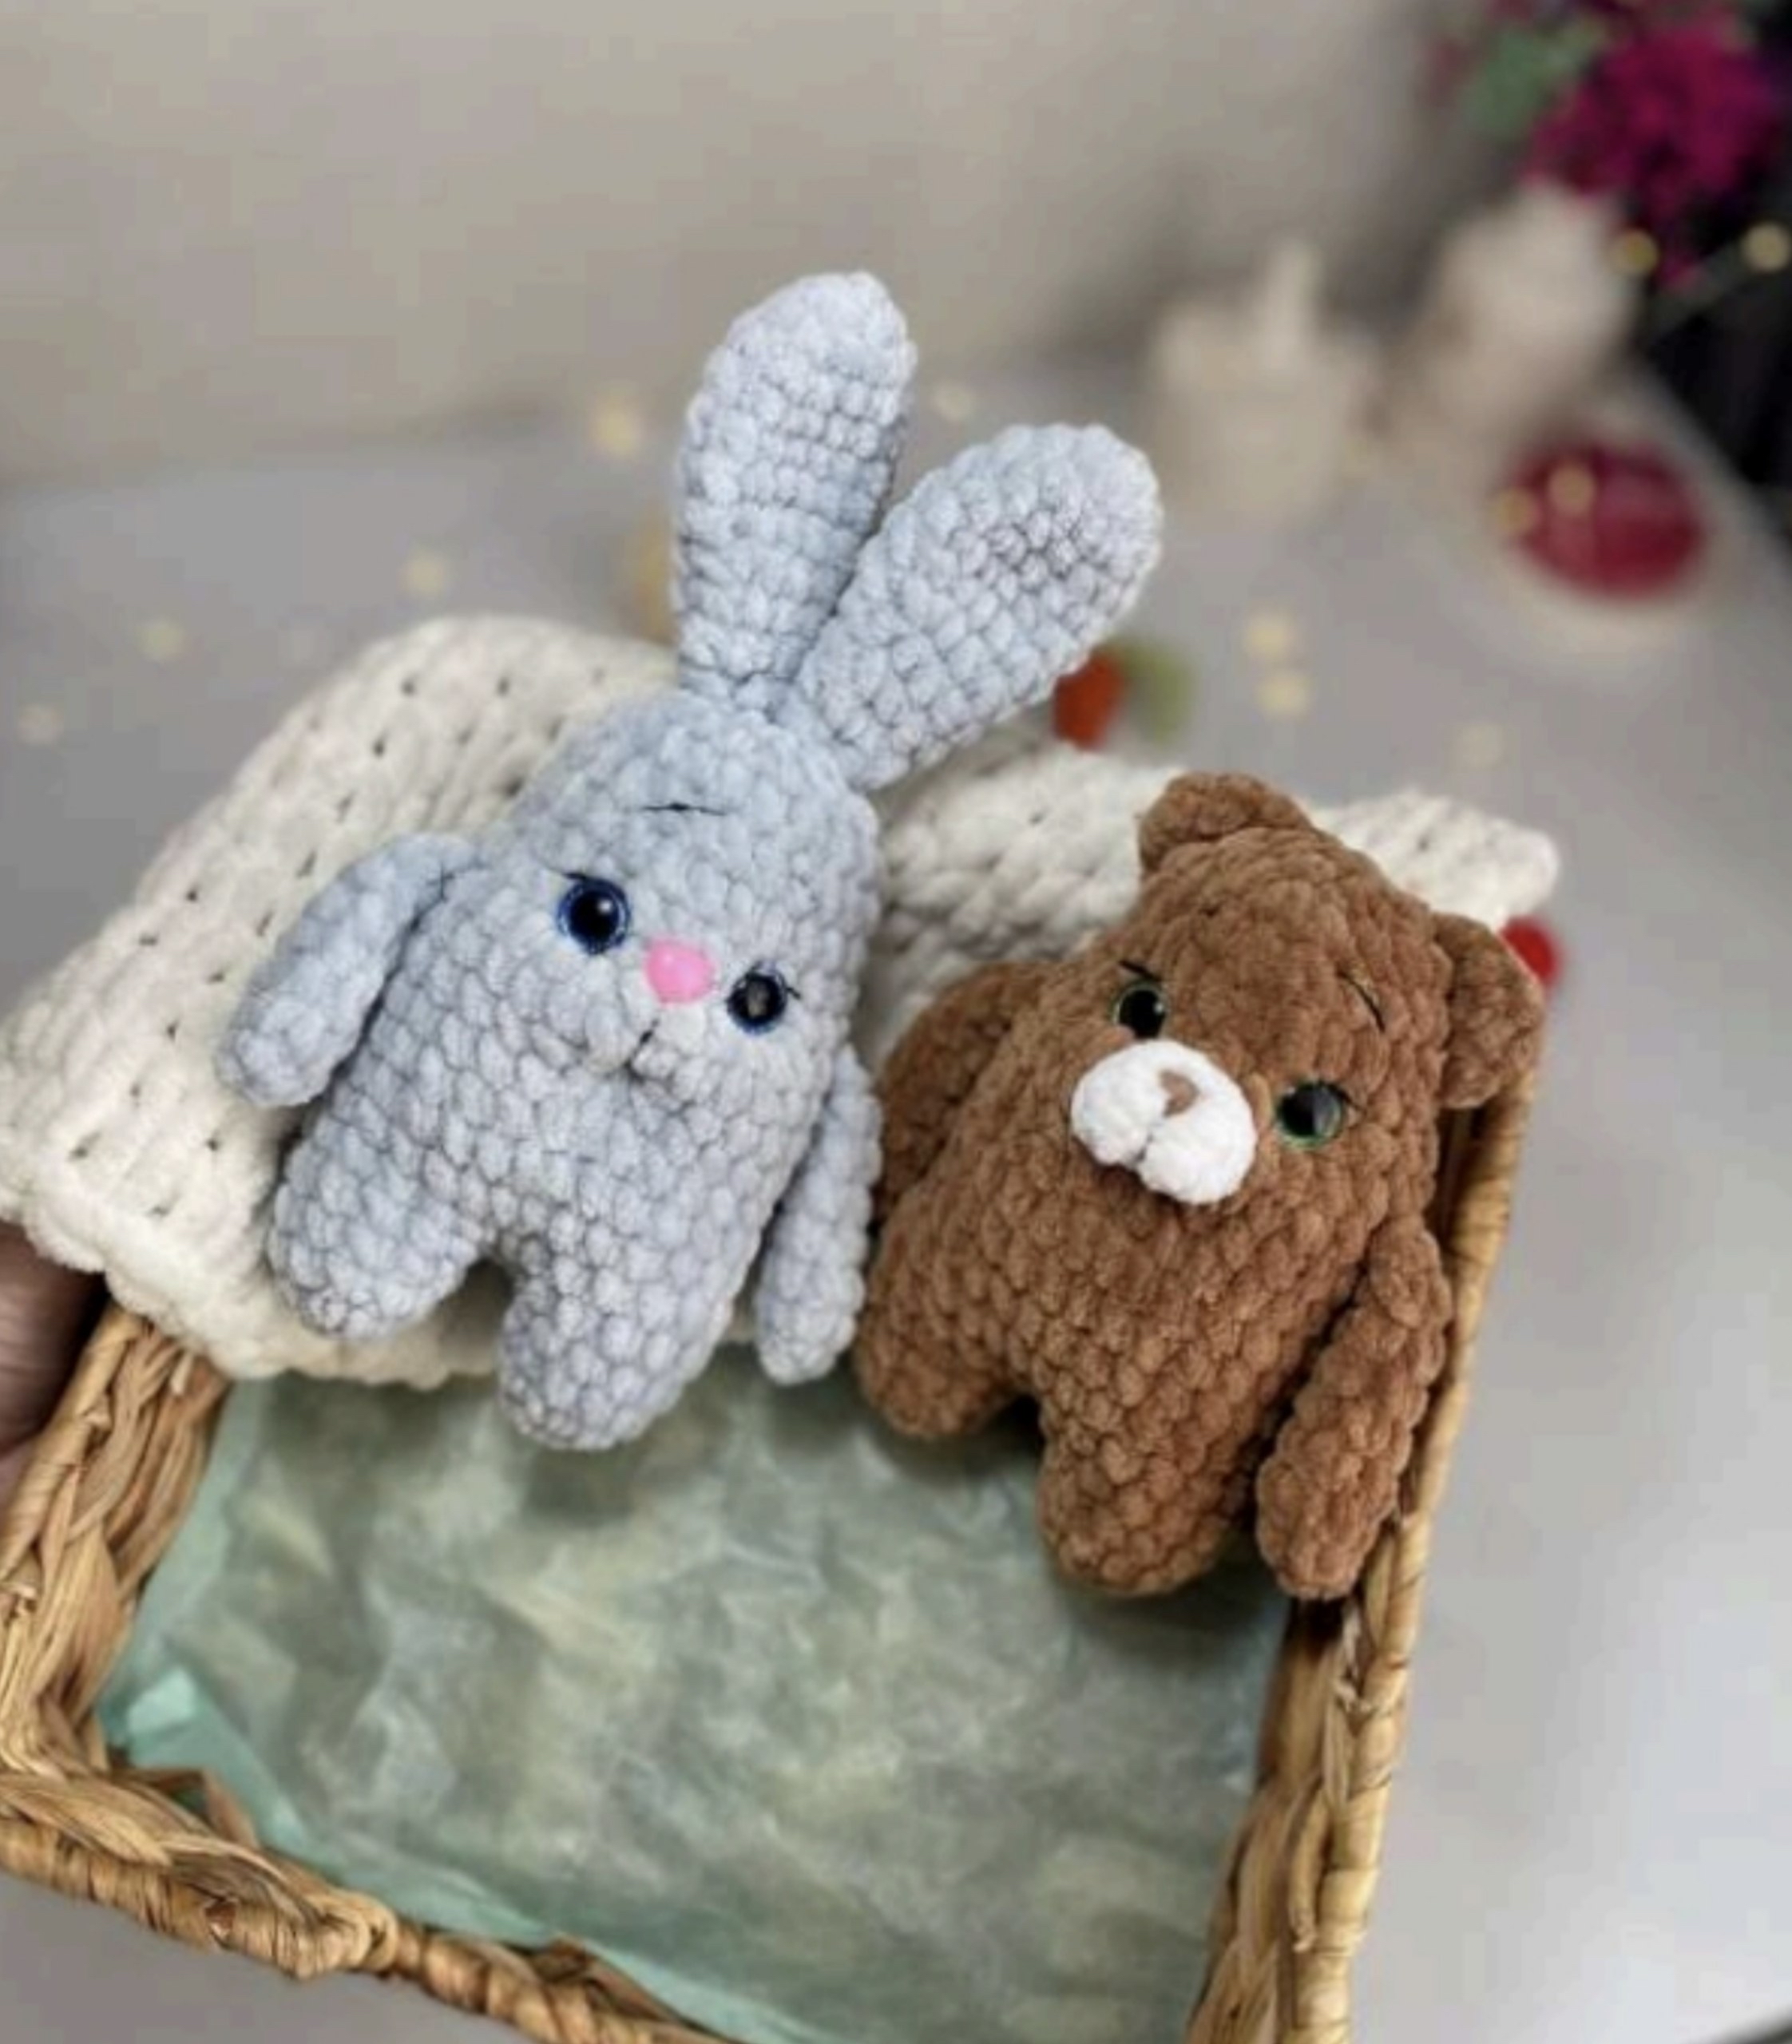
Crochet Bunny and Bear Pattern: Easy Amigurumi Tutorial for Beginners
Are you looking for the perfect, cuddly project to brighten up a nursery or to give as a handmade gift? Look no further! This adorable crochet bunny and bear duo is designed to be both charming and incredibly simple to make. These little plushies are perfect for beginners who want to practice their amigurumi skills or for experienced makers looking for a quick, satisfying project.
These characters feature a soft, chunky texture that makes them extra huggable. Because the body, head, and legs are worked in one continuous piece for the main structure, you will save a significant amount of time on sewing. Follow this detailed tutorial to create your very own pair of woodland friends!
Materials and Abbreviations
To ensure your plushies turn out looking just like the photos, I recommend using a velvet or chenille-style chunky yarn. This creates that signature “squishy” feel that makes amigurumi so beloved.
What You Will Need
- Yarn: Approximately half a skein of chunky chenille/velvet yarn in two colors (e.g., grey for the bunny, brown for the bear). You will also need a small amount of white yarn for the bear’s muzzle.
- Crochet Hook: 4mm (US size G/7).
- Safety Eyes: 12mm to 14mm.
- Nose: A small pink safety nose (for the bunny).
- Stuffing: High-quality polyester fiberfill.
- Notions: A large-eye tapestry needle and matching color yarn for surface details or sewing.
Abbreviations (US Terms)
All instructions are worked in continuous rounds. Do not join at the end of each round unless specified.
- MR: Magic Ring
- sc: Single crochet
- inc: Increase (2 sc in the same stitch)
- dec: Decrease (sc 2 stitches together)
- ch: Chain
- st(s): Stitch(es)
- sl st: Slip stitch
Step-by-Step Instructions
Legs, Body, and Head (One-Piece Construction)
This piece is the heart of your character. We will start by making the legs and then joining them to form the body and head in one go.
First, make two legs:
- R1: 6 sc in MR (6)
- R2: 6 inc (12)
- R3-4: 12 sc (12)
Note: Do not fasten off the first leg. We will join them in the next step.
Joining the legs to create the body:
- R5: Ch 2, 12 sc around the first leg, 2 sc in the chains, 12 sc around the second leg, 2 sc in the other side of the chains (28-29 sc total).
- R6-14: 29 sc (29)
- R15: (3 sc, dec) repeat 5 times, then 4 sc (24)
- R16-17: 24 sc (24)
- R18: (4 sc, dec) repeat 6 times (18)
- R19: (2 sc, dec) repeat 6 times (12)
- R20: 6 dec (6)
Fasten off, leaving a long tail for sewing. Before you close the piece completely, stuff the legs and body firmly with fiberfill.
Important: Eye Placement
Before closing the head, insert your safety eyes between rounds 15 and 16. Space them approximately 4 stitches apart. Remember, every crocheter’s tension is slightly different, so eye placement is a matter of personal preference—place them where they look cutest on your specific toy!
Arms
Make two arms. These should be stuffed lightly to maintain their shape.
- R1: 4 sc in MR (4)
- R2: 4 inc (8)
- R3-8: 8 sc (8)
Fasten off, leaving a tail for sewing.
Tail
The tail is a simple addition to finish the look.
- R1: 4 sc in MR (4)
- R2: 4 inc (8)
- R3: 8 sc (8)
Stuff lightly and fasten off, leaving a tail for sewing.
Bunny Ears
Make two ears for your bunny.
- R1: 6 sc in MR (6)
- R2: 6 inc (12)
- R3: 12 sc (12)
- R4: (5 sc, inc) repeat 2 times (14)
- R5-6: 14 sc (14)
- R7: (5 sc, dec) repeat 2 times (12)
- R8: (4 sc, dec) repeat 2 times (10)
- R9: 10 sc (10)
- R10: (3 sc, dec) repeat 2 times (8)
- R11: 8 sc (8)
To finish the ears, do not fasten off. Instead, join the two sides of the ear by working 4 sc through both layers to close the shape. Fasten off and leave a tail.
Bear Ears
Make two ears for your bear.
- R1: 5 sc in MR (5)
- R2: 5 inc (10)
Join the two sides of the ear by working 5 sc through both layers to close. Fasten off and leave a tail.
Bear Muzzle
Using white yarn, create the bear’s snout.
- R1: 5 sc in MR (5)
- R2: 5 inc (10)
- Add 4 sc to the end of the round to elongate it (14 sc total).
Fasten off and leave a tail for sewing.
Finishing
Now comes the fun part: assembly! Use your tapestry needle and the yarn tails left from each piece to sew everything together.
- Attach the Ears: Sew the bunny ears to the top of the head and the bear ears to their respective head shape.
- Attach the Arms: Sew the arms to the sides of the body, just below the head area.
- Attach the Tail: Sew the tail to the back of the character.
- Bear Muzzle: Sew the white muzzle to the front of the bear’s face, centered between the eyes.
- Final Details: For the bunny, attach the pink nose. Use a little bit of embroidery or surface crochet to add extra charm if desired.
Tips for Success
To make your amigurumi look professional and high-quality, keep these tips in mind:
Manage Your Tension
When working with chunky chenille yarn, it can be easy to lose track of your stitches. Use stitch markers religiously! Because the yarn is thick, the “V” of the stitch can sometimes be hard to see, so markers will prevent you from accidentally adding or skipping stitches.
Stuffing is Key
The secret to a cute amigurumi is firm, even stuffing. Make sure there are no “lumps” or empty air pockets, especially in the limbs. If you under-stuff, the toy will look floppy; if you over-stuff, you might see the white fiberfill peeking through the stitches.
Hiding Your Ends
When you finish a piece, don’t just cut the yarn. Use your tapestry needle to weave the yarn tail through the existing stitches of the round. This not only hides the end but also helps secure the stitch so the toy doesn’t unravel over time.
Happy crocheting! Whether you make the bunny or the bear, you’ve just created a wonderful new friend!