Assembly and Finishing Your Crochet Toy
Now that all the individual parts are crocheted, it’s time to bring your toy to life by assembling them. Follow these steps carefully for a beautifully finished project.
- Attach the Snout: Using the light beige yarn tail, sew the snout onto the head between rows 16 and 21. Stuff lightly before completely closing. Embroider a small nose with brown yarn on the snout.
- Attach the Ears: Sew the ears onto the head, positioning them symmetrically between rows 5 and 10 of the head.
- Attach the Head to the Body: Firmly sew the head onto the body. Ensure it’s centered and securely attached, using the long yarn tails from both parts.
- Attach the Legs: Sew the two legs to the bottom of the body, making sure they are evenly spaced and allow the toy to sit or stand properly.
- Attach the Arms: Sew the arms to the sides of the body, just below the neck, allowing for a natural hang.
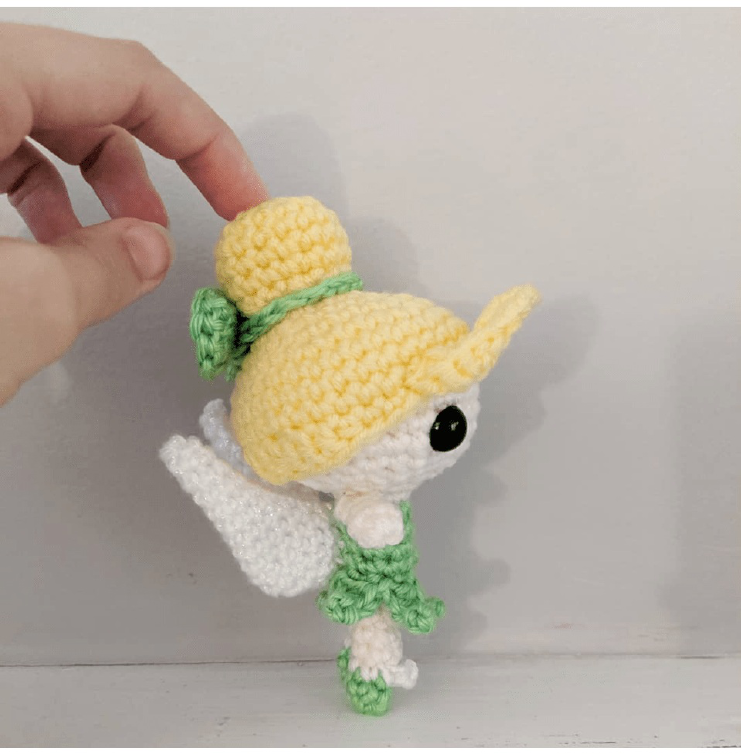
- Attach the Tail: Sew the tail to the back of the body, ensuring it’s positioned correctly.
- Add the Collar: Sew the white collar around the toy’s neck.
- Dress the Toy: Put the vest on the toy. You might need to gently stretch it over the head. Wrap the scarf around the neck for a complete look.
- Final Touches: Weave in any remaining loose ends to give your finished toy a neat and professional appearance.
Tips for Beginner Crocheters
Crocheting amigurumi can be a delightful journey for beginners. Here are a few tips to help you succeed with this pattern:
- Magic Ring Mastery: The Magic Ring (MR) is fundamental for amigurumi as it creates a tight center. Practice it a few times before starting your project.
- Counting Stitches: Always count your stitches at the end of each round to ensure you have the correct number. This prevents errors that might affect shaping. Using a stitch marker in the first stitch of each round is highly recommended.
- Tight Tension: Maintaining a consistently tight tension is crucial for amigurumi to prevent stuffing from showing through. If your stitches are too loose, consider going down half a hook size.
- Stuffing Smart: Stuff your pieces firmly, but gradually. Overstuffing can distort the shape, while understuffing can make the toy look floppy. Pay attention to curves and corners.
- Invisible Decrease: While a standard decrease (sc2tog) works, learning the invisible decrease (invdec) can make your amigurumi look much smoother, especially when shaping.
- Reading Patterns: Pay close attention to abbreviations and repetitions. “(…) * x” means repeating the sequence in parentheses ‘x’ times.
- Patience is Key: Don’t get discouraged if your first attempt isn’t perfect. Crochet is a skill that improves with practice! Enjoy the process of creating your handmade toy.