Pocket-Sized Perfection: How to Crochet an Adorable Tiny Bear
“`html
How to Crochet a Tiny Pocket Bear: Step-by-Step Amigurumi Pattern
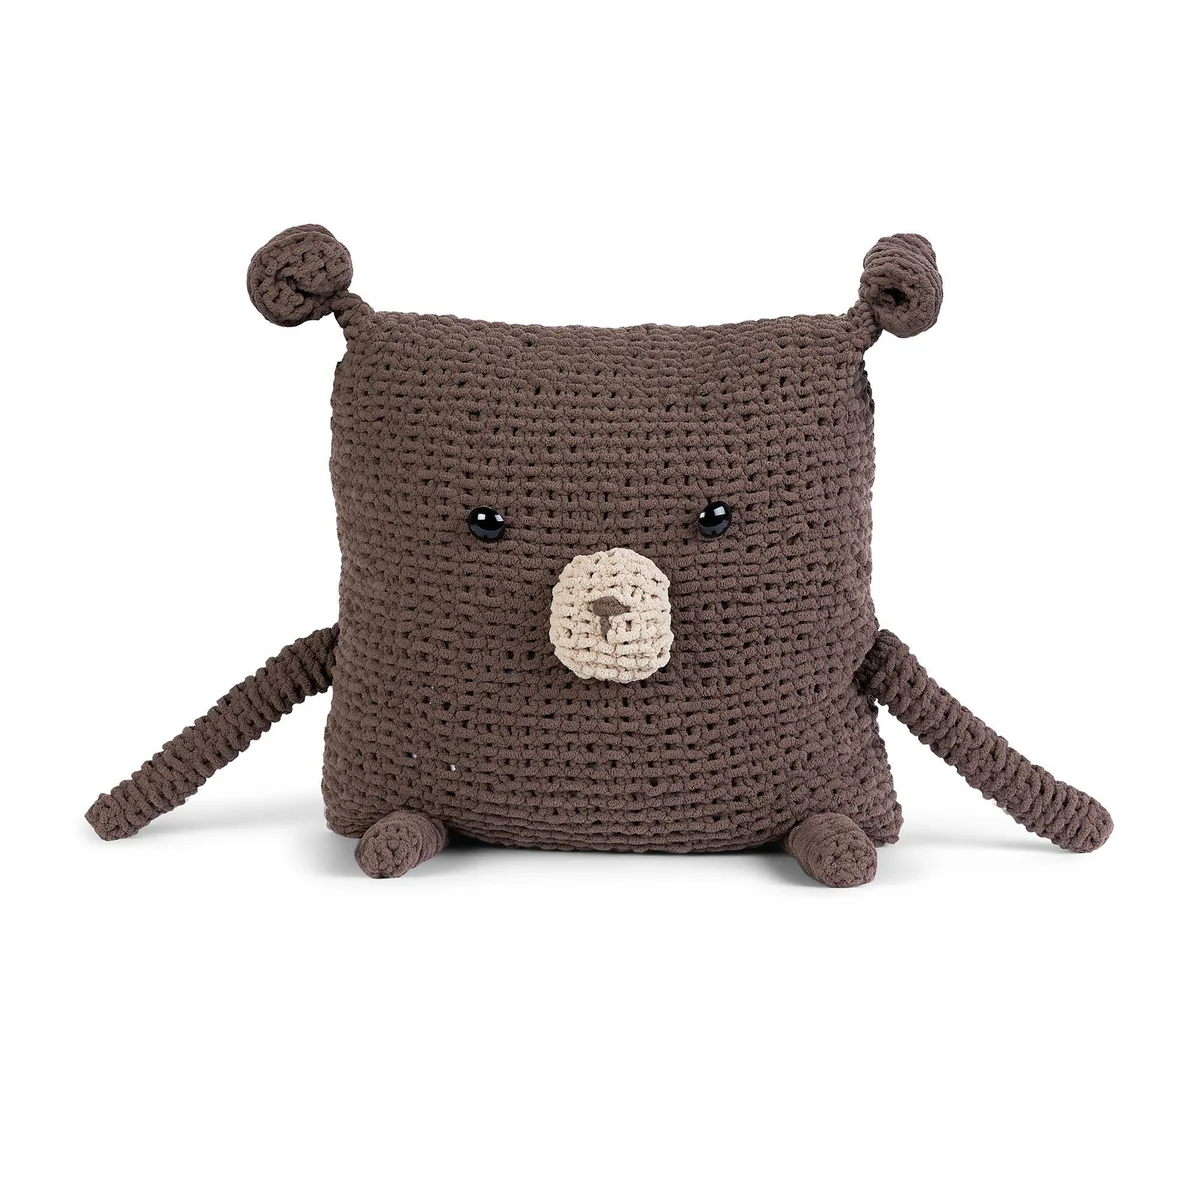
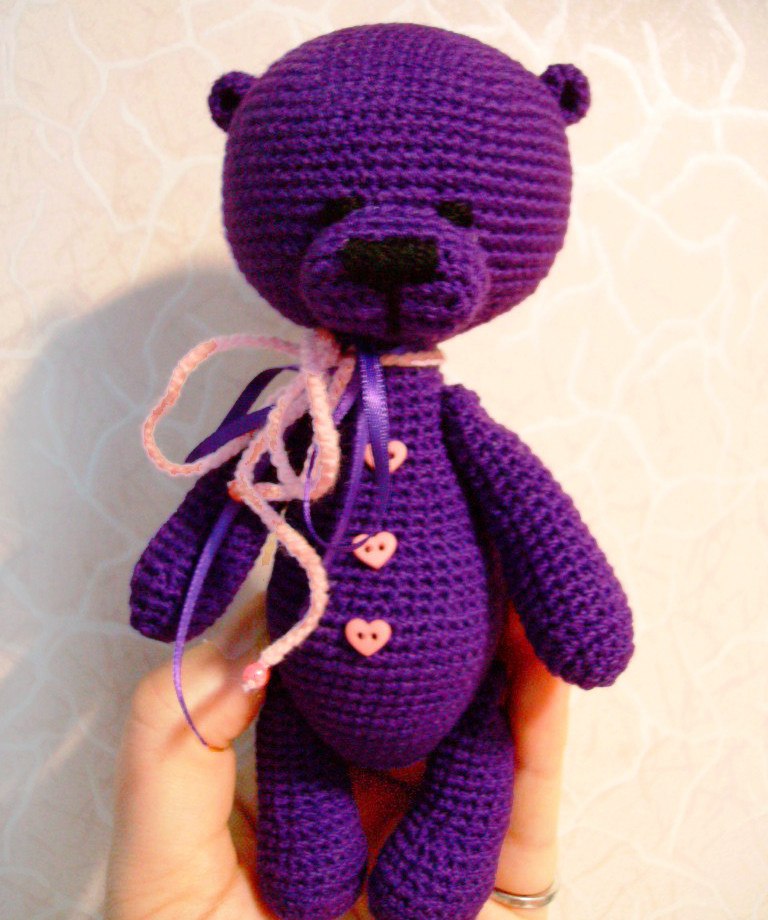
Create your own adorable companion with this detailed guide to crocheting a tiny pocket bear. This bear is designed to be the perfect size to sit inside a bag or pocket, making it a wonderful gift or a cute accessory for your own collection.
Materials Needed
- Yarn: Main color for the bear, a small amount of black yarn for the face, and a contrasting color for the decorative chain.
- Crochet Hook: Use a hook size compatible with your chosen yarn (a 1.25mm hook was used for the original sample).
- Stuffing: Polyester fiberfill or similar stuffing.
- Notions:
- Tapestry needle for assembly.
- 3 decorative buttons.
- A piece of ribbon for the bow.
- 2 beads matching the contrasting yarn color.
Crochet Abbreviations (US Terms)
- mr: Magic Ring
- sc: Single Crochet
- inc: Increase (two sc in one stitch)
- dec: Decrease (sc two stitches together)
- ch: Chain
- hdc: Half Double Crochet
- BLO: Back Loop Only
The Pattern
Head
- 6 sc in mr (6)
- 6 inc (12)
- (1 sc, inc) x 6 (18)
- (2 sc, inc) x 6 (24)
- (3 sc, inc) x 6 (30)
- (4 sc, inc) x 6 (36)
- (5 sc, inc) x 6 (42)
- (6 sc, inc) x 6 (48)
- (7 sc, inc) x 6 (54)
- (8 sc, inc) x 6 (60)
- (9 sc, inc) x 6 (66)
- – 20. 66 sc
- (9 sc, dec) x 6 (60)
- 60 sc
- (8 sc, dec) x 6 (54)
- (7 sc, dec) x 6 (48)
- (6 sc, dec) x 6 (42)
- (5 sc, dec) x 6 (36)
- (4 sc, dec) x 6 (30)
- Stuff the head firmly.
- (3 sc, dec) x 6 (24)
- (2 sc, dec) x 6 (18)
Fasten off and leave a tail for sewing.
Muzzle
- ch 9
- Starting from the second chain from hook: 3 sc in the first chain, 6 sc, 3 sc in the last chain, 6 sc (18)
- inc, sc, inc, 6 sc, inc, sc, inc, 6 sc (22)
- – 6. 22 sc
Fasten off.
Ears (Make 2)
- 7 hdc in mr (do not close the ring), turn, ch 1, 7 sc.
Fasten off. Note: Fold the ears in half before sewing them to the head.
Body
Tip: Stuff the body as you go, but keep it light so the belly and sloped back are visible.
- 6 sc in mr (6)
- 6 inc (12)
- (1 sc, inc) x 6 (18)
- (2 sc, inc) x 6 (24)
- (3 sc, inc) x 6 (30)
- 30 sc
- (4 sc, inc) x 6 (36)
- (5 sc, inc) x 6 (42)
- – 11. 42 sc
- (6 sc, inc) x 6 (48)
- – 17. 48 sc
- (2 sc, dec) x 6, 24 sc (42)
- – 21. 42 sc
- (1 sc, dec) x 6, 24 sc (36)
- – 25. 36 sc
- (4 sc, dec) x 6 (30)
- – 28. 30 sc
- (3 sc, dec) x 6 (24)
- – 32. 24 sc
- (2 sc, dec) x 6 (18)
- – 35. 18 sc
Fasten off and finish stuffing.
Tail
- 6 sc in mr (6)
- 6 inc (12)
- 12 sc
- 6 dec (6)
Stuff lightly and fasten off.
Legs (Make 2)
- ch 7
- Starting from the second chain from hook: inc, 4 sc, 4 sc in the last chain, work along the other side of the chain: 4 sc, inc (16)
- sc, inc, 4 sc, inc, 2 sc, inc, 4 sc, inc, sc (20)
- 20 sc
- BLO 20 sc
- 20 sc
- 8 sc, (dec) x 2, 8 sc (18)
- 18 sc
- 7 sc, (dec) x 2, 7 sc (16)
- 6 sc, (dec) x 2, 6 sc (14)
- – 12. 14 sc (Stuff the foot)
- – 20. 14 sc
- 7 dec (7)
Fasten off. Stuff the legs firmly, but not rock-hard. Close the opening.
Arms (Make 2)
- 6 sc in mr (6)
- 6 inc (12)
- 12 sc
- (1 sc, inc) x 6 (18)
- 18 sc
- dec, 14 sc, dec (16)
- – 9. 16 sc
- dec, 12 sc, dec (14)
- – 13. 14 sc
- dec, 10 sc, dec (12)
- Stuff the bottom of the arm lightly.
- – 20. 12 sc
- 6 dec (6)
Add a small amount of stuffing to the top. Ensure arms are not overstuffed. Fasten off and hide the yarn tail.
Assembly and Finishing
- Head and Body: Sew the head to the body. Both openings should have 18 stitches; align and sew them together.
- Muzzle: Pin the muzzle to the face, ensuring the belly side of the bear is oriented correctly. Stretch it slightly for a better fit, then sew it in place. Add a small amount of stuffing behind the muzzle before closing.
- Ears: Fold the ears in half and sew them to the sides of the head.
- Legs: Attach the legs using a sewing stitch. Place them low on the body to ensure the bear sits correctly.
- Arms: Attach the arms, leaving a small gap between the head and the arm to create a defined neck.
- Face: Embroider the eyes (each eye should span 2 stitches) and a small nose using black yarn.
- Buttons: Sew three decorative buttons down the center. Place the first on the belly bulge and the other two spaced evenly above it.
- Necklace:
- Crochet a chain in the contrasting yarn color to your desired length.
- Attach a bead to each end of the chain.
- Cut a piece of ribbon the same length as the chain.
- Tie the chain and ribbon together in a pretty bow around the bear’s neck.
“`