Master the Grid: Create This Trendy Crochet Open Check Top
Crochet Open Check Top Pattern: A Step-by-Step Guide
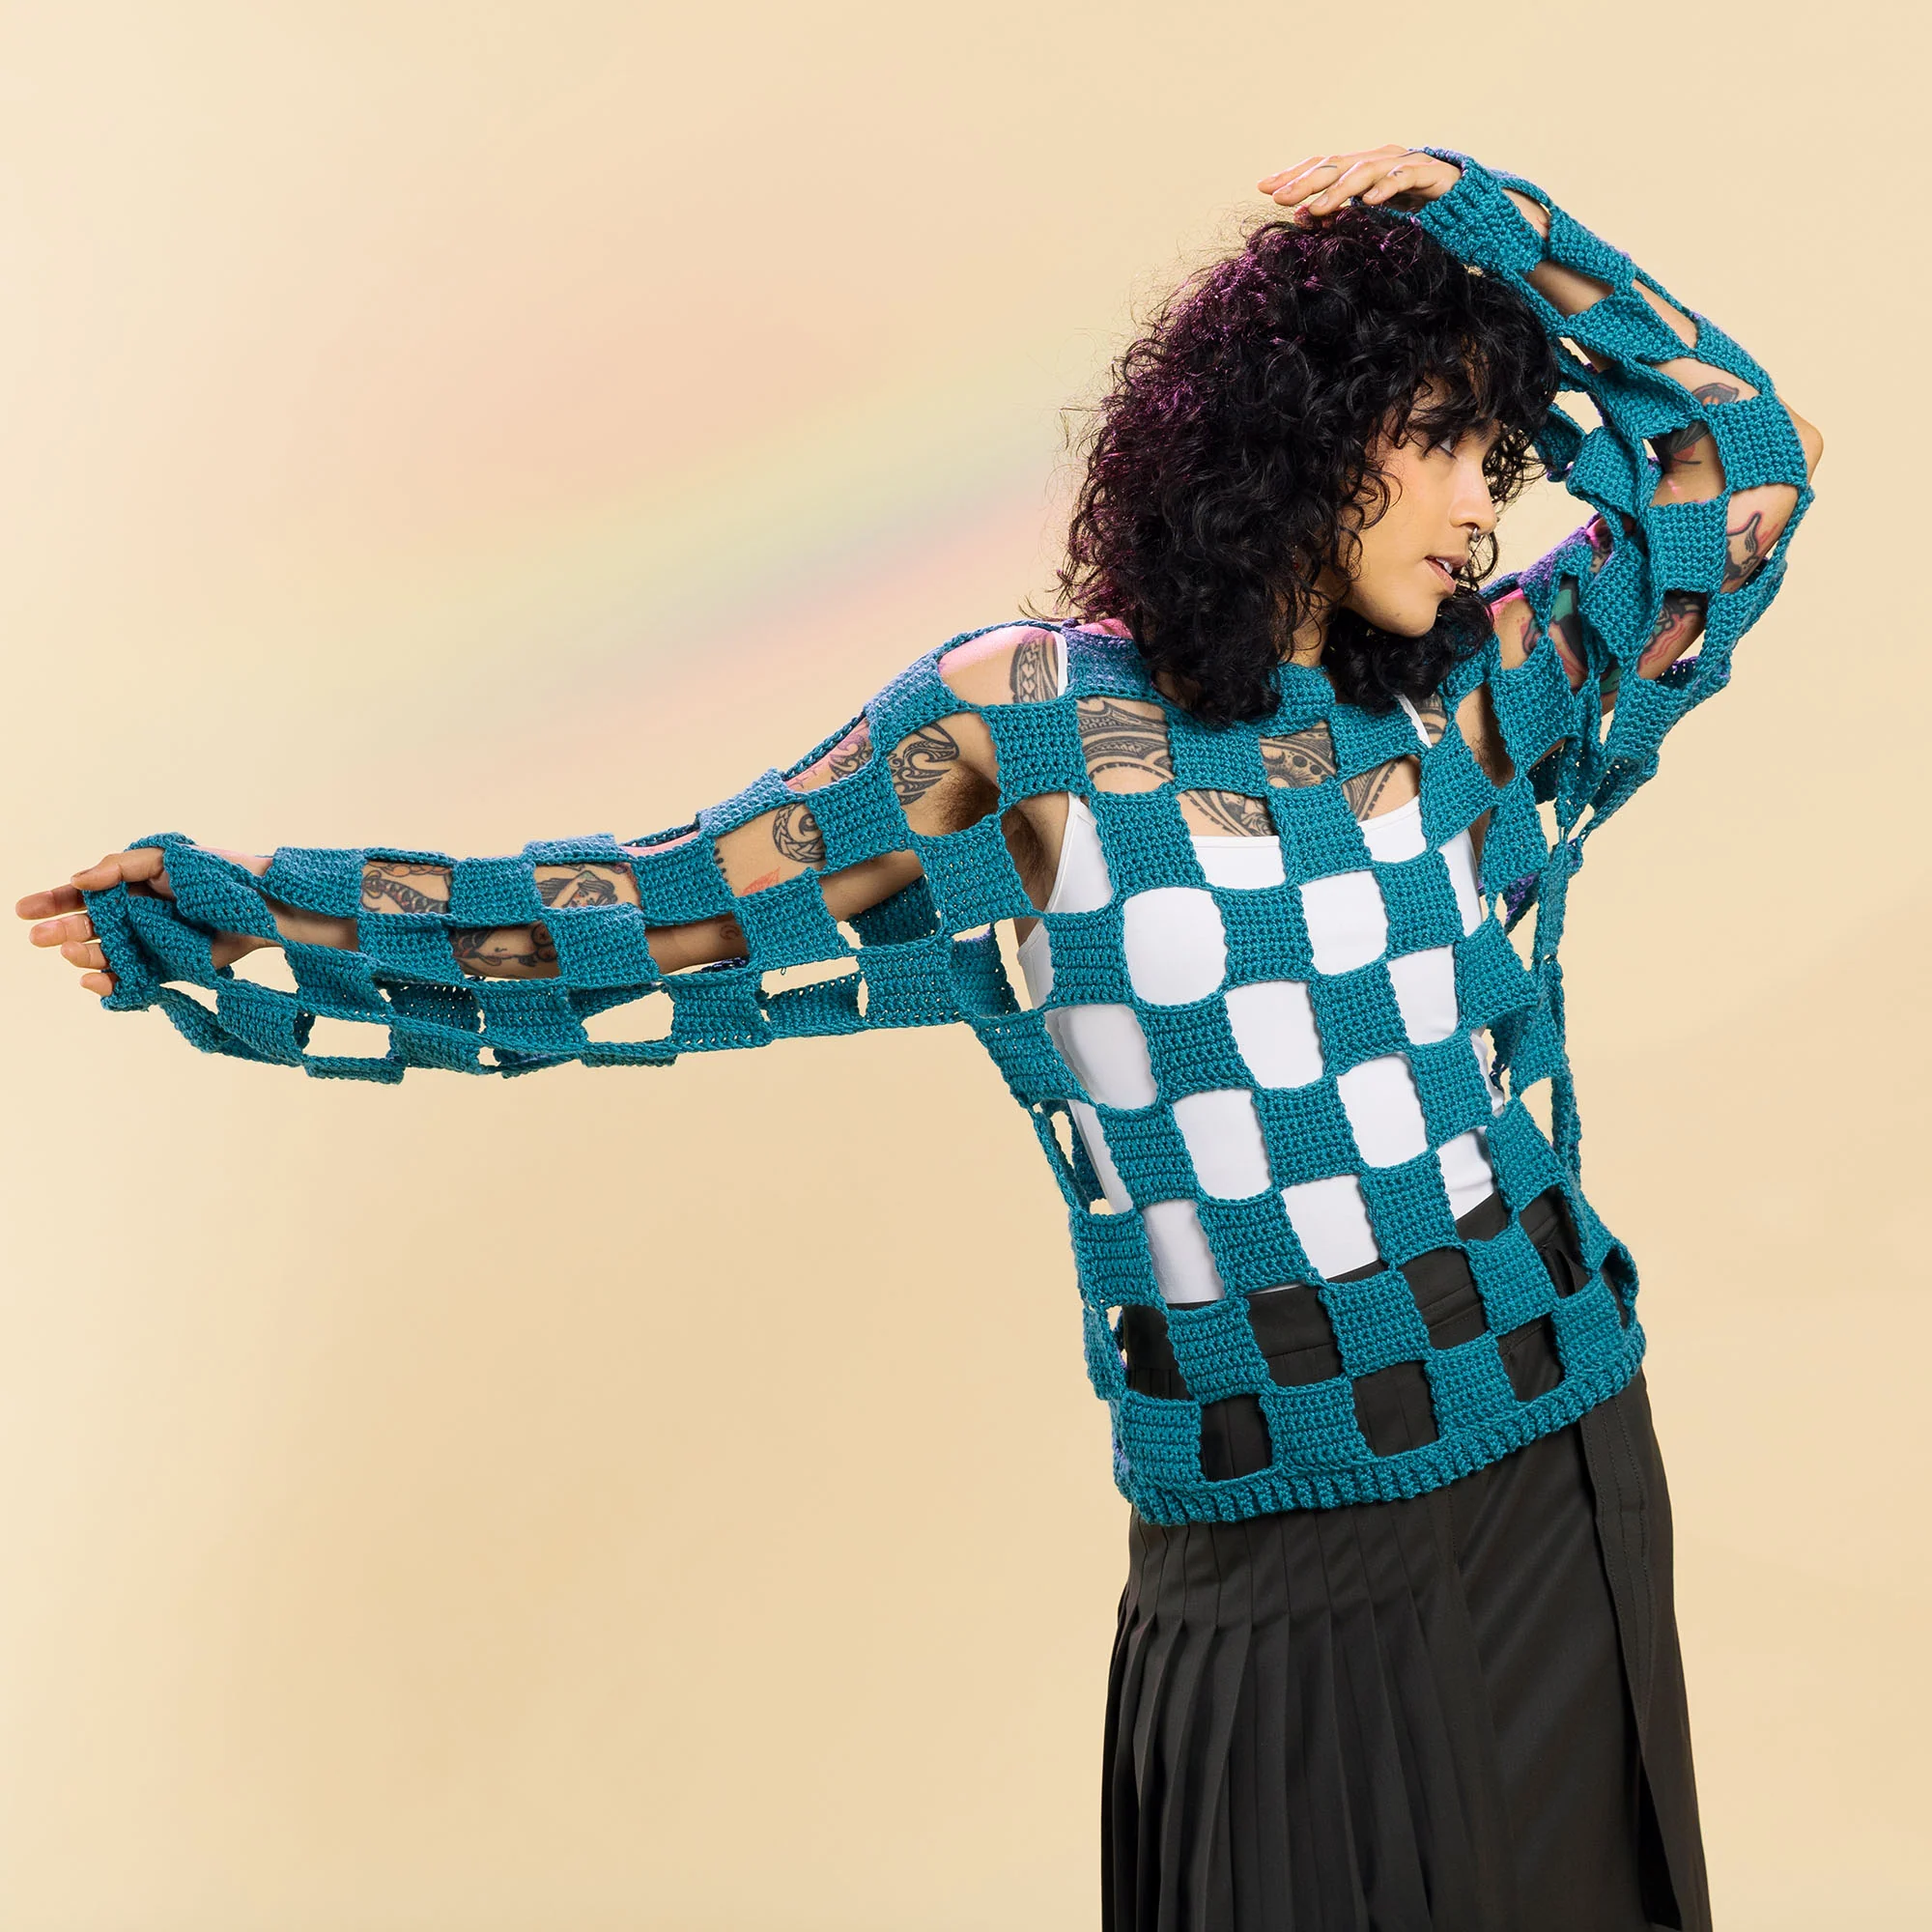
Create a modern, trendy look with this Crochet Open Check Top. This project features a unique grid-like design combining solid blocks and open spaces for a breathable, stylish garment. This pattern is designed for experienced crocheters and is worked in one large piece that is eventually folded and seamed.
Materials and Sizing
Yarn Requirements
Use a Light (Weight 3) merino wool yarn. You can choose between two versions:
- Version 1 (Solid Color):
- XS/S: 5 balls (approx. 926 yds)
- M/L: 5 balls (approx. 1036 yds)
- XL/2XL: 7 balls (approx. 1326 yds)
- 3/4XL: 7 balls (approx. 1448 yds)
- Version 2 (Two-Tone Contrast):
- XS/S: 3 balls of Color A, 3 balls of Color B
- M/L: 3 balls of Color A, 3 balls of Color B
- XL/2XL: 4 balls of Color A, 4 balls of Color B
- 3/4XL: 4 balls of Color A, 4 balls of Color B
Tools
- US H/8 (5 mm) crochet hook (or size needed to obtain gauge)
- Yarn needle
- Stitch markers
Sizing Guide (To fit chest measurement)
- XS/S: 28-34″ (Finished chest: 36″)
- M/L: 36-42″ (Finished chest: 44″)
- XL/2XL: 44-50″ (Finished chest: 52″)
- 3/4XL: 52-58″ (Finished chest: 60″)
Gauge and Abbreviations
Gauge: 16 sc and 17 rows = 4″ [10 cm].
Abbreviations
- Alt: Alternate
- Beg: Beginning
- Ch: Chain(s)
- Fsc: Foundation single crochet
- RS: Right side
- WS: Wrong side
- Sc: Single crochet
- Sl st: Slip stitch
- St(s): Stitch(es)
- Rep: Repeat
Core Pattern Components
This top is constructed using two main building blocks: the Solid Block and the Open Block.
The Solid Block
- Chain 9.
- Row 1 (RS): 1 sc in 2nd ch from hook, 1 sc in each ch to end. Turn. (8 sc)
- Rows 2-8: Ch 1, 1 sc in each sc to end of row. Turn.
- Row 9: Ch 1, 1 sc in each sc to end of row. Do not turn.
The Open Block
- Row 1 (RS): Ch 1. Sl st in each of the next 8 rows down the side of the previous Solid Block.
- Chain 9, make 8 fsc. Turn.
Step-by-Step Assembly
First Front Block Section (Right to Left)
Begin by creating a series of alternating Solid and Open blocks. Start with a Solid Block, then work an Open Block by slip stitching down the side of the solid block and creating a foundation chain of 8 fsc. Repeat this sequence according to your size:
- XS/S: 5 Solid Blocks and 4 Open Blocks total.
- M/L: 6 Solid Blocks and 5 Open Blocks total.
- XL/2XL: 7 Solid Blocks and 6 Open Blocks total.
- 3/4XL: 8 Solid Blocks and 7 Open Blocks total.
Second Front Block Section (Left to Right)
With the WS facing, sl st across the first 8 sc. Chain 8 and sl st into the first sc of the next Solid Block. Turn and work the Solid Block (Rows 1-9). Then, create an Open Block by slip stitching across the next 8 sc and around the side of the solid block. Repeat as necessary for your size.
Third, Fourth, and Fifth Front Block Sections
Repeat the process of the Second and Third Front Block Sections until the front panel is complete. For Version 2, alternate your contrast colors (Color A and Color B) for each block section.
Sleeves
The sleeves are constructed using the same Solid and Open block method. Work the first sleeve block section, join it to the body by slip stitching around the side of the body’s solid blocks, and continue extending the sleeve with alternating blocks. Repeat for the second sleeve.
Neck Opening Block Section
The neck opening requires specific shaping based on size:
- XS/S & M/L: Work a series of Solid and Open blocks, then create the neck opening by chaining and slip stitching as directed to create the gap.
- XL/2XL & 3/4XL: Follow the specific block counts and chain lengths provided in the pattern diagrams to ensure a proper fit for larger sizes.
Back Block Sections
Join your yarn to the back section. Work the First, Second, and Third Back Block Sections using the same logic as the front: alternating Solid and Open blocks. Complete the Fourth and Fifth Back Block Sections to mirror the front of the garment.
Finishing and Assembly
Edging and Seaming
- Fold the completed work in half widthwise, aligning the Neck Opening at the fold line.
- Ensure the check pattern lines up perfectly.
- Using a slip stitch, join the sides and sleeves. Work around the edges of the solid blocks to create a clean, reinforced seam.
Cuffs and Ribbing
Cuffs (Version 2): Chain 5. Work rows of single crochet, working in the back loops only to create a ribbed effect. Repeat until the cuff measures 10″ (or as specified for your size). Sew the first and last rows together and attach to the sleeve edge.
Bottom Ribbing (Version 2): Following the same ribbed sc method as the cuffs, work a long strip of ribbing to match the total bottom measurement of your top. Sew this ribbing around the bottom edge of the garment.
Fasten off all loose ends and weave them in with a yarn needle for a professional finish