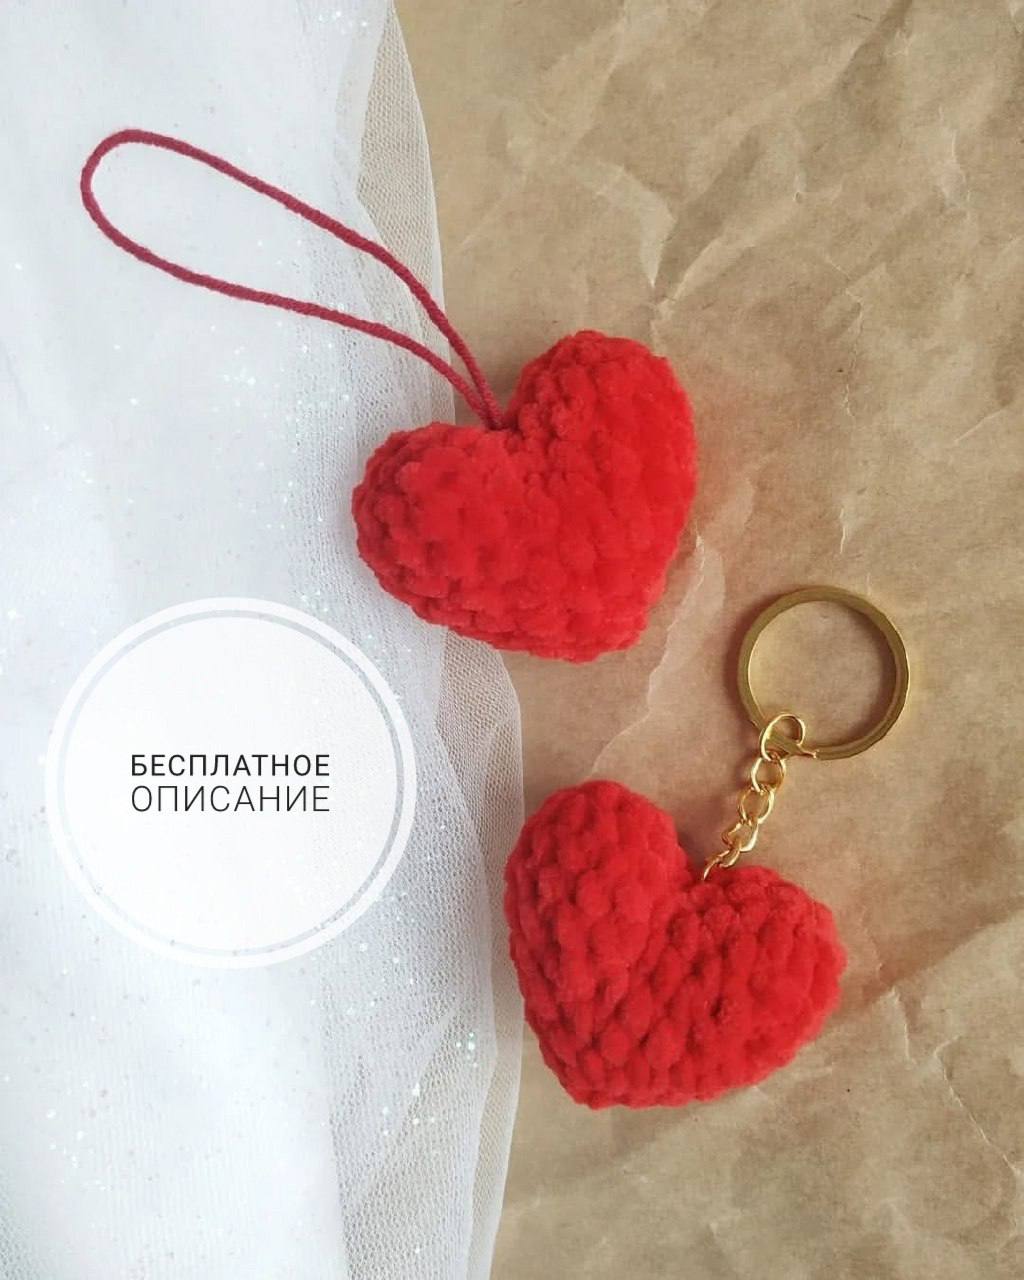
Easy Crochet Plush Heart Pattern: DIY Adorable Heart Keychain
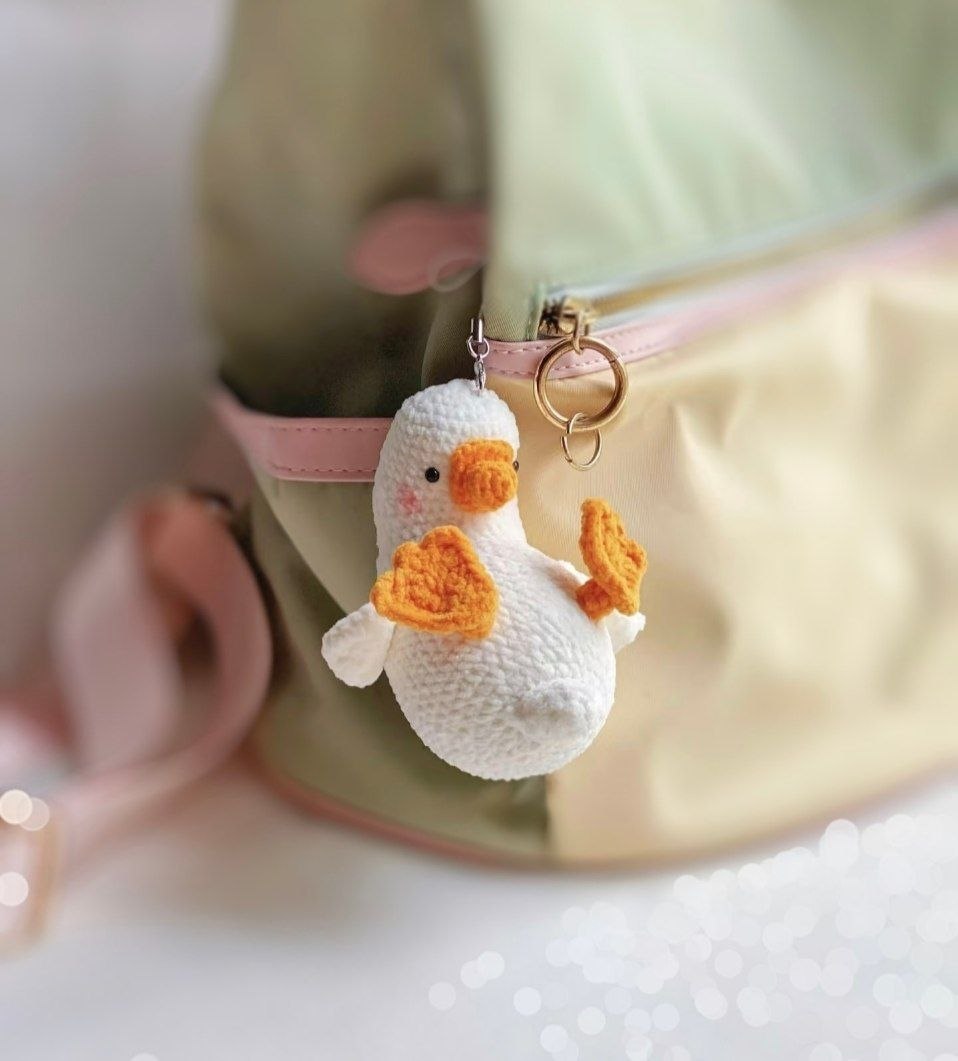
Looking for a quick, sweet, and incredibly cuddly project? This crochet plush heart is the perfect choice for beginners and experienced crafters alike. Whether you are making a heartfelt Valentine’s Day gift, a cute accessory for your keys, or a little token of affection for a friend, this pattern delivers a professional-looking result in a very short amount of time.
The secret to this pattern is the use of chenille or velvet yarn. This “plush” style of yarn creates a thick, soft fabric that hides stitches well and makes the finished heart feel like a little marshmallow. Because the yarn is so bulky, the project works up rapidly, making it an ideal “last-minute” gift that still looks handmade and high-quality.
Materials & Abbreviations
To get started, gather the following materials. If you don’t have the specific brand mentioned, any super bulky chenille or velvet yarn will work perfectly!
Materials Needed
- Yarn: Approximately 50 yards of super bulky chenille or velvet yarn in red (or any color of your choice).
- Crochet Hook: 4 mm (G/6) hook.
- Stuffing: Polyester fiberfill (Poly-fil).
- Tools: A stitch marker (or a piece of contrasting scrap yarn), a long yarn needle, and sharp scissors.
- Hardware: One metal keychain ring or lobster clasp.
Abbreviations (US Terms)
- MR: Magic Ring
- sc: Single crochet
- inc: Increase (2 single crochet stitches in the same stitch)
- dec: Decrease (sc 2 stitches together)
- sl st: Slip stitch
- (…) : The number in parentheses indicates the total stitch count at the end of the round.
- (…)*N : Repeat the sequence inside the parentheses N times.
Note: This heart is worked in a continuous spiral. Do not join rounds with a slip stitch unless specifically instructed. I highly recommend using a stitch marker to keep track of the first stitch of each round.
Step-by-Step Instructions
The heart is created by making two small rounded “bumps” and then joining them together to form the heart shape. Follow these steps carefully to ensure a symmetrical result.
Step 1: Creating the Heart Bumps
You will need to make two identical small circles. These will become the two lobes of your heart.
First Bump:
- Round 1: Create a Magic Ring and work 6 sc into the ring (6).
- Round 2: Work an increase in every stitch around (inc * 6) (12).
- Round 3: Work 12 sc around. End the round with a sl st into the first stitch (12).
Fasten off the yarn, but leave a long tail of about 8 inches. You will use this tail later for sewing the heart’s center gap.
Second Bump:
Repeat the instructions for Round 1 through Round 3. However, do not fasten off the second bump. We will use the active yarn to join it to the first piece.
Step 2: Joining the Bumps
Now we will merge the two pieces into one heart shape. This is the most important part of the construction.
- Round 4: Starting with the second bump, work 6 sc around the edge. Now, insert your hook into the first bump (specifically into the slip stitch you used to finish the first piece). Work 12 sc around the first bump, and then work the remaining 6 sc around the second bump (24).
Step 3: Shaping the Heart
Now that we have a combined oval, we will begin decreasing the stitches to pull the bottom of the heart into a point.
- Round 5: (4 sc, dec) * 4 (20).
The Gap Close: At this point, you will notice a small hole or gap where the two bumps were joined. Use the 8-inch tail you left from the first bump and a yarn needle to sew this hole closed using a simple whipstitch. This ensures your stuffing won’t leak out later.
- Round 6: (3 sc, dec) * 4 (16).
- Round 7: (2 sc, dec) * 4 (12).
- Round 8: (1 sc, dec) * 4 (8).
Stuffing: Now is the time to add your fiberfill. Stuff the heart firmly, but not so tight that the stitches stretch open. A plump, bouncy heart is the goal!
- Round 9: (2 sc, dec) * 2, end with a sl st (6).
Finishing Touches
To give your heart a professional look, you need to close the bottom hole securely.
Fasten off the yarn, leaving a long tail. Thread this tail onto your yarn needle. Insert the needle through the front loops only of the remaining 6 stitches around the bottom. Pull the yarn tight to cinch the hole closed completely. Poke the needle through the center of the heart and pull it out the side, then weave the remaining yarn end into the stuffing to hide it. Trim any excess yarn.
Finally, take your keychain ring and carefully slide it through the top center of the heart. If you are using a jump ring, you can sew it directly to the top stitches for extra security.
Tips for a Perfect Plush Heart
Working with chenille yarn can be a bit different than working with standard acrylic or cotton. Here are a few tips to help you succeed:
Managing Plush Yarn
Because velvet yarn is so fuzzy, it can sometimes be hard to see where your hook needs to go. If you lose your place, use your fingers to feel for the “V” of the stitch. Avoid pulling your yarn too tight; let the plushness of the yarn do the work for you.
Perfecting the Magic Ring
Magic rings can be tricky with bulky yarn. If you find it too difficult, you can alternatively chain 2 and work 6 sc into the first chain. It creates the same result!
Customizing Your Heart
While red is the classic choice, these hearts look amazing in pink for Galentine’s Day, white for weddings, or even deep purple for a unique gift. You can also add a small bow made of ribbon or a tiny pearl bead to the center to add a touch of elegance.
Your plush heart is now complete! This tiny accessory is a wonderful way to practice your amigurumi skills while creating something truly lovable.