Micro Crochet Tiny Octopus Pattern: A Quick and Cute Amigurumi Tutorial
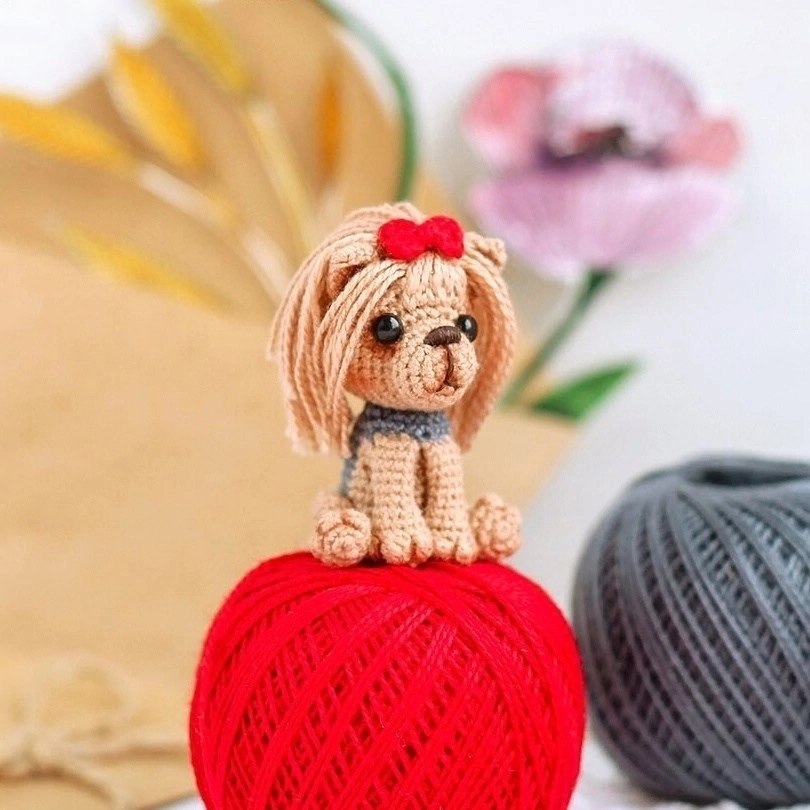
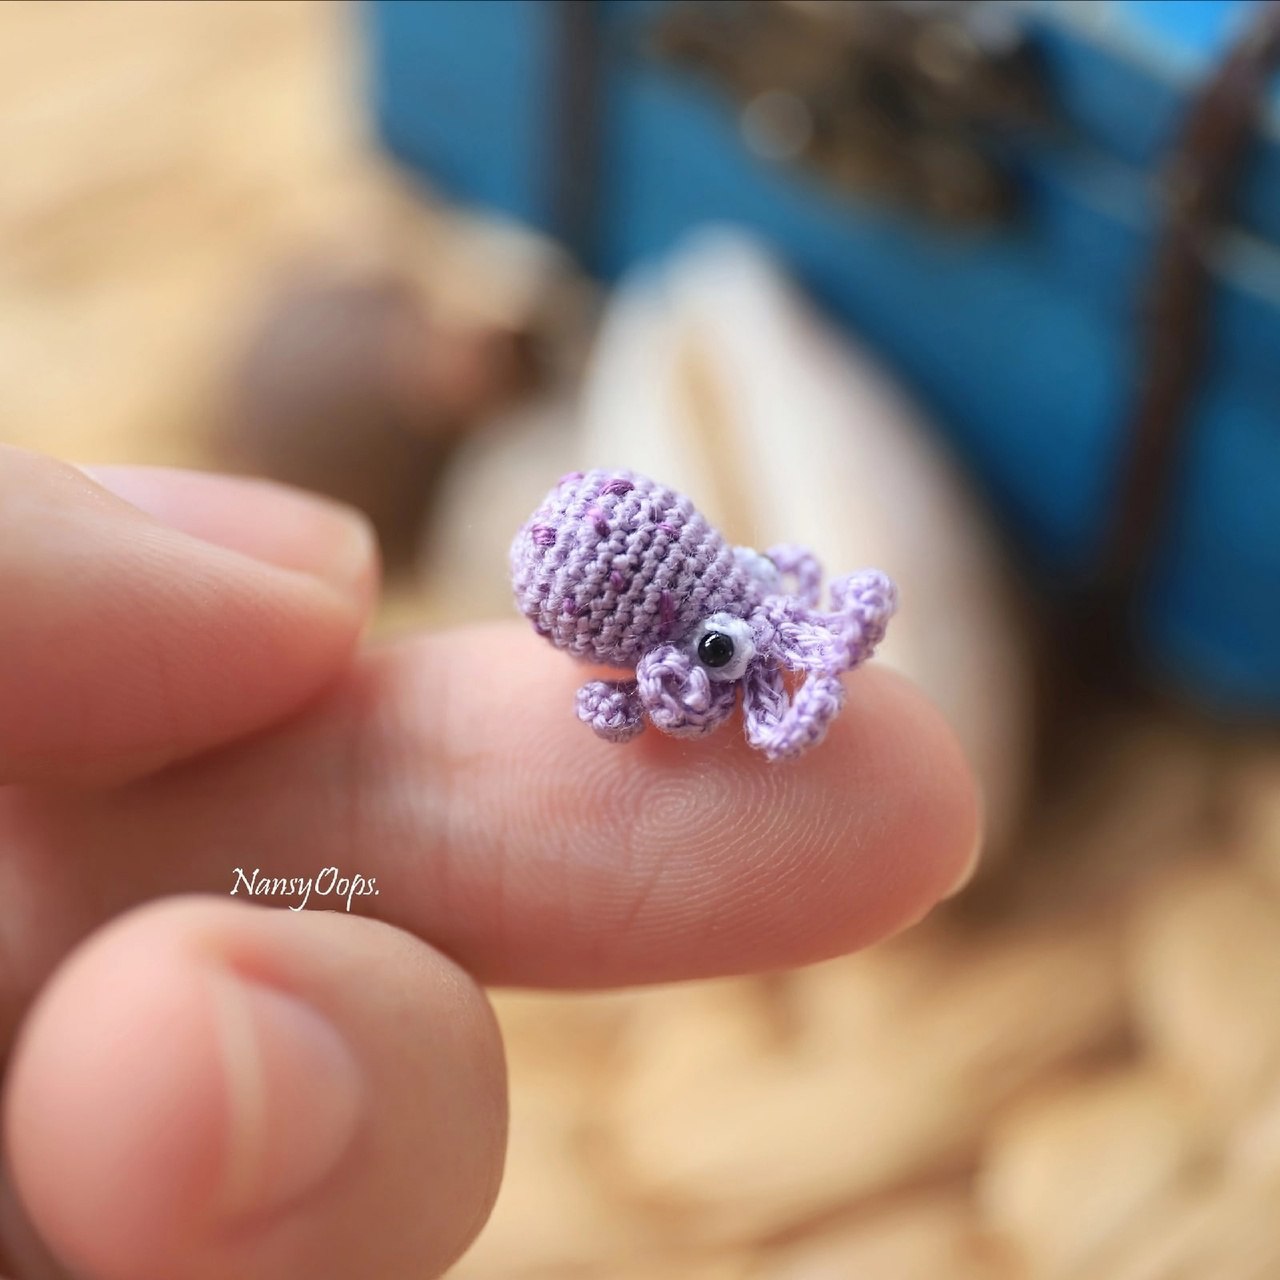
If you are looking for a project that is as adorable as it is fast, you have come to the right place! Micro crochet is a specialized skill that allows you to create incredibly detailed, miniature works of art. Today, we are diving into a pattern for a tiny, “micro” octopus. This little sea creature is so small it could sit on the tip of your finger, making it the perfect addition to a miniature dollhouse, a “dry aquarium” decoration, or a unique tiny gift for a friend.
The best part about this project? You can whip one up in about an hour! Because it is so small, you can experiment with a rainbow of colors. Make a whole school of tiny octopuses in different shades to decorate your workspace or create a colorful collection. Whether you are a seasoned amigurumi artist or a beginner looking to try something new, this tutorial will guide you through every tiny stitch.
Materials and Tools
Since we are working on such a miniature scale, the tools you use are just as important as the yarn itself. For a project this small, standard crochet hooks and yarn will be much too large. You will need the following:
- Embroidery Floss (Main Color): Use a single strand of cotton embroidery floss (brands like DMC work beautifully). If you want an even smaller octopus, you can use fine sewing thread. Remember: the thinner the thread, the smaller your octopus will be!
- Embroidery Floss (Optional Accent Color): A second color if you wish to add decorative spots to your octopus.
- White Sewing Thread: For creating the eyes.
- Crochet Hook: A very fine 0.5 mm hook.
- Beads or Eye Pins: 1 mm beads or tiny black beads to serve as the pupils.
- Bead Needle: A very fine needle (approximately 0.45 mm diameter) for sewing and detail work.
- Manicure Scissors: Sharp, small scissors are essential for clean cuts on fine thread.
- Polyester Fiberfill: Tiny bits of stuffing to give the body shape.
- Toothpick: A small tool to help push stuffing into the tiny body.
Crochet Abbreviations
This pattern uses standard US crochet terms. Please ensure you are following US terminology to avoid any confusion with stitch heights.
- MR: Magic Ring
- ch: Chain
- sc: Single crochet
- inc: Increase (work 2 single crochets into the same stitch)
- dec: Decrease (see note below)
- hdc: Half double crochet
Important Note on Decreases: When working with very fine embroidery floss, traditional “invisible decreases” (working two stitches together) can sometimes be difficult or create lumps. For this pattern, to keep the shape smooth, you can perform a decrease by simply skipping one stitch. This is much easier to manage with single-strand floss.
Note: All work is done in a continuous spiral. The number in parentheses at the end of each round indicates the total stitch count at the end of that round.
Step-by-Step Instructions
Making the Body
We will begin by crocheting the “head” or the main body of the octopus. This piece will eventually be stuffed to create a rounded shape.
- Round 1: Create a Magic Ring and work 6 sc into it. (6)
- Round 2: 6 inc. (12)
- Round 3: (1 sc, 1 inc) repeat 6 times. (18)
- Round 4: (2 sc, 1 inc) repeat 6 times. (24)
- Rounds 5-6: Sc in each stitch around. (24)
- Round 7: (4 sc, 1 dec) repeat 4 times. (20)
- Rounds 8-9: Sc in each stitch around. (20)
- Round 10: (3 sc, 1 dec) repeat 4 times. (16)
- Round 11: Sc in each stitch around. (16)
- Round 12: (2 sc, 1 dec) repeat 4 times. (12)
- Round 13: (4 sc, 1 dec) repeat 2 times. (10)
Once you reach Round 13, stop crocheting. Use your toothpick to carefully stuff the body with a tiny amount of polyester fiberfill. You want it firm enough to hold its shape but not so stuffed that it becomes difficult to attach the tentacles.
Creating the 8 Tentacles
The tentacles are worked directly onto the base of the body. This part requires a little bit of math and attention to detail, but once you get the rhythm, it is quite simple!
The Base Pattern for One Tentacle:
Start with 1 sc, then work 10 ch. In the second chain from the hook, work 7 sc. Then, work 2 hdc in the next chain. To finish the loop, work 1 sc into the very first sc that started the chain. This creates a small, curly limb.
How to Attach All 8 Tentacles:
To fit all eight tentacles around the tiny base, we will alternate how we attach them to the stitches of the body:
- Tentacle 1: Follow the base pattern.
- Tentacle 2: Repeat the base pattern, attaching it to the next available stitch.
- Tentacle 3: Repeat the base pattern, attaching it to the next available stitch.
- Tentacle 4: Follow the base pattern, but for the final sc (the one that closes the loop), work it into the next stitch of the body rather than the first stitch of the chain.
- Tentacles 5, 6, and 7: Repeat the attachment method used for the first three tentacles.
- Tentacle 8: Follow the base pattern, but for the final sc, work it into the very first stitch of the first tentacle.
By following this specific sequence, you are effectively “skipping” two stitches, which allows all 8 tentacles to fit perfectly around the 10 stitches remaining on your body.
Finishing
Now that your octopus has its body and limbs, it’s time to bring it to life with some facial features and extra details.
Adding the Eyes
For the eyes, we will use white sewing thread to create a tiny base. Work 6 sc into a Magic Ring. Before you close the ring, slide a small 1 mm black bead into the center of the stitches. Once the ring is closed, you will have a tiny white circle with a black pupil. Use your bead needle to sew these eyes onto the body, positioned just above the base where the tentacles meet.
Final Details
To give your octopus more character, you can use your accent color embroidery floss to stitch small spots onto the body. This adds a lovely pop of color and texture. Once you are happy with the look, trim any loose ends securely with your manicure scissors.
Tips for Micro Crochet Success
Working at this scale can be challenging! Here are a few tips to help you succeed:
- Lighting is Key: Because the stitches are so small, it can be hard to see where your hook needs to go. Work in a well-lit area or use a desk lamp.
- Manage Your Tension: With embroidery floss, tension can vary wildly. Try to keep your stitches consistent so the body doesn’t look lumpy.
- Use the Right Needle: Don’t try to use a standard sewing needle; it will be too thick. A dedicated bead needle is essential for the eyes and embroidery.
- Don’t Rush the Tentacles: The attachment of the tentacles is the most technical part of this pattern. Take your time counting your stitches to ensure you are attaching them to the correct loop.
- Embrace Imperfection: Because these are meant to be “micro” and cute, tiny irregularities often add to their charm!