Crochet Baby Bunny Pattern: Easy Amigurumi Tutorial for Beginners
Are you looking for your next adorable crochet project? There is nothing quite as heartwarming as a tiny, squishy amigurumi bunny. Whether you are looking to create a unique nursery decoration, a soft companion for a newborn, or a thoughtful handmade gift, this crochet baby bunny is the perfect project. This pattern is designed to be worked in one continuous piece, meaning you won’t have to worry about the tedious task of sewing limbs onto a body—making it a fantastic choice for beginners or anyone looking for a quick and satisfying crochet session!
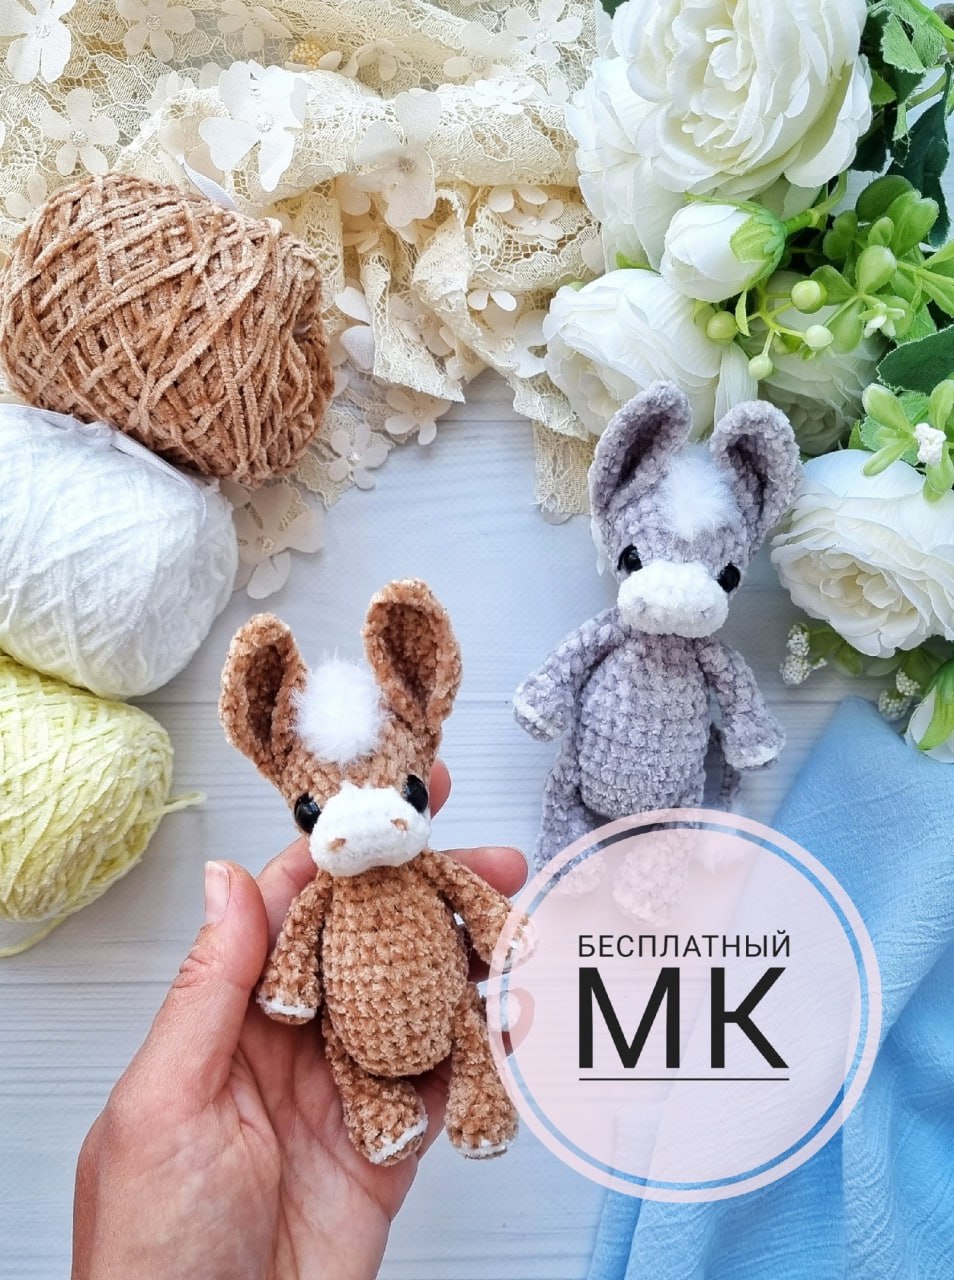
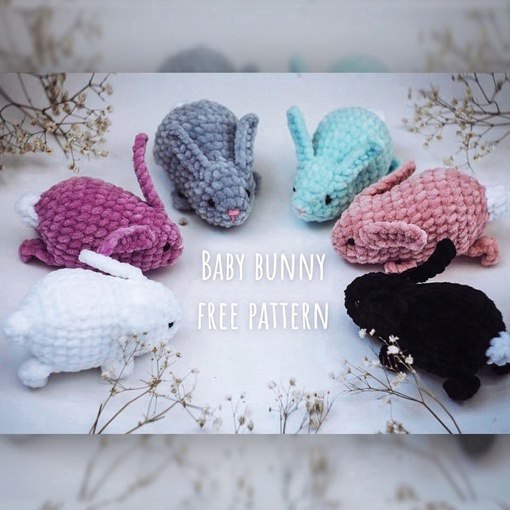
This little bunny is best made using chenille or velvet-style yarn. This type of yarn gives the bunny that signature “plushie” feel that is so popular in modern crochet. Because the yarn is so soft and thick, your finished bunny will be incredibly huggable and much larger than a standard cotton amigurumi.
Materials & Abbreviations
Before you pick up your hook, make sure you have all your supplies ready. For the best results, we recommend using a bulky or super bulky chenille yarn to achieve the look seen in the photos.
What You Will Need:
- Yarn: Super bulky chenille/velvet yarn in your choice of color (plus a small amount of white for the tail).
- Crochet Hook: A 5.0mm or 6.0mm hook (adjust based on your yarn weight to ensure stitches are tight).
- Safety Eyes: 10mm or 12mm safety eyes.
- Stuffing: Polyester fiberfill.
- Stitch Marker: Essential for keeping track of your rounds in amigurumi.
- Tapestry Needle: For weaving in ends and embroidering the nose.
- Scissors.
Abbreviations (US Terms):
- MR: Magic Ring
- sc: Single crochet
- inc: Increase (2 sc in the same stitch)
- dec: Decrease (sc 2 stitches together)
- ch: Chain
- hdc: Half double crochet
- st(s): Stitch(es)
- BLO: Back loop only
Step-by-Step Instructions
Note: This pattern is worked in a continuous spiral. Please use a stitch marker to mark the beginning of every round so you don’t lose your place!
The Head and Ears
We begin by creating the head using your main color. As you work, remember to stuff the head lightly as you go to help it maintain its shape.
Round 1: 6 sc in a Magic Ring (6)
Round 2: (inc) in each stitch around (12)
Round 3: (sc, inc) repeat 6 times (18)
Round 4: 18 sc (18)
Round 5 (The Ear Round): This round is unique because we will integrate the ears directly into the head. Pro-tip: To ensure your ears don’t flip inside out, work your sc stitches along the chain using the back loop only.
7 sc; First Ear: {ch 8, starting in the 2nd ch from the hook, work 7 sc back along the chain}; 4 sc; Second Ear: {ch 8, starting in the 2nd ch from the hook, work 7 sc back along the chain}; 7 sc (18 stitches + 2 ears).
Note: Place your safety eyes at the level of Round 3 before continuing.
Rounds 6-7: 18 sc (2 rounds total)
Round 8: 3 sc, (sc, inc) repeat 6 times, 3 sc (24)
The Body and Front Legs
Now we move into the body, incorporating the front legs. The legs are worked by chaining and then crocheting back along that chain.
Round 9: 3 sc; Left Front Leg: {ch 5, starting in the 3rd ch from the hook, work 3 hdc along the chain}; 18 sc; Right Front Leg: {ch 5, starting in the 3rd ch from the hook, work 3 hdc along the chain}; 3 sc (24)
Round 10: 7 sc, inc, 4 sc, inc, 4 sc, inc, 6 sc (27)
Round 11: 8 sc, inc, 4 sc, inc, 4 sc, inc, 8 sc (30)
Rounds 12-14: 30 sc (3 rounds total)
The Back Legs and Tapering
We will now add the back legs and begin narrowing the piece to create the bottom of the bunny.
Round 15: 3 sc; Left Back Leg: {ch 6, starting in the 3rd ch from the hook, work 4 hdc along the chain}, dec, (3 sc, dec) repeat 4 times, 2 sc; Right Back Leg: {ch 6, starting in the 3rd ch from the hook, work 4 hdc along the chain}, sc, dec (24)
Round 16: (2 sc, dec) repeat 6 times (18)
Round 17: (sc, dec) repeat 6 times (12)
Round 18: (dec) repeat 6 times (6)
The Tail and Finishing
To finish the bunny, we will create a small, fluffy white tail.
Switch to white yarn.
Round 19: (sc, inc) repeat 3 times (9)
Round 20: (sc, dec) repeat 3 times (6)
Fasten off, leaving a small tail of yarn. Use your tapestry needle to weave the end through the remaining stitches and pull tight to close the hole completely. Make sure the bunny is well-stuffed before you close it up!
Finishing
Once your bunny is stuffed and closed, it’s time for the final touches! Use your tapestry needle and a small amount of pink or black yarn to embroider a tiny nose just below the eyes. This small detail adds so much character to your bunny’s face.
Check your safety eyes to ensure they are secure. If you are making this for a very young child, consider embroidering the eyes instead of using plastic safety eyes for extra safety.
Tips for Success
Working with Velvet/Chenille Yarn
Chenille yarn can be tricky because the “fuzz” often hides your stitches. If you are struggling to see where to insert your hook, try using a larger hook or a more defined stitch marker. Don’t pull your tension too tight, as this can make it difficult to work into the stitches in the next round.
Preventing Flipped Ears
One of the most common issues with amigurumi ears is that they tend to fold backward. As mentioned in the instructions, the secret is to work your single crochets along the foundation chain using the back loop only (BLO). This creates a firmer edge that helps the ear stand up or lay flat as intended.
Achieving a Professional Look
To make your bunny look extra polished, ensure your decreases are “invisible decreases.” Instead of inserting your hook into the two stitches normally, insert it into the front loops only of the next two stitches, then complete the single crochet. This prevents large gaps in your work.
Happy crocheting!