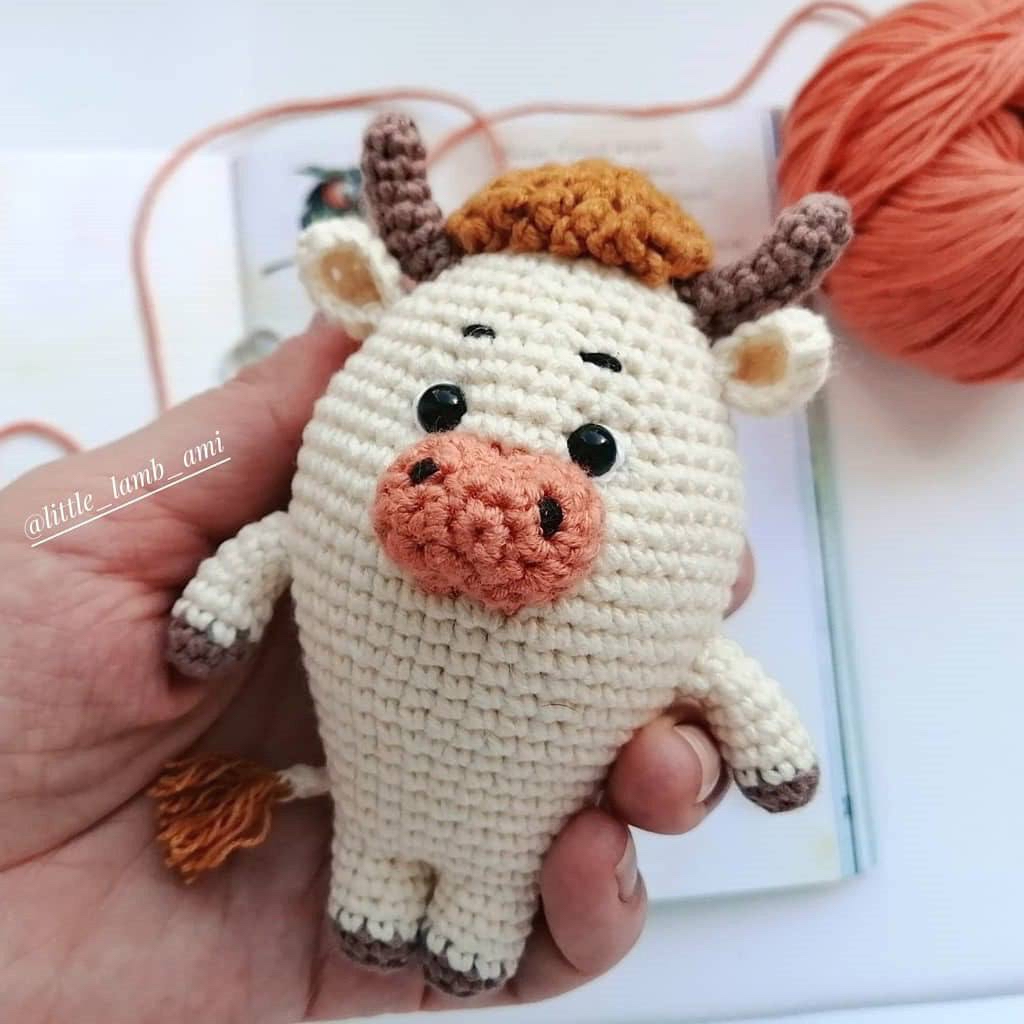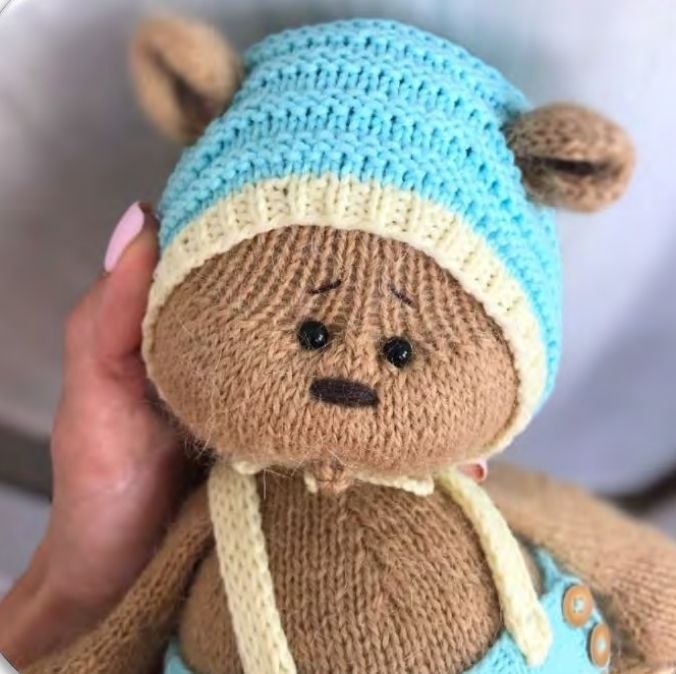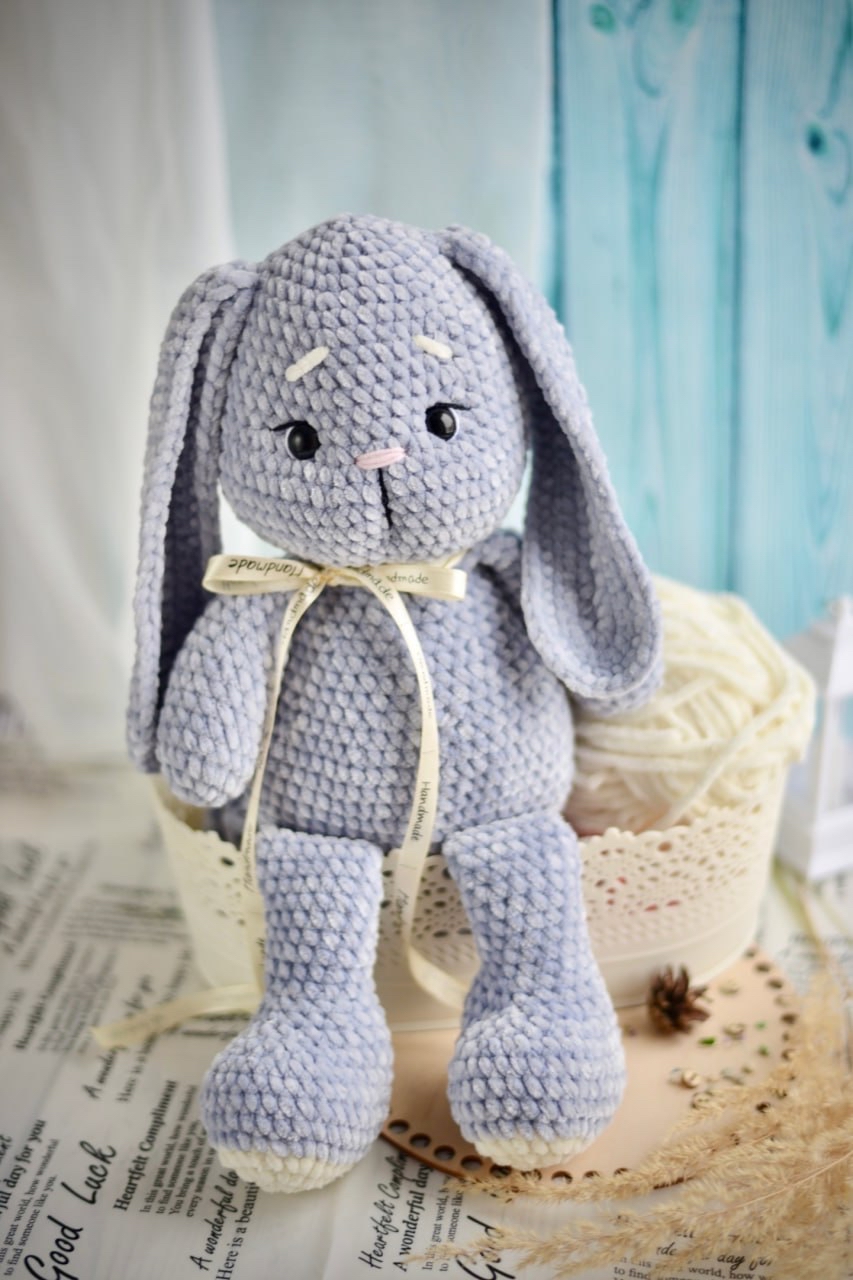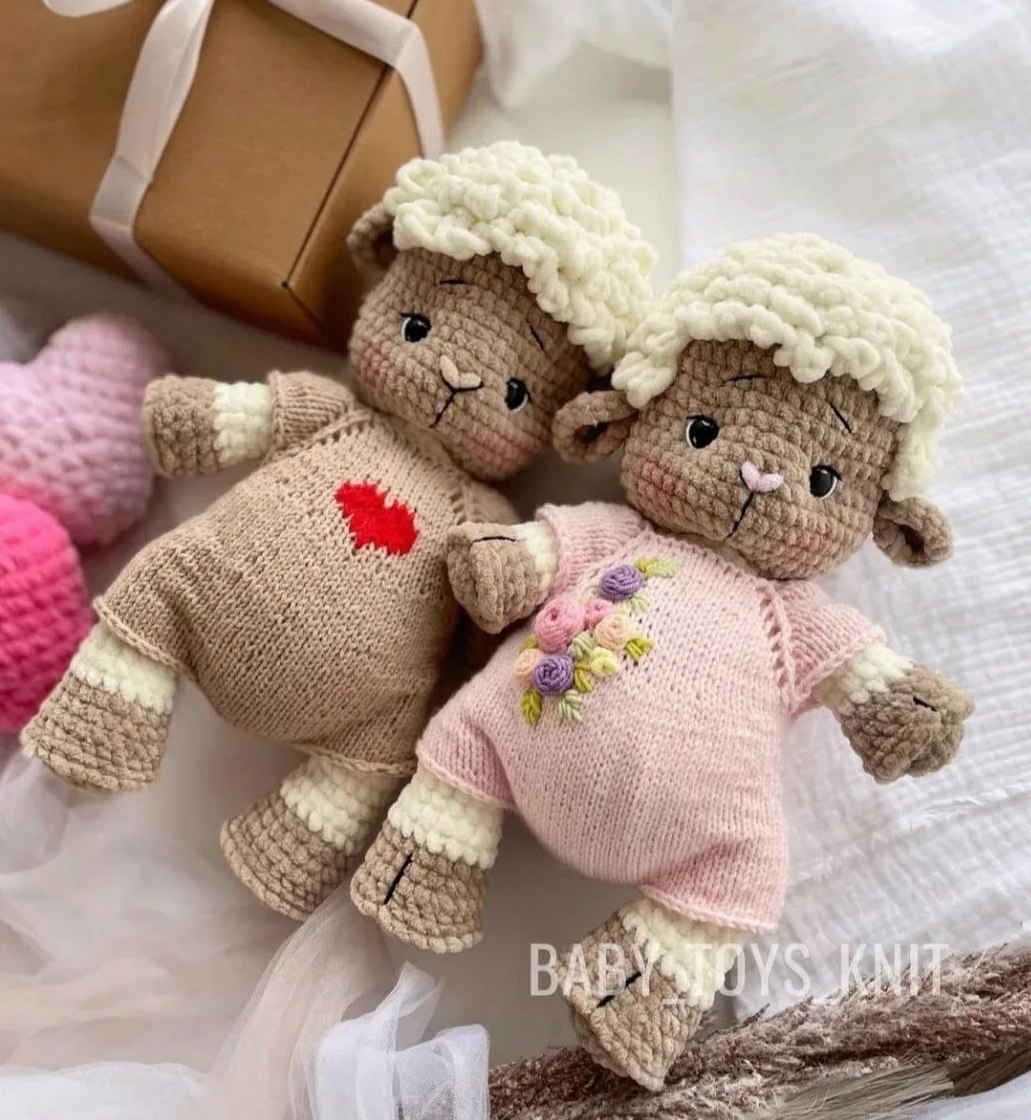
Easy Amigurumi Crochet Pony Pattern: A Step-by-Step Tutorial
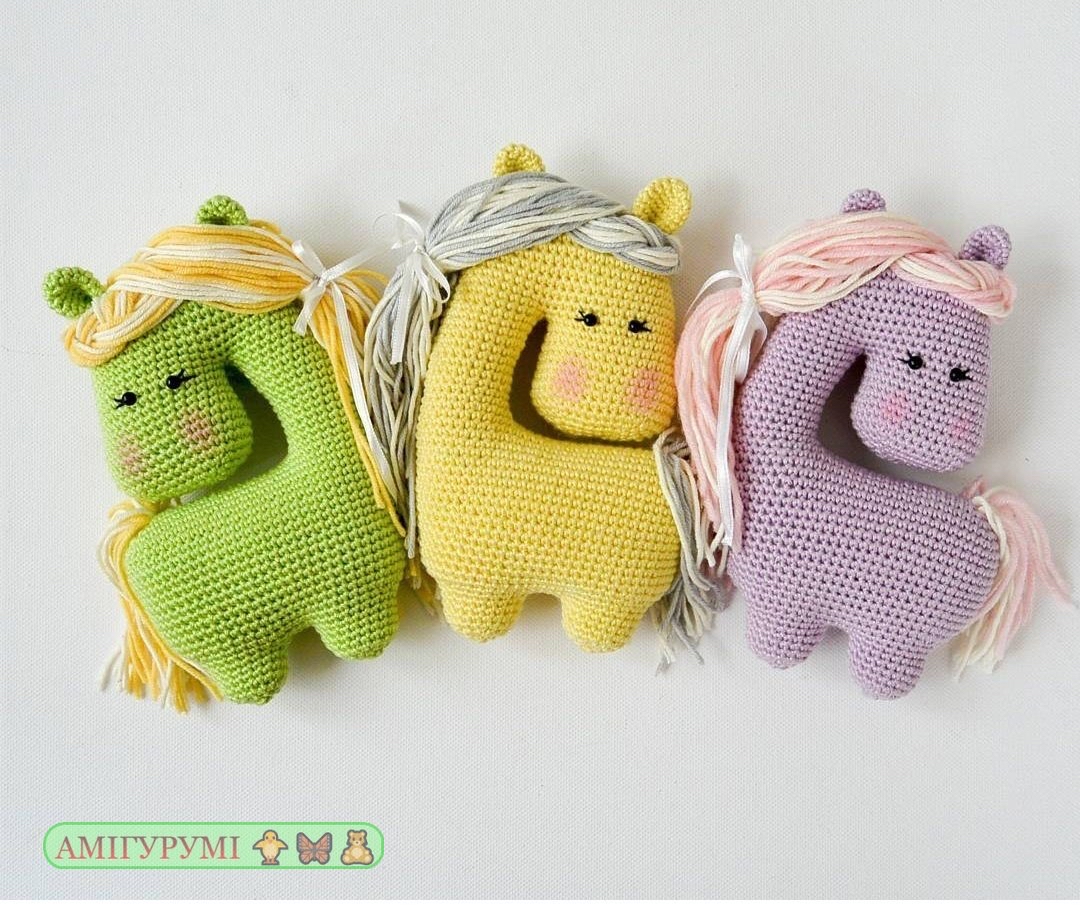
Are you looking for a charming new project to add to your amigurumi collection? This adorable crochet pony is the perfect blend of whimsical design and beginner-friendly techniques. Whether you are making a nursery decoration, a gift for a little one, or a new companion for your crochet shelf, this pony is sure to bring a smile to everyone’s face. With its soft texture and expressive little face, it is a project you will love making and gifting!
In this tutorial, we will walk you through every single step, from creating the oval-shaped head to attaching that beautiful, flowing mane. We will use standard US crochet terms and clear instructions to ensure you can follow along easily. Grab your favorite cotton yarn, and let’s get stitching!
Materials and Abbreviations
Before we dive into the pattern, let’s make sure you have everything you need on your crochet table. Using the right materials will help ensure your pony looks professional and holds its shape beautifully.
What You Will Need
- Yarn: We recommend using a soft cotton yarn, such as Catania cotton, for a clean and defined stitch look. You will need at least one main color (like green or yellow) and additional colors for the hair (white or light grey).
- Crochet Hook: A 2.0 mm or 2.5 mm hook works best. This pattern is written for a 2.0 mm hook.
- Stuffing: Polyester fiberfill (stuffing) is perfect for giving your pony its shape.
- Safety Eyes: 5 mm plastic safety eyes.
- Embroidery Thread: Black embroidery thread for the eyelashes and facial details.
- Tools: A tapestry needle, sharp scissors, and a chopstick (this is a secret weapon to help you stuff those tight corners!).
Abbreviations (US Terms)
If you are new to crochet, don’t worry! Here is a quick guide to the terms we will use:
- mr: Magic ring
- ch: Chain
- st: Stitch
- slst: Slip stitch
- sc: Single crochet
- inc: Increase (2 single crochets in the same stitch)
- dec: Invisible decrease (sc 2 together, but working through the front loops only)
- () : Parentheses indicate a repeated pattern. For example, “(2 sc, inc) x3” means you repeat that sequence three times.
Step-by-Step Instructions
Note: This pattern is worked in a continuous spiral. Do not join at the end of each round. Remember to use a stitch marker to keep track of your rounds!
The Head
The head is worked in an oval shape to give the pony its realistic snout. Using a 2.0 mm hook:
- Round 1: Chain 11.
- Round 2: 1 inc on the 2nd ch from the hook, 8 sc, 3 sc on the last chain. Turn and work on the other side of the foundation chains: 9 sc. (22 sts)
- Round 3: 2 inc, 8 sc, 3 inc, 8 sc, 1 inc. (28 sts)
- Round 4: (1 sc, 1 inc) x2, 8 sc, (1 sc, 1 inc) x3, 9 sc, 1 inc. (34 sts)
- Round 5: (2 sc, 1 inc) x2, 8 sc, (2 sc, 1 inc) x3, 10 sc, 1 inc. (40 sts)
- Round 6: (3 sc, 1 inc) x2, 8 sc, (3 sc, 1 inc) x3, 11 sc, 1 inc. (46 sts)
- Round 7: 46 sc around. (46 sts)
- Round 8: 4 sc, 1 inc, 22 sc, 1 inc, 18 sc. (48 sts)
- Round 9: 48 sc around. (48 sts)
- Round 10: 5 sc, 1 inc, 23 sc, 1 inc, 18 sc. (50 sts)
- Round 11: 50 sc around. (50 sts)
- Round 12: 6 sc, 1 inc, 24 sc, 1 inc, 18 sc. (52 sts)
- Round 13: 52 sc around. (52 sts)
- Round 14: 7 sc, 1 inc, 25 sc, 1 inc, 18 sc. (54 sts)
- Round 15: 24 sc, leave 22 chs for the neck. Insert your hook after the 22nd ch and starting from that ch, crochet 8 sc. (32 sts)
- Round 16: 7 sc, 1 inc, 15 sc, 1 inc, 8 sc. (34 sts)
- Round 17: 34 sc around. (34 sts)
Eye Placement: Before finishing the head, attach your 5 mm safety eyes between rounds 15 and 16, approximately 3 stitches apart. Decide which way your pony is facing: for a right-side facing pony, attach the eyes on the side where your stitch marker is running. For left-side facing, attach them on the opposite side.
- Round 18: 8 sc, 1 inc, 16 sc, 1 inc, 8 sc. (36 sts)
- Round 19: 36 sc around. (36 sts)
- Round 20: 9 sc, 1 inc, 17 sc, 1 inc, 8 sc. (38 sts)
- Round 21: 38 sc around. (38 sts)
- Round 22: 10 sc, 1 inc, 18 sc, 1 inc, 8 sc. (40 sts)
- Round 23-24: 40 sc around. (40 sts)
Stuffing the Head: Now is the time to stuff the head firmly. Use your chopstick to push the stuffing into the snout area to ensure it’s nice and even.
- Round 25: 5 sc, (1 dec, 3 sc) x3, 5 sc, (1 dec, 3 sc) x3. (34 sts)
- Round 26: 5 sc, (1 dec, 2 sc) x3, 5 sc, (1 dec, 2 sc) x3. (28 sts)
- Round 27: 5 sc, (1 dec, 1 sc) x3, 5 sc, (1 dec, 1 sc) x3. (22 sts)
- Round 28: (5 sc, 3 dec) x2. (16 sts)
To close the head, make 6 sc to reach the corner, cut the yarn leaving a tail, and sew the gap shut using your tapestry needle.
The Neck
The neck provides the graceful curve for our pony. To ensure your increases and decreases align perfectly, we will slightly shift the starting point in certain rounds.
- Round 16: 22 sc around. (22 sts)
- Round 17: 10 sc, 1 inc, 9 sc, 1 dec. (22 sts)
- Round 18: 22 sc around. (22 sts)
- Round 19: 1 sc, place your marker here, 10 sc, 1 inc, 9 sc, 1 dec. (22 sts)
- Round 20: 22 sc around. (22 sts)
- Round 21: 1 sc, place your marker here, 10 sc, 1 inc, 9 sc, 1 dec. (22 sts)
- Round 22-26: 22 sc around. (22 sts)
- Round 27: 10 sc, 1 dec, 9 sc, 1 inc. (22 sts)
- Round 28: 22 sc around. (22 sts)
Stuff the neck firmly. Do not cut the yarn yet, as we will continue directly into the body!
The Body
- Round 29: 1 sc, crochet 18 chains. 1 inc on the 2nd ch from the hook, make 16 sc on the chains. Continue crocheting 21 sc around the neck. (38 sts)
- Round 30: 1 sc, crochet 17 sc working on the opposite side of the chains, 2 inc, 37 sc. Start your marker here. (59 sts)
- Round 31: 17 sc, 1 inc, (1 sc, 1 inc) x2, 37 sc. (62 sts)
- Round 32: 18 sc, 1 inc, (2 sc, 1 inc) x2, 37 sc. (65 sts)
- Round 33: 19 sc, 1 inc, (3 sc, 1 inc) x2, 37 sc. (68 sts)
- Round 34-38: 68 sc around. (68 sts)
- Round 39: 24 sc, 1 dec, 32 sc, 1 dec, 8 sc. (66 sts)
- Round 40: 66 sc around. (66 sts)
- Round 41: 24 sc, 1 dec, 31 sc, 1 dec, 7 sc. (64 sts)
- Round 42: 64 sc around. (64 sts)
- Round 43: 24 sc, 1 dec, 30 sc, 1 dec, 6 sc. (62 sts)
- Round 44: 62 sc around. (62 sts)
- Round 45: 24 sc, 1 dec, 29 sc, 1 dec, 5 sc. (60 sts)
- Round 46: 60 sc around. (60 sts)
- Round 47: 23 sc, 2 dec, 26 sc, 2 dec, 3 sc. (56 sts)
- Round 48: 19 sc, 5 dec, 19 sc, 4 dec. (47 sts)
- Round 49: 1 dec, 45 sc. (46 sts)
Stuff the body firmly.
The Feet
The pony has two feet. We will start with the front foot, which is worked directly from the body.
Front Foot
- Round 50: 8 sc, leave 26 chs for the rear foot. Insert your hook after the 26th ch and crochet 12 sc. (20 sts)
- Round 51-53: 20 sc around. (20 sts)
- Round 54: (8 sc, 1 dec) x2. (18 sts)
- Round 55: (1 sc, 1 dec) x6. (12 sts)
- Round 56: (1 dec) x6. (6 sts)
Cut the yarn, leaving a tail. Use a tapestry needle to sew the hole closed by going through the front loops of the last round.
Rear Foot
Lay the pony down. The rear foot is worked separately and then attached.
- Round 50: Attach yarn, 20 sc. (20 sts)
- Round 51-53: 20 sc around. (20 sts)
- Round 54: (8 sc, 1 dec) x2. (18 sts)
- Round 55: (1 sc, 1 dec) x6. (12 sts)
- Round 56: (1 dec) x6. (6 sts)
Close the hole and stuff the foot firmly.
The Ears
Use a 2.0 mm hook to create two small ears:
- Round 1: 5 sc in a magic ring. (5 sts)
- Round 2: (1 inc) x5. (10 sts)
- Round 3: (4 sc, 1 inc) x2. (12 sts)
- Round 4: (5 sc, 1 inc) x2. (14 sts)
- Round 5-8: 14 sc around. (14 sts)
Cut the yarn, leaving a tail. Fold the ear slightly and sew the side closed. Place the ears on the front of the head, leaving about 9-10 stitches between them.
Finishing
Attaching the Hair and Tail
This is where your pony truly comes to life! The hair is attached using a simple loop method.
- Prepare the yarn: Cut approximately 50 pieces of yarn, each about 16 to 20 inches long.
- Mark positions: Use pins to mark where you want the hair (around rounds 1-3 of the head) and the tail.
- The Attachment Method:
- Fold a piece of yarn in half.
- Insert your hook into the desired stitch and grab the folded yarn.
- Draw up a loop.
- Insert your hook into the next stitch, grab the yarn, and pull it through the loop.
- Take the first end of the yarn and pull it tight to hide the loop against the head.
- Placement: Continue this process for the mane (head and neck) and finally the tail. You will need about 15 pieces of yarn (8 inches each) for the tail.
Final Details
Once the hair is secure, use your black embroidery thread to stitch small eyelashes above the eyes to give your pony a sweet, sleepy expression. Your pony is now complete!
Tips
- Tension is Key: When working amigurumi, try to keep your tension relatively tight. This prevents the stuffing from peeking through your stitches.
- Invisible Decreases: Always use the invisible decrease method (working through the front loops only) for a much smoother, more professional finish.
- Stuffing Technique: Don’t be afraid to stuff firmly, especially in the snout and feet, but use a chopstick to ensure the stuffing reaches the very ends.
- Customization: The color suggestions in this pattern are just ideas! Feel free to use rainbow colors, pastel tones, or even multi-colored yarns to make your pony unique.