Stop the Sizing Stress: How to Measure Gauge in Crochet (The Easy Way)
Let’s be honest: almost every crocheter has been there. You find a gorgeous pattern for a sweater or a baby blanket, you’ve got the perfect yarn in a stunning color, and you’re itching to get started. Then, you see that one section in the pattern that feels like a total buzzkill: the gauge swatch.
The temptation to just skip it is real. We tell ourselves, “I’m using the recommended hook size, it’ll be fine!” But then, twenty hours of hard work later, you realize your “Medium” sweater fits more like an Extra-Small, or your blanket is three feet wider than it should be. It’s a total heartbreak.
The good news? Measuring gauge isn’t actually that scary. Once you get the hang of it, it becomes a quick sanity check that ensures your project actually fits the way it’s supposed to. Let’s dive into how to measure gauge in crochet without the stress.
Wait, What Exactly is Gauge?
In simple terms, gauge is the number of stitches and rows that fit into a specific square area—usually 4 inches by 4 inches (or 10cm by 10cm).
You might be wondering, “If the pattern tells me which hook to use, why do I need to measure?” Here is the secret: tension is personal. Some of us are “tight” crocheters (we pull our loops tight), and some of us are “loose” crocheters (we leave a bit more breathing room). Even if two people use the same brand of yarn and the exact same hook, their finished pieces will be different sizes because of their individual tension.
Gauge is basically the “translation” between the designer’s hands and yours. By measuring your gauge, you’re making sure your “language” matches theirs.
Why You Can’t Just Skip the Swatch (Trust Me!)
If you’re making a scarf or a chunky throw blanket, gauge probably doesn’t matter that much. If the scarf is an inch wider than the pattern says, who cares? It’s a scarf!
But for anything that needs to fit a human body—like hats, sweaters, cardigans, or baby clothes—gauge is everything. If your gauge is off by even one stitch per inch, that error multiplies across the entire garment. Over the span of a sweater chest, that “tiny” difference can result in a garment that is several inches too small or too large.
How to Make a Gauge Swatch That Actually Works
Before we measure, we have to make the thing we’re measuring. Here is how to do it the right way so you don’t have to do it twice.
1. Don’t make it too small
If the pattern asks for a 4-inch gauge, do not make a 4-inch square. Why? Because the edges of your crochet work are almost always a bit distorted. If you make a square that is exactly 4 inches, you won’t have a “stable” center to measure. Aim for a square that is about 6×6 inches.
2. Use the actual stitch
If the pattern uses a fancy combination of double crochets, clusters, and chains, don’t just do a square of single crochet. Your gauge will change depending on the stitch. Always use the main stitch used in the project.
3. Use your project materials
Use the exact yarn and the exact hook you plan to use for the final piece. Switching from a wooden hook to an aluminum one can actually slightly change your tension!
Step-by-Step: How to Measure Your Crochet Gauge
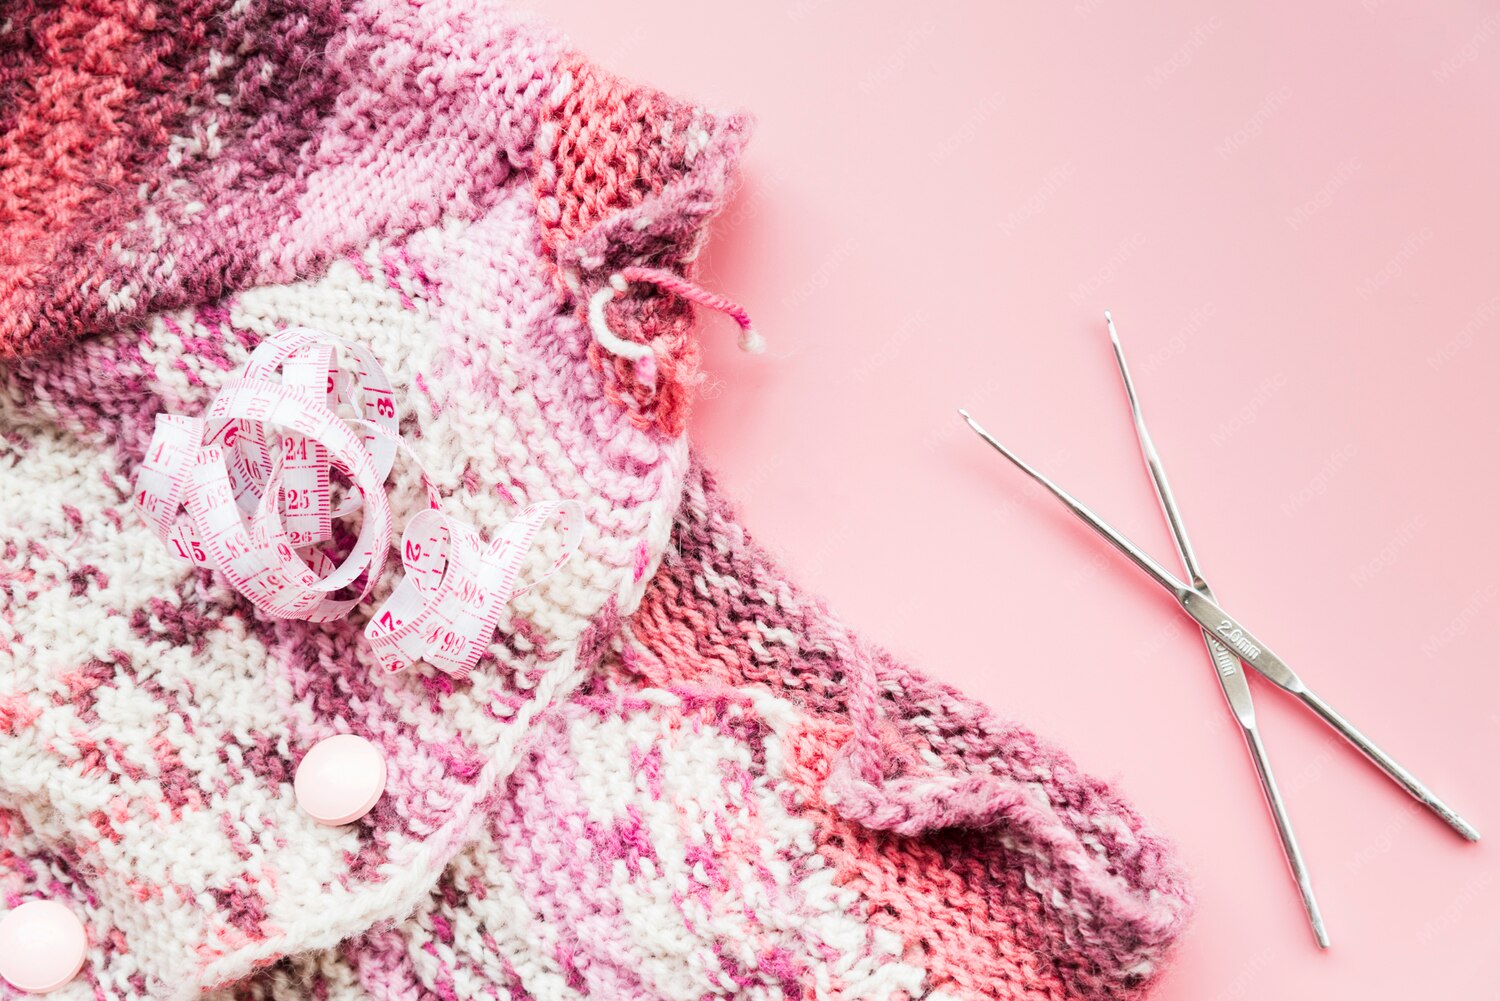
Now for the main event. Grab your swatch, a ruler (or a measuring tape), and maybe a sticky note to write your numbers down.
Step 1: Lay it Flat
Lay your swatch on a hard, flat surface. Don’t hold it up in the air and don’t stretch it. You want the fabric to sit naturally, just as it would when worn or draped.
Step 2: Measure the Stitches
Place your ruler across the center of the swatch. Count how many stitches fit into 4 inches. Pro tip: Don’t count the turning chain at the beginning of the row; just count the actual stitches.
If your swatch is larger than 4 inches, you can do a little math. For example, if you counted 20 stitches across 8 inches, you divide 20 by 2 to get 10 stitches per 4 inches.
Step 3: Measure the Rows
Now, turn your ruler vertically. Count how many rows fit into 4 inches. Again, stay away from the very top and bottom edges where the work might be a bit loose or tight.
Step 4: Compare to the Pattern
Look at the “Gauge” section of your pattern. It will usually say something like: “14 sts and 10 rows = 4 inches in dc.”
- If your numbers match: You’re golden! Start your project.
- If your numbers are different: It’s time to adjust.
“My Gauge is Off!” Now What?
Don’t panic! This is the most common part of the process. If your gauge doesn’t match the pattern, you have a few options based on what happened.
If you have TOO MANY stitches per inch
This means your stitches are too small, and your finished project will be smaller than intended. To fix this, you need to make your stitches bigger. Try going up a hook size (e.g., move from a 5.0mm to a 5.5mm hook) and crochet another small swatch.
If you have TOO FEW stitches per inch
This means your stitches are too large, and your project will come out oversized. To fix this, you need to tighten things up. Try going down a hook size (e.g., move from a 5.0mm to a 4.5mm hook) and check again.
What if the stitches match, but the rows don’t?
This happens a lot! If your stitch count is correct but your row count is off, you can usually ignore it unless the pattern is worked from the top down or bottom up with very specific length requirements. In most cases, you can just add or subtract a few rows at the end to get the length you want.
Pro Tips for Perfect Results
Want to take your crochet game to the next level? Try these three tricks:
Block Your Swatch
Some yarns, especially wool or cotton, change shape once they are washed. “Blocking” is just wetting your swatch and pinning it to size. If the pattern says “blocked gauge,” you must wash and dry your swatch before measuring, or your sweater might grow two sizes the first time you wash it!
Relax Your Shoulders
Believe it or not, stress affects your tension. If you’re rushing or feeling tense, you might crochet tighter than usual. Take a deep breath, put on a podcast, and let your hands move naturally.
Save Your Swatch
Don’t toss that little square! Keep it with your project. If you’re making a large garment over several weeks, your tension can shift slightly. You can occasionally hold your project up to the swatch to make sure you’re still on track.
Common Gauge Questions (FAQs)
Do I really need a swatch for a crochet beanie?
Ideally, yes. However, beanies are more forgiving because you can often adjust the number of rounds. That said, if you’re making a hat for a specific head size, a quick gauge check ensures it won’t be a “tight squeeze” or slide right off.
Can I just use the first few rows of my project as a swatch?
You can, but it’s risky. If you realize your gauge is off after you’ve already started the actual piece, you’ll have to frog (rip out) a lot more work. Spending 15 minutes on a swatch saves you hours of frogging later.
What if I can’t find the hook size I need to fix my gauge?
If you’re between sizes, you can try a different brand of hook. Not all 5.0mm hooks are created equal; some are slightly larger or smaller than others depending on the manufacturer.
Wrapping It Up
Measuring gauge might feel like a chore, but it’s actually the secret ingredient to professional-looking crochet. It gives you the confidence to know that when you finish that project, it’s going to fit perfectly.
So, the next time you see that gauge section in a pattern, don’t ignore it. Grab your yarn, make a little square, and give yourself the peace of mind that comes with knowing your project is on the right track. Happy hooking!