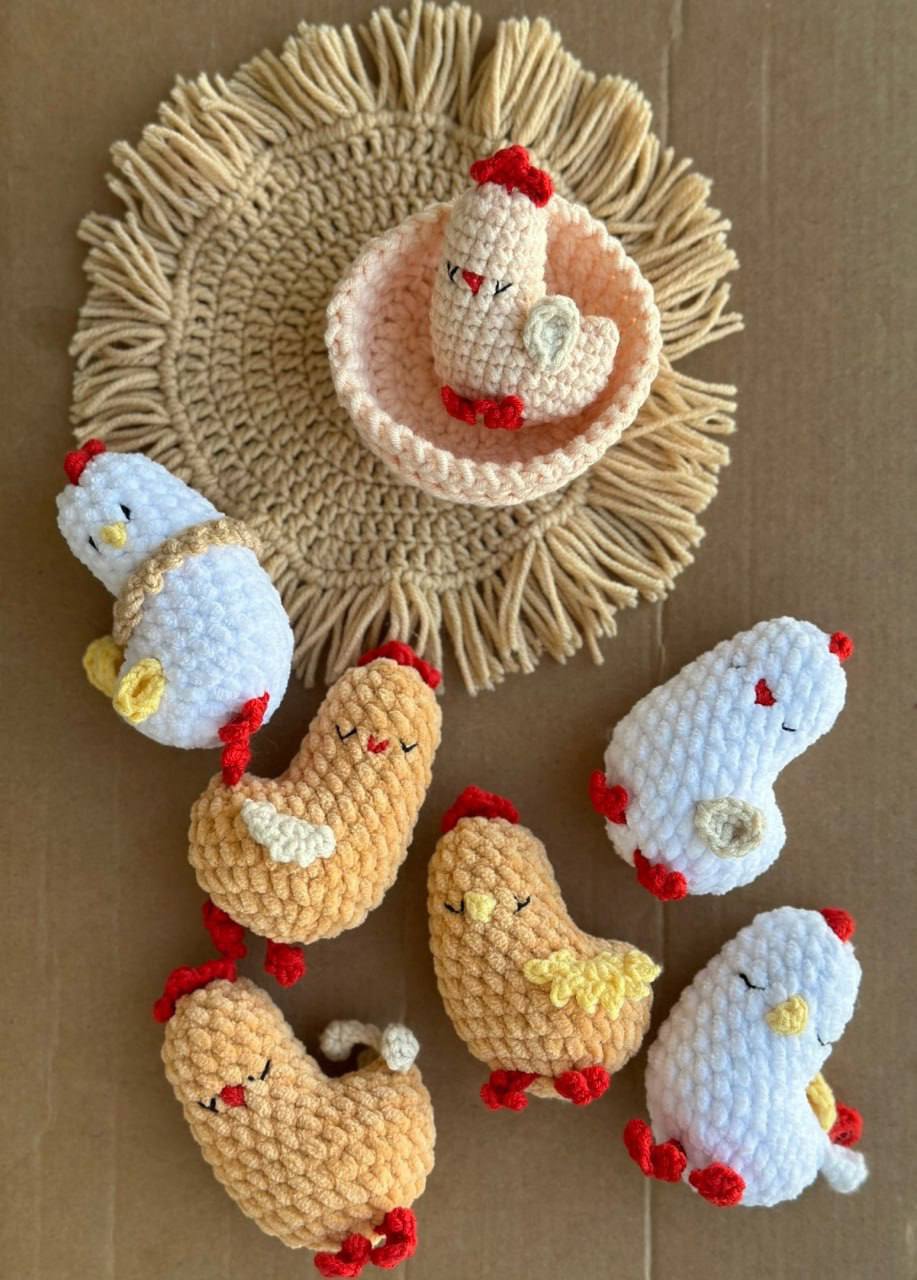
Easy Crochet Chubby Chicken Pattern: Step-by-Step Amigurumi Tutorial
Easy Crochet Chubby Chicken Pattern: A Step-by-Step Amigurumi Tutorial
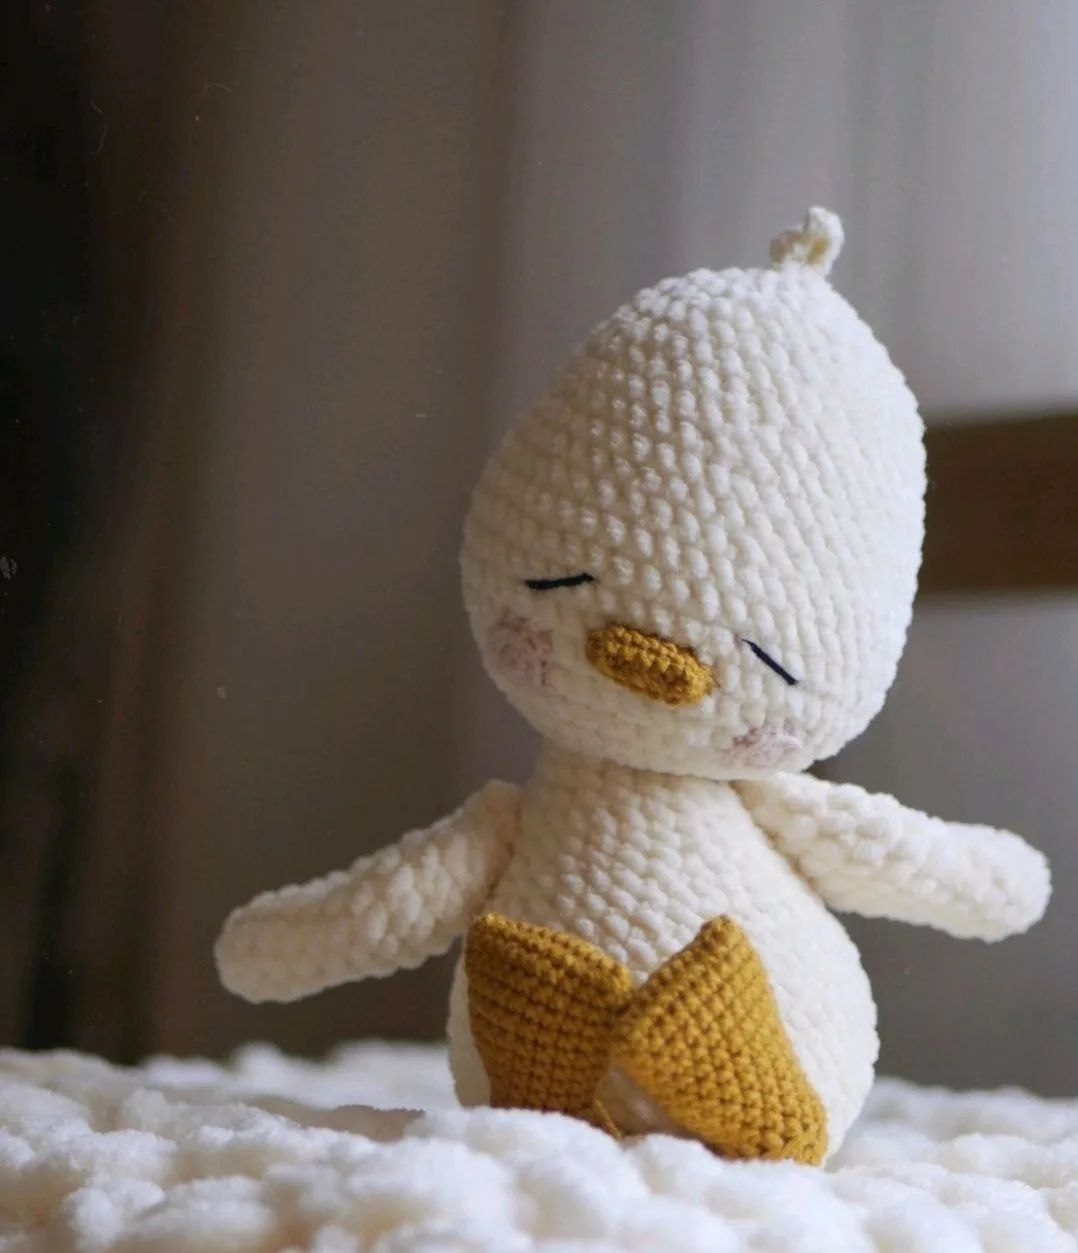
Looking for a quick and adorable project to add to your crochet collection? These chubby little chickens are the perfect blend of “cute” and “easy.” Whether you are looking to make a gift for a friend, a nursery decoration, or just want to practice your amigurumi skills, these plush hens are a wonderful choice. Thanks to the use of chunky velvet yarn, they work up incredibly fast and feel like a soft little cloud in your hand.
This pattern is designed to be beginner-friendly. We will focus on basic stitches and simple shaping to create that signature plump chicken look. Grab your hooks and some colorful yarn, and let’s get started!
Materials & Abbreviations
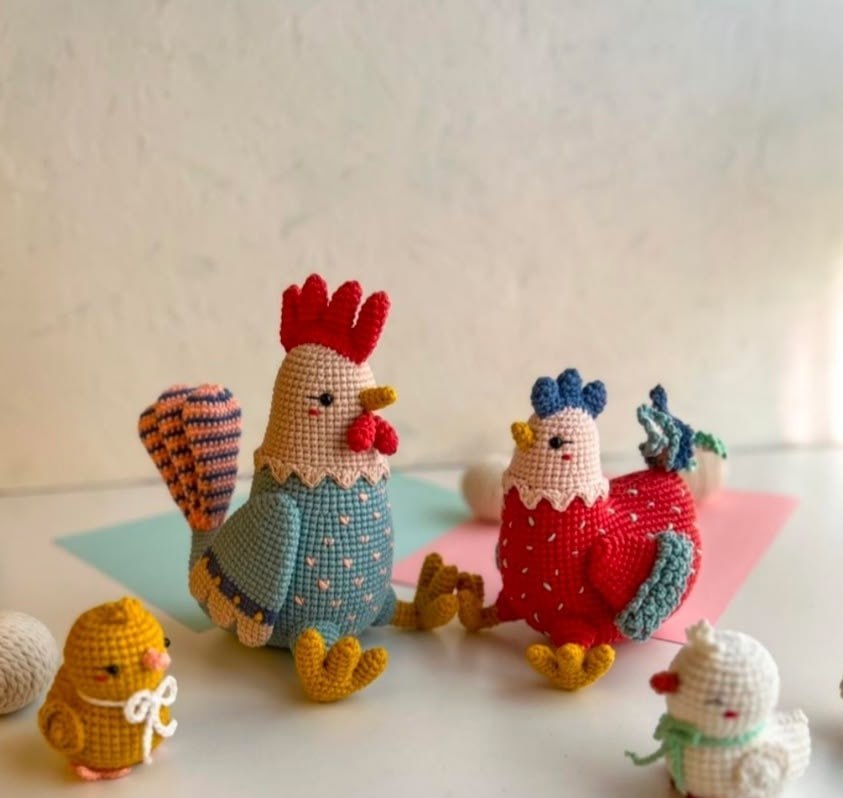
To create your own plush chicken, you will need the following materials. While the images show several colors, you can choose any hue you like—from classic white and tan to a bright “fantasy” chicken color!
Supplies Needed
- Yarn: Super bulky plush/chenille yarn (roughly 100-150 yards per chicken). You’ll need your main color (white, tan, or pink), red for the comb and feet, and yellow for the beak.
- Crochet Hook: A 4.5mm or 5.0mm hook (adjust based on your yarn brand and preferred tension to ensure no stuffing leaks through).
- Stuffing: High-quality polyester fiberfill.
- Eyes: 6mm safety eyes or black embroidery thread for a “sleeping” look.
- Tools: A tapestry needle for sewing and a pair of scissors.
Abbreviations (US Terms)
- MR: Magic Ring
- sc: Single crochet
- inc: Increase (2 sc in one stitch)
- dec: Decrease (sc 2 stitches together)
- ch: Chain
- sl st: Slip stitch
- hdc: Half double crochet
- dc: Double crochet
- st: Stitch
Step-by-Step Instructions
The chicken is worked in several small pieces that we will assemble at the end. We start with the main body, which is the heart of the project.
The Body
The body is worked in continuous rounds. Do not join the rounds with a slip stitch unless specified.
- Round 1: Start with 6 sc in a Magic Ring (6)
- Round 2: Inc in every stitch around (12)
- Round 3: (1 sc, inc) repeat 6 times (18)
- Round 4: (2 sc, inc) repeat 6 times (24)
- Rounds 5-8: sc in each stitch around for 4 rounds (24)
- Round 9: Work 15 sc, then join the round by placing a slip stitch into the very first stitch of this round. This creates an oval shape rather than a full circle (15)
- Rounds 10-14: sc in each stitch around for 5 rounds (15)
- Round 15: (2 sc, dec) repeat 3 times. Stop here and begin stuffing the body firmly with fiberfill.
- Round 16: (1 sc, dec) repeat 4 times (8).
Once Round 16 is complete, cut your yarn, leaving a long tail (about 6-8 inches). Use your tapestry needle to weave the tail through the remaining 8 stitches to pull the hole closed tightly. Bring the needle up toward the neck area and secure it with a stitch, then weave in the end.
The Comb (Red)
The comb is a small, decorative piece that sits on top of the head.
Chain 6. Working in the second chain from the hook, follow this sequence: (1 sc, 1 hdc, 1 sc) then sl st. Next, (1 sc, 1 dc, 1 sc) then sl st. Finally, 1 sc, 1 hdc, and end with a sl st. Fasten off, leaving a tail for sewing.
The Wings and Tail (Feathers)
You will need to make four of these small feathers: one for each wing and three for the tail.
Chain 5. Sl st in the second chain from hook, 1 sc, 1 hdc, and work 3 dc all into the last chain (this creates the rounded tip). Now, working back down the opposite side of the foundation chain, work 1 hdc, 1 sc, and finish with a sl st. Fasten off, leaving a tail for sewing.
The Feet (Red)
You will make two feet. Each foot is worked as a single piece.
Chain 6. In the second chain from the hook, work 2 sl st (this forms the first toe). Chain 3, then work 2 sl st in the second chain from the hook (second toe). Chain 3, then work 2 sl st in the second chain from the hook (third toe). Finally, work 3 sl st back along the original foundation chain to create the base of the foot. Fasten off, leaving a tail for sewing.
Finishing & Assembly
Now that all your pieces are complete, it is time to bring your chicken to life! Assembly is the part where the personality comes through.
Positioning the Face
Before sewing on the accessories, decide where the face goes. If using safety eyes, place them between Rounds 6 and 8, spaced a few stitches apart. For the sleeping look, embroider two small downward curves using black thread. For the beak, you can use a small scrap of yellow yarn to sew a tiny triangle between the eyes.
Adding the Details
- The Comb: Center the red comb on the top of the head and sew it securely.
- The Wings: Attach one feather to each side of the body, slightly toward the middle.
- The Tail: Gather three feathers together and sew them to the back of the chicken to create a fluffy little tail.
- The Feet: Sew the feet to the bottom of the body, spacing them apart so the chicken can sit upright.
Tips for a Perfect Plush Chicken
Working with chenille or velvet yarn can be a bit different than working with standard acrylic or cotton. Here are a few tips to ensure your project looks professional:
- Finding the Stitches: Plush yarn can hide your stitches. If you struggle to see where to insert your hook, try using a contrasting colored stitch marker. You can also feel for the “v” of the stitch with your fingers.
- Tension Control: Don’t pull your yarn too tight, or the fabric will pucker. However, avoid making your stitches too loose, or the white stuffing will start to peek through the holes.
- Stuffing Technique: When stuffing the body, use a chopstick or a knitting needle to push the fiberfill into the narrower neck area to make sure it is plump all the way through.
- Customization: Feel free to experiment! You can make a “giant” version by using a jumbo hook and chunky blanket yarn, or a tiny version by using standard worsted weight yarn and a 3.5mm hook.