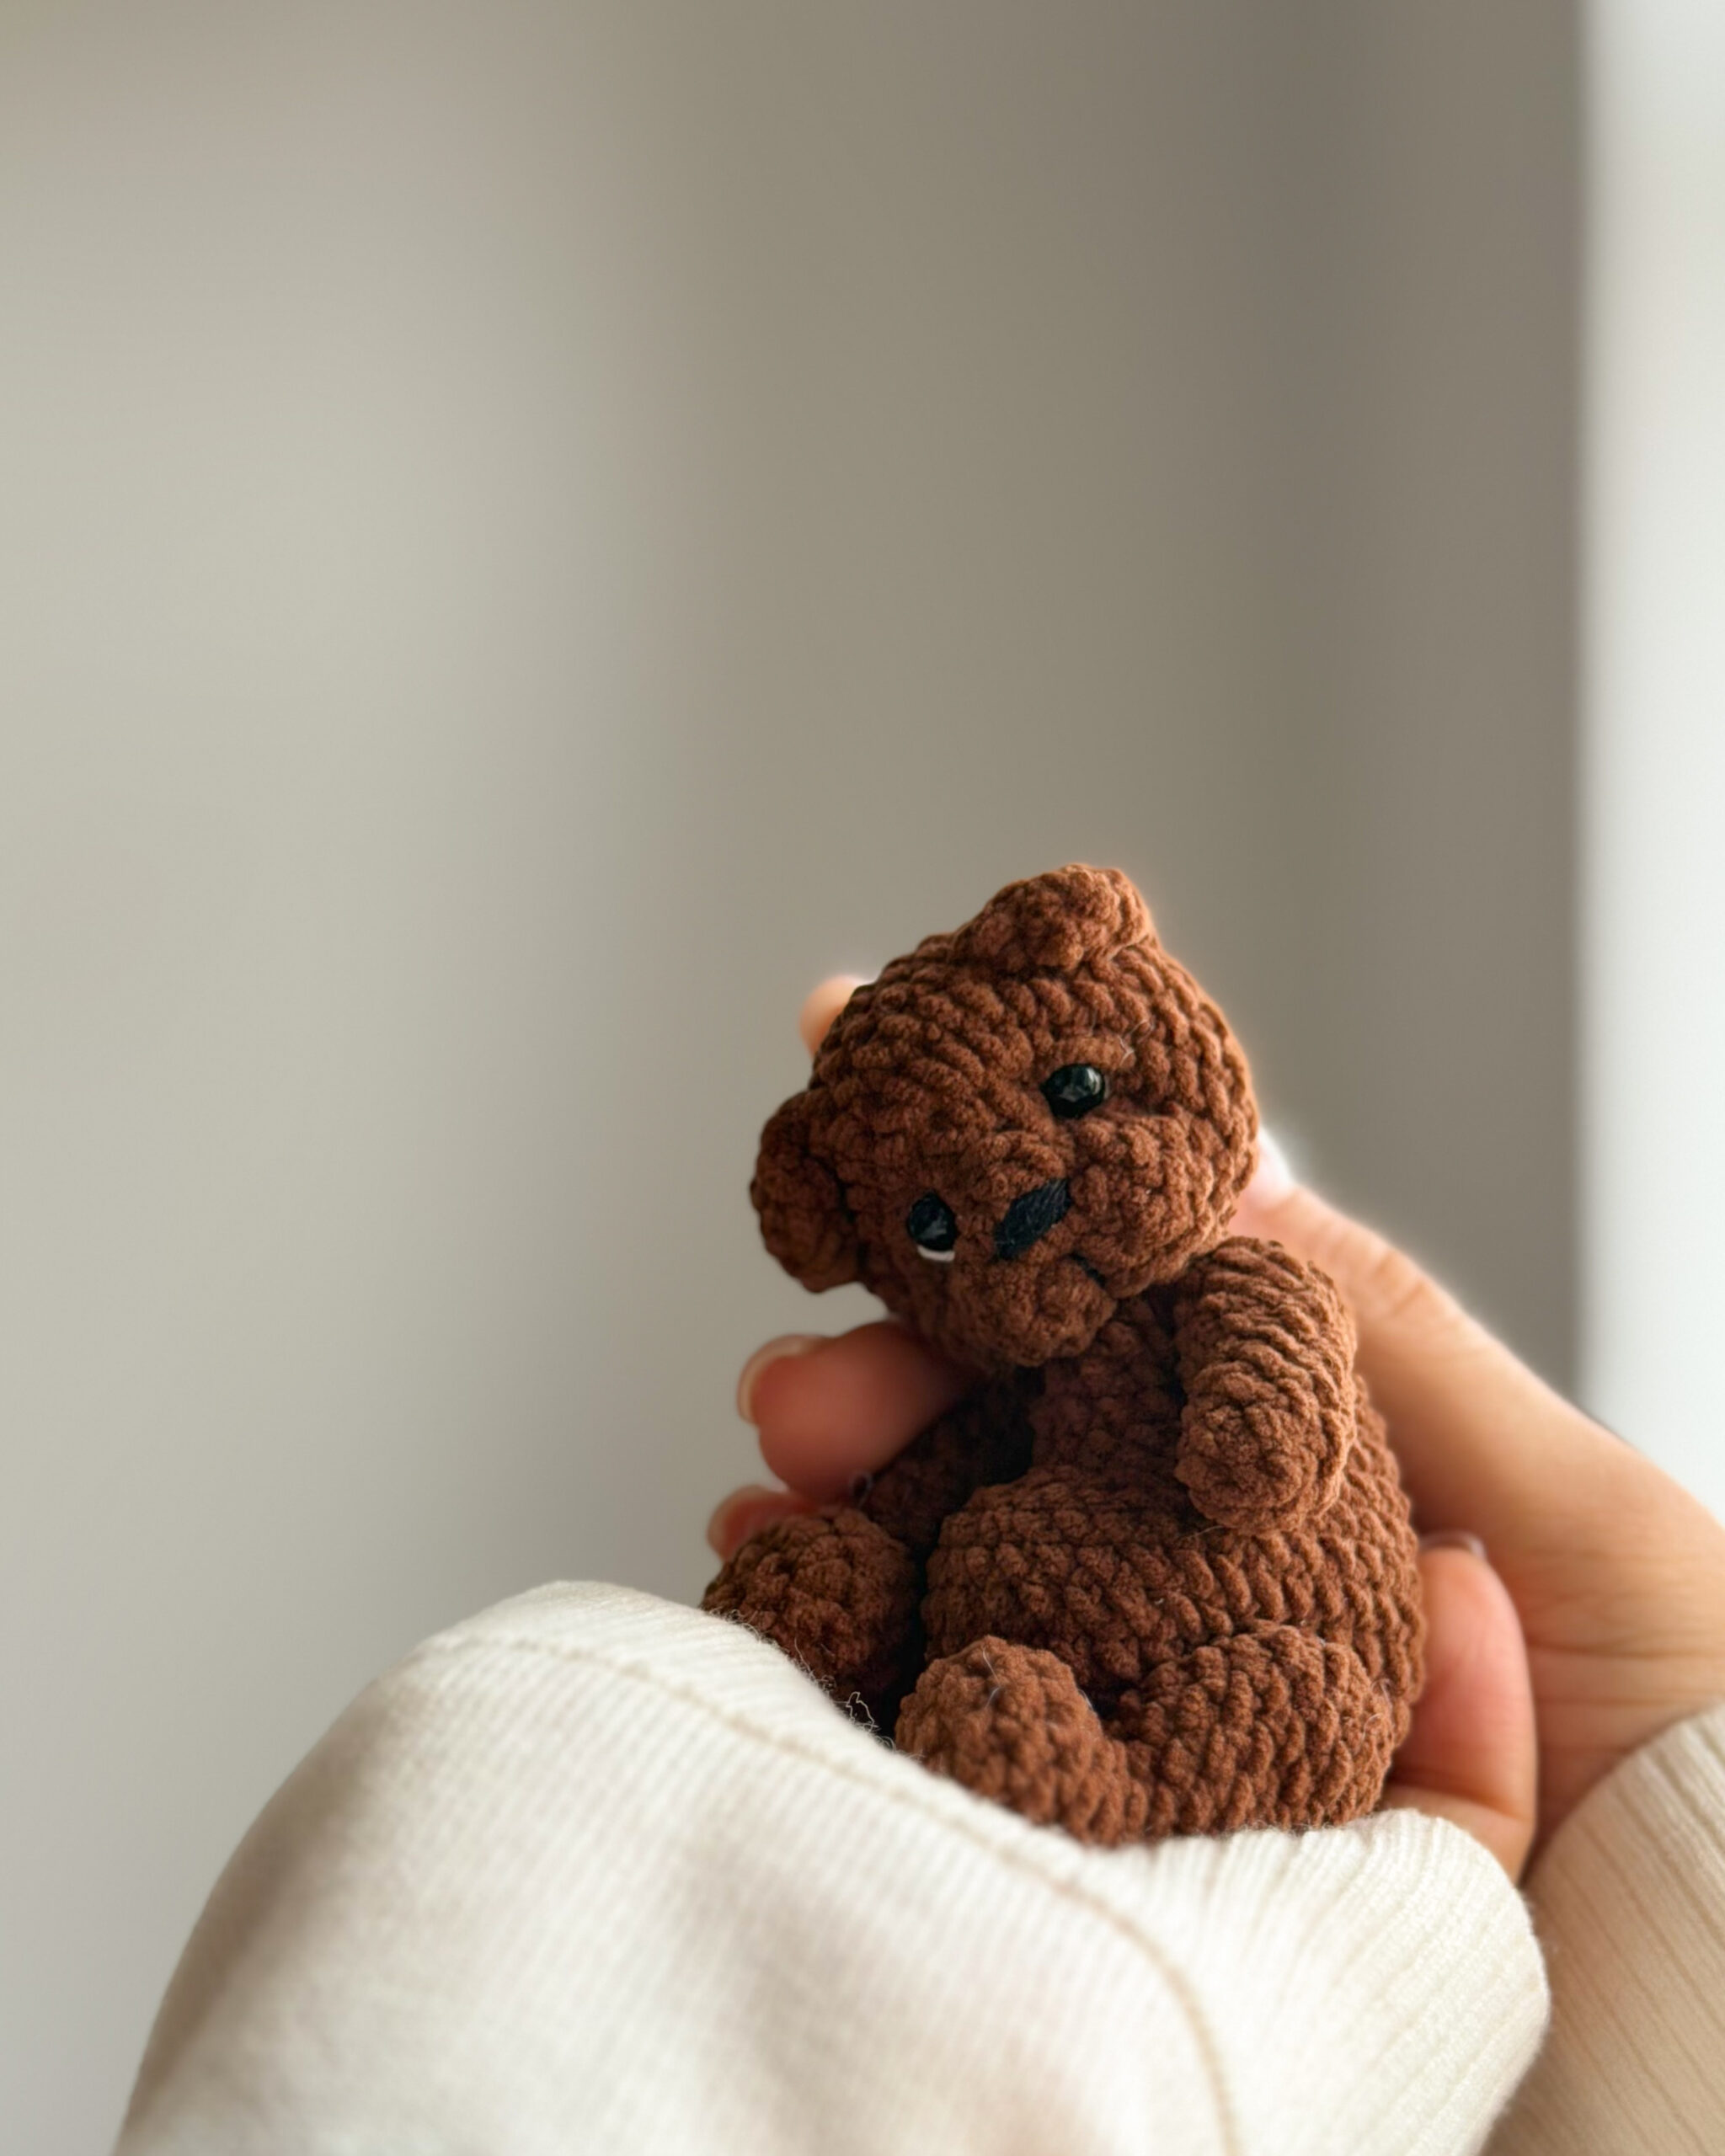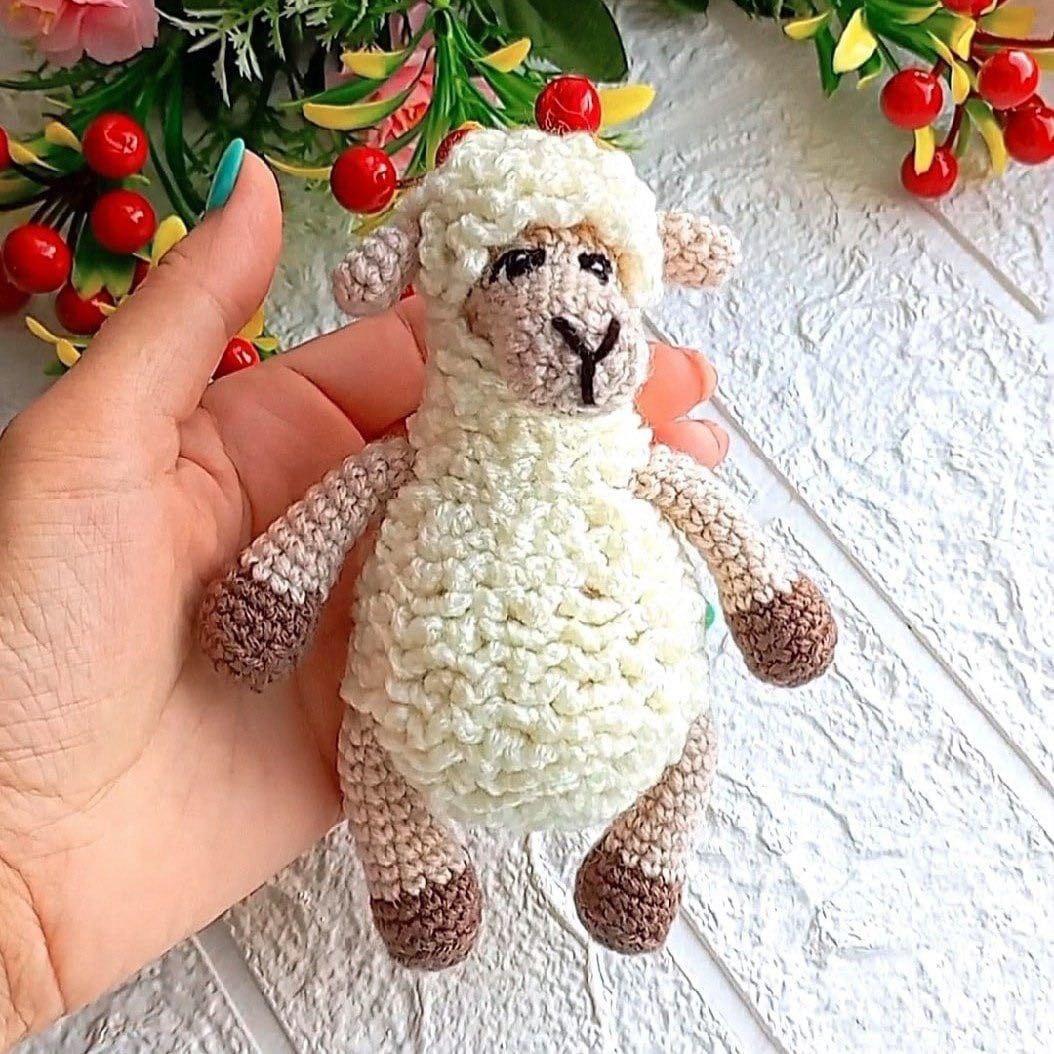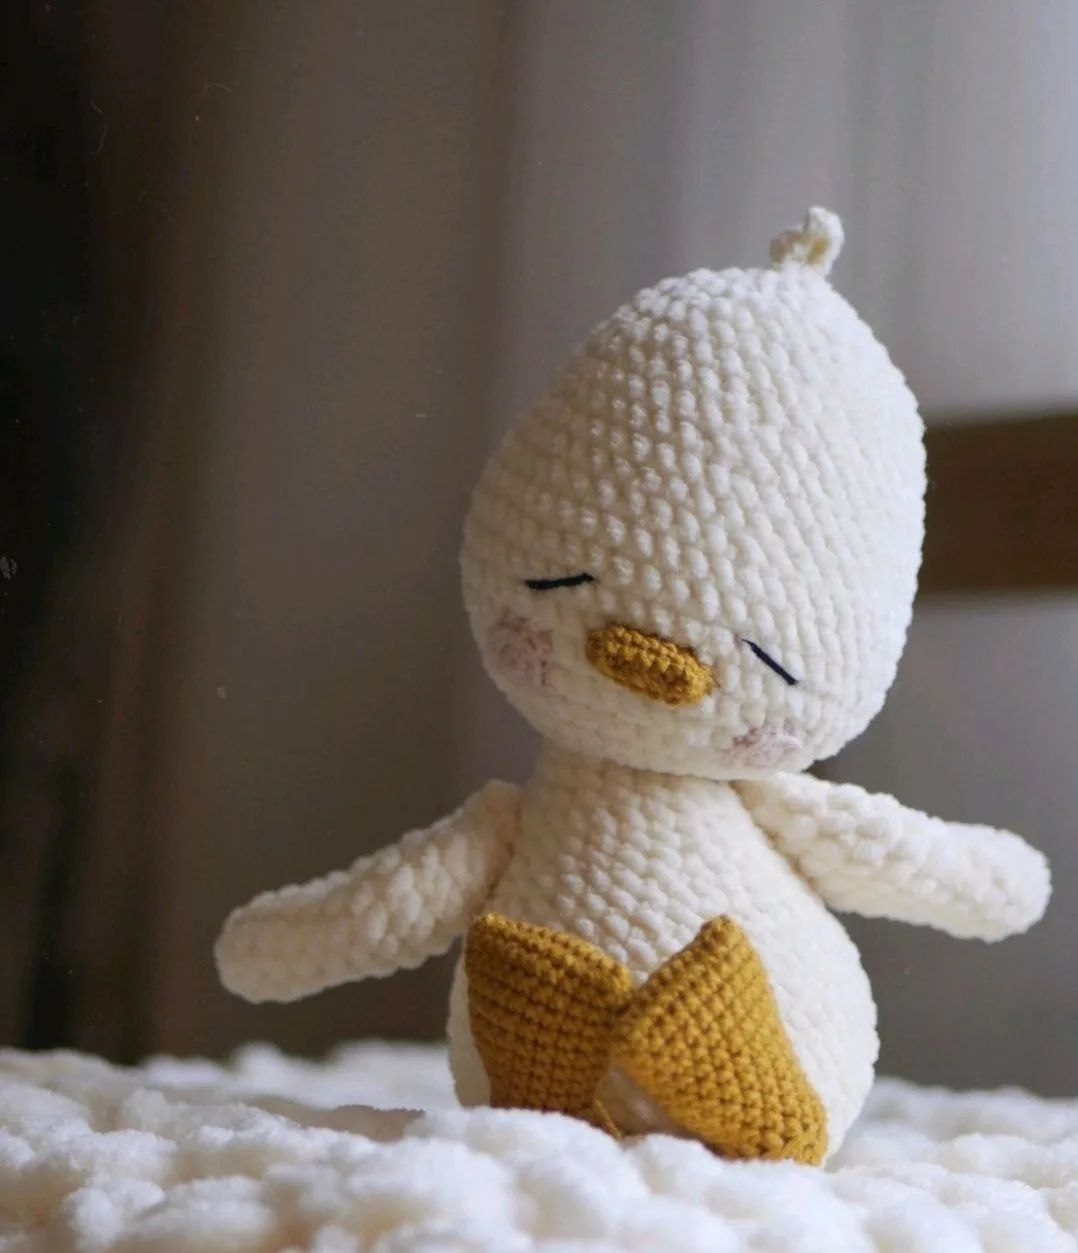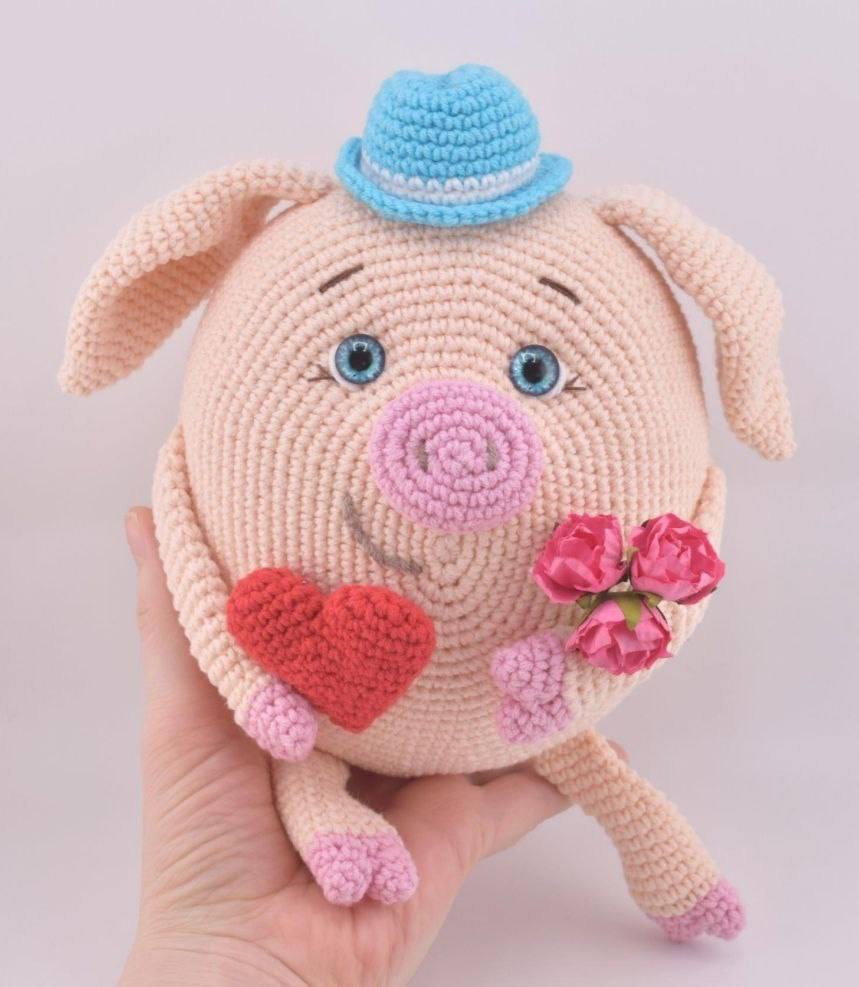
Pocket-Sized Paws: Create Your Own Adorable Mini Plush Kitten!
“`html
How to Crochet a Mini Plush Kitten: Easy Amigurumi Tutorial
Looking for a quick and adorable crochet project? This mini plush kitten is the perfect beginner-friendly pattern. Measuring approximately 2 inches (5 cm), this tiny companion is made with soft plush yarn, making it an ideal gift, keychain, or desk buddy.
Materials You’ll Need
- Yarn: Any plush/chenille yarn of your choice (e.g., Wolans Bunny Baby or similar).
- Eyes: 5mm safety eyes.
- Nose: A small 5mm plastic nose or a small bead.
- Thread: Black cotton embroidery thread (optional, for eyebrows) and matching cotton thread for sculpting.
- Crochet Hook: 3.5mm or 4mm hook (depending on your yarn thickness and tension).
- Tools: Large-eye yarn needle, fiberfill stuffing, and a stitch marker.
Crochet Abbreviations (US Terms)
- MR: Magic Ring
- sc: Single Crochet
- inc: Increase (two single crochets in one stitch)
- dec: Decrease (two stitches joined into one)
- hdc: Half Double Crochet
- ch: Chain
- puff st: Puff Stitch (2 double crochets worked into the same base, joined at the top)
- sl st: Slip Stitch
- (number): Total stitch count at the end of the round.
- (*X)6: Repeat the sequence inside the parentheses 6 times.
Step-by-Step Mini Kitten Pattern
Note: Work in continuous rounds. Use a stitch marker to keep track of the start of each row.
Round 1: 6 sc in MR (6)
Round 2: 6 inc (12)
Round 3: 12 sc (12)
Round 4: 3 sc, 2 inc, 2 sc, 2 inc, 2 sc, inc (17)
Round 5: inc, 2 sc, 2 dec, 2 sc, 2 dec, 4 sc (14)
Round 6: 4 sc, 3 dec, 2 sc, 2 inc (13)
Round 7: 2 inc, 2 sc, inc, 2 sc, inc, 3 sc, 2 inc (19)
Round 8: 2 inc, 6 sc, Front Paw (ch 3, work a puff stitch in the 2nd chain from the hook), 2 sc, Front Paw (ch 3, work a puff stitch in the 2nd chain from the hook), 4 sc, Back Paw (ch 2, work a puff stitch in the 2nd chain from the hook), 5 sc, Tail (ch 5, work 4 sc back along the chain) (21)
Round 9: 5 sc, Back Paw (repeat back paw sequence), 4 sc, 2 dec, 2 sc, 3 dec (16)
Stuffing: Now is the time to fill your kitten with fiberfill. For a professional look, distribute the stuffing toward the edges first, then fill the center.
Round 10: 10 dec (6)
Fasten off, weave the tail through the remaining stitches to close the hole, and hide the yarn end inside the body.
Adding the Ears
Attach your yarn to the body immediately after the increases in Round 4.
- Row 1: In one loop, work (sc, ch 1, sc).
- Row 2: Work a sl st into the next loop to secure.
Repeat for the second ear.
Final Assembly and Details
Sculpting the Face
To give your kitten a cute, defined expression, use a needle and matching cotton thread to perform “sculpting.” Pull the thread from the back of the head through to the front and back again to pinch the cheeks and define the bridge of the nose.
Finishing Touches
- Eyes and Nose: Securely attach the 5mm safety eyes and glue the small nose between the eyes.
- Eyebrows: If desired, use black embroidery thread to stitch two small lines above the eyes for extra personality.
- Final Check: Ensure the tail and paws are positioned comfortably.
Your mini plush kitten is now complete and ready for a new home!
“`