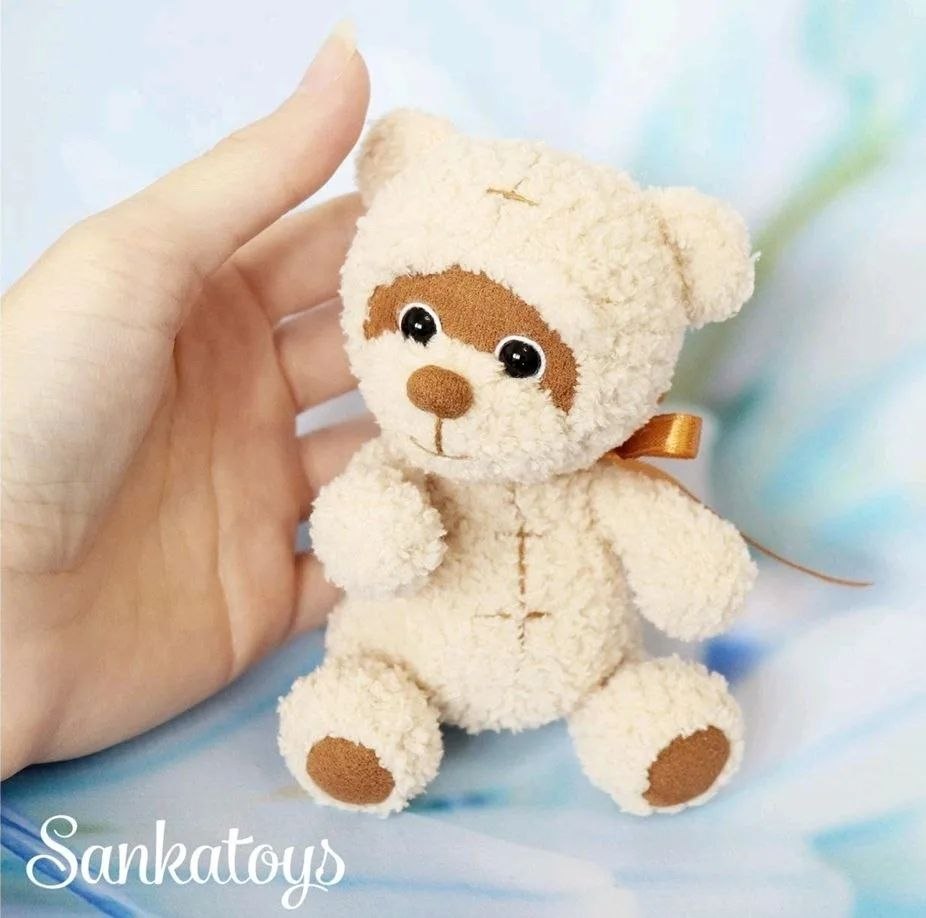
Create Your Own Teddy Bear Pattern
How to Crochet a Cute Plush Teddy Bear: Step-by-Step Pattern
Create your own adorable, cuddly companion with this detailed guide to crocheting a plush teddy bear. This project uses “Softy” style chenille yarn to give the bear a professional, store-bought feel with an irresistible softness.
Materials Needed
- Yarn: Beige chenille/velvet yarn (Alize Softy or similar). You will also need a small amount of thin white yarn for the eyes and thin brown yarn for the mouth and decorative stitching.
- Crochet Hook: 2.0mm
- Safety Eyes: 7mm
- Joints/Buttons:
- Arms: Two 10mm buttons (for arm) and two 14mm buttons (for body).
- Legs: Two 14mm buttons (for leg) and two 16mm buttons (for body).
- Neck: One 14mm button (for body) and one 16mm button (for head).
- Fabric: Brown fleece, plush, or suede fabric (for the paw pads and muzzle).
- Accessories: Brown satin ribbon (8mm wide, 25-30cm long), fiberfill stuffing.
- Tools: Sewing needle, English pins, scissors, stitch markers, and an erasable fabric pen.
Pattern Abbreviations (US Terms)
- MR: Magic Ring (Note: See pro tips for chenille yarn)
- Ch: Chain
- Sc: Single crochet
- Hdc: Half double crochet
- Inc: Increase
- Dec: Decrease
- Sl st: Slip stitch
- BLO: Back loop only
- FLO: Front loop only
- [N]: Total stitch count for the round
Pro Tips for Working with Chenille Yarn
- Starting the project: Avoid using a traditional magic ring as it can loosen or break. Instead, chain 2 and work your first round of stitches into the second chain from the hook.
- Stay organized: Count your stitches in every single row. Chenille yarn can make it difficult to see where one stitch ends and the next begins; use multiple markers to keep your place.
- Spiral Crochet: Work in a continuous spiral. Do not crochet a chain at the end of the round unless specified.
- Stuffing: Do not overstuff the bear. Keep the filling light so the toy remains soft and squishy.
- Assembly: Use your crochet hook to join parts together for a cleaner finish, carefully weaving the yarn tail between the stitches.
Step-by-Step Pattern
1. Upper Paws (Arms) – Make 2
Stuff as you go.
- Start with 2 ch.
- R1: 5 sc in the 2nd chain.
- R2: 5 inc [10]
- R3-4: 10 sc.
- R5: sc, (dec, sc) x 3 [7]
- R6-11: 7 sc.
Insert the joint button between rounds 10 and 11. Finish stuffing, close the hole, and weave in the ends.
2. Ears – Make 2
Work these in rows (back and forth) using turning chains.
- Start with 2 ch.
- R1: 5 sc in the 2nd chain.
- R2: ch, 5 inc [10]
Leave a long yarn tail for sewing.
3. Tail
- Start with 2 ch.
- R1: 8 sc in the 2nd chain.
- R2: 8 sc, then work 2 additional sl st to level the edge.
Leave a yarn tail for sewing.
4. Lower Paws (Legs) – Make 2
Fabric Base: Cut a 2cm x 2.5cm oval from the brown fabric. Mark 12 points around the edge (roughly 3mm from the edge) and sew them using a backstitch. This serves as the foundation.
Stuff as you go.
- Setup Row: Starting from the heel (marked point), work 12 sl st along the fabric stitches [12].
- R1 (BLO): 4 sc, inc, 2 sc, inc, 4 sc [14]
- R2-3: 14 sc.
- R4: sc, sc, dec, sc [8] (adjust marker position if needed).
- R5-6: 8 sc.
- R7: inc, 7 sc [9]
- R8: sc, inc, 7 sc [10]
- R9: 10 sc.
Insert the joint button between the stitches of round 9.
- R10: sc, 5 dec [5]
Finish stuffing, close the hole, and weave in the ends.
5. The Body
Place your marker on the back.
- Start with 2 ch.
- R1: 6 sc in the 2nd chain.
- R2: 6 inc [12]
- R3: (sc, inc) x 6 [18]
- R4: (inc, 2 sc) x 6 [24]
- R5: (3 sc, inc) x 6 [30]
- R6-9: 30 sc.
- R10: (2 sc, dec, 3 sc, dec) x 3, 3 sc [24]
- R11: 24 sc.