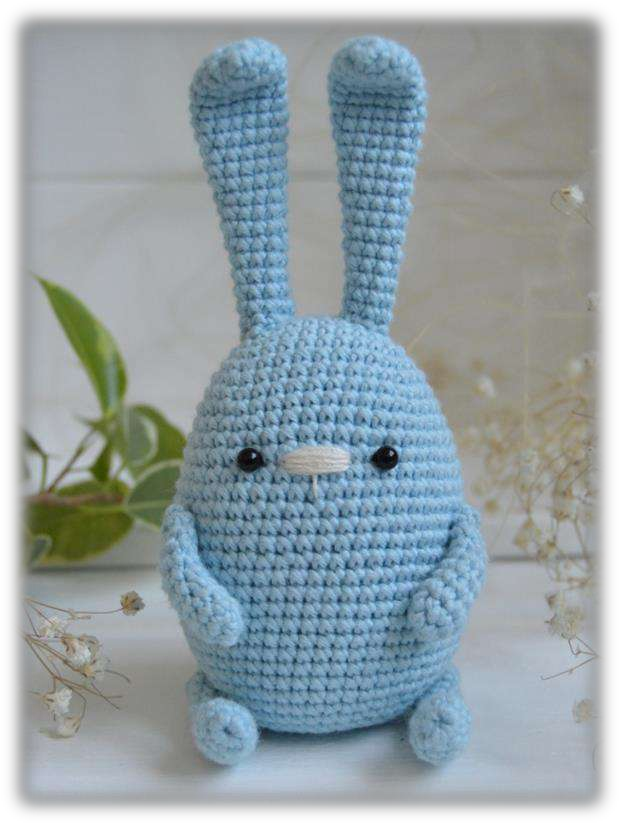
Meet the Spring Bunny: A Sweet and Floppy-Eared Amigurumi Friend
Let’s Begin! The Spring Bunny Pattern
Arms (Make 2)
These sweet little arms are worked in continuous rounds.
- R1: 6 sc in a magic ring. (6)
- R2: (inc, 2 sc) x 2. (8)
- R3: 8 sc.
- R4: 1 dec, 6 sc. (7)
- R5 – R9: 7 sc. (5 rounds)
Add a small amount of stuffing just at the beginning of the arm.
- R10: 2 dec. (5)
Fasten off, leaving a long tail. Use the needle to pull the opening closed and hide the end inside the arm.
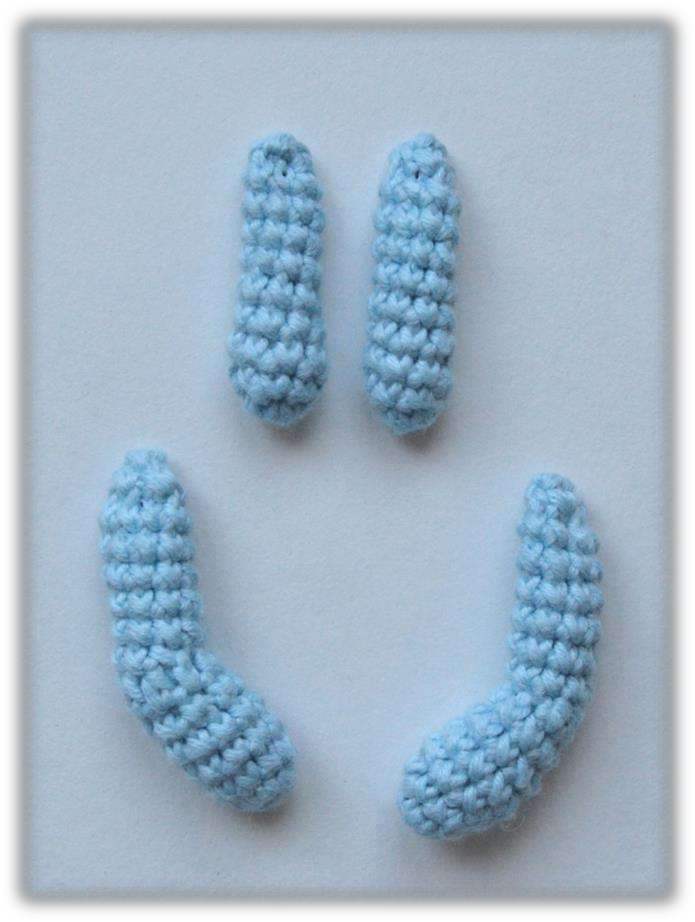
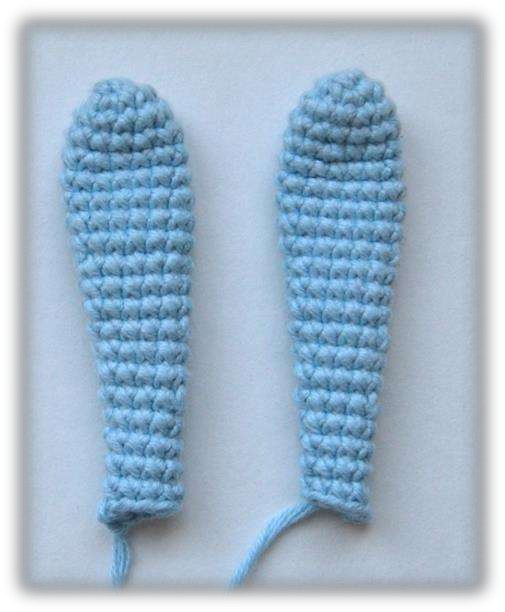
Legs (Make 2)
The legs have a special heel shaping using half double crochets!
- R1: 6 sc in a magic ring. (6)
- R2: (1 sc, inc) x 3. (9)
- R3 – R4: 9 sc. (2 rounds)
- R5: 7 sc, 1 dec. (8)
- R6: 8 sc.
- R7: 4 hdc, 4 sl st. (8) This creates the little heel!
- R8 – R13: 8 sc. (6 rounds)
Stuff the lower half of the leg firmly up to the bend; the upper part only lightly.
- R14: 3 dec. (5)
Fasten off, leaving a long tail. Use the needle to pull the opening closed and hide the end inside the leg.
Ears (Make 2)
These floppy ears have a beautiful tapered shape!
- R1: 6 sc in a magic ring. (6)
- R2: 6 inc. (12)
- R3 – R4: 12 sc. (2 rounds)
- R5: (inc, 5 sc) x 2. (14)
- R6 – R9: 14 sc. (4 rounds)
- R10: (dec, 5 sc) x 2. (12)
- R11 – R13: 12 sc. (3 rounds)
- R14: (dec, 4 sc) x 2. (10)
- R15 – R16: 10 sc. (2 rounds)
- R17: (dec, 3 sc) x 2. (8)
- R18 – R21: 8 sc. (4 rounds)
Leave a long tail for sewing. Do not stuff the ears—they should remain floppy!
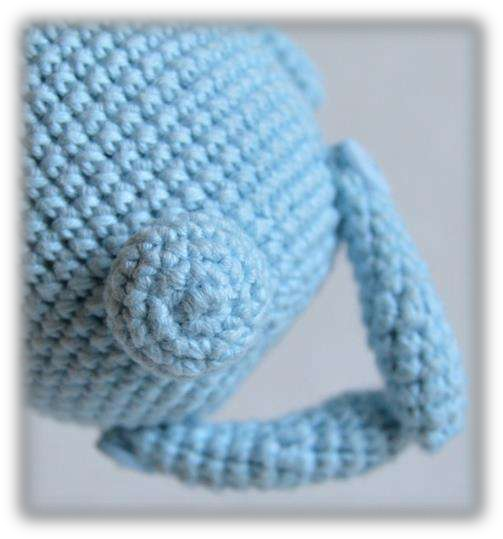
Tail
This little pom-pom style tail is the perfect finishing touch!
- R1: 6 sc in a magic ring. (6)
- R2: 6 inc. (12)
- R3: (1 sc, inc) x 6. (18)
- R4 – R5: 18 sc. (2 rounds)
- R6: (1 sc, dec) x 6. (12)
Leave a long tail for sewing. Lightly stuff the tail if desired.
Body
The body is worked in a continuous oval shape, starting with a chain.
- R1: Ch 9. Starting from the second chain from the hook: inc in the first stitch (2 sc), 6 sc, 3 sc in the last chain (to turn the corner). Continue on the other side of the chain: 7 sc. (18)
- R2: 18 sc.
- R3: 2 inc, 6 sc, 3 inc, 6 sc, 1 inc. (24)
- R4: (1 sc, inc) x 2, 6 sc, (1 sc, inc) x 3, 7 sc, 1 inc. (30)
- R5: 30 sc.
- R6: (2 sc, inc) x 2, 6 sc, (2 sc, inc) x 3, 8 sc, 1 inc. (36)
- R7: 36 sc.
- R8: (3 sc, inc) x 2, 6 sc, (3 sc, inc) x 3, 9 sc, 1 inc. (42)
- R9: 42 sc.
- R10: 4 sc, inc, 20 sc, inc, 16 sc. (44)
- R11: 44 sc.
- R12: 5 sc, inc, 21 sc, inc, 16 sc. (46)
- R13: 46 sc.
- R14: 6 sc, inc, 22 sc, inc, 16 sc. (48)
- R15: 48 sc.
- R16: 7 sc, inc, 23 sc, inc, 16 sc. (50)
- R17 – R22: 50 sc. (6 rounds)
- R23: 7 sc, dec, 23 sc, dec, 16 sc. (48)
- R24 – R25: 48 sc. (2 rounds)
- R26: 7 sc, dec, 22 sc, dec, 15 sc. (46)
- R27: 46 sc.
- R28: 2 sc, (dec, 3 sc) x 3, 8 sc, (dec, 3 sc) x 3, 6 sc. (40)
- R29 – R30: 40 sc. (2 rounds)
- R31: (3 sc, dec) x 8. (32)
- R32: (2 sc, dec) x 8. (24)
- R33: (1 sc, dec) x 8. (16)
Stuff the body firmly.
- R34: 8 dec. (8)
Add more stuffing if needed.
- R35: 4 dec. (4)
Use the needle to pull the opening closed. Secure the yarn and hide it inside the body. Tip: When hiding the final thread, pull the bottom inward slightly to create a flat sitting surface!