How to Crochet a Colorful Fair Isle Hat: A Step-by-Step Tutorial
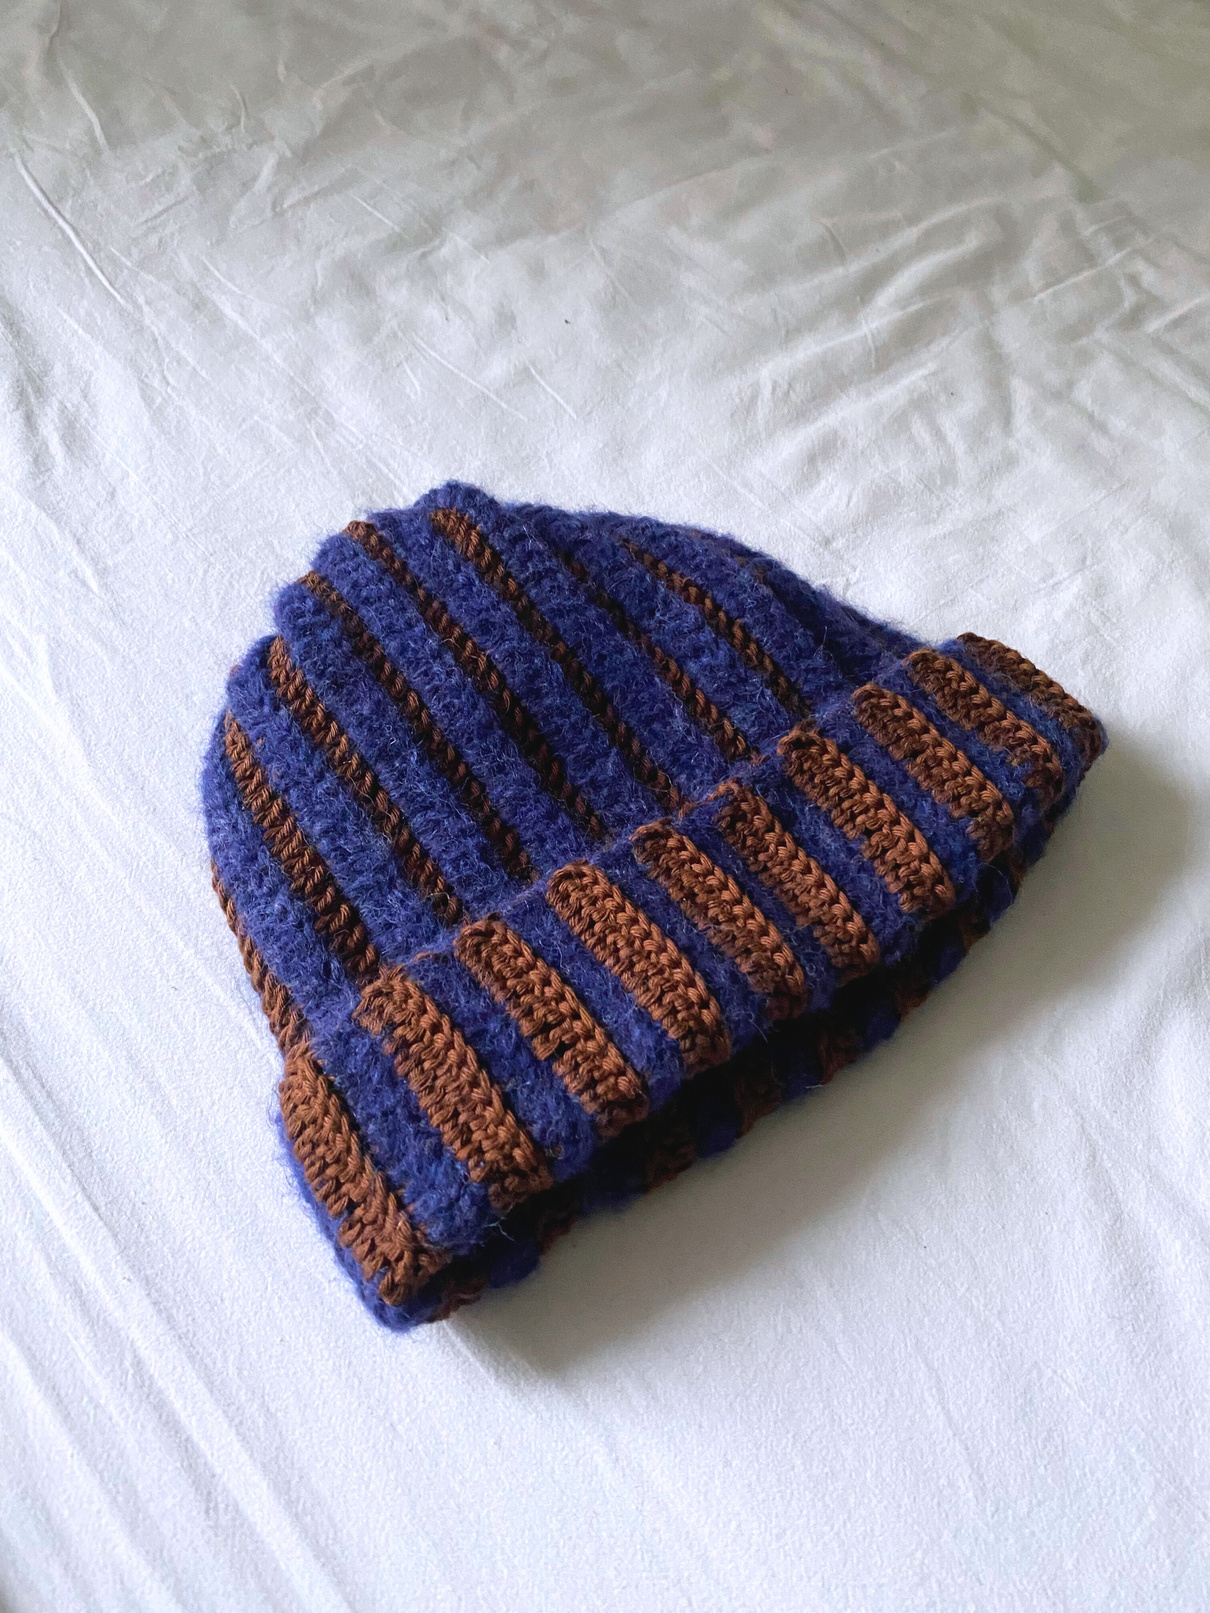
There is nothing quite like the charm of a Fair Isle design to make a winter accessory feel special. While many people associate these intricate, multi-colored patterns with knitting, you can achieve a stunning, professional look using a crochet hook! This Fair Isle crochet hat is the perfect project for those looking to level up their skills. It combines the cozy texture of bulky yarn with the artistic flair of colorwork.
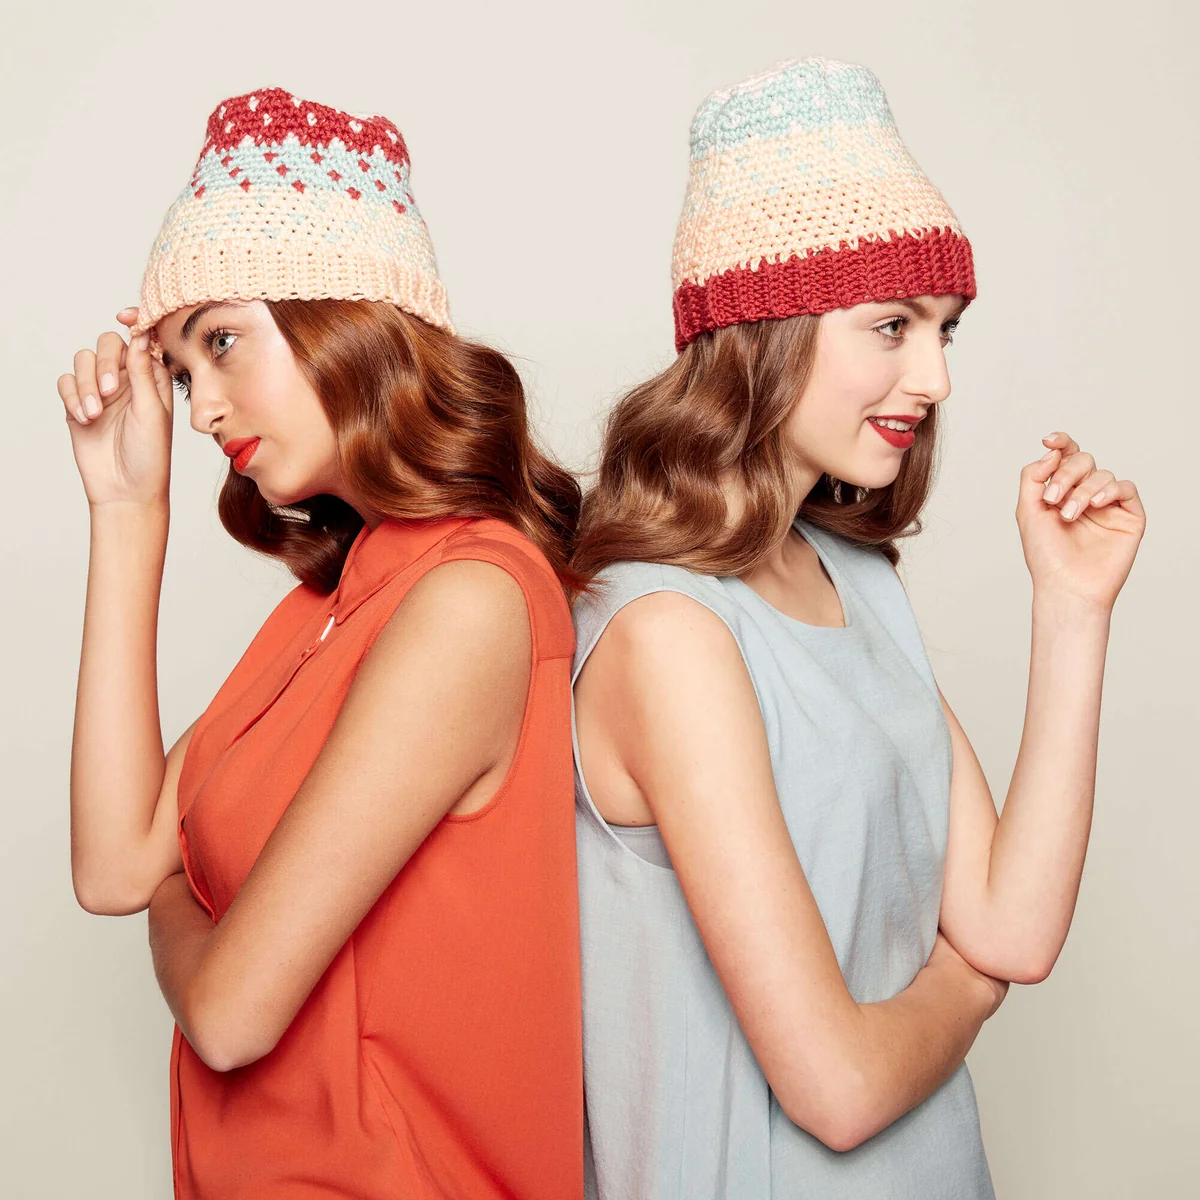
Whether you are looking to create a vibrant, multi-colored statement piece or something a bit more muted and classic, this pattern is designed to be versatile. In this tutorial, we will walk you through the process of creating a snug, adult-sized beanie featuring a ribbed brim and a beautiful color-blocked body. While this is labeled as an intermediate project, don’t let that intimidate you—as long as you can follow a simple chart and manage a few different colors of yarn, you’ve got this!
Materials & Abbreviations
Before you begin, gather your materials. To get the look seen in the inspiration photos, you will want a bulky weight yarn. This ensures the hat works up quickly and provides plenty of warmth for chilly weather.
Supplies Needed
- Yarn: Approximately 250 yards of bulky weight yarn. For the Fair Isle effect, you will need five different contrasting colors. If you are using a multi-shade yarn braid, separate the colors into five individual balls. We will refer to these as Contrast A, B, C, D, and E.
- Crochet Hook: Size US J/10 (6.0 mm), or the size needed to obtain the correct gauge.
- Notions: A stitch marker (essential for working in rounds), a yarn needle for weaving in ends, and a pair of scissors.
Gauge
To ensure your hat fits a standard adult head, aim for a gauge of 12 single crochet (sc) and 14 rows = 4 inches in the colorwork pattern. If your work is too tight, try a larger hook; if it is too loose, try a smaller one.
Abbreviations (US Terms)
- Beg: Beginning
- Ch: Chain
- Cont: Continue
- Pat: Pattern
- Rep: Repeat
- Rnd: Round
- Sc: Single crochet
- Sl st: Slip stitch
- St(s): Stitch(es)
- Tog: Together
- Yoh: Yarn over hook
- Sc2tog: Single crochet two together (decrease). Insert hook into the next stitch, yarn over and pull up a loop, yarn over and pull through first loop. Insert hook into the next stitch, yarn over and pull up a loop, yarn over and pull through first loop, then yarn over and pull through all three loops on the hook.
Step-by-Step Instructions
This hat is constructed in three main parts: the ribbed brim, the colorwork body, and the shaped crown.
Part 1: The Ribbed Brim
The brim is worked flat in rows and then joined to create a tube, which provides that professional, stretchy “store-bought” look.
Using Contrast Color E, chain 10.
Row 1: Work 1 sc in the 2nd chain from the hook and in each chain across to the end. Turn. (9 sc)
Row 2: Chain 1. Working in the back loops only, work 1 sc in each stitch across to the end of the row. Turn.
Repeating Rows: Repeat Row 2 until your piece measures approximately 21 inches long when slightly stretched. Do not fasten off your yarn yet.
Joining the Tube: To turn this flat strip into a brim, align the short ends. Work 1 row of single crochet through both edges to join them together, forming a seamless tube. Once joined, break the yarn for Color E.
Part 2: The Foundation Round
Now we transition from working in rows to working in rounds around the edge of the brim.
Foundation Round: Join Contrast Color B with a slip stitch at the seam of the brim. Chain 1. Working along the side edge of the ribbing, work 64 sc evenly distributed around the circumference. Join with a slip stitch to the first sc. Place your stitch marker at the end of this round to keep track of your starting point.
Part 3: The Fair Isle Body
This is where the magic happens. You will be working 18 rounds based on a color chart. The pattern uses a 4-stitch repeat, which will be worked 16 times around the hat.
Rounds 1 through 18: Chain 1. Following your chosen color chart, work the single crochets in the designated colors. At the end of each round, join with a slip stitch to the first sc.
Pro Tip for Color Changes: When switching colors, work until you have two loops left on your hook. Drop the current color, pull the new color through those last two loops, and then proceed with the new color. This creates a clean, seamless transition. To avoid long strands of yarn hanging on the inside, “carry” the unused colors loosely across the top of the previous round and crochet over them.
Once you have completed the 18th round, break Contrast Color D and continue the final shaping with Contrast Color C.
Part 4: Shaping the Top
To close the hat, we will gradually decrease the number of stitches in each round to create a rounded crown.
1st Rnd: Ch 1. *Work 1 sc in each of the next 6 sts, then sc2tog.* Repeat from * around. Join with a sl st to the first sc. (56 sc)
2nd Rnd: Ch 1. *Work 1 sc in each of the next 5 sts, then sc2tog.* Repeat from * around. Join with a sl st to the first sc. (48 sc)
3rd Rnd: Ch 1. *Work 1 sc in each of the next 4 sts, then sc2tog.* Repeat from * around. Join with a sl st to the first sc. (40 sc)
4th Rnd: Ch 1. *Work 1 sc in each of the next 3 sts, then sc2tog.* Repeat from * around. Join with a sl st to the first sc. (32 sc)
5th Rnd: Ch 1. *Work 1 sc in each of the next 2 sts, then sc2tog.* Repeat from * around. Join with a sl st to the first sc. (24 sc)
6th Rnd: Ch 1. *Work 1 sc in the next st, then sc2tog.* Repeat from * around. Join with a sl st to the first sc. (16 sc)
7th Rnd: Ch 1. *Sc2tog.* Repeat from * around. (8 sc)
Finishing
Fasten off the yarn, leaving a long tail (about 6 to 8 inches). Using your yarn needle, weave the tail through the remaining 8 stitches at the very top of the hat. Pull the yarn end tightly to close the hole completely and secure it with a few small stitches. Weave in all remaining ends on the inside of the hat so they are hidden from view.
Tips for Success
Managing Multiple Colors
Working with five colors can feel chaotic. To keep your workspace tidy, consider winding each color into its own small ball. If you find the yarns are tangling, you can use small crochet clips or even rubber bands to keep the unused colors organized while you work.
Perfecting Your Tension
Fair Isle crochet can sometimes lead to “tight” stitches when you are carrying yarn inside the work. To prevent the hat from shrinking or becoming stiff, make sure you carry your yarn loosely. If you feel the fabric tightening, tug gently on the carried strand to give it some slack.
Customizing Your Look
While the provided charts offer a great starting point, remember that you can swap the colors (A, B, C, D, E) for any shades you prefer! You can create a festive holiday hat, a sporty team-colored beanie, or a soft pastel spring accessory just by changing your yarn palette.