How to Crochet an Irish Accent Afghan: A Step-by-Step Lace Blanket Pattern
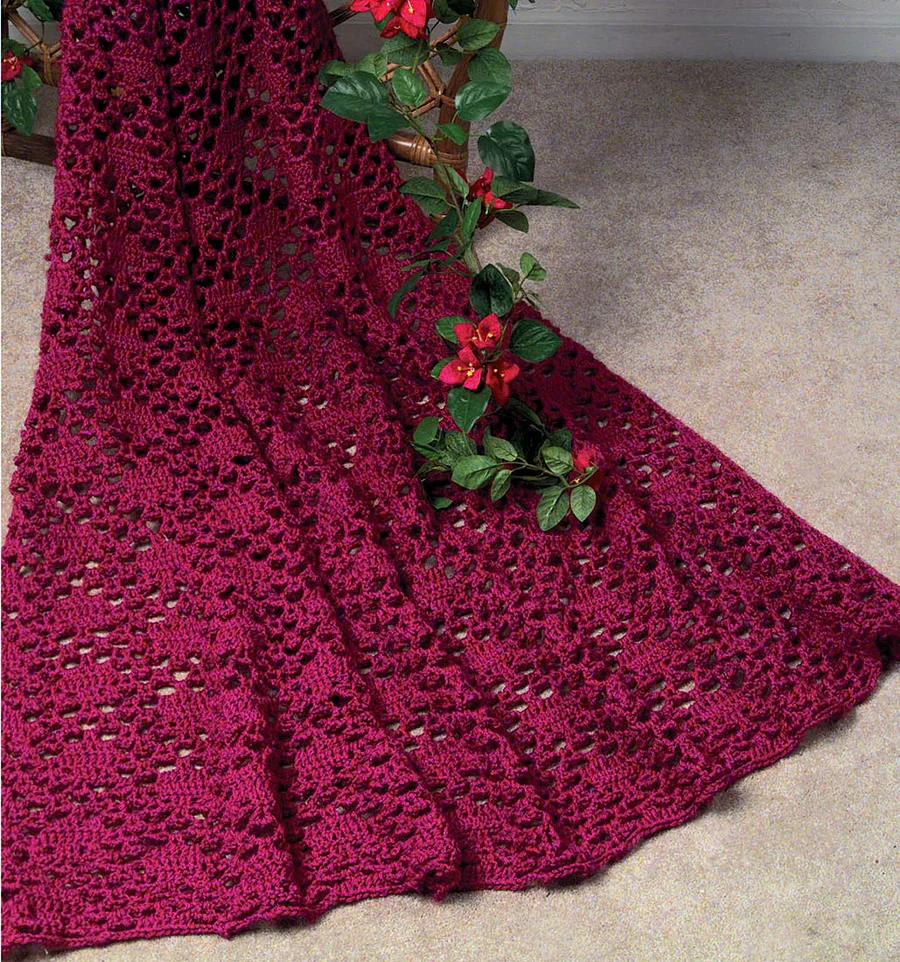
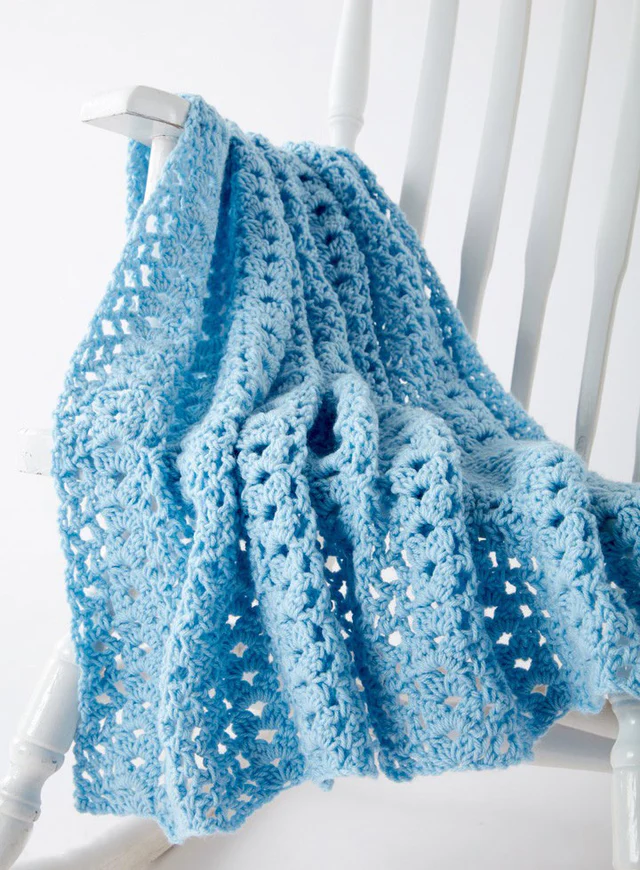
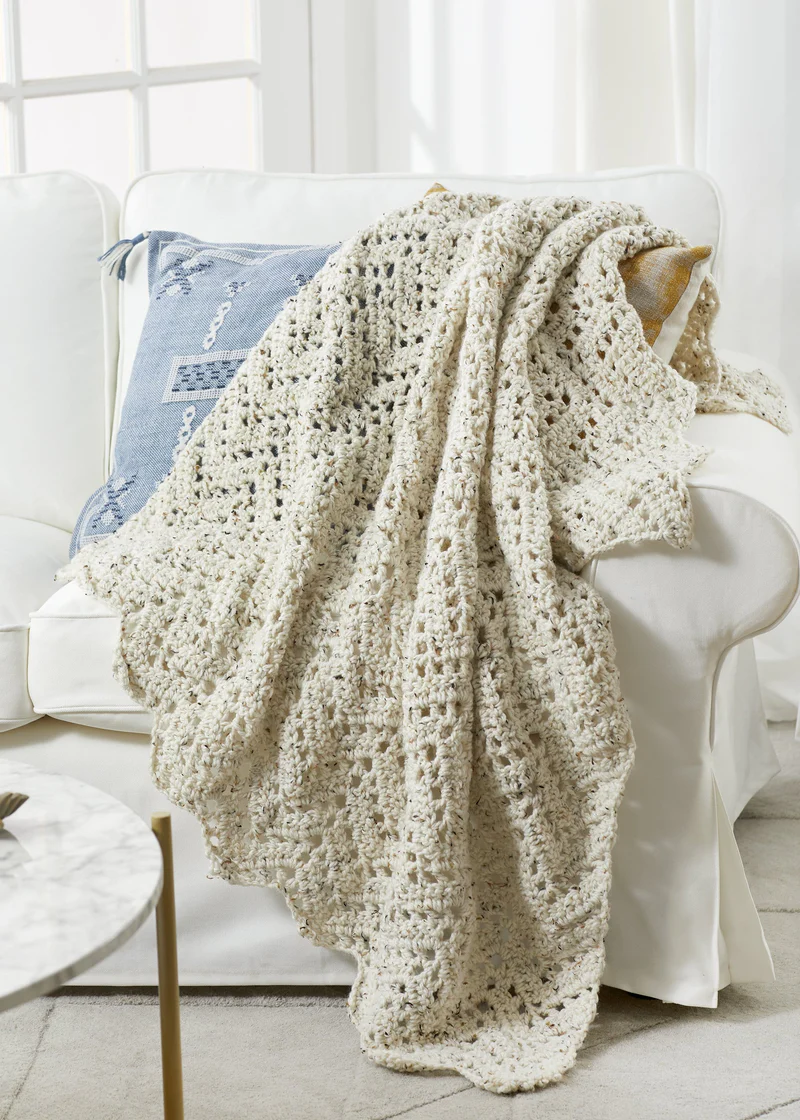
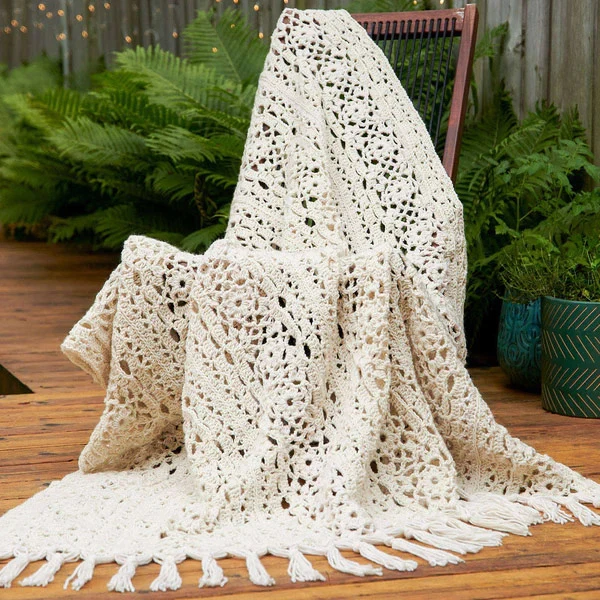
There is something timeless and elegant about the look of Irish crochet. With its delicate openwork and intricate textures, it brings a touch of old-world charm to any living room. If you have been looking for a project that looks complex but is actually beginner-friendly, this Irish Accent Afghan is the perfect choice. This cozy, lace-style blanket is made from six beautiful panels, each composed of connected motifs that create a stunning geometric effect.
Whether you are looking to create a family heirloom or a sophisticated gift, this pattern guides you through the process of creating a lush, oversized throw. Let’s pick up our hooks and get started!
Materials & Abbreviations
To get the best results for this pattern, you will want a medium-weight yarn that provides a good balance of drape and structure. We recommend a classic acrylic or a blend for durability and ease of care.
Supplies Needed
- Yarn: Medium Weight 4 (Aran). You will need approximately 2,912 yards. This equates to roughly 8 balls of standard 7 oz (364 yd) skeins, or 4 balls of Jumbo 14 oz (744 yd) skeins.
- Crochet Hook: U.S. I/9 (5.5 mm) hook, or the size needed to obtain the correct gauge.
- Notions: Yarn needle for sewing panels and scissors for the fringe.
Gauge
Each individual motif should measure approximately 4″ x 4″ square. If your squares are too large or small, try adjusting your hook size.
Abbreviations (US Terms)
- Approx: Approximately
- Ch: Chain
- Dc: Double crochet
- Hdc: Half double crochet
- Rep: Repeat
- RS: Right side
- Rnd(s): Round(s)
- Sc: Single crochet
- Sl st: Slip stitch
- Sp(s): Space(s)
- St(s): Stitch(es)
- Tog: Together
- Yoh: Yarn over hook
- Dc2tog: Double crochet 2 together (decrease)
- Dc3tog: Double crochet 3 together (decrease)
Step-by-Step Instructions
This afghan is constructed in six separate panels. Each panel consists of 15 squares joined as you go. You will repeat the following process six times.
Creating the First Square
The first square of each panel serves as the foundation. It is worked in the round to create a circular center that eventually squares off.
Starting Ring: Chain 6. Join with a slip stitch to the first chain to form a ring.
Round 1: Chain 2. To make a dc2tog, yarn over, insert hook into ring, yarn over and draw up a loop, yarn over and draw through 2 loops; repeat this process once more, then yarn over and draw through all loops on the hook. [Chain 3. To make a dc3tog, yarn over, insert hook into ring, yarn over and draw up a loop, yarn over and draw through 2 loops; repeat this process 2 more times, then yarn over and draw through all loops on the hook] repeat the bracketed section 7 times. Chain 3. Join with a slip stitch to the top of the first dc2tog.
Round 2: Slip stitch into the center of the next ch-3 arch. Chain 1. Work 1 sc in the same arch. (Chain 5, 1 sc in the next arch) 7 times. Chain 2. Work 1 dc in the first sc. Join with a slip stitch.
Round 3: *Chain 5. Work (Dc3tog, Ch 3, Dc3tog) in the next arch. **Chain 5. Work 1 sc in the next arch. Repeat from * to ** twice more, then repeat from * to ** once. Chain 5. Join with a slip stitch in the top of the dc at the end of Round 2. Fasten off.
Creating Squares 2 through 15
For the remaining 14 squares in the panel, you will start with the same Rounds 1 and 2 as the first square, but Round 3 is used to join the new square to the previous one.
Joining Round 3: Join the yarn to the previous square. Chain 5. *(Dc3tog, Ch 1) in the next arch. Insert your hook from the right side (RS) into the center chain of the corner of the previous square and slip stitch. (Ch 1, Dc3tog) in the same arch.* **Chain 2. Insert hook from the RS into the center chain of the ch-5 arch of the previous square and slip stitch. Chain 2.** Work 1 sc in the next arch. Repeat from ** to ** once more, then from * to * once more. (Two squares are now joined). [Chain 5, 1 sc in the next arch, Chain 5, (Dc3tog, Ch 3, Dc3tog) in the next arch] repeat twice. Chain 5. Join with a slip stitch in the top of the dc at the end of Round 2. Fasten off.
Adding the Panel Edging
Once you have completed a panel of 15 squares, you will add a decorative border to the sides. Perform these 5 rows along both opposite long sides of the panel.
Row 1 (RS): Join yarn with a slip stitch to any corner ch-3 space of the square at the end of the panel. Chain 3, 2 dc in the same ch-3 space. *(5 dc in the next ch-5 arch) twice. 2 dc in the corner arch. 1 dc between squares (over the joining stitch). 2 dc in the next corner arch. Repeat from * ending with 3 dc in the last corner ch-3 space. Turn.
Row 2: Chain 3. Work 1 sc between the dc groups of the previous row. *Chain 5, 1 sc between the next 5 dc groups. Repeat from * to the last 3 dc group. Chain 3, 1 sc in the top of the ch-3. Turn.
Row 3: Chain 3. Work 2 dc in the ch-3 arch. *5 dc in the next ch-5 arch. Repeat from * to the last ch-3 arch. 3 dc in the ch-3 arch. Turn.
Row 4: Chain 3. Skip the first 2 stitches. *(1 dc, Ch 2, 1 dc) in the next stitch. Skip the next 3 stitches. Repeat from * to the last 4 stitches. (1 dc, Ch 2, 1 dc) in the next stitch. Skip the next 2 stitches. 1 dc in the last stitch. Turn.
Row 5: Chain 2. Work 1 hdc in each stitch or chain to the end of the row. Fasten off.
Finishing
Now that you have six completed panels, it is time to assemble your masterpiece.
Sewing the Panels
Lay your panels out to ensure they are aligned. Use a yarn needle and a tapestry stitch to sew the 6 panels together. For a professional, seamless look, ensure you are catching only the back loop of each hdc along the edges of the panel edging.
Adding the Fringe
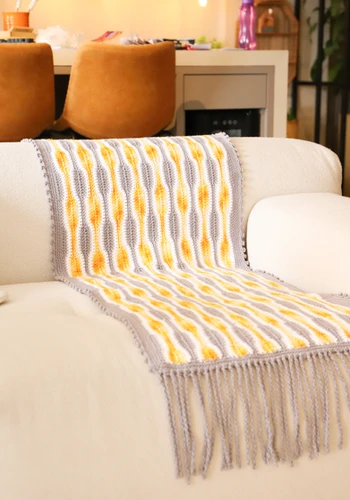
The fringe adds a beautiful weight and traditional finish to the Afghan.
- Cut lengths of yarn 24 inches long.
- For the first and last stitches of the ends, take 3 strands together and knot them into the edge.
- For the rest of the edge, take 6 strands together and knot them evenly across the end of the Afghan.
- The Second Row: To create a thicker, braided look, take 3 strands from every existing section of fringe and knot them together.
- Trim the fringe with sharp scissors so it is even across the bottom.
Tips for Success
Maintain Consistent Tension: Because this pattern relies on “arches” and specific spaces, keeping your tension consistent is key. If you find your squares are pulling tight, try relaxing your grip or going up a half-millimeter in hook size.
Taming the Yarn: With a project this size, yarn tangles are common. We recommend winding your yarn into center-pull cakes to keep your workspace clear and your stitches smooth.
Blocking Your Work: To really make those Irish lace motifs “pop,” consider steam blocking your panels before sewing them together. This will flatten the edges and open up the lace work, giving the blanket a professional, store-bought finish.
Counting Stitches: The joining rounds can be tricky. Always double-check that you have slip-stitched into the center of the correct arch before moving on to the next square to ensure your panel stays straight.