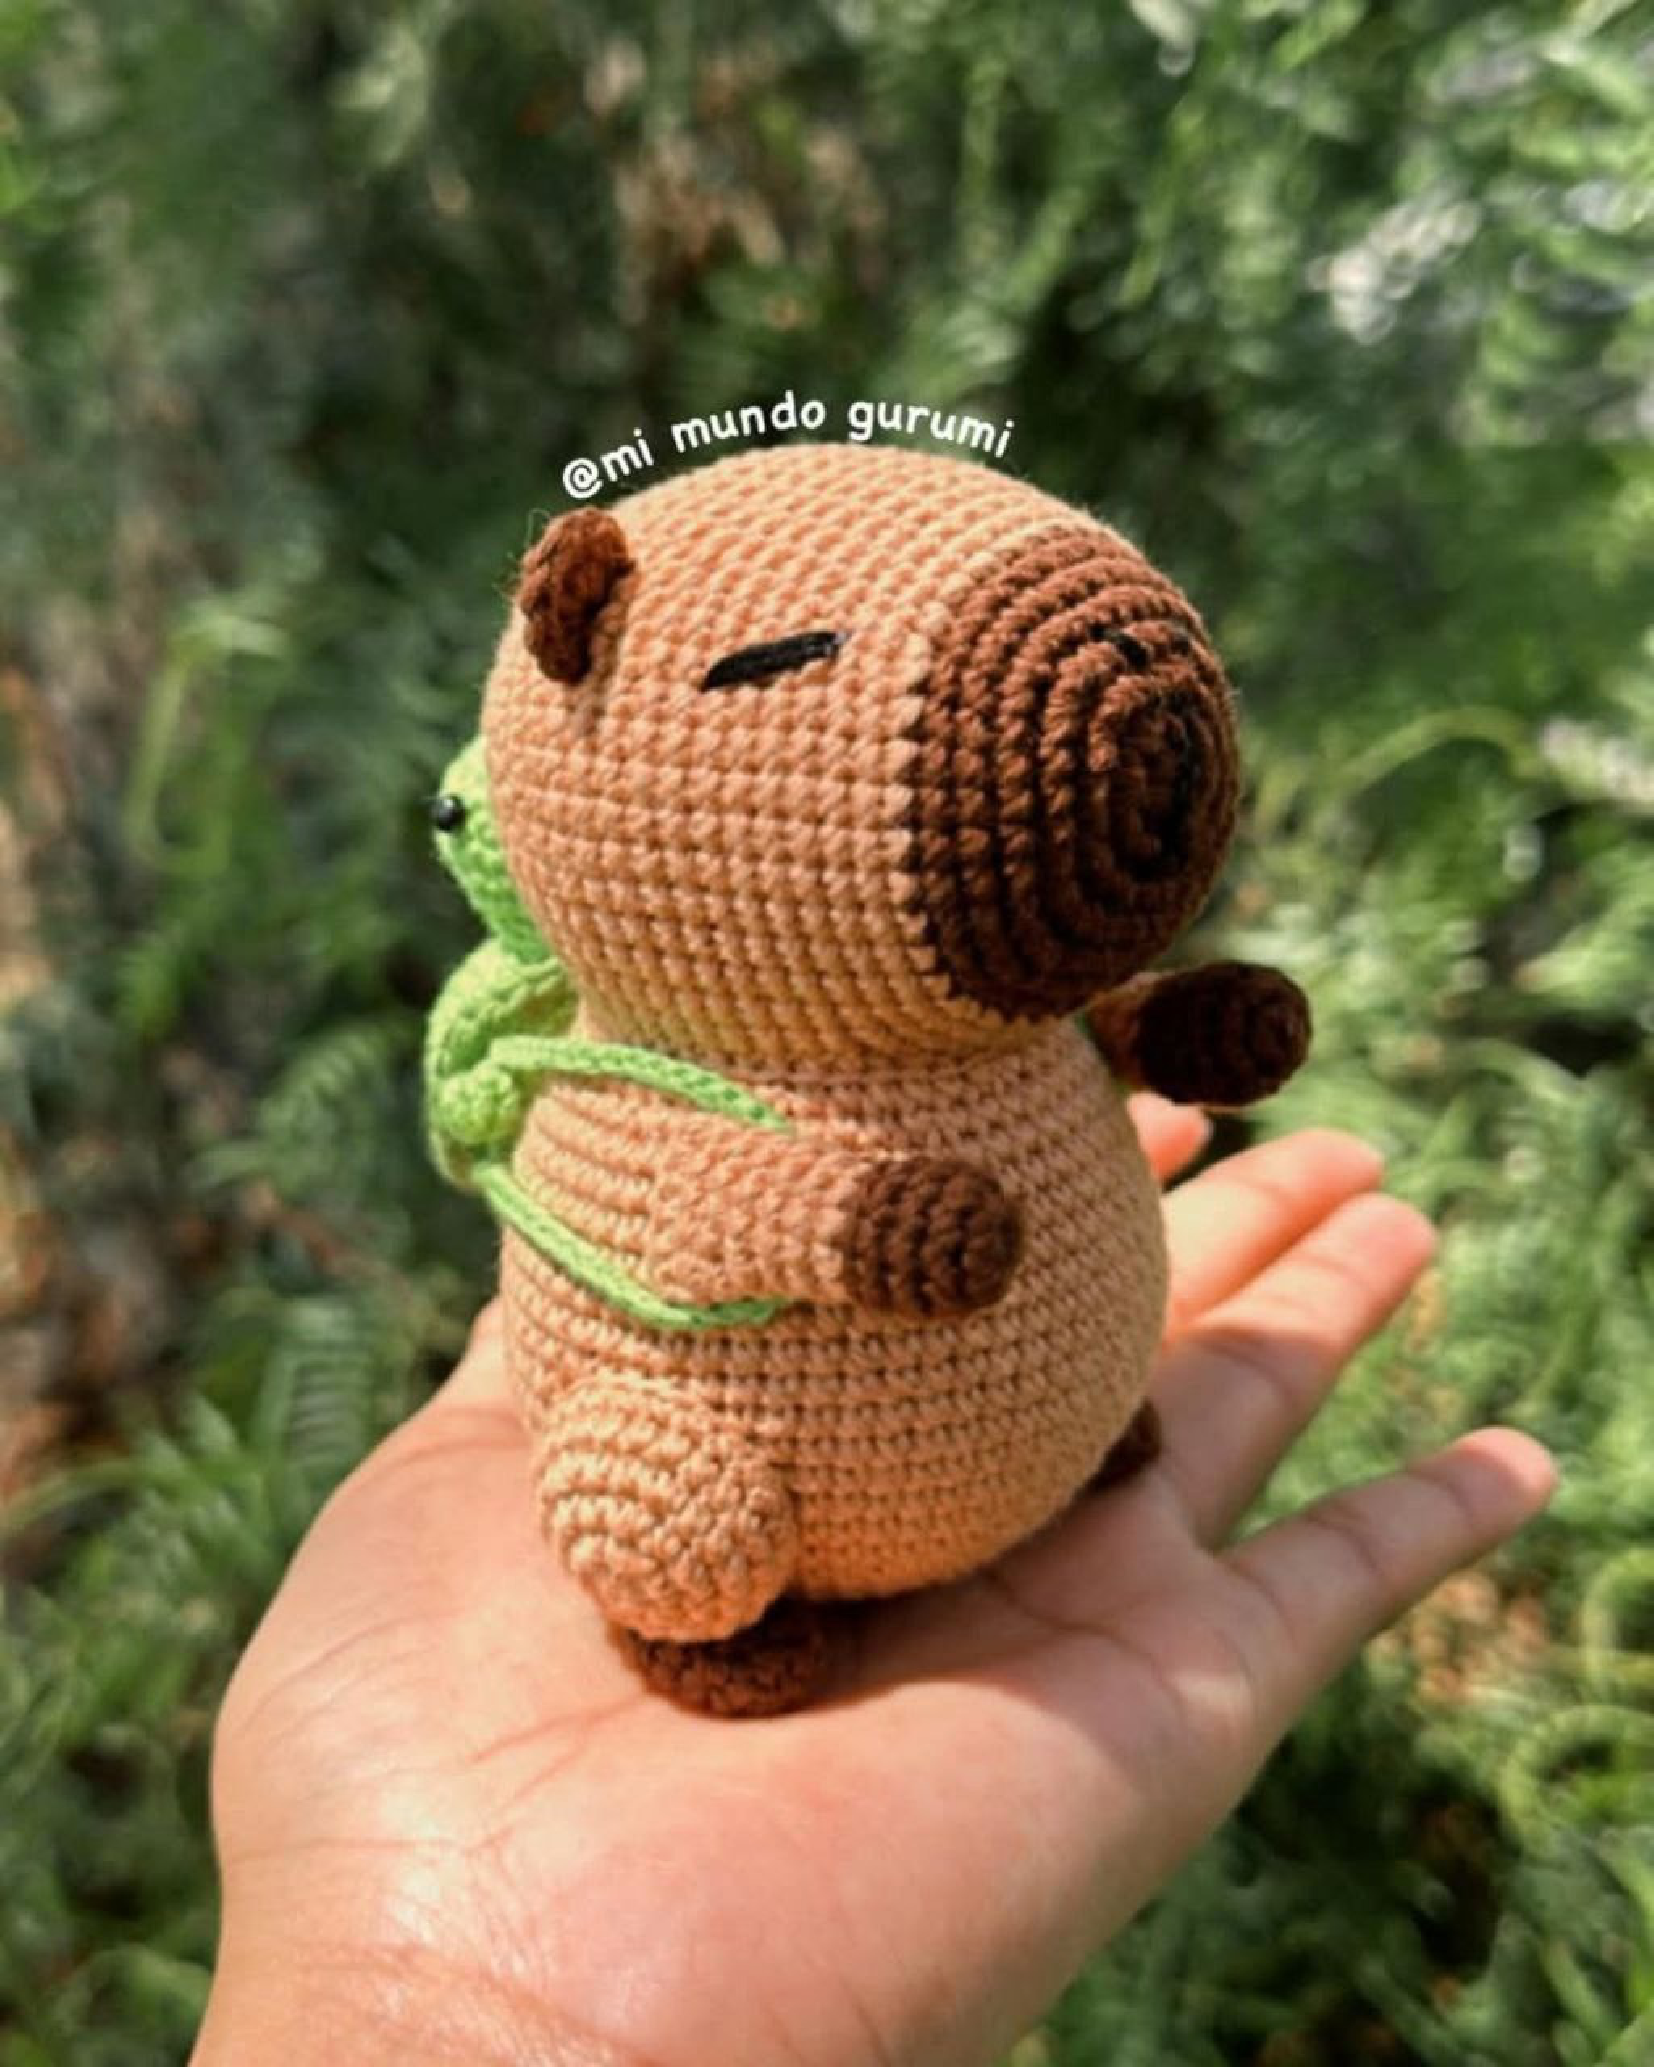
Free Capybara Amigurumi Pattern
Backpack Accessory
This cute accessory is a tiny amigurumi that sits on the capybara’s back.
Backpack Body
Use your desired backpack color.
R1: Start with an MR and work 6sc into the ring. (6)
R2: Work 6 increases. (12)
R3: (sc, inc) 6 times. (18)
R4-5: 18sc around. (18)
R6: Work 18sc in the back loops only (Blo). (18)
R7: 18sc around. (18)
R8: (sc, dec) 6 times. (12)
Lightly stuff the backpack body.
R9: (sc, dec) 4 times. (8)
Fasten off.
Backpack Head
Use your desired backpack color.
R1: Start with an MR and work 6sc into the ring. (6)
R2: Work 6 increases. (12)
R3-4: 12sc around. (12)
R5: (sc, dec) 4 times. (8)
Lightly stuff and fasten off, leaving a tail for sewing.
Backpack Legs (Make 2)
Use your desired backpack color.
R1: Start with an MR and work 6sc into the ring. (6)
R2-3: 6sc around. (6)
Fasten off, leaving a long tail for sewing.
Assembly and Finishing
Now it’s time to bring your capybara to life! Use your yarn needle and the long tails you left to sew all the pieces together.
- Head to Body: Sew the head securely onto the body. The open end of the body (R12) should attach to the base of the head.
- Attach Feet: Sew the two feet to the bottom front of the body, positioning them so the capybara can sit upright.
- Attach Arms: Sew the arms to the sides of the body, just below the head.
- Attach Ears: Position the ears on the top of the head, slightly to the sides. Pinch them flat before sewing them in place.
- Assemble Backpack: Sew the backpack’s head and two legs onto the backpack’s body to create the mini creature.
- Attach Backpack: Sew the completed backpack onto the capybara’s back. You can also create simple straps by making a chain and sewing it around the arms.
- Final Touches: Weave in any remaining yarn ends to give your project a clean, finished look.