Easy Crochet Duckling Amigurumi Pattern: Create Your Own Adorable Plushie
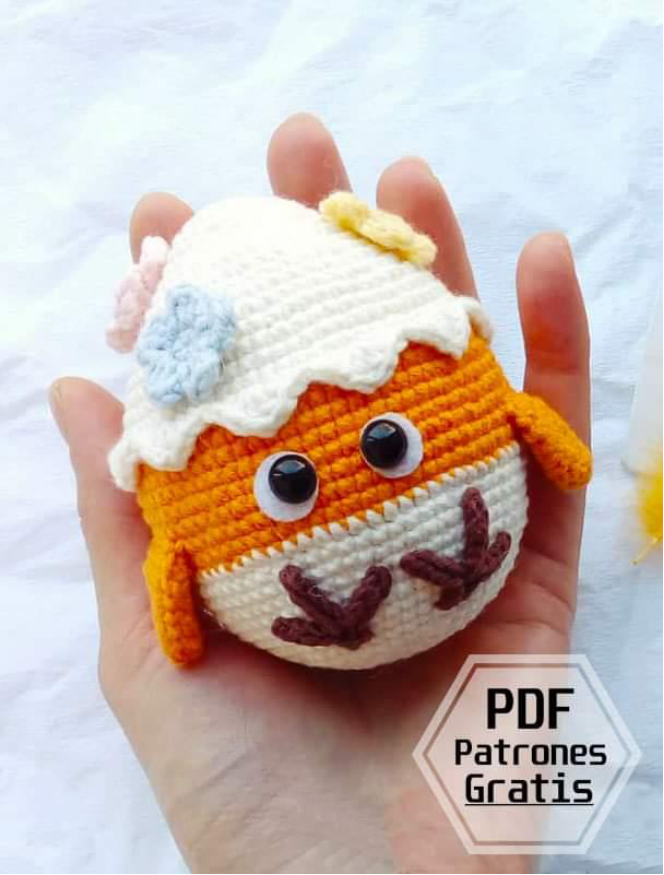
If you are looking for a quick, cuddly, and absolutely adorable project, this easy crochet duckling amigurumi is the perfect choice! Whether you are crafting a gift for a baby shower, making a cute companion for a child, or simply adding to your own collection of plushies, this little duck is guaranteed to bring a smile to anyone’s face.
This pattern is designed to be beginner-friendly, using simple stitches and a chunky yarn that makes the project work up incredibly fast. Because we are using a plush yarn for the body, the finished duckling is velvety soft and extra huggable. Let’s dive into the details and start crafting!
Materials & Abbreviations
To get that professional, store-bought look, the choice of yarn is key. We recommend using a chunky chenille-style yarn for the main body to give it that signature “squishy” feel, and a thinner, smoother yarn for the details like the beak and feet.
Supplies Needed
- Yellow Plush Yarn: A chunky chenille or velvet yarn (such as Alize Soft or a similar US brand like Bernat Blanket). You will only need a small amount—approximately 50-100 yards.
- Orange Medium-Weight Yarn: A standard cotton or acrylic blend for the beak and feet.
- Crochet Hooks: A 6.5mm hook (for the chunky yellow yarn) and a 3mm hook (for the orange yarn).
- Safety Eyes: Two small black beads or 6mm-8mm safety eyes.
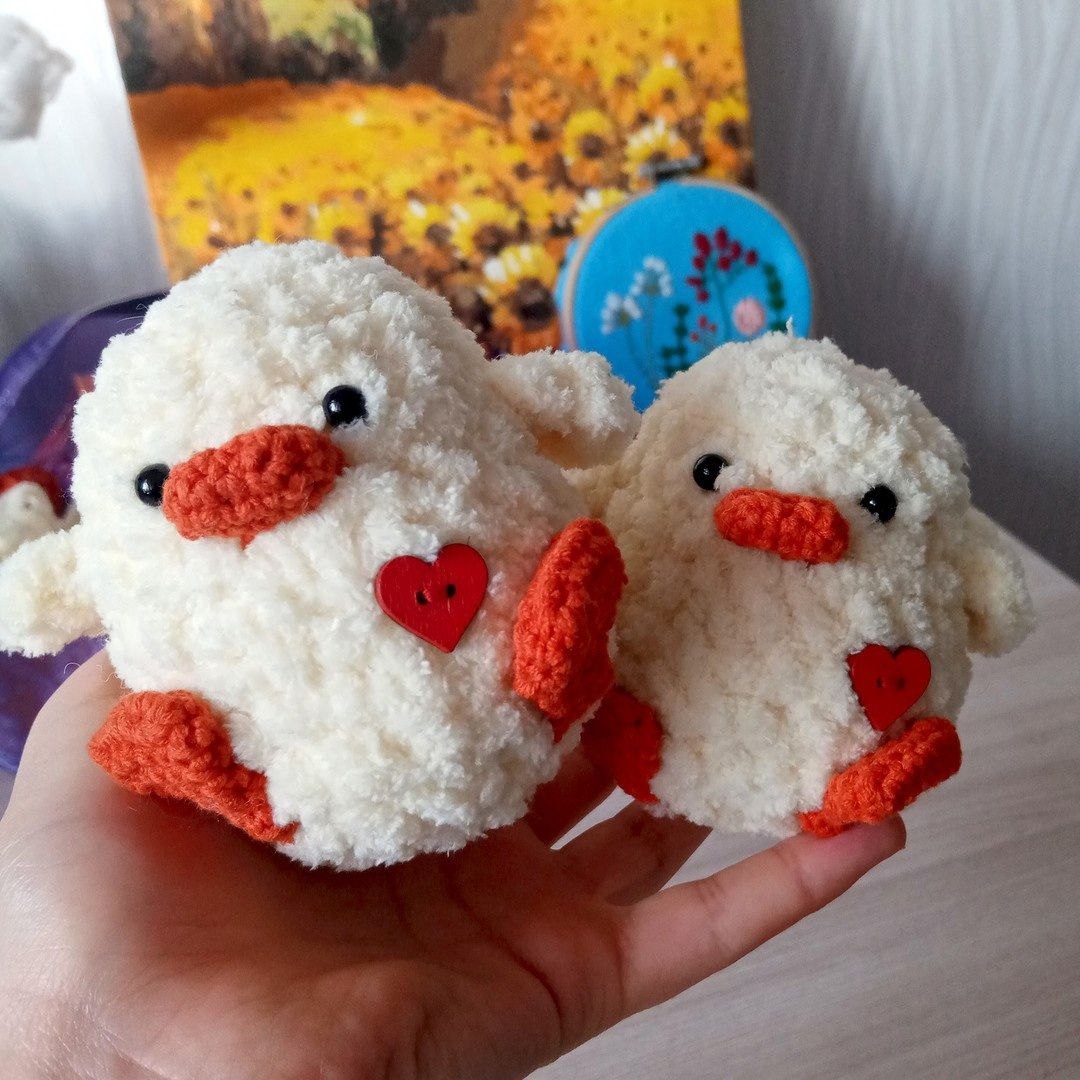
- Decorative Button: One small heart-shaped button for an extra touch of cuteness.
- Fiberfill Stuffing: High-quality polyester stuffing.
- Tools: A yarn needle, sharp scissors, and a stitch marker.
US Crochet Terms & Abbreviations
- MR: Magic Ring (also known as a magic circle)
- sc: single crochet
- inc: increase (2 sc in the same stitch)
- dec: decrease (sc 2 stitches together)
- ch: chain
- st: stitch
- ( ) * 6: Repeat the instructions inside the parentheses 6 times
Step-by-Step Instructions
This duckling is worked in continuous rounds. I highly recommend using a stitch marker in the first stitch of every round to keep your place, as chunky yarn can sometimes hide the stitches.
The Body
Using the 6.5mm hook and yellow plush yarn:
- Round 1: Create a MR and work 6 sc into the ring. (6 sts)
- Round 2: Work an increase (inc) into every stitch around. (12 sts)
- Round 3: (1 sc, inc) * 6. (18 sts)
- Round 4: (2 sc, inc) * 6. (24 sts)
- Rounds 5–8: Work 24 sc around for 4 rounds. (24 sts)
- Round 9: (2 sc, dec) * 6. (18 sts)
- Rounds 10–12: Work 18 sc around for 3 rounds. (18 sts)
Note: Now is the time to start adding your fiberfill stuffing. Fill the body firmly but not so tight that the stitches stretch open.
- Round 13: (1 sc, dec) * 6. (12 sts)
- Round 14: Work 6 decreases (dec) around. (6 sts)
Fasten off, leaving a tail for sewing. Use your yarn needle to weave the tail through the remaining 6 stitches and pull tight to close the hole securely.
The Beak
Switch to the 3mm hook and orange yarn:
- Round 1: Ch 4. Starting in the 2nd chain from the hook, work: inc, 2 sc, 2 inc in the next stitch, 1 sc, and 1 inc. (10 sts)
- Rounds 2–3: Work 10 sc around for 2 rounds. (10 sts)
Fasten off, leaving a long tail for sewing the beak onto the face.
The Feet (Make 2)
Using the 3mm hook and orange yarn:
- Round 1: Ch 6. Starting in the 2nd chain from the hook, work: inc, 3 sc, 2 inc in the next stitch, 3 sc, and 1 inc. (14 sts)
- Rounds 2–3: Work 14 sc around for 2 rounds. (14 sts)
- Round 4: (2 sc, dec) * 3, then 1 dec. (10 sts)
- Round 5: Work 10 sc around. (10 sts)
- Round 6: (2 sc, dec) * 2, then (1 sc, dec) * 2. (6 sts)
Fasten off, leaving a tail for sewing. To finish the foot, flatten the opening and sc 3 stitches across the top to close the end before attaching it to the body.
The Wings (Make 2)
Using the 6.5mm hook and yellow plush yarn:
- Round 1: Create a MR and work 6 sc into the ring. (6 sts)
Fasten off, leaving a tail for sewing. These wings are simple little nubs that add a lot of character!
Finishing & Assembly
Now comes the fun part: bringing your duckling to life! Assembly is where the personality of the toy really shines.
Adding the Face
Place your safety eyes (or sew on your beads) between rounds 5 and 6 of the body. Space them about 3 stitches apart. Once the eyes are secure, sew the beak centered directly underneath the eyes.
Attaching the Limbs
- Wings: Sew the wings to the sides of the body between rounds 6 and 7.
- Feet: Sew the feet to the bottom of the body, ensuring they are spaced evenly so the duckling can sit upright.
The Final Touch
For a sweet, whimsical look, sew the heart-shaped button onto the center of the chest. This gives the duckling a “loveable” aesthetic that makes it a great gift for Valentine’s Day or a new baby.
Tips for Success
Working with Plush Yarn
Plush or chenille yarn is wonderful for softness, but it can be slippery. If you find it hard to see your stitches, try using a stitch marker or a piece of contrasting scrap yarn to mark the start of each round. Also, be careful not to pull your stitches too tight, as this can cause the yarn to “shed” or break.
The Perfect Magic Ring
If you struggle with the magic ring using thick yarn, you can substitute it by chaining 2 and working all your first-round stitches into the first chain. Just make sure to pull it tight to avoid a hole at the top of the head.
Customizing Your Duck
Want to make a whole family of ducks? Simply change your yarn colors! You could make a classic yellow duck, a white farm duck, or even a colorful fantasy duck using neon yarns. You can also change the heart button to a tiny bow or a different shaped bead to personalize your creation.