Crochet Your Own Pocket-Sized Fuzzy Friend: A Guide to Miniature Jointed Bears
“`html
How to Crochet a Miniature Teddy Bear: A Step-by-Step Guide
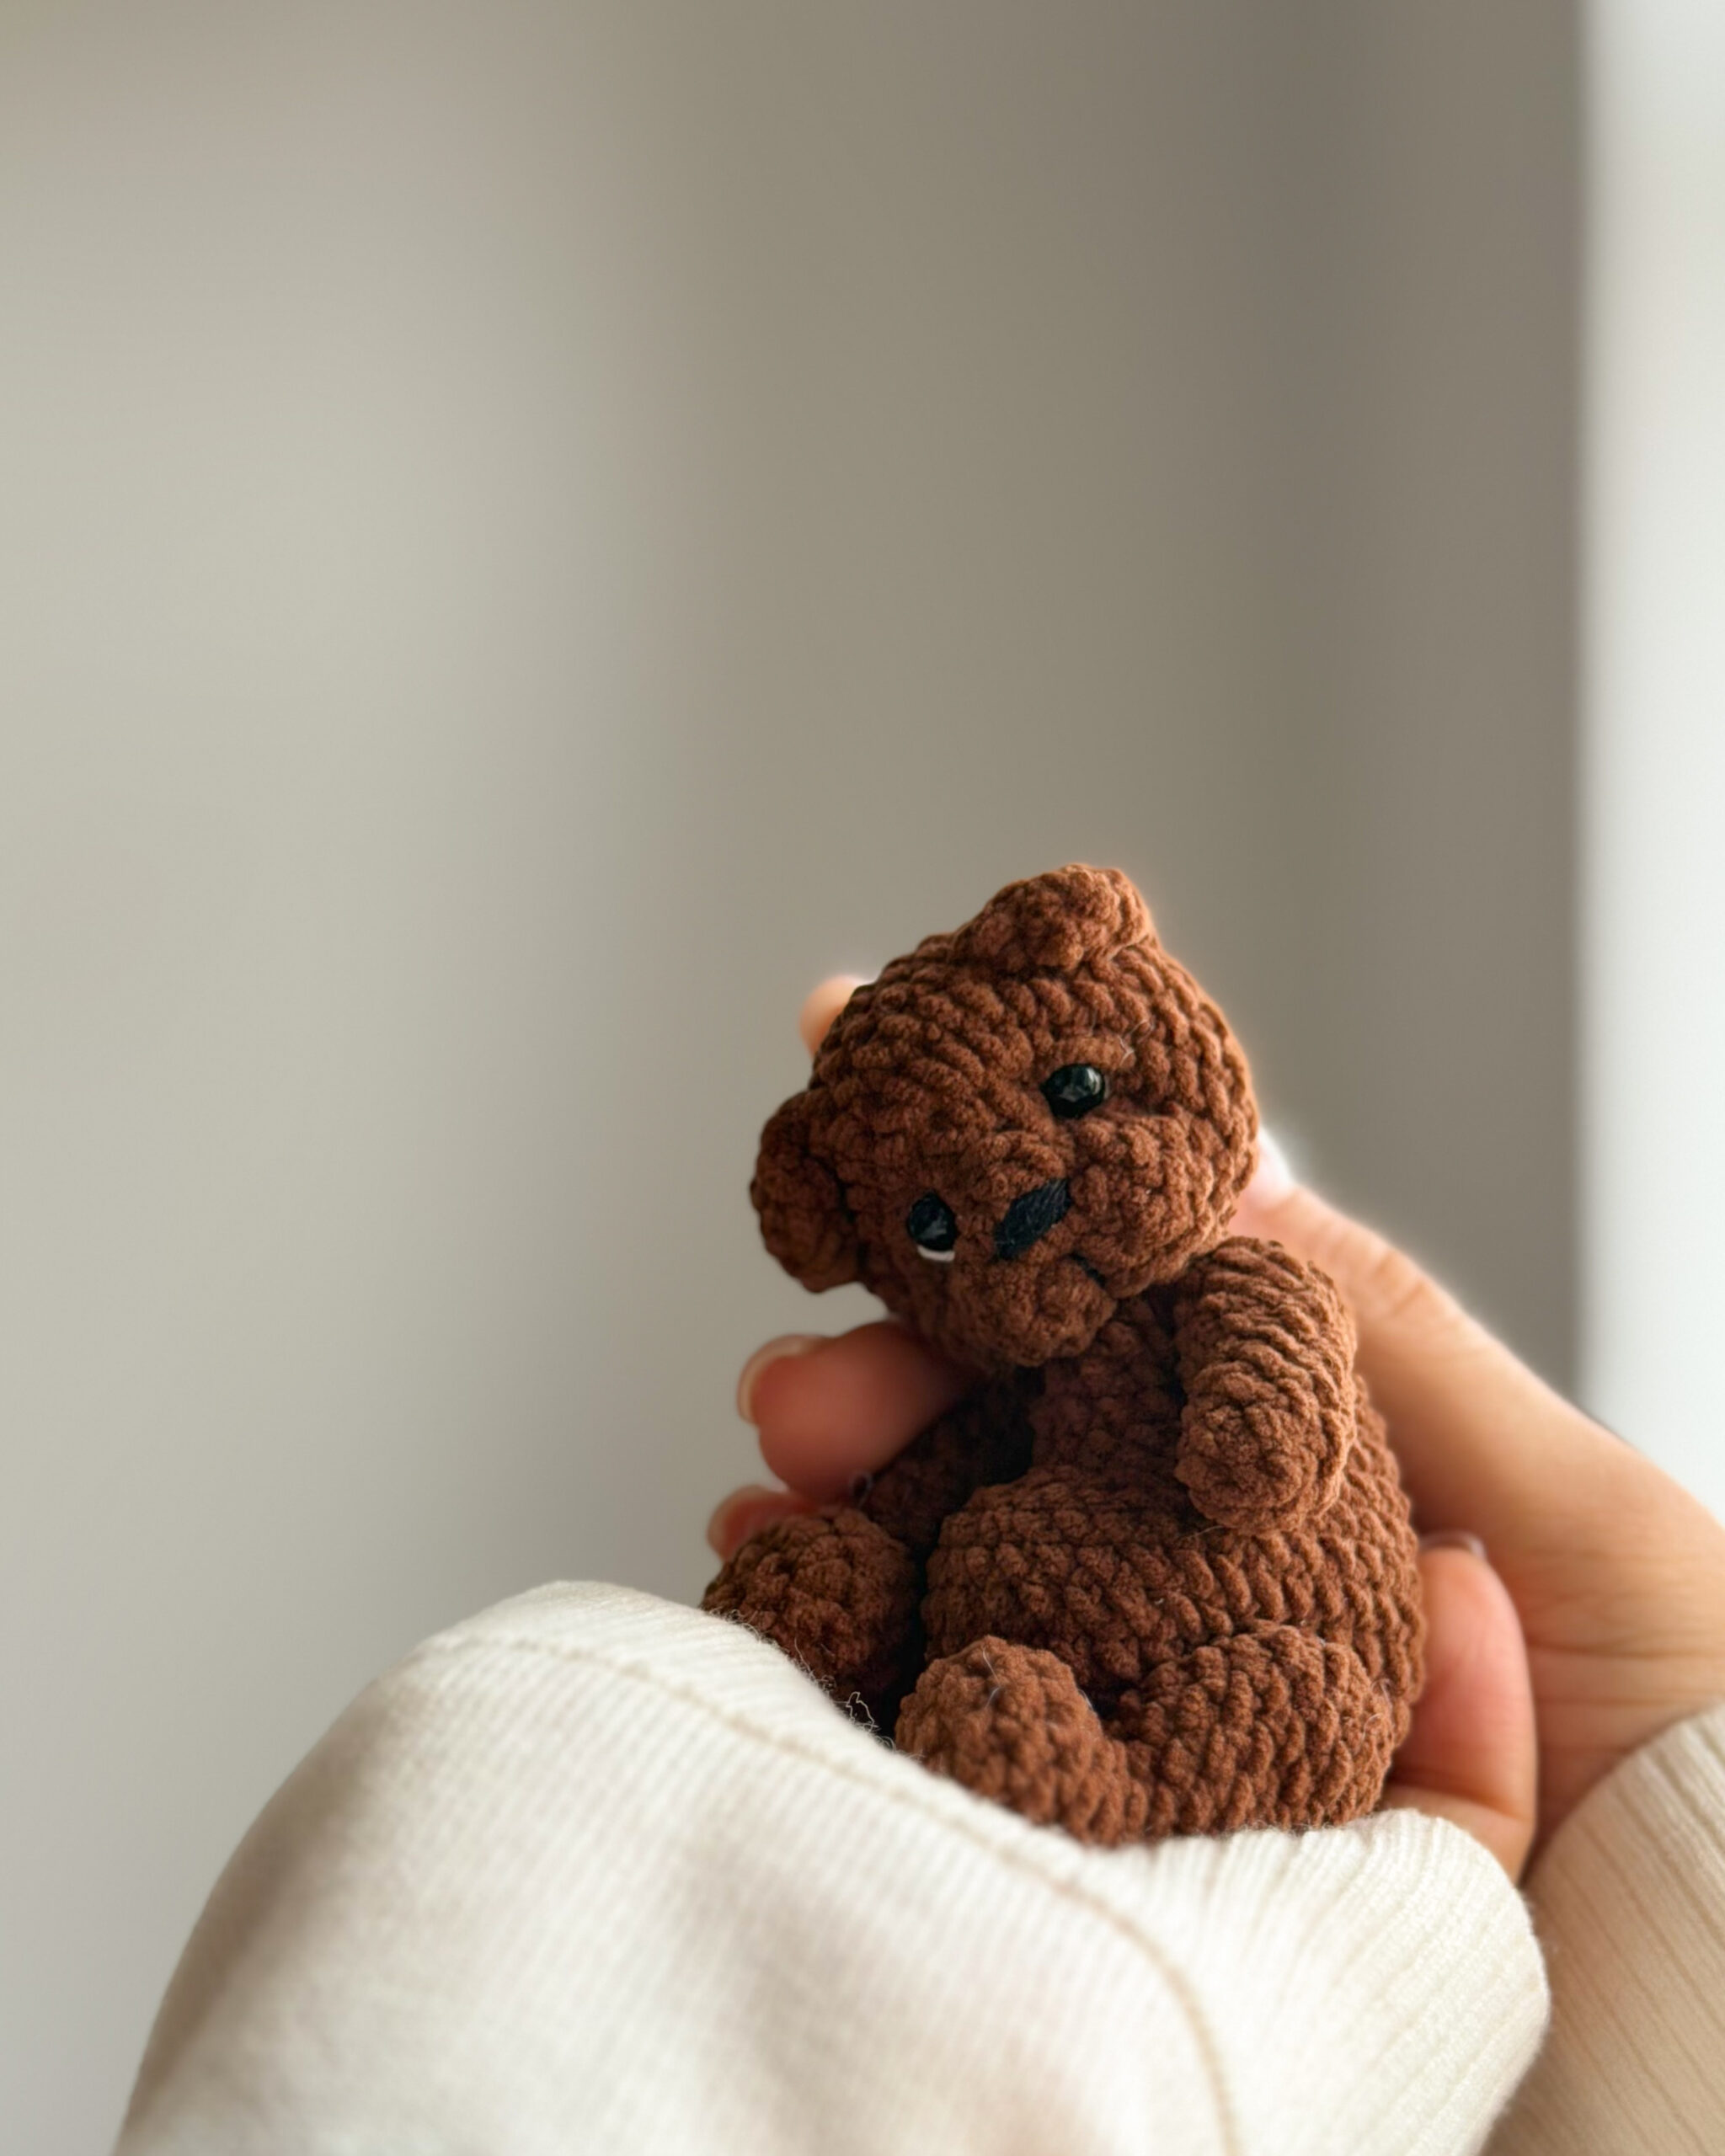
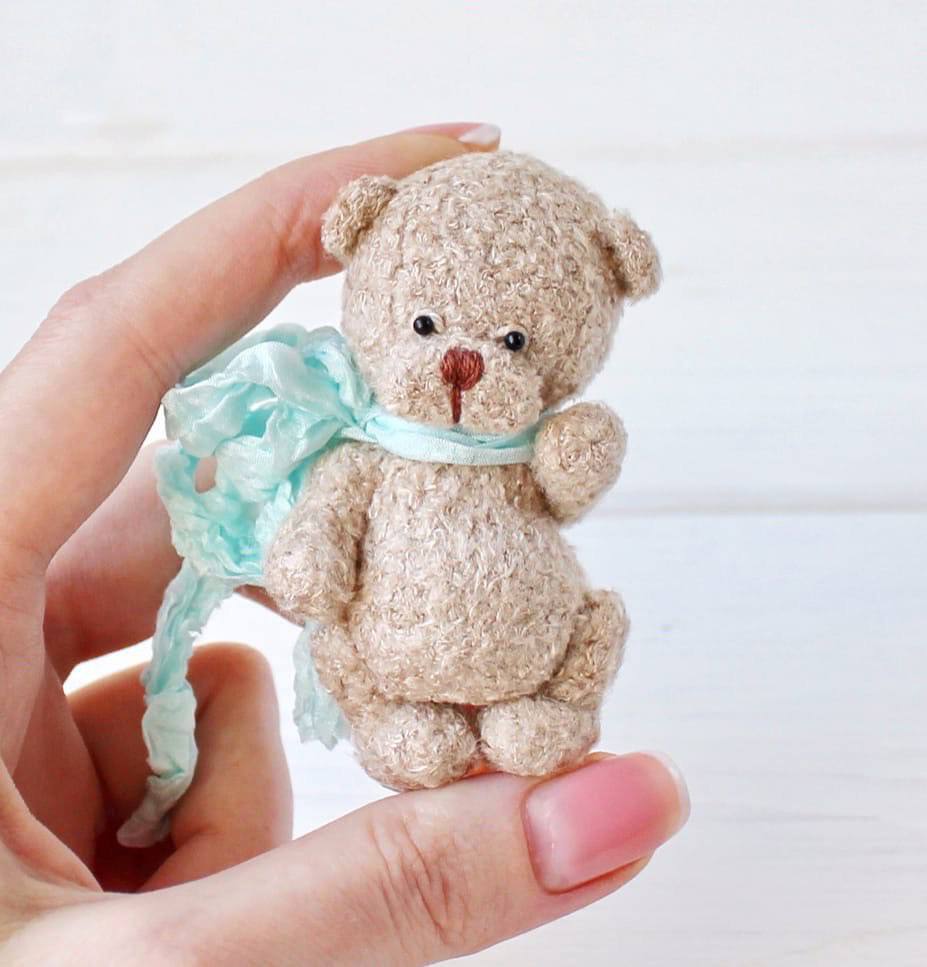
Create an adorable, fuzzy miniature teddy bear with this detailed crochet pattern. This project is perfect for those who love amigurumi and want to create a tiny companion with a professional, jointed finish. Follow these steps to bring your little bear to life!
Materials Needed
- Textured Yarn: A fuzzy or boucle-style yarn in brown.
- Support Yarn: A thin cotton or acrylic thread in a matching brown color (this is used alongside the textured yarn for structural stability).
- Crochet Hook: 1.5mm (or a size that fits your chosen yarn).
- Stuffing: High-quality polyester fiberfill.
- Eyes: Two 3mm glass eyes or small black beads.
- Embroidery Thread: Black for the nose and brown for nose detailing.
- Joints (T-Splints):
- Head: Two disks (12mm and 9mm) and one 18mm T-splint.
- Arms: Four 6mm disks and two 18mm T-splints.
- Legs: Four 6mm disks and two 18mm T-splints.
- Tools: Pliers, a sewing needle, and small manicure scissors for trimming the fur.
Crochet Abbreviations (US Terms)
- ch: chain
- sc: single crochet
- inc: increase (two sc in one stitch)
- dec: decrease (two stitches joined into one)
- MR: magic ring
Pro Tips for Working with Textured Yarn
Working with “fuzzy” or textured yarn can be tricky because the stitches are often hidden. Here are some tips to ensure success:
- The “Wrong Side” Technique: To keep the fluffiest part of the yarn on the outside, crochet in the round moving counter-clockwise (working with the inside of the stitch facing out).
- Use Markers: Always mark the beginning of each round with a stitch marker.
- Count Your Stitches: Count your stitches at the end of every round to avoid mistakes.
- Feel Your Way: If you can’t see the stitches, use your fingers to feel for the gap of the next stitch.
- Trim Regularly: Use manicure scissors to give your bear a “haircut” as you go to create a smooth, rounded shape.
Step-by-Step Pattern
The Head
Use both the textured yarn and the support thread together.
- Round 1: 6 sc in MR (6)
- Round 2: 6 inc (12)
- Round 3: (1 sc, inc) x 6 (18)
- Round 4: (2 sc, inc) x 6 (24)
- Round 5: (3 sc, inc) x 6 (30)
- Rounds 6-11: 30 sc (6 rounds)
- Round 12: (3 sc, dec) x 6 (24)
- Round 13: (2 sc, dec) x 6 (18)
- Round 14: (1 sc, dec) x 6 (12)
Stuff the head firmly with fiberfill. Before closing, insert the head joint (12mm disk and T-splint) into the opening.
- Round 15: 6 dec (6)
Pull the opening closed, fasten off, and hide the ends inside. Trim the fur on the head for a neat look.
The Muzzle and Ears
Muzzle:
- Chain 6.
- Round 1: Starting from the 2nd chain from hook: 4 sc, 3 sc in the last stitch. Working along the opposite side of the chain: 3 sc, 1 inc (12).
- Round 2: 12 sc.
Fasten off and trim the fur.
Ears (Make 2):
Note: Use ONLY the textured yarn for the ears, no support thread.
- Round 1: 6 sc in MR, ch 1, turn.
- Round 2: 6 sc.
Fasten off, leaving a long tail for sewing. Trim the fur.
Assembling the Head
- Muzzle: Pin the muzzle to the bottom of the head. Sew it in place using a matching thread, moving in a circle. Add a tiny amount of stuffing into the muzzle before finishing the seam.
- Nose: Using brown embroidery thread, stitch a small nose onto the muzzle.
- Eyes: Place your beads/eyes. Insert a needle and strong thread from the bottom of the head, come up through the eye, and go back down to the bottom. Repeat for the second eye. Pull tight to create a slight indent and knot at the bottom.
- Ears: Sew the ears to the top of the head. Hide the yarn ends inside the head.
- Details: Embroider small eyebrows above the eyes for expression.
Arms and Legs
Arms (Make 2):
- Round 1: 6 sc in MR (6)
- Round 2: (inc, 2 sc) x 2 (8)
- Rounds 3-9: 8 sc (7 rounds)
Stuff the arm lightly. Insert the arm joint (6mm disk and T-splint) between rounds 8 and 9.
- Round 10: 4 dec (4)
Close the hole, hide the ends, and trim the fur.
Legs (Make 2):
- Chain 4.
- Round 1: Starting from the 2nd chain: 2 sc, 3 sc in the last stitch. Working along the opposite side: 1 sc, 1 inc (8).
- Round 2: inc, 1 sc, 3 inc, 1 sc, 2 inc (14)
- Round 3: 14 sc.
- Round 4: 3 sc, 4 dec, 3 sc (10)
- Round 5: 3 sc, 2 dec, 3 sc (8)
- Rounds 6-9: 8 sc (4 rounds)
Stuff the leg. Insert the leg joint (6mm disk and T-splint) between rounds 8 and 9.
- Round 10: 4 dec (4)
Close the hole, hide the ends, and trim the fur. For the second leg, ensure the joint is inserted on the opposite side for symmetry.
The Body and Final Assembly
- Round 1: 6 sc in MR (6)
- Round 2: 6 inc (12)
- Round 3: 12 sc.
- Round 4: (1 sc, inc) x 6 (18)
- Round 5: 18 sc.
Attach Head: Insert the head’s T-splint into the body. Place the 9mm disk on the splint inside the body and use pliers to twist the ends of the splint tight.
- Round 6: 18 sc.
- Round 7: (2 sc, inc) x 6 (24)
- Round 8: (3 sc, inc) x 6 (30)
Attach Arms: Insert the arm joints into the sides of the body between rounds 4 and 5. Secure with disks and pliers.
- Rounds 9-12: 30 sc (4 rounds)
- Round 13: (3 sc, dec) x 6 (24)
Attach Legs: Insert the leg joints into the sides of the body between rounds 11 and 12. Secure with disks and pliers.
- Round 14: (2 sc, dec) x 6 (18)
- Round 15: 18 sc.
Stuff the body firmly.
- Round 16: (1 sc, dec) x 6 (12)
- Round 17: 6 dec (6)
Close the opening and hide the yarn ends.
The Tail
- Round 1: 6 sc in MR (6)
Knot the ends of the yarn and sew the tail to the back of the bear’s body.
Festive Accessories
The Hat:
Use red and white thin yarn.
- Red Part:
- R1: 6 sc in MR (6)
- R2: (inc, 1 sc) x 3 (9)
- R3: 9 sc
- R4: (inc, 2 sc) x 3 (12)
- R5: 12 sc
- R6: (inc, 3 sc) x 3 (15)
- R7: 15 sc
- R8: (inc, 4 sc) x 3 (18)
- R9: 18 sc
- R10: (inc, 5 sc) x 3 (21)
- R11: 21 sc
- R12: (inc, 6 sc) x 3 (24)
- R13: 24 sc
- R14: (inc, 3 sc) x 6 (30)
- R15: 30 sc
- R16: (inc, 4 sc) x 6 (36)
- R17: 36 sc
- R18: (inc, 5 sc) x 6 (42)
- R19: 42 sc
- R20: (inc, 6 sc) x 6 (48)
- R21: 48 sc
- White Brim:
- R22-26: 48 sc (5 rounds)
Pompon: Wrap white yarn around two fingers many times. Tie a strong string tightly around the center, remove from fingers, and trim the loops into a neat ball. Sew the pompon to the top of the hat.
The Scarf:
- Start (White): R1: 6 sc in MR, R2: (inc, 1 sc) x 3 (9), R3: 9 sc.
- Pattern:
- Change to Red: 4 rounds of 9 sc.
- Change to White: 2 rounds of 9 sc.
- Repeat the red/white pattern until the scarf is 11 cm (approx 4.3 inches) long.
- Finish by chaining 15, sc in the next stitch to create a loop, and continue the pattern until you end on white.
- Insert the end of the scarf into the loop to secure it.
“`