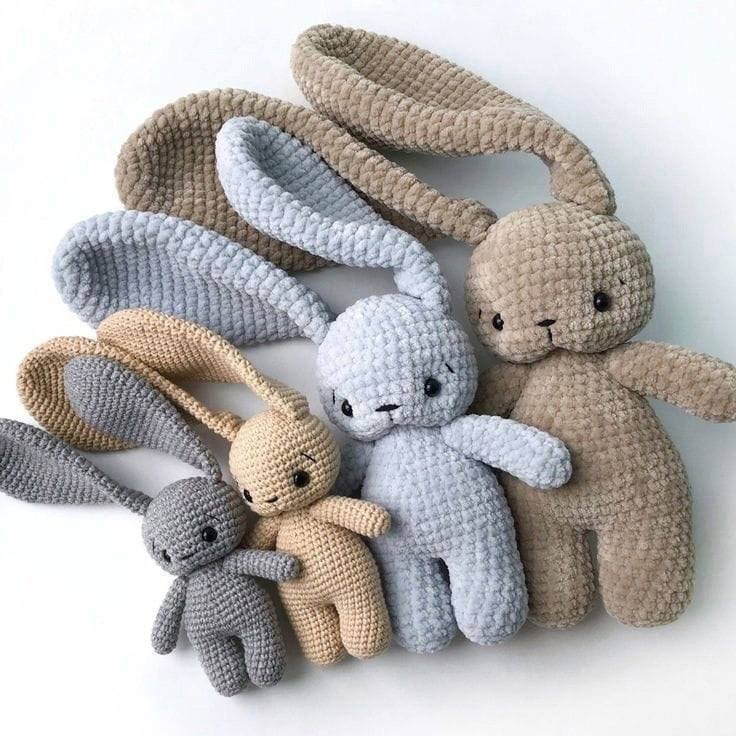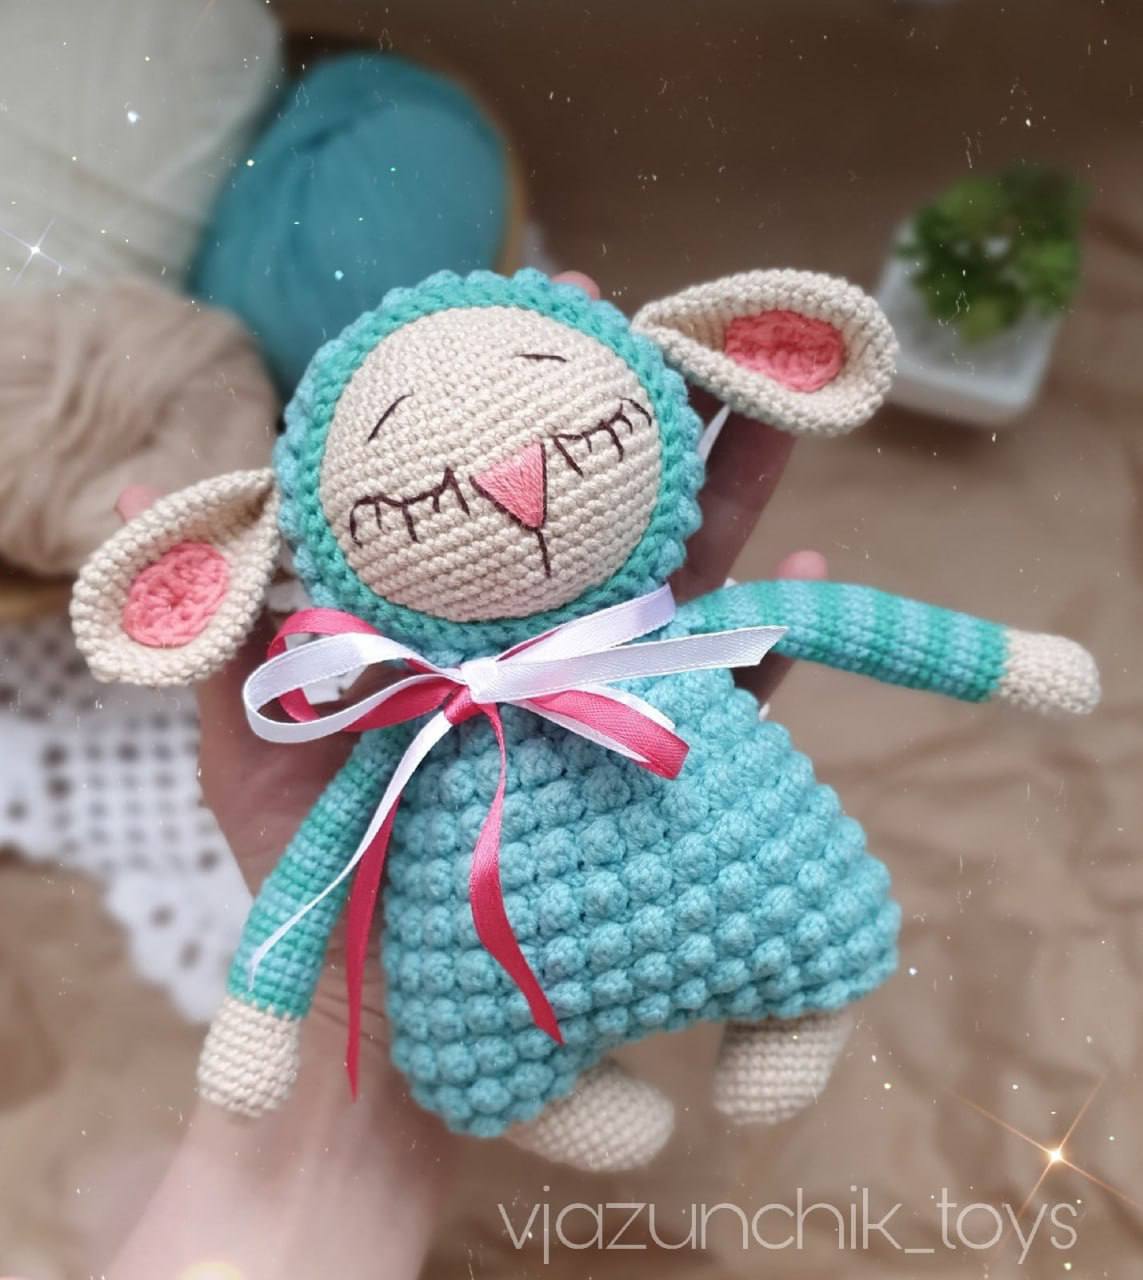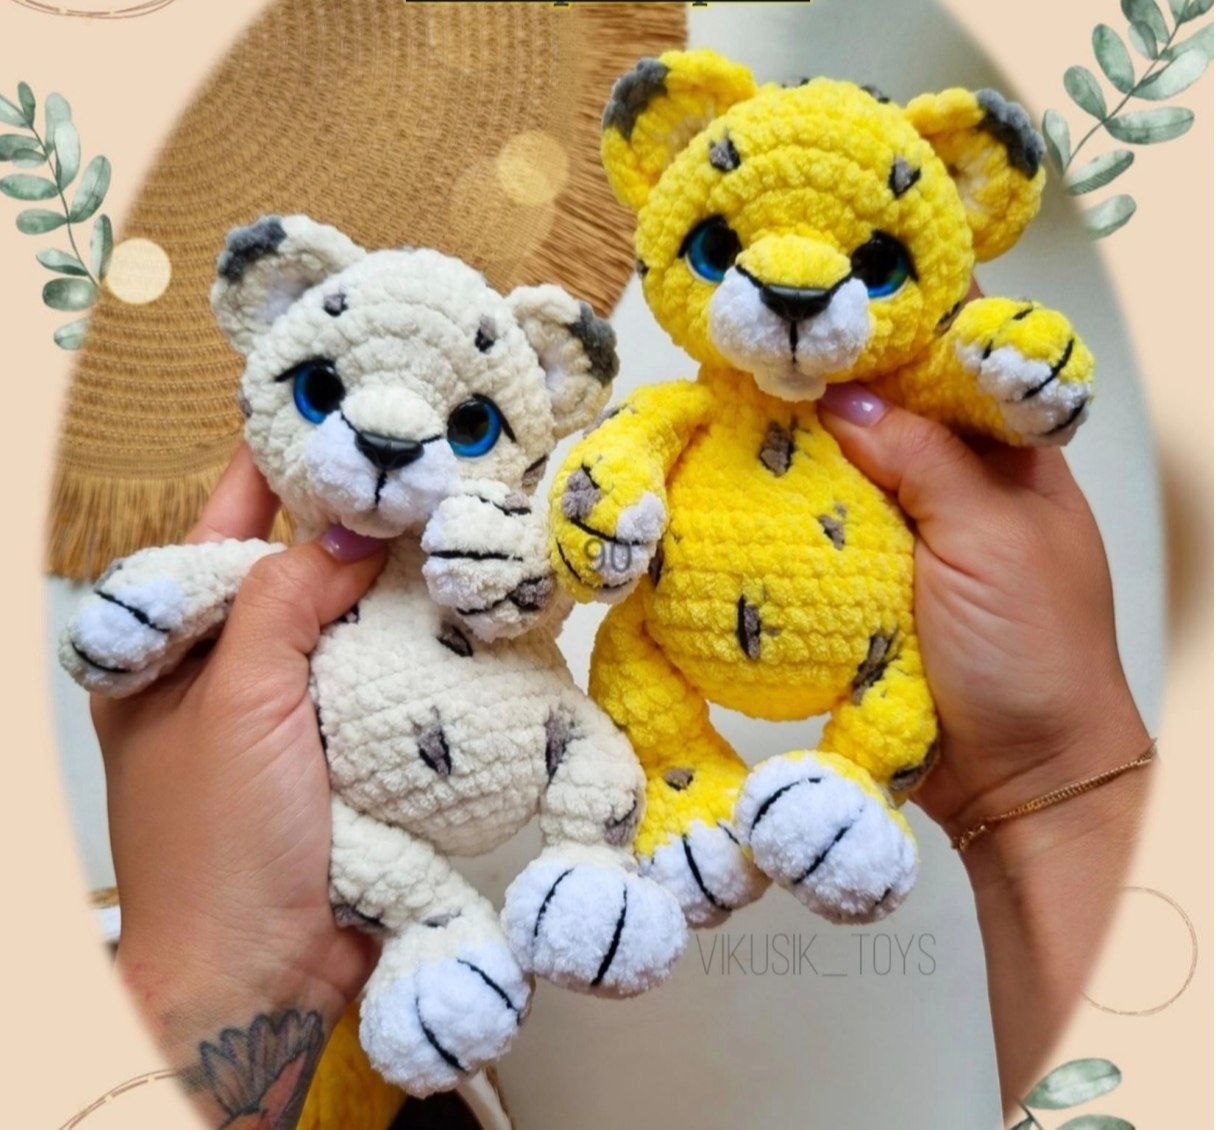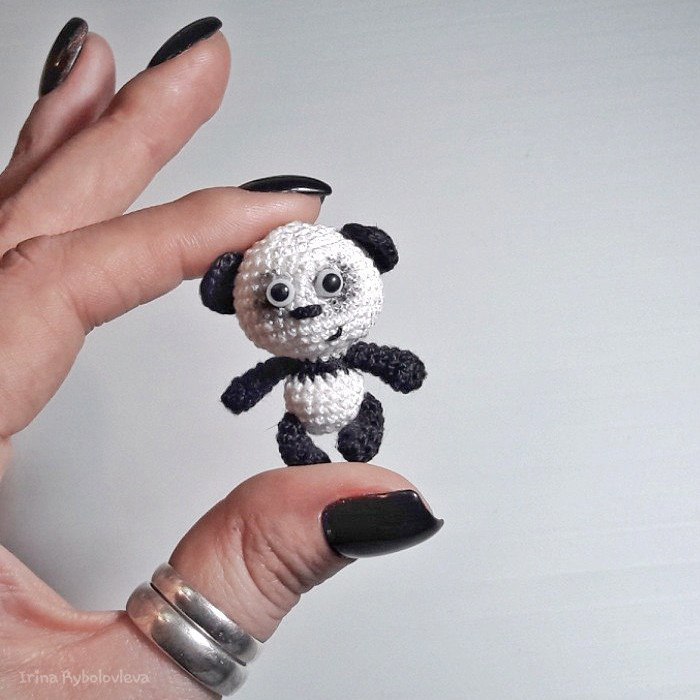
Create Your Own Adorable Floral Polar Bear: Easy Step-by-Step Crochet Pattern
“`html
Cute Crochet Polar Bear Pattern: Step-by-Step Guide
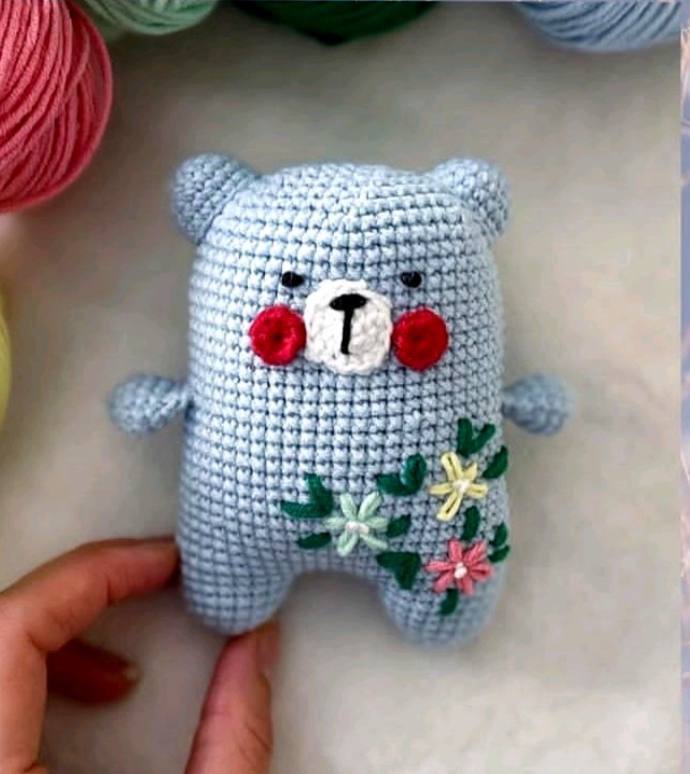
Create your own adorable crochet polar bear with this detailed, easy-to-follow pattern. This little bear is perfect as a gift, a desk companion, or a fun project for amigurumi enthusiasts.
Materials Needed
- Yarn: Light blue (main body), White (muzzle), Red (cheeks), and Black (eyes/nose). You will also need various colors for the embroidered flowers and leaves.
- Crochet Hook: 2.5mm
- Other tools: Yarn needle, scissors, and fiberfill stuffing.
Abbreviations (US Terms)
- mr: magic ring
- ch: chain
- sc: single crochet
- inc: increase (2 sc in one stitch)
- dec: decrease (sc 2 together)
- sl st: slip stitch
Arms (Make 2)
- Round 1: 6 sc in mr [6]
- Round 2: inc x6 [12]
- Round 3: (1 sc, inc) x6 [18]
- Rounds 4-6: sc in each stitch around [18] (3 rounds total)
- Round 7: (1 sc, dec) x6 [12]
Stuff the arms lightly. To close, flatten the piece and sc through both sides (6 sc total) to seal the end. Fasten off.
Legs and Body
Legs (Make 2): Do not fasten off the second leg.
- Round 1: 6 sc in mr [6]
- Round 2: inc x6 [12]
- Round 3: (1 sc, inc) x6 [18]
- Round 4: (5 sc, inc) x3 [21]
- Rounds 5-6: sc in each stitch around [21] (2 rounds total)
Joining the Legs:
Join the two legs using a slip stitch. Then, work the following round to create the base of the body:
- Round 1: 21 sc around the first leg, ch 6, 21 sc around the second leg, ch 6 [54 total]
- Rounds 2-33: sc in each stitch around [54] (26 rounds total)
Adding the Arms: At round 21, align the arms above the legs. Attach them by working 6 sc through both the arm and the body.
Body Shaping:
- Round 34: (7 sc, dec) x6 [48]
- Round 35: (6 sc, dec) x6 [42]
- Round 36: (5 sc, dec) x6 [36]
- Round 37: (4 sc, dec) x6 [30]
- Round 38: (3 sc, dec) x6 [24]
- Round 39: (2 sc, dec) x6 [18]
- Round 40: (1 sc, dec) x6 [12]
- Round 41: dec x6 [6]
Fasten off, weave in the ends, and finish stuffing the body firmly.
Ears (Make 2)
- Round 1: 6 sc in mr [6]
- Round 2: inc x6 [12]
- Round 3: (1 sc, inc) x6 [18]
- Rounds 4-5: sc in each stitch around [18] (2 rounds total)
Fasten off, leaving a long tail for sewing.
Muzzle and Cheeks
Muzzle (Using White Yarn):
- Round 1: 5 sc in mr [5]
- Round 2: inc x5 [10]
- Round 3: (inc) x2, 3 sc, (inc) x2, 3 sc [14]
Fasten off, leaving a tail for sewing.
Cheeks (Using Red Yarn – Make 2):
- Round 1: 8 sc in mr [8]
Fasten off, leaving a tail for sewing.
Assembly Instructions
- Ears: Sew the ears between rounds 5 and 11 of the body, aligning them with the arms.
- Muzzle: Sew the white muzzle between rounds 12 and 18.
- Nose: Embroider the nose onto the muzzle using black yarn.
- Eyes: To make the eyes, pull the black yarn through from the muzzle, create a small stitch, make a double knot, and secure. Repeat on the other side.
- Details: Sew small “check marks” or curved lines on each side of the muzzle for added expression. Sew the red cheeks to the sides of the muzzle.
Adding the Floral Decorations (Lazy Daisy Stitch)
To give your polar bear a whimsical look, add small flowers and leaves using the Lazy Daisy stitch:
- Insert the needle from the back of the bear and bring it out where you want the center of the flower to be.
- Insert the needle back into the same hole, but pull the yarn only halfway through to create a loop (the petal).
- Secure the petal by making a small stitch at the end of the loop.
- Return to the center and repeat the process for as many petals as you desire.
- Repeat this process to add multiple flowers and green leaves across the bear’s body.
“`