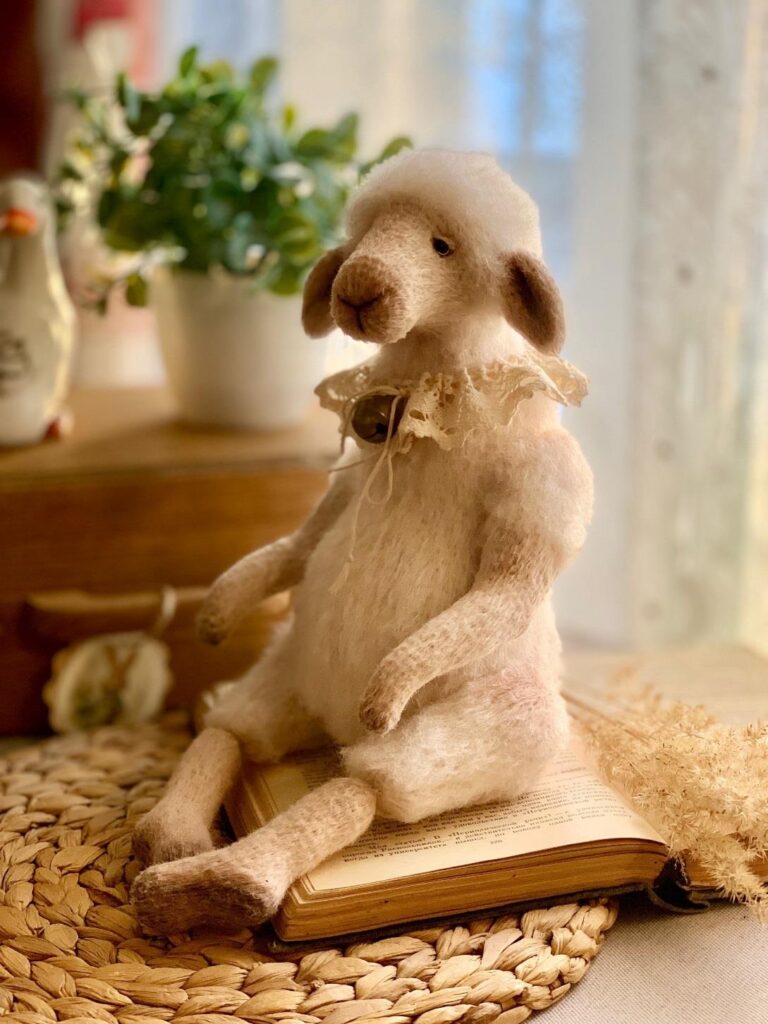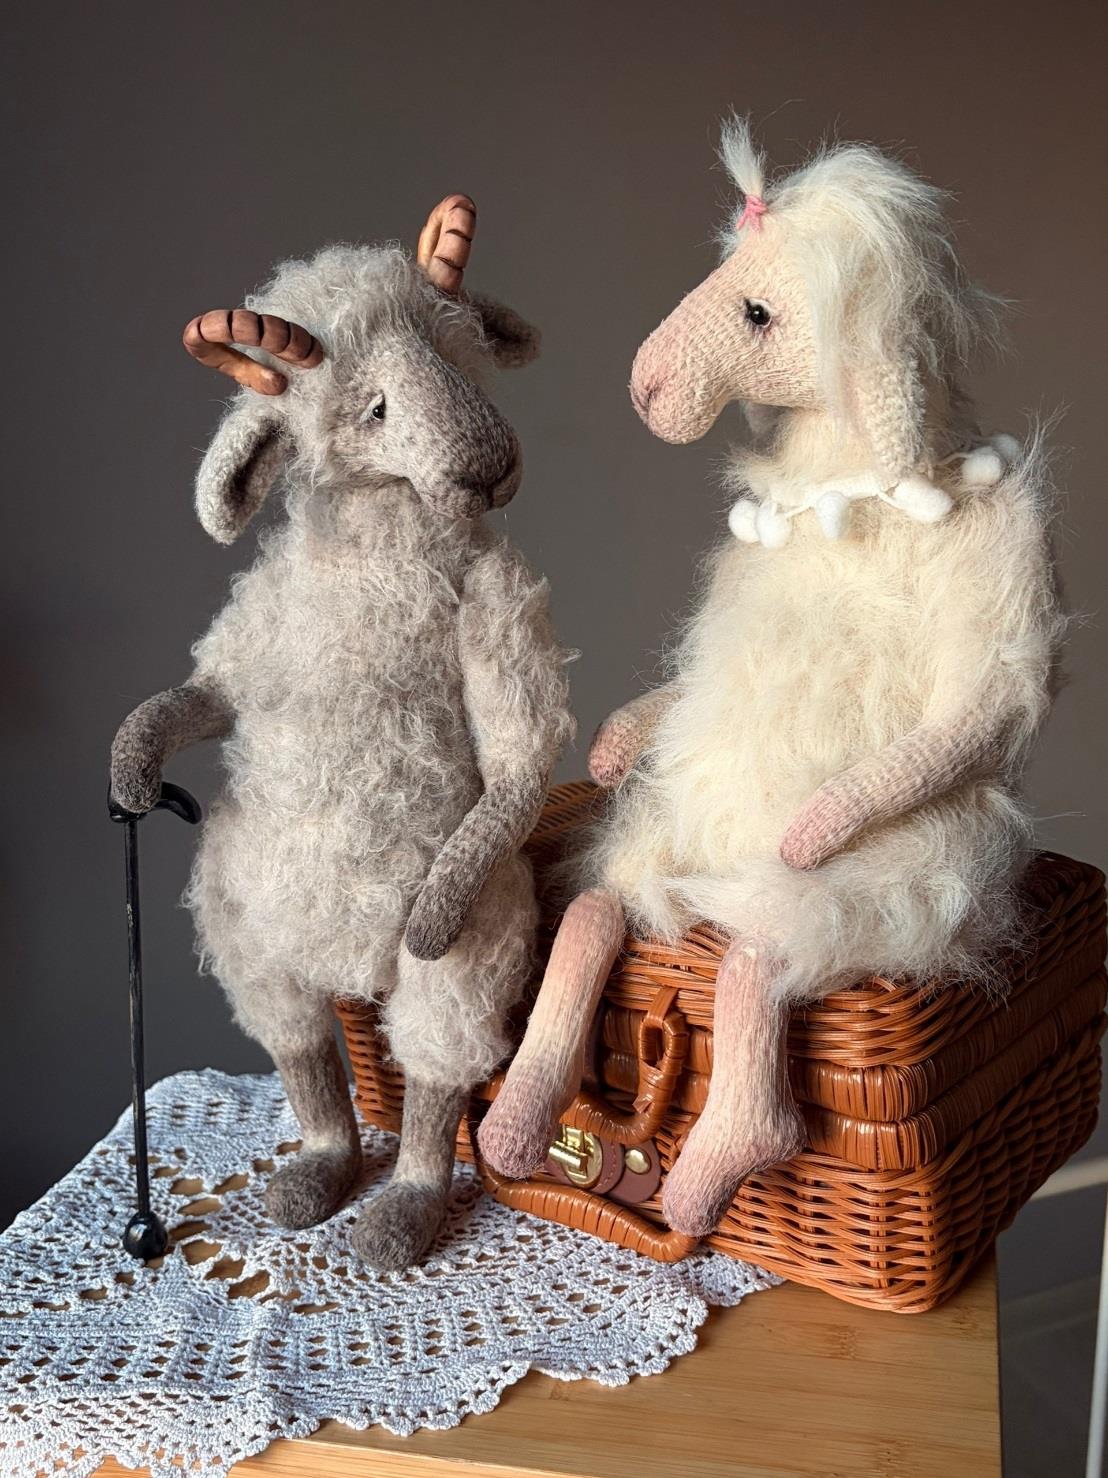
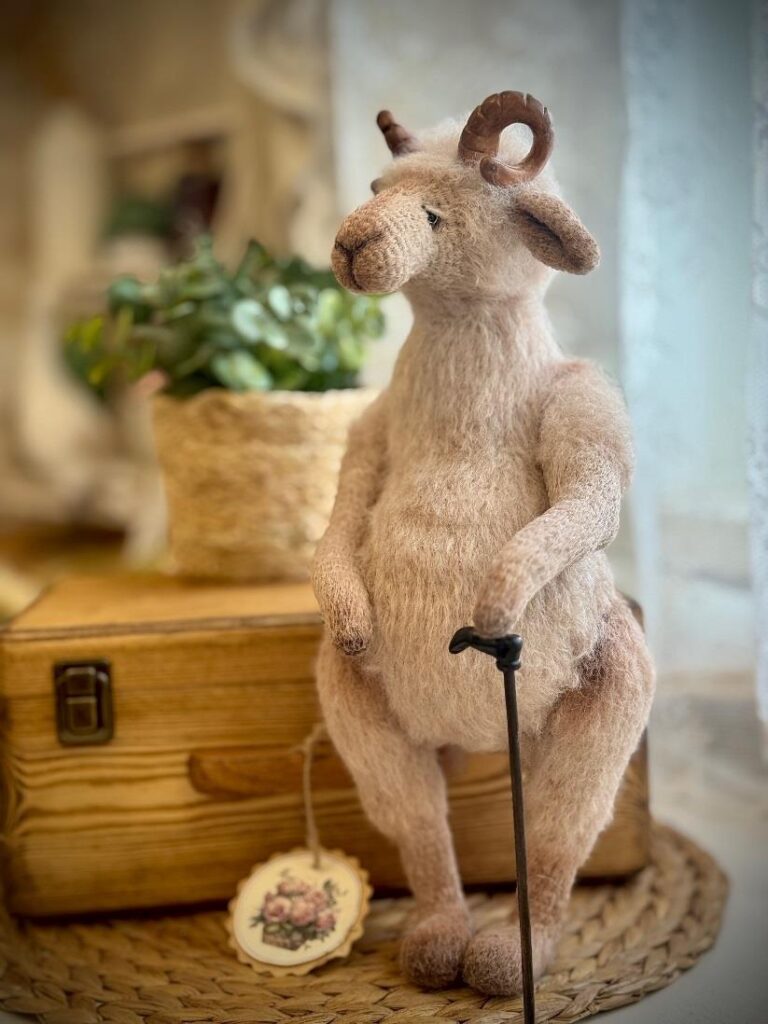
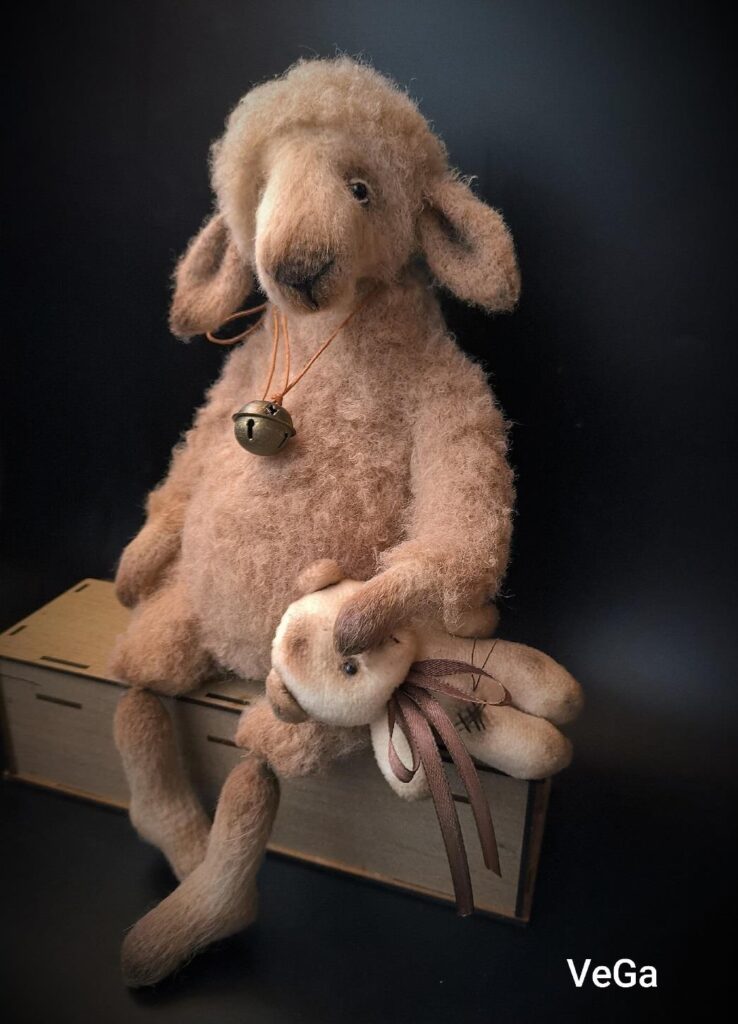
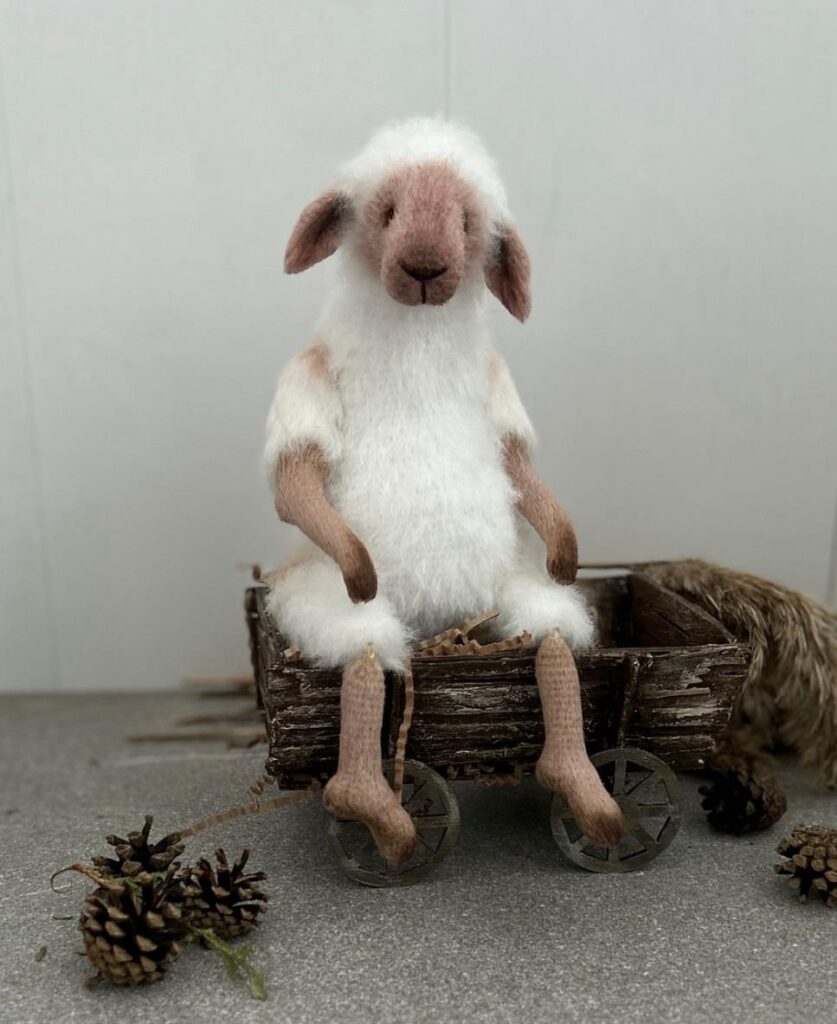
Hello there, fellow yarn lovers Are you ready to embark on a cozy, creative adventure? Today, I am absolutely thrilled to share a truly delightful project with you. We are diving into a beautiful masterclass by the talented Yulia Ogol to create the most charming, fuzzy little duo: a Sheep and a Ram
Just look at these two cuties. They have the most incredibly soft, brushed texture, sweet little faces, and they can actually sit and pose thanks to a clever wire and splint armature. Whether you are looking for a heartfelt handmade gift for a loved one, a whimsical addition to your seasonal decor, or simply a magical self-care project to sink your hook into, this pattern is an absolute joy.
Now, before we get started, I want to give you a big, warm hug of encouragement. If you have never worked with fluffy yarn or wire before, don’t worry! This masterclass breaks everything down into simple, bite-sized steps. We will be holding two strands of yarn together to get that perfect fuzzy look, and I’ll be right here to guide you through every single stitch.
In this blog post, we will go over the essential materials, the abbreviations you need to know, some fantastic beginner tips, and the detailed step-by-step instructions for creating these adorable poseable legs. So, grab your favorite hook, pour yourself a warm cup of tea, and let’s create something absolutely adorable together
The Masterclass Details
Author: Yulia Ogol
Finished Size: Approximately 33 cm (13 inches) for both the sheep and the ram.
Materials You Will Need
To make one toy, gather the following cozy supplies:
- Yarn (held in two strands):
- Angora REAL 40 Alize (100g / 480m): Color No. 67 (Milky Beige) — 80g.
- Sheep Fur yarn (100g / 350m): Milky white for the sheep (80g) or Light Beige for the ram (80g).
- Tools:
- Crochet hook size 2.0 mm (or Clover 1.75 mm).
- Long needle for sewing pieces together.
- Scissors and a comb/brush for fluffing the yarn.
- Velcro (hook-and-loop fastener) for brushing the yarn into a fluffy texture.
- Round-nose pliers (for twisting splints).
- Stuffing & Weighting:
- Hollowfiber stuffing.
- Metal granulate (1.4 – 2 mm) for the legs.
- Glass granulate (3 – 4 mm) for the body.
- Hardware & Joints:
- Glass eyes: 4 mm for the ram, 5 mm for the sheep.
- T-shaped splints: 2.5 x 25 mm (3 pieces for arms and head); 3.2 x 32 mm (2 pieces for legs).
- Discs: 45 mm (4 pieces for legs), 35 mm (6 pieces for arms and head).
- Beads: 10 mm diameter (4 pieces) for the sheep’s legs.
- Armature:
- Copper wire in insulation (1.5 mm, ~40 cm for arms).
- Copper wire in insulation (2 mm, ~80 cm for the ram’s legs).
- Electrical tape for wrapping wire.
- Strong cotton or waxed thread.
- Finishing Touches:
- White oven-bake polymer clay (for the ram’s horns).
- Artist pastels: Brown (PanPastel or MUNGYO dry pastel).
- Black gel pen (STABILO).
- Clear glue (Moment Crystal) and PVA glue.
Abbreviations (US Terms)
- KA / MR: Magic Ring (Amigurumi ring)
- ch: Chain
- sc: Single Crochet
- sl st: Slip Stitch
- inc: Increase (2 sc in one stitch)
- dec: Decrease (2 sc together)
- hdc: Half Double Crochet
- ( ) x N: Repeat instructions inside brackets N times
- (ps): Offset stitch (used to shift the start of the round)
Beginner-Friendly Tips Before You Start
Before we jump into the pattern, here are some golden rules to ensure your little sheep and ram turn out perfectly:
- Tension is Key: Make sure you crochet tightly! If your stitches are too loose, the stuffing will peek through.
- Spiral Crochet: This toy is worked in a continuous spiral. Use a stitch marker to track the beginning of each round.
- The Magic of the Offset Stitch: Because everyone crochets slightly differently, your stitch marker might drift. To fix this, simply add one or a few extra single crochets at the end of a round (called an offset stitch). This keeps your work symmetrical!
- Perfect Decreases: When decreasing, insert your hook through the front loops only. This helps prevent gaps from forming.
- Hold Two Strands: For the entire toy, you will hold one strand of Angora REAL 40 and one strand of Sheep Fur yarn together.
Step-by-Step Pattern: The Legs (Bolt Joints for the Sheep)
Note: The instructions below cover the lower and upper parts of the legs, including the beautiful wire and bead jointing technique!
Lower Leg (Make 2)
Yarn: Sheep Fur (Milky) + Angora REAL 40. Insert a 10mm bead while crocheting. Fill the foot with metal granulate (1.4 – 2mm) and pack it down tightly with a stick. Work in a spiral. Keep your marker strictly in the center back.
- R1: 6 sc in MR (6)
- R2: (inc) x 6 = 12 sts (Place marker)
- R3: 2 sc, 3 sc in 1 st, 6 sc, 3 sc in 1 st, 2 sc = 16 sts
- R4-5: sc in each st around (2 rows)
- R6: (4 sc, dec) x 2, 4 sc = 14 sts
- R7: sc in each st around (14)
- R8: 2 sc, dec, 6 sc, dec, 2 sc = 12 sts
- R9 (Partial row): 1 sc, ch 6, turn, work into the 2nd ch from hook. (Remove marker for this step)
- R10: 5 sc along the ch, 11 sc along the toe, skip the first ch of the chain, 4 sc along the ch = 20 sts. (Place new marker strictly in the center back of the paw)
- R11: inc, 4 sc, 1 sc in the corner, 13 sc, 3 sc in 1 st = 23 sts
- R12: 11 sc, dec, 10 sc = 22 sts
- R13: dec, 3 sc, dec, 8 sc, dec, 3 sc, dec = 18 sts
- R14: (2 sc, dec) x 4, 2 sc = 14 sts
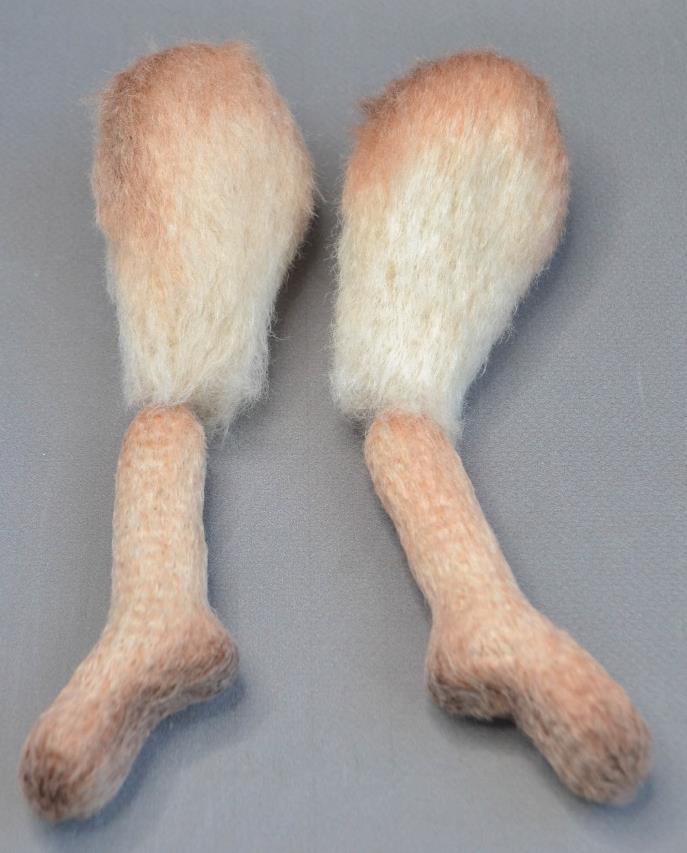
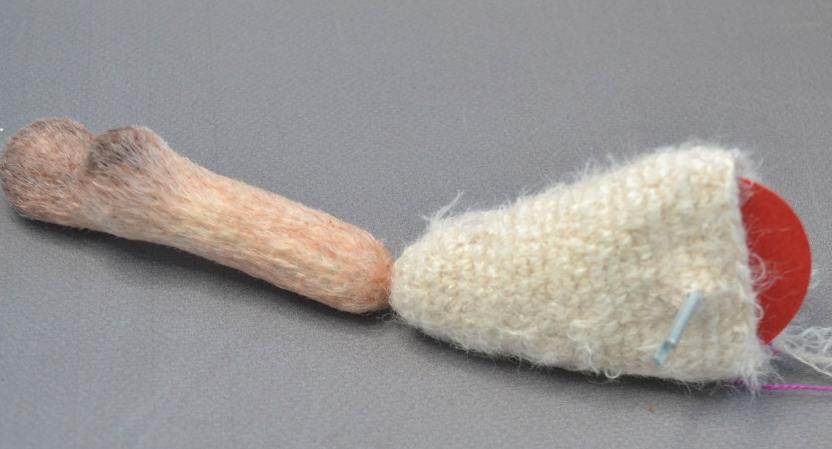
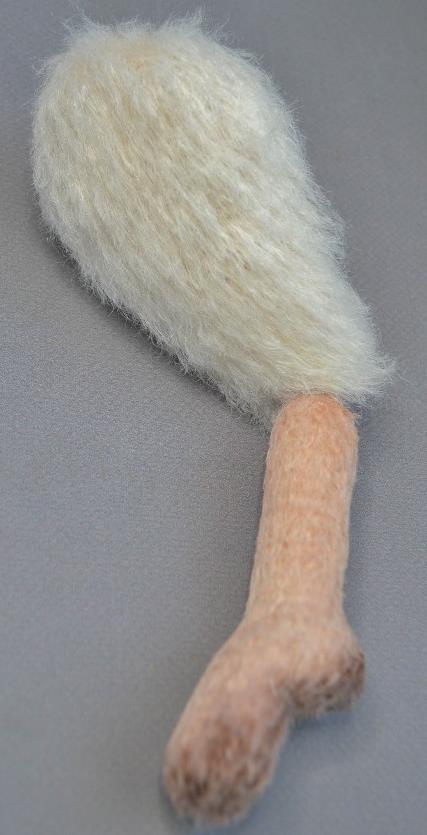
Shaping the Foot: Tightly fill the toe with the metal granulate, pressing it down firmly. Stuff the rest of the leg with Hollowfiber. The sole of the foot should be flat.
- R15: dec, 10 sc, dec = 12 sts
- R16-17: sc in each st around (2 rows)
- R18: 11 sc, inc = 13 sts
- R19-22: sc in each st around (4 rows)
- Stuff the calf tightly with Hollowfiber and shape the heel well.
- R23: 12 sc, inc = 14 sts
- R24-27: sc in each st around (4 rows)
- R28: (2 sc, dec) x 3, 2 sc = 11 sts
- Stuff the piece firmly.
- R29: (1 sc, dec) x 3, 2 sc = 8 sts
- R30: Dec until closed, or pull the opening shut with a needle and thread. Fasten off and hide the yarn inside.
Adding the Bead: Take a strong cotton or waxed thread (about 20 cm long). Thread it through a 10mm bead and tie several very tight knots. Insert the bead into the opening of the leg and bring the thread ends out through the fabric.
Brushing & Shaving: Take your Velcro and brush the leg thoroughly to fluff up the yarn. Use a comb to detangle. Trim the excess fluff on the foot and carve out the heel. Trim the whole leg, leaving the fur about 1mm long.
Tinting the Legs
Using your brown pastel and a flat brush, gently apply color to the toe and heel along the contour of the foot. Blend it out softly with a brush. You can also tint the area where the bead is attached, using a toothbrush to blend. If you add too much pastel, simply wipe it away with a damp cloth or micellar water!
Sealing the Fur
Pour a small amount of PVA glue into a flat dish. Dip a toothbrush into the glue and brush it thoroughly over the entire surface of the leg, working from top to bottom. Smooth the hairs down with your fingers. Let it dry completely or speed it up with a hairdryer.
Upper Leg (Make 2)
Yarn: Sheep Fur + Angora REAL 40. Insert a 10mm bead, a 45mm disc, and a 3.2 x 32mm splint during crocheting. Work in a spiral.
- R1: 6 sc in MR
- R2: (inc) x 6 = 12 sts (Marker)
- R3: (2 sc, inc) x 4 = 16 sts
- R4-5: sc in each st around (2 rows)
- R6: (3 sc, inc) x 4 = 20 sts
- R7-9: sc in each st around (3 rows)
- R10: (4 sc, inc) x 4 = 24 sts
- R11-12: sc in each st around (2 rows)
Joining the Upper and Lower Legs:
Take the two yarn tails from the lower leg and pull them through the Magic Ring of the upper leg. Thread the 10mm bead onto these tails and tie them very tightly in several knots, pulling the two pieces firmly together. For extra security, add a dab of Moment glue to the knot, then trim the ends.
You Did It
Take a moment to admire your work! You have just created the foundation for a beautifully poseable leg using splints and beads. This technique is what gives your sheep and ram their lifelike charm.
While the provided masterclass focuses on these detailed leg instructions and material preparation, this gives you the perfect foundation to continue your amigurumi journey. I hope you had as much fun making these fuzzy little limbs as I did writing this guide for you. Happy crocheting, and enjoy bringing your sweet little Sheep and Ram to life