Crochet Dice Pattern: A Fun and Easy DIY Tutorial for Gaming Accessories
Whether you are looking for a unique gift for a tabletop gamer, a soft sensory toy for a child, or a quirky addition to your own craft collection, these crochet dice are the perfect project. Not only are they adorable, but they are also a fantastic way for beginners to practice working in rows and assembling 3D shapes.
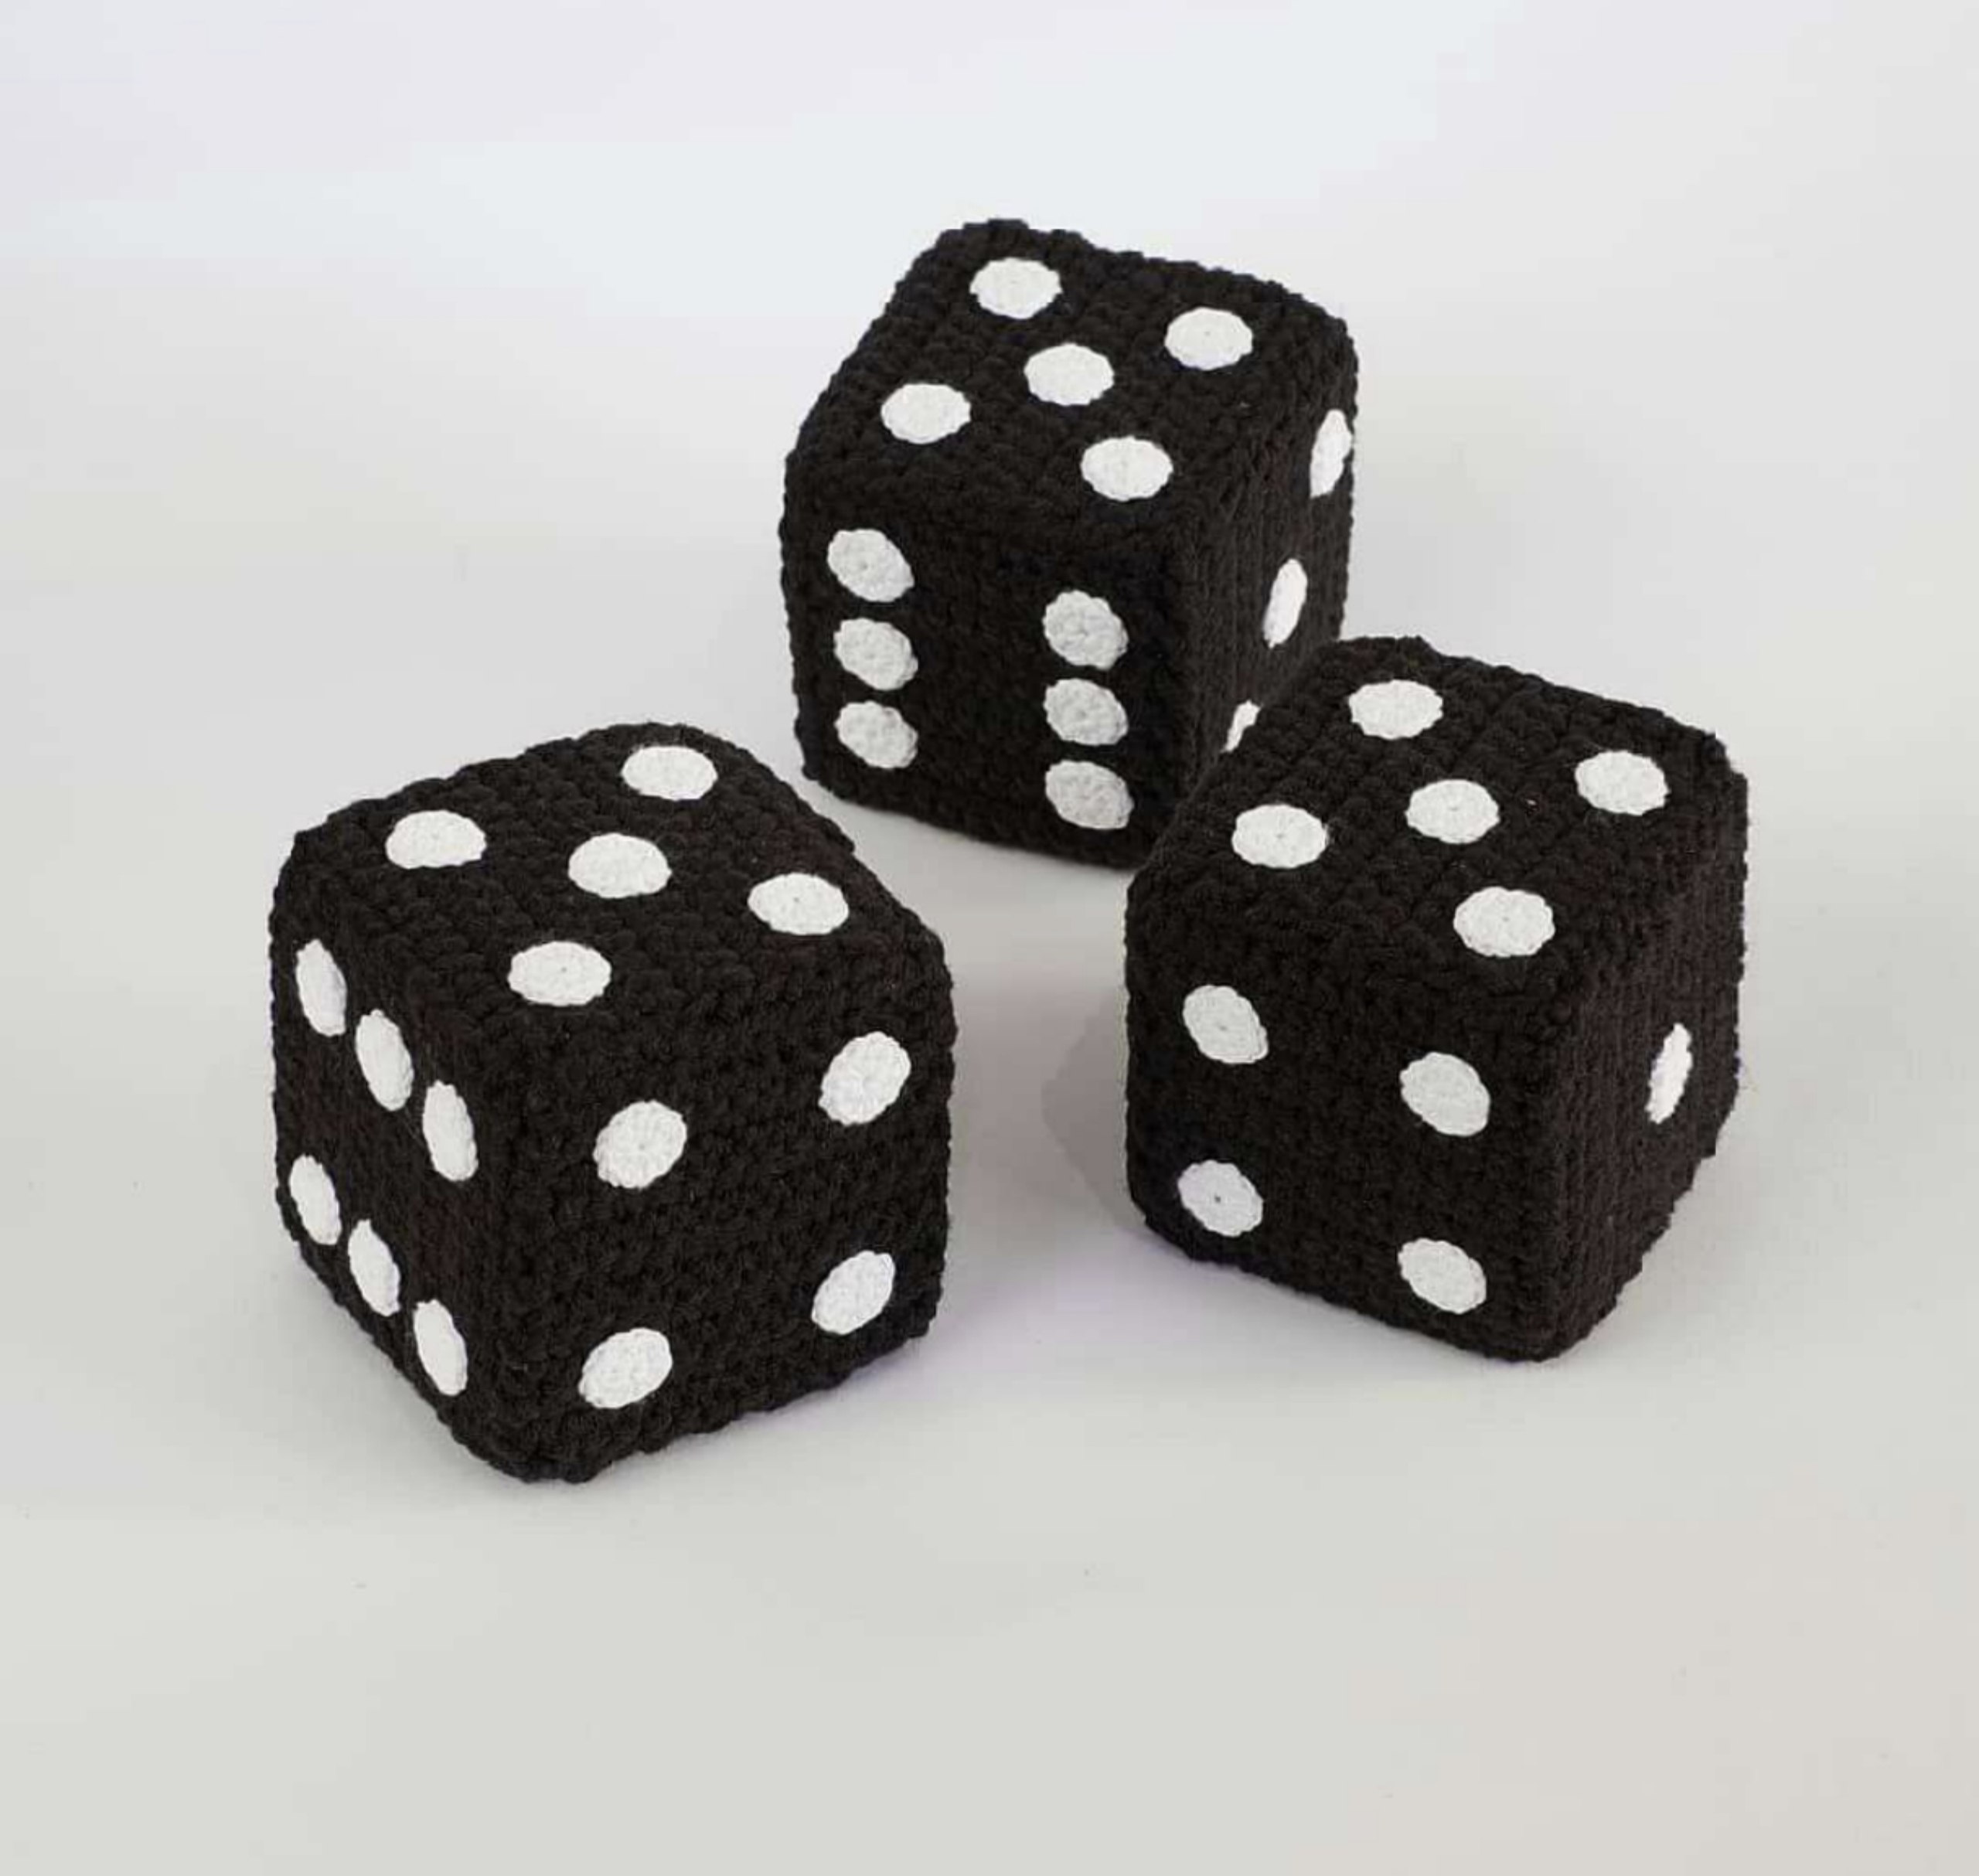
In this tutorial, we will walk you through two different versions of this pattern: a classic, firm version using a cotton-blend yarn and a super-soft, “squishy” version using plush chenille yarn. Each die measures approximately 3 inches per side, making them the perfect size for tactile play or decorative display.
Materials & Abbreviations
Depending on which style of dice you prefer, your material list will vary slightly. For the best results, we recommend choosing a high-quality yarn that holds its shape well.
Recommended Materials
- Yarn:
- For the Plush Version: Black chenille or velvet yarn (e.g., YarnArt Dolce) and white chenille yarn for the dots.
- For the Classic Version: Black cotton-blend yarn (e.g., YarnArt Jeans) and a thin white embroidery thread or crochet thread for the dots.
- Crochet Hooks:
- Plush version: 3.5mm (E) hook.
- Classic version: 2.0mm hook.
- For the white dots (if using thin thread): 1.0mm hook.
- Stuffing: High-quality polyester fiberfill (poly-fill).
- Tools: Yarn needle, sharp scissors, and fabric glue (optional).
US Crochet Abbreviations
- MR: Magic Ring
- ch: Chain
- sc: Single Crochet
- dc: Double Crochet
- sl st: Slip Stitch
- inc: Increase
- st: Stitch
Step-by-Step Instructions
To create one die, you will need to crochet six identical squares (the faces) and 21 small white circles (the dots). We recommend making all your dots and squares first before moving to the assembly phase.
Making the Dots
You will need 21 dots in total to cover all six sides of the die. The method depends on the yarn you are using for the main body.
Option A: For the Classic Cotton Die
Using your thin white thread and 1.0mm hook:
- Start with a MR.
- ch 3 (this counts as your first dc).
- Work 15 dc into the ring.
- Join with a sl st to the first dc. (Total: 16 stitches).
- Fasten off, leaving a long tail for sewing.
Option B: For the Plush Die
Using white chenille yarn and a 3.5mm hook:
- Start with a MR.
- Work 8 sc into the ring.
- Join with a sl st to the first sc. (Total: 8 stitches).
- Fasten off, leaving a long tail for sewing.
Creating the Dice Faces
You need to crochet six squares. These are worked in rows, meaning you will chain a base and then turn your work at the end of each row. Always start each row with a turning chain (ch 1).
Option A: The Classic Cotton Face
- Row 1: ch 17. Work 1 sc in the 2nd ch from the hook and 15 sc across the chain. (16 sts).
- Rows 2–16: ch 1, turn. Work 1 sc in each stitch across. (16 sts).
- Fasten off, leaving a long tail (about 10-12 inches) to help with sewing the sides together.
Option B: The Plush Face
- Row 1: ch 10. Work 1 sc in the 2nd ch from the hook and 8 sc across the chain. (9 sts).
- Rows 2–7: ch 1, turn. Work 1 sc in each stitch across. (9 sts).
- Fasten off, leaving a long tail for assembly.
Finishing & Assembly
This is the most important part! To make your crochet dice look professional and function like real dice, you need to place the dots correctly.
Step 1: Attaching the Dots
Before sewing the cube together, attach the white circles to the black squares using a needle and thread or a small amount of fabric glue. To follow standard dice rules, arrange the dots as follows:
- One square with 1 dot.
- One square with 2 dots.
- One square with 3 dots.
- One square with 4 dots.
- One square with 5 dots.
- One square with 6 dots.
Step 2: The Layout
Lay your squares out in a “cross” shape (four squares in a vertical line and two squares on the sides of the second square from the top). Crucial Tip: Ensure that the opposite faces of the die always add up to 7. For example, the 1-dot face must be opposite the 6-dot face, 2 opposite 5, and 3 opposite 4.
Step 3: Sewing and Stuffing
- Using a black yarn needle and a matching thread, sew the edges of the squares together. Use a “through-the-edge” stitch (a decorative whipstitch) on the right side of the fabric for a clean, visible seam.
- Sew five of the edges, leaving one square open.
- Firmly stuff the cube with polyester fiberfill. Make sure the stuffing reaches the corners to maintain a sharp cube shape.
- Sew the final edge closed and weave in your ends.
Pro Tips for Perfect Dice
If you want to take your crochet dice to the next level, try these helpful hints:
Achieving Sharper Edges
Crochet naturally tends to be rounded. If you prefer a die with very sharp, flat edges, you can cut squares of stiff cardboard or heavy-duty felt and glue them to the inside of each crochet face before sewing them together. Note: If you use cardboard, the die will no longer be machine-washable.
Invisible Seams
While the pattern suggests sewing through the edge, you can use a “mattress stitch” on the inside of the cube if you prefer the seams to be completely invisible from the outside.
Customizing Your Dice
Who says dice have to be black and white? Try using a bright neon color for the body and a contrasting metallic yarn for the dots to create a “galactic” gaming set!