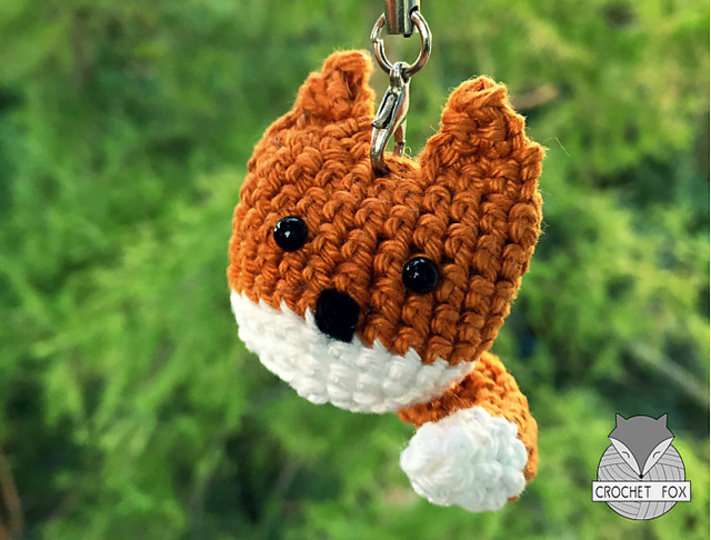
Foxy & Cute: Create Your Own Adorable Crochet Fox Keychain
Are you looking for a fun and adorable DIY project? This guide will walk you through crocheting a cute fox keychain that’s perfect for adding a touch of handmade charm to your everyday items. Whether you’re a seasoned crocheter or just starting out, this pattern is designed to be easy to follow, resulting in a delightful little fox
What You’ll Need
Gather your supplies before you begin. Here’s what you’ll need:
- 3 mm crochet hook
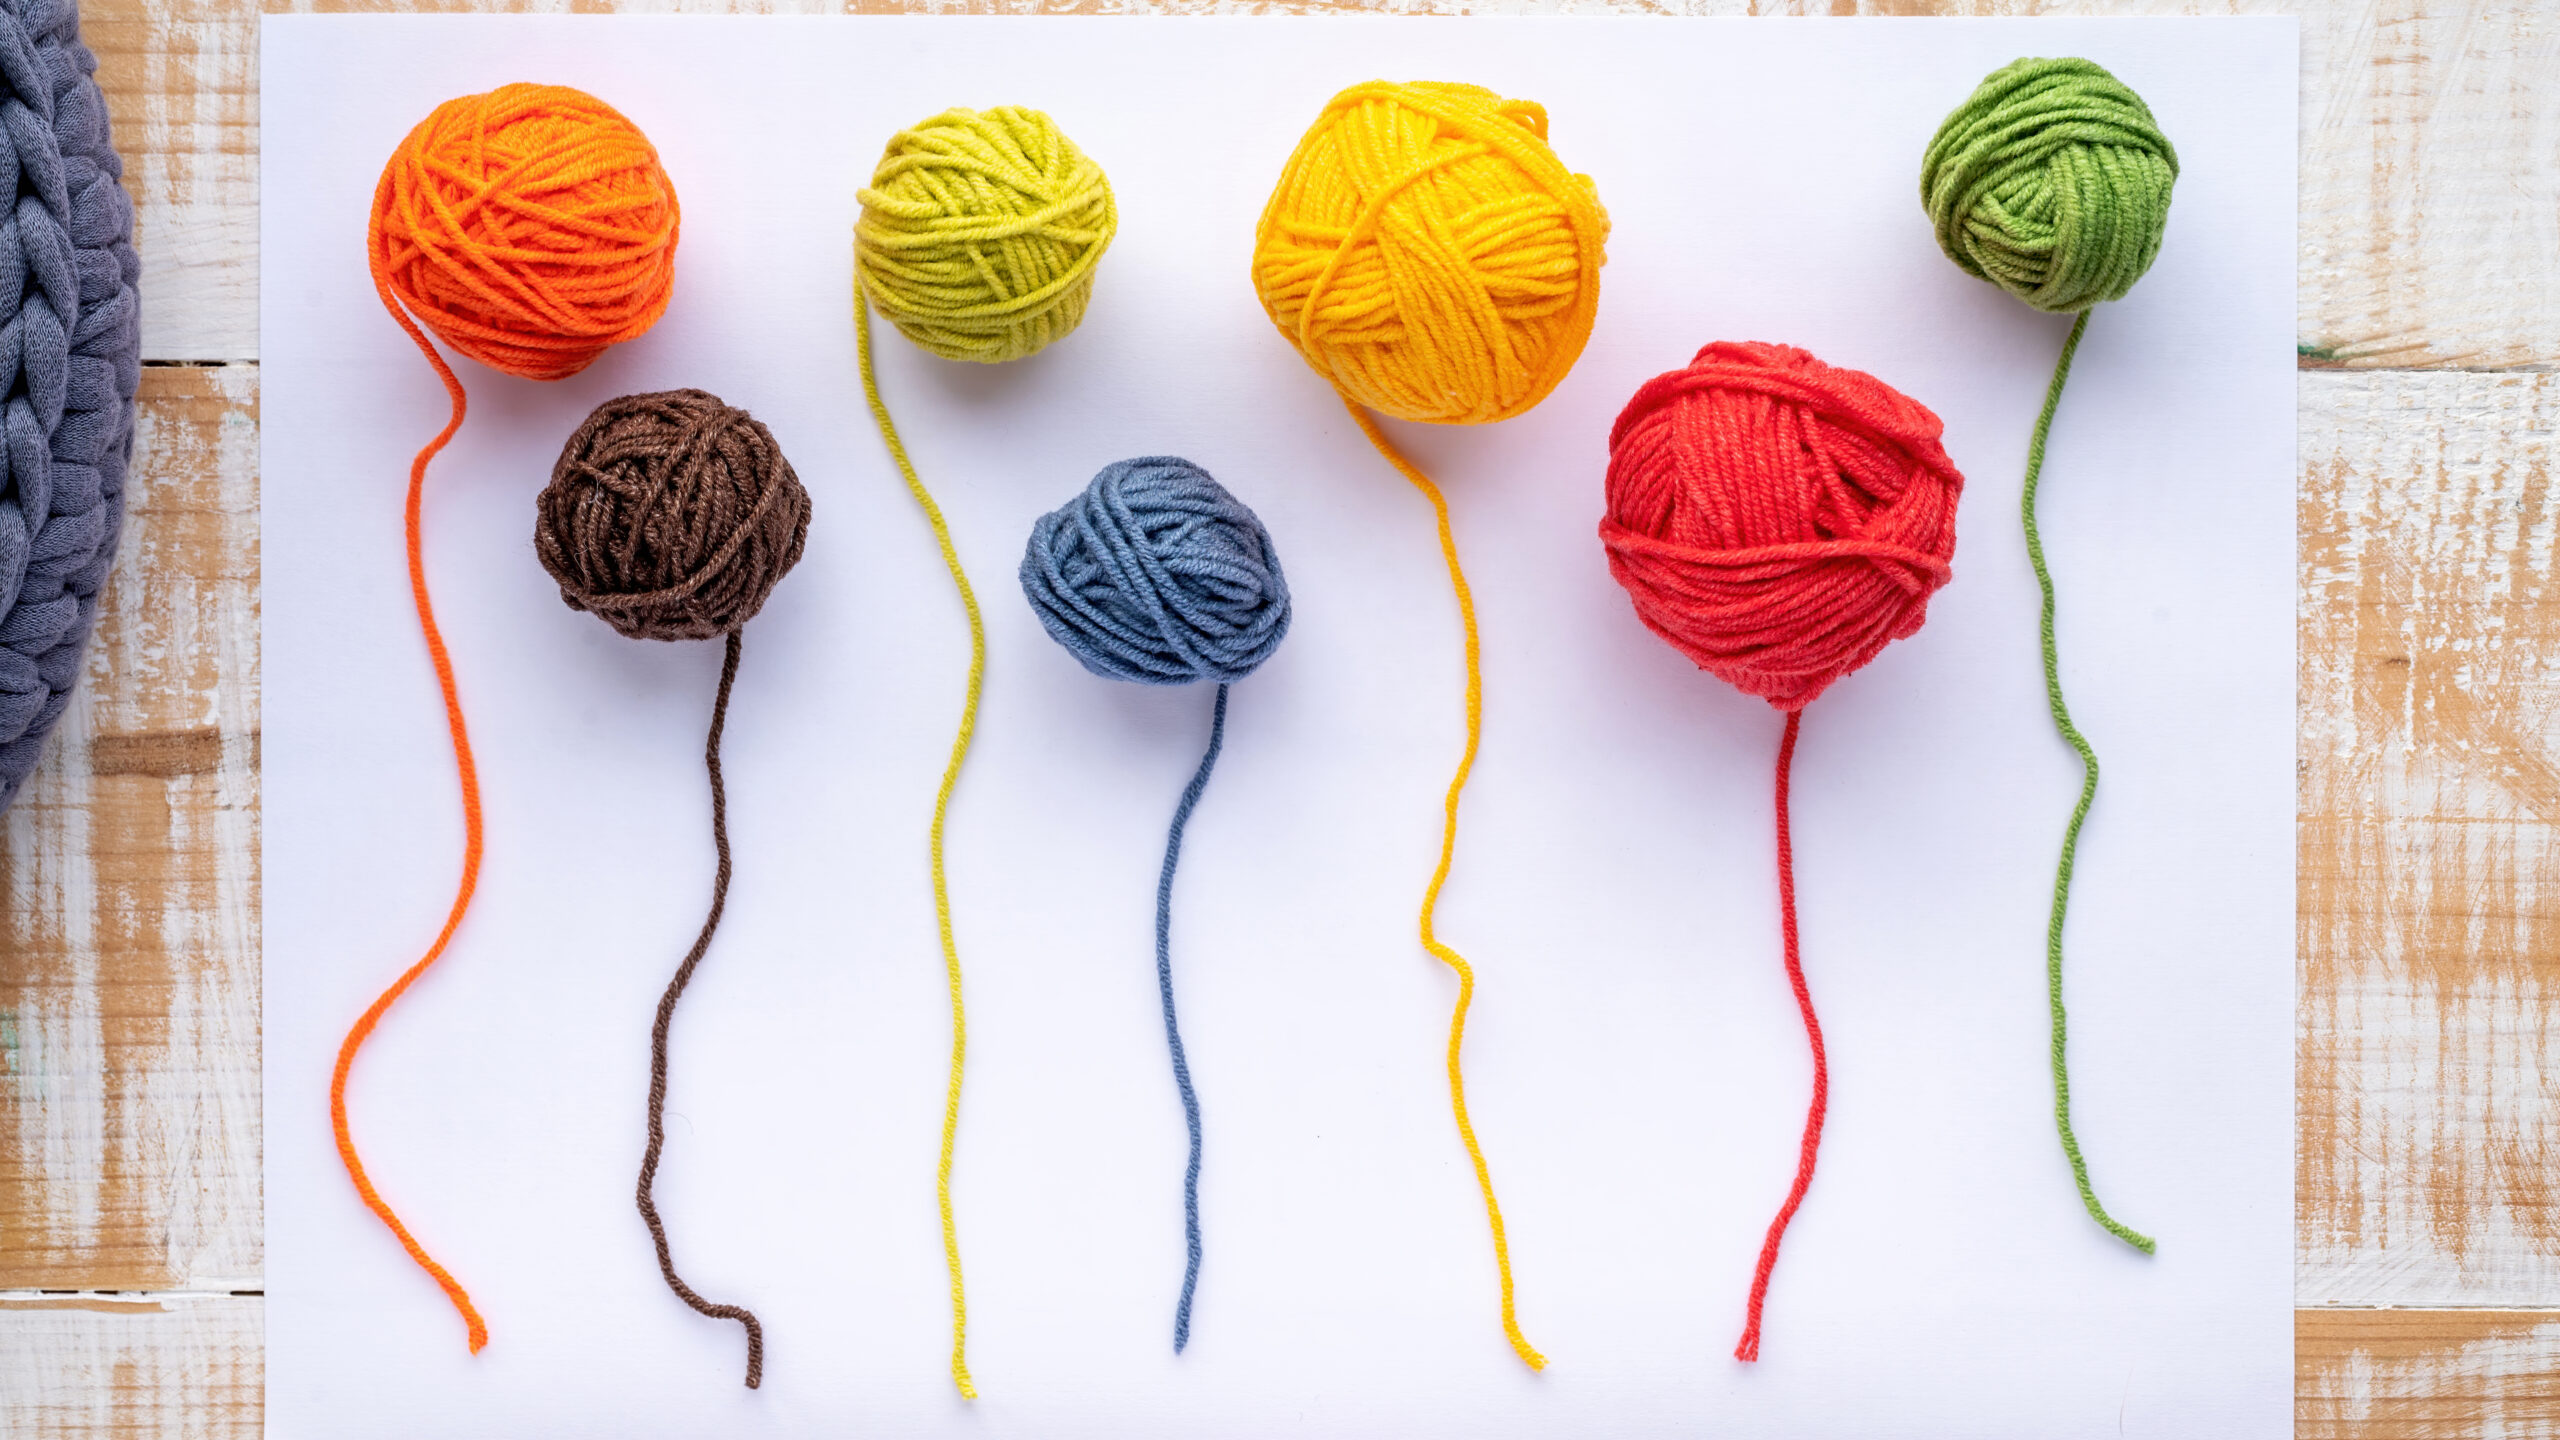
- Orange, brown, and white yarn
- Fiberfill stuffing
- Small plastic eyes (or black embroidery thread for eyes)
- Yarn needle
- Keychain ring
Crocheting the Fox Body
We’ll start by creating the main body of our fox using white yarn, then switch to orange-brown.
Starting with White Yarn:
- Round 1: Create a magic ring and work 6 single crochet (sc) stitches into it.
- Round 2: Work 2 sc stitches in each stitch around (12 stitches total).
- Round 3: Work 1 sc in the next stitch, then 2 sc in the next stitch. Repeat this sequence around (18 stitches total).
- Round 4: Work 1 sc in the next 2 stitches, then 2 sc in the next stitch. Repeat this sequence around (24 stitches total).
- Round 5: Work 1 sc in each stitch around (24 stitches total).
Switching to Orange-Brown Yarn:
- Change to your orange-brown yarn.
- Rounds 6-10: Work 1 sc in each stitch around (24 stitches total for each round).
Fasten off your yarn, leaving a long tail for sewing the opening closed later. Weave in any remaining ends.
Crafting the Fox Ears
Now, let’s make the adorable ears for your fox. You’ll need to make two of these.
- Row 1: Begin on the top outside of the hole (where the body was opened). Work 1 sc in the next 4 stitches. Turn your work.
- Row 2: Work 1 sc in the second stitch from your hook, then work 1 sc in the next 2 stitches. Turn your work.
- Row 3: Work 1 sc in the second stitch from your hook, then work 1 sc in the next stitch. Turn your work.
- Row 4: Work a decrease by crocheting 2 stitches together (sc2tog).
Fasten off, leaving a tail for sewing the ears onto the body. Make a second ear following these same steps.
Crocheting the Fox Tail
The tail adds a wonderful finishing touch to your fox.
Starting with White Yarn:
- Round 1: Create a magic ring and work 4 sc stitches into it.
Switching to Orange-Brown Yarn:
- Change to your orange-brown yarn.
- Rounds 2-3: Work 1 sc in the next stitch, then 2 sc in the next stitch. Repeat this sequence around (6 stitches total for each round).
- Rounds 4-9: Work 1 sc in each stitch around (6 stitches total for each round).
Fasten off, leaving a tail for sewing the tail onto the body. Gently stuff the tail with a small amount of fiberfill.
Assembling Your Fox Keychain
It’s time to bring all the pieces together!
- Attach the Eyes: Sew the plastic eyes onto the face of the fox body, positioning them where you’d like them. If you don’t have plastic eyes, you can embroider the eyes using black thread.
- Sew the Body Opening: Use the long tail you left on the body to stitch the opening closed securely.
- Attach the Ears: Position the crocheted ears onto the top of the fox’s head and use the yarn tails to sew them firmly in place.
- Attach the Tail: Sew the stuffed tail onto the back of the fox’s body.
- Add the Keychain Ring: Use your yarn needle and a bit of yarn (or directly sew through the top of the head) to attach the keychain ring securely to the fox’s head.
Congratulations
You’ve successfully crocheted your own adorable fox keychain! This project is a fantastic way to use up scrap yarn and create a unique accessory. Share your creations or gift them to friends and family