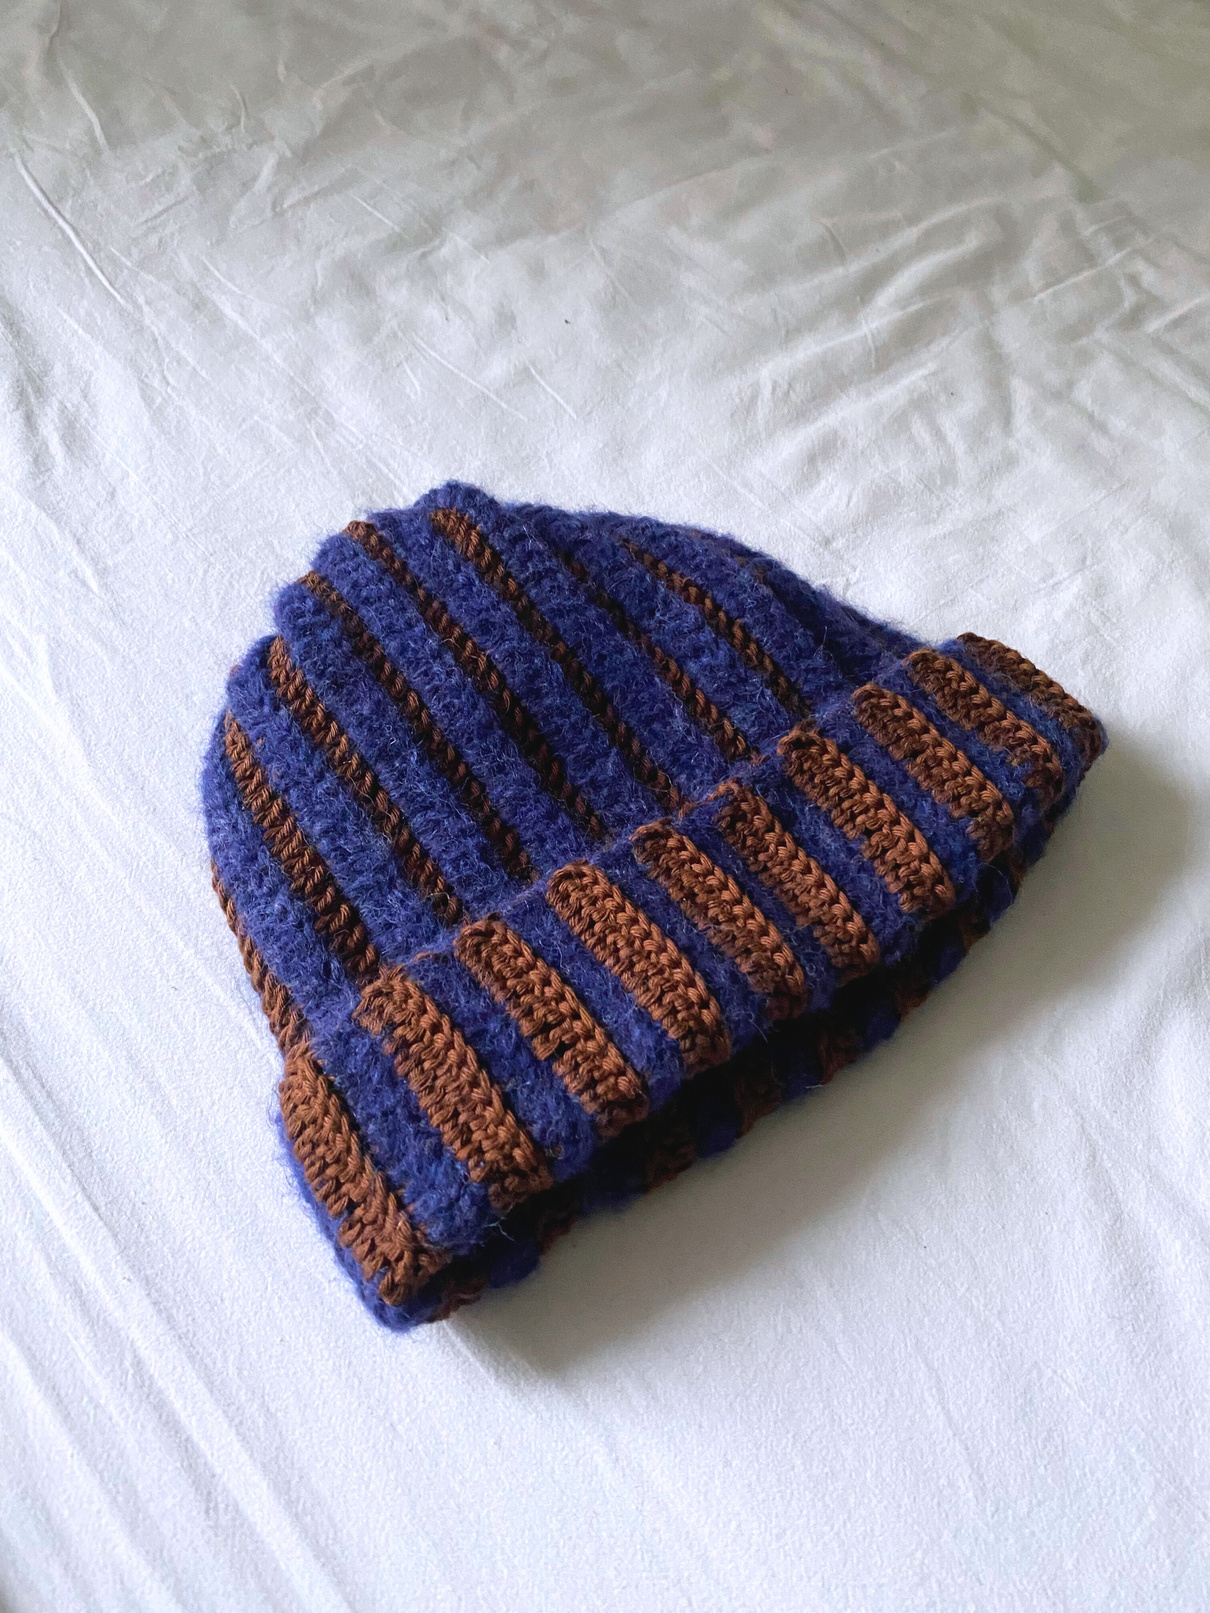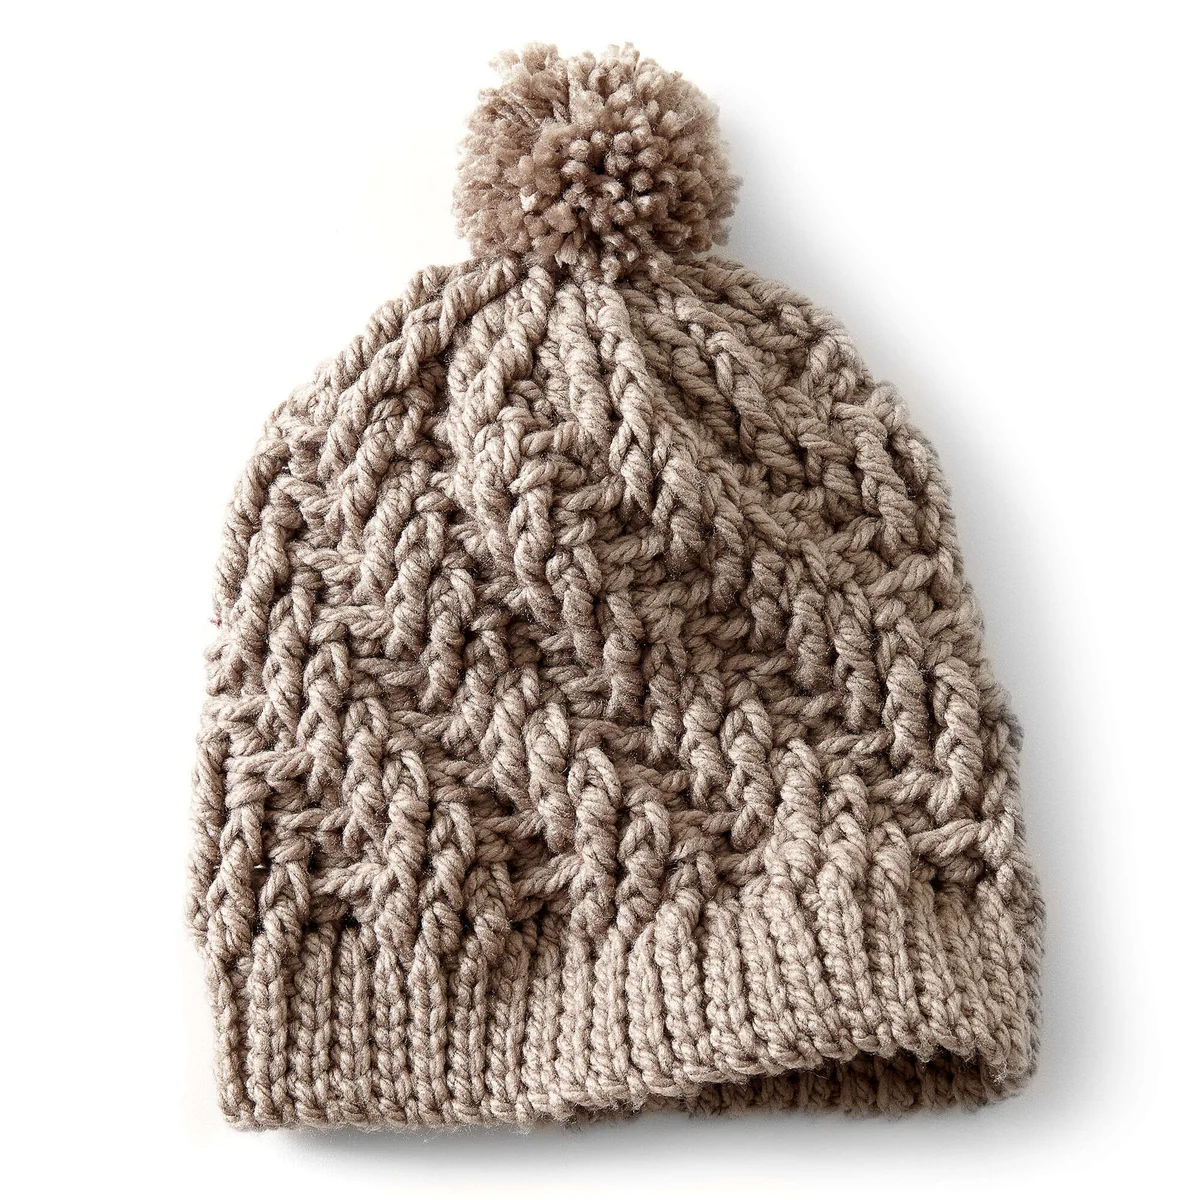
How to Crochet a Stepping Texture Hat: An Easy Chunky Beanie Pattern
There is nothing quite like the feeling of a chunky, handmade beanie to keep you warm during the chilly winter months. If you are looking for a project that combines a classic look with a modern, tactile feel, this Stepping Texture Hat is the perfect choice. This pattern uses a combination of front post and back post double crochets to create a thick, ribbed effect that looks professional but is surprisingly beginner-friendly.
The beauty of this hat lies in its structure. We start with a sideways-worked ribbed brim that provides a snug fit, then transition into a textured body that adds warmth and visual interest. Whether you are making this for yourself or as a cozy gift for a loved one, this tutorial will walk you through every stitch to ensure a perfect finish.
Materials & Abbreviations
Before you begin, gather your supplies. Using a chunky yarn is key here, as it allows the hat to work up quickly and provides that plush, cozy texture.
Supplies Needed
- Yarn: Approximately 2 balls of a chunky weight yarn (roughly 216 yards total). A soft acrylic or wool blend works best for this style.
- Crochet Hook: US L/11 (8 mm) crochet hook, or whatever size is necessary to achieve the gauge listed below.
- Notions: Yarn needle for weaving in ends and a pair of sharp scissors.
Gauge
To ensure the hat fits an average woman’s head, aim for a gauge of 7 single crochet (sc) and 8 rows = 4 inches.
Abbreviations (US Terms)
- Approx: Approximately
- Beg: Beginning
- Ch: Chain
- Dc: Double crochet
- Dcbp: Double crochet back post (Yarn over, insert hook from left to right around the post of the next stitch at the back of the work, yarn over and draw up a loop, then complete the dc twice)
- Dcfp: Double crochet front post (Yarn over, insert hook from right to left around the post of the next stitch at the front of the work, yarn over and draw up a loop, then complete the dc twice)
- Rem: Remaining
- Rep: Repeat
- Rnd(s): Round(s)
- RS: Right side
- Sc: Single crochet
- Sl st: Slip stitch
- St(s): Stitch(es)
- Tog: Together
- WS: Wrong side
- Yoh: Yarn over hook
Step-by-Step Instructions
The Ribbed Brim
Unlike many hats where the brim is worked in a circle, this brim is worked in rows sideways. This creates a professional-looking fold and a stretchier fit.
Row 1 (RS): Chain 7. Working in the back loops only (BLO), place 1 slip stitch in the 2nd chain from the hook. Place 1 slip stitch in each remaining chain across. Turn. (6 stitches)
Row 2: Working in the back loops only, place 1 slip stitch in each of the next 6 slip stitches. Turn.
Repeat Row 2 until the brim measures 21 inches from the beginning. Ensure you end on a wrong side (WS) row. Do not fasten off.
Joining the Seam
To turn the flat strip into a circular brim, we need to join the ends. Working in the back loops only, slip stitch the last row and the remaining loops of the foundation chain together. Do not fasten off. Turn your work to prepare for the main body of the hat.
The Textured Body
The body of the hat is worked in rounds. Important Note: The chain 3 at the beginning of each round does NOT count as a stitch.
Foundation and Initial Texture
Round 1: Chain 3. Work 40 double crochet (dc) evenly around the edge of the ribbing. Join with a slip stitch to the first dc. (40 dc)
Round 2: Chain 3. Repeat the following sequence 8 times: (1 dcfp around each of the next 3 stitches, 1 dcbp around each of the next 2 dc). Join with a slip stitch to the first dcfp.
Round 3: Chain 3. Repeat the following sequence 8 times: (1 dcbp around the next stitch, 1 dcfp around each of the next 3 stitches, 1 dcbp around the next stitch). Join with a slip stitch to the first dcbp.
Creating the Stepping Pattern
To get the “stepping” effect, we shift the post stitches slightly in each subsequent round.
Round 4: Chain 3. Repeat the following sequence 8 times: (1 dcbp around each of the next 2 stitches, 1 dcfp around each of the next 3 stitches). Join with a slip stitch to the first dcbp.
Round 5: Chain 3. Repeat the following sequence 8 times: (1 dcfp around the next stitch, 1 dcbp around each of the next 2 stitches, 1 dcfp around each of the next 2 stitches). Join with a slip stitch to the first dcfp.
Round 6: Chain 3. Repeat the following sequence 8 times: (1 dcfp around each of the next 2 stitches, 1 dcbp around each of the next 2 stitches, 1 dcfp around the next stitch). Join with a slip stitch to the first dcfp.
Now, repeat Rounds 2 through 6 until the entire hat measures approximately 8 inches from the beginning of the body, ending on a Round 6.
Shaping the Crown
To close the top of the hat, we will implement a series of decreases by skipping stitches.
Round 1: Chain 3. Repeat the following sequence 8 times: (1 dcfp around each of the next 3 stitches, skip the next stitch, 1 dcbp around the next stitch). Join with a slip stitch to the first dcfp. (32 stitches)
Round 2: Chain 3. Repeat the following sequence 8 times: (1 dcfp around each of the next 3 stitches, skip the next stitch). Join with a slip stitch to the first dcfp. (24 stitches)
Round 3: Chain 3. Repeat the following sequence 8 times: (1 dcfp around each of the next 2 stitches, skip the next stitch). Join with a slip stitch to the first dcfp. (16 stitches)
Finishing
Once you have completed the final round of the crown, fasten off your yarn, leaving a long tail for sewing. Use your yarn needle to draw the tail tightly through the remaining stitches to close the hole at the top. Fasten securely with a knot and weave in all remaining ends.
Adding the Pompom
A chunky beanie isn’t complete without a fluffy pompom! To make one:
- Wind your yarn around four fingers approximately 100 times.
- Slide the yarn off your fingers and tie a separate piece of yarn tightly around the middle.
- Leave a long tail at the tie-point for attaching the pompom to the hat.
- Cut the loops at both ends of the pompom.
- Trim the edges into a smooth, round sphere.
- Sew the pompom securely to the top center of the hat.
Tips for Success
Mastering Post Stitches
If you are new to front post (dcfp) and back post (dcbp) stitches, remember that you are not inserting your hook into the top “V” of the stitch. Instead, you are inserting the hook around the vertical “post” of the stitch from the row below. This is what creates the raised, ribbed texture.
Working in Back Loops Only (BLO)
When working the ribbing, make sure you only insert your hook into the loop furthest away from you. This leaves the front loop unworked, which creates the stretchy, ribbed appearance typical of knitted beanies.
Adjusting the Fit
If you find the hat is slightly too large or small, you can adjust the length of the ribbed brim. Adding or subtracting a few rows to the brim will change how high the hat sits on the head or how much it folds over.