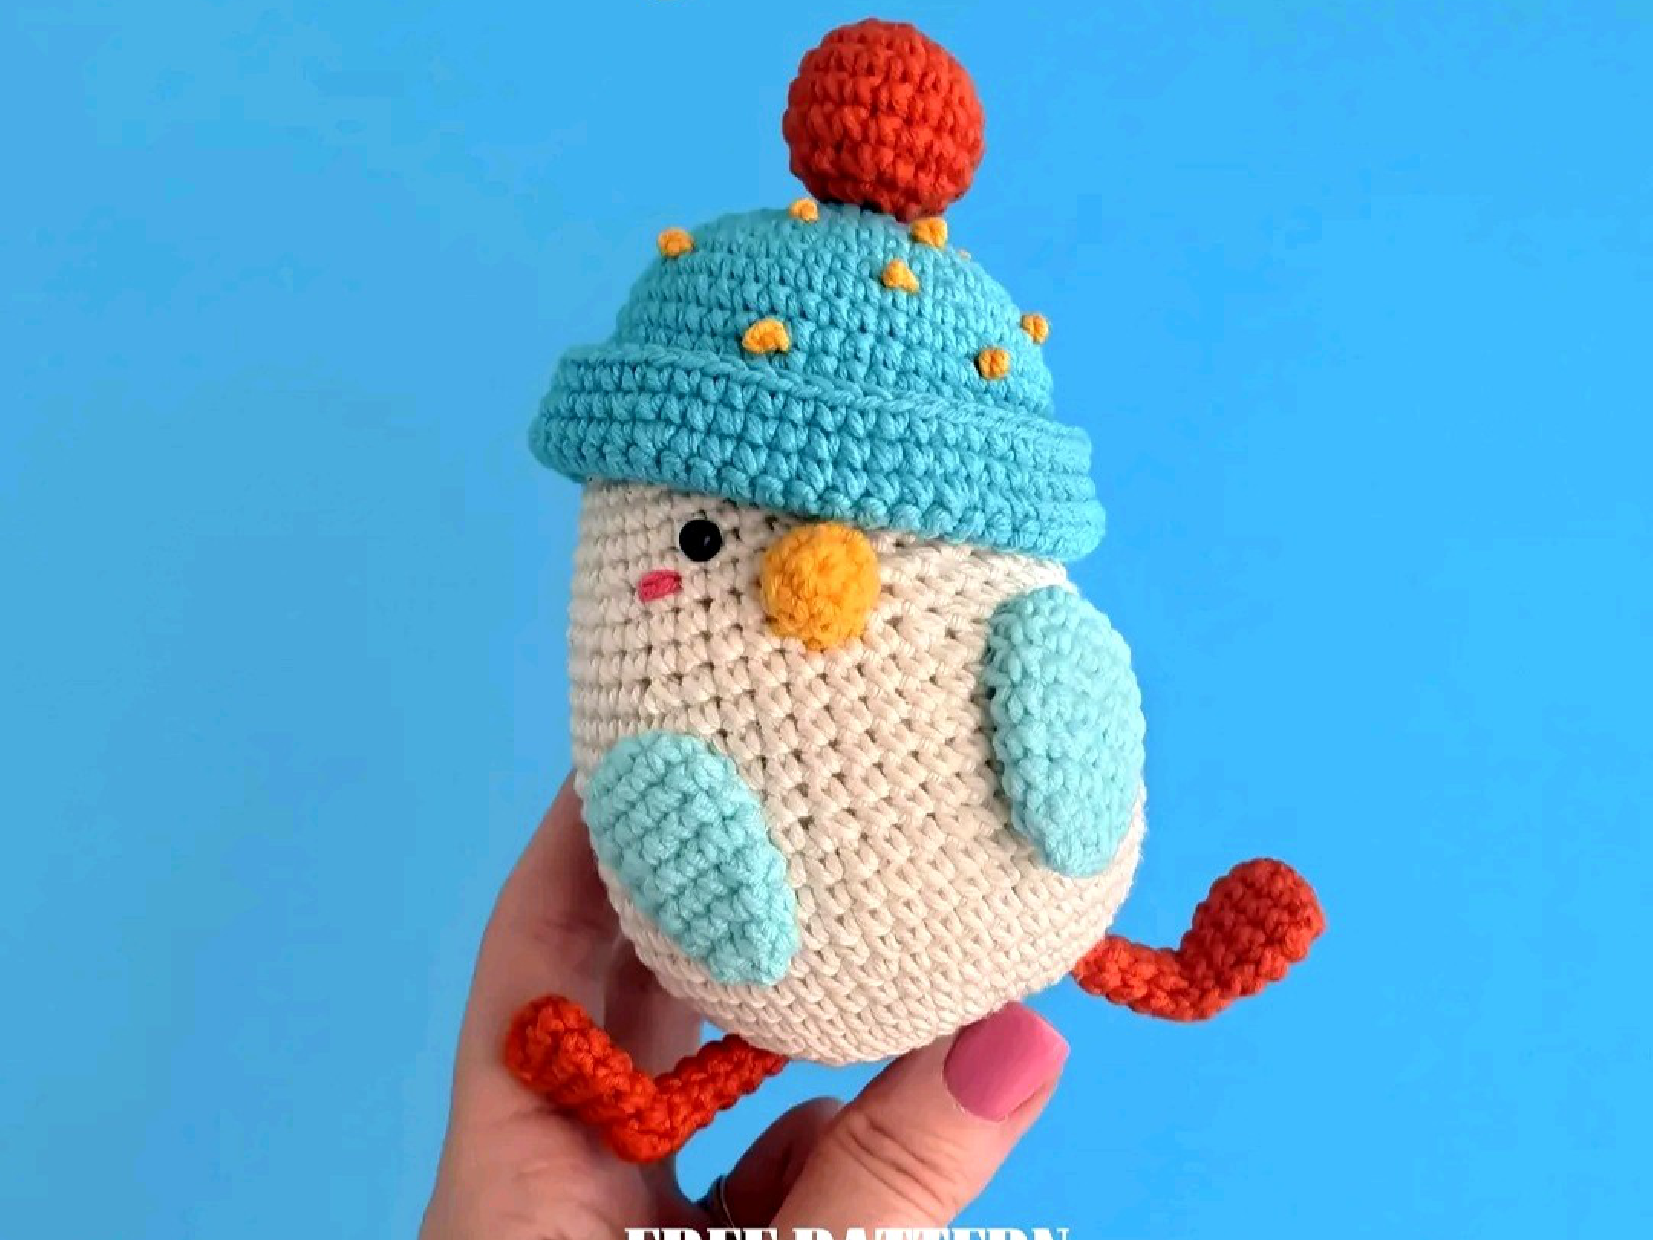
Crochet a Cozy Amigurumi Pryanik: A Sweet Free Pattern!
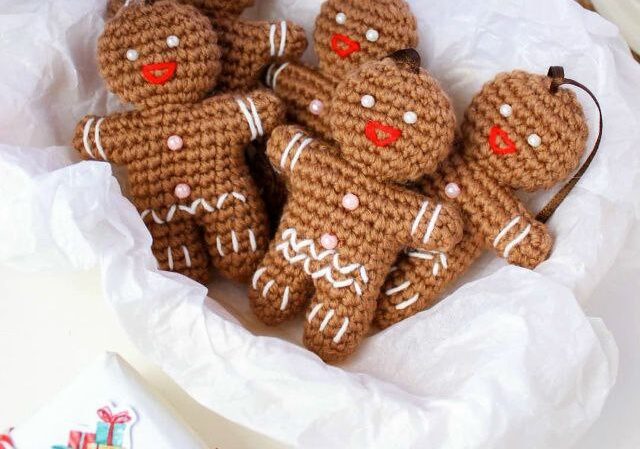
Hello, lovely crocheters! Are you ready to fill your world with a little more sweetness? Today, we’re diving into a project that’s as delightful to make as it is to display: a charming amigurumi пряник (that’s “pryanik”—a traditional Russian honey-spice cookie!).
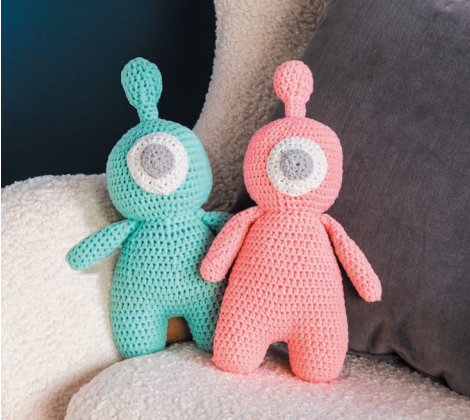
This little gingerbread fellow is just bursting with cozy, handmade charm. He’s worked as one continuous piece from the toes up, which means minimal sewing and maximum crocheting joy. He’s the perfect pocket-sized project for an afternoon of crafting, a wonderful gift for a friend, or a festive decoration for the holiday season.
Whether you’re new to the wonderful world of amigurumi or a seasoned pro looking for a quick and satisfying make, this pattern is for you. We’ll walk through every step together, with clear, simple instructions. So, grab your favorite hook and some soft, brown yarn, and let’s create some magic!
Let’s Get Started: Materials & Tools
Before we begin, let’s gather our supplies. You won’t need much for this little guy!
- Yarn: A worsted weight (Category 4) yarn in brown or a gingerbread color. A small amount of contrasting color may be used for the embroidered details.
- Crochet Hook: A hook size appropriate for your yarn (e.g., a 3.5mm or 4mm hook).
- Scissors: For trimming your yarn.
- Tapestry Needle: For weaving in ends and embroidering the face/design.
- Fiberfill Stuffing: To give your pryanik a soft, huggable shape.
- Safety Eyes (Optional): Two small eyes. Alternatively, you can embroider them for a completely baby-safe toy.
- Beads, Felt, or Embroidery Floss: For adding the cute details like a mouth and the classic pryanik icing pattern.
- Beading Pin or Keychain Clasp (Optional): If you’d like to turn your creation into a cute bag charm!
Pattern Abbreviations
Here’s a quick guide to the crochet terms used in this pattern. They are all standard US terms.
- ch = chain
- sc = single crochet
- st = stitch
- inc = increase (2 sc in the same stitch)
- dec = decrease (sc 2 stitches together)
- sl st = slip stitch
- MR = Magic Ring
The Pryanik Amigurumi Pattern
Part 1: Let’s Make the Legs!
We begin our pryanik by making his two cute little legs. The first leg is made and fastened off, while the second one will be joined to the body without cutting the yarn.
Leg 1:
- Start with a Magic Ring, make 6 single crochet into the ring. (6)
- Make an increase in each stitch around. (12)
-
-
- Rounds 3 through 6: Single crochet in each stitch around. (12 stitches per round)
- After Round 6, fasten off and cut the yarn, leaving a tail to weave in later.
-
Leg 2:
- Make the second leg exactly like the first one, following steps 1-6.
- Do not fasten off after Round 6. You will use this working yarn to connect the legs in the next step.
Part 2: Connecting the Legs & Forming the Body
Now, we’ll join the two legs to form the base of the body. This is where our pryanik really starts to take shape!
- With the yarn still attached from Leg 2, make 1 slip stitch into the first stitch of Leg 1 to connect them.
- Now, single crochet in each of the next 10 stitches around Leg 1.
- Then, single crochet in each of the 12 stitches around Leg 2. (22)
-
- Rounds 8 through 11: Single crochet in each stitch around. (22 stitches per round)
Part 3: Creating the Adorable Arms
In this round, we will create the arms by using chain loops. The pattern suggests a “shift stitch” at the start to help keep the toy straight, but this can depend on your personal tension. Don’t worry, the total stitch count is what matters most!
- Chain 3 for Arms:
* Make 5 sc.
* Chain 3 (this forms the first arm).
* Work 3 sc back along the chain you just made.
* Make 10 sc.
* Chain 3 (this forms the second arm).
* Work 3 sc back along this second chain.
* Make 5 sc. (32) - Shaping the Body:
* (7 sc, 1 inc) twice, 14 sc, (1 inc, 7 sc) twice. (36) - Even Round & Stuffing:
* Sc in each stitch around. (36)
* This is a great time to stuff the body of your pryanik! Make sure it’s firm but still squishy. - Decreasing for the Neck:
* (7 sc, 1 dec) twice, 14 sc, (1 dec, 7 sc) twice. (32)
Part 4: Crafting the Head
We’re on the home stretch! Now we’ll work the head, which gives our pryanik its character.
- Forming the Neck:
* The pattern suggests making another “shift stitch” forward.
* Then: 2 sc, skip the next 12 stitches, 4 sc, skip the next 12 stitches, 2 sc. (8) - Increasing for the Head:
* Make an increase in each stitch around. (16) - More Increases:
* (1 sc, 1 inc) repeat around. (24)-
- Rounds 19 through 22: Sc in each stitch around. (24)
-
- Decreasing the Top of the Head:
* (1 sc, 1 dec) repeat around. (16)
* Now, firmly stuff the head before you close the opening. - Closing the Head:
* Make a decrease in each stitch around. (8)
* Fasten off, leaving a long tail. Use your tapestry needle to weave the tail through the front loops of the remaining 8 stitches. Pull tight to close the hole securely and weave in the end.
Part 5: The Final Flourishes – Assembly & Embellishment
The crocheting is done! Now for the really fun part—giving your pryanik its personality.
- Stuff the Arms: Use the end of your hook or a pair of tweezers to gently push a small amount of stuffing into each of the little arms.
- Sew the Holes: Use your tapestry needle and yarn tails to neatly close up any small holes at the underarms and where the legs were joined.
- Embroider the Design: Using a contrasting color of yarn or embroidery floss, stitch a simple, cute design on the front of your pryanik—just like the icing on a real gingerbread cookie! A simple squiggle, hearts, or dots look adorable.
- Create a Face: You can either sew on two small black beads for eyes or, for a safer option, embroider them with black yarn. Add a sweet little smiling mouth underneath.
- Add a Charm (Optional): If you’re making a keychain, now is the time to attach the clasp to the top of the head.