Amigurumi Mushroom Pattern
Materials
- Yarn: YarnArt Jeans (50g / 160m) in the following colors:
- #01 (White)
- #07 (Beige)
- #70 (Brown)
- Crochet hook: 2.0 mm
- Safety eyes: 8 mm
- Stuffing: Polyester fiberfill (holofiber)
- Tapestry needle for sewing
- Scissors
Abbreviations
- MR: Magic ring
- ch: Chain
- sc: Single crochet
- inc: Increase (2 sc in the same stitch)
- dec: Decrease (crochet 2 sc together)
- sl st: Slip stitch
- (…): The number in parentheses at the end of a round indicates the total stitch count.
- (…) x N: Repeat the instructions in parentheses N times.
Finished Size
The finished mushroom toy will be approximately 10 cm (3.9 inches) tall when made with the recommended yarn and hook size.
Crochet Mushroom Pattern Instructions
This pattern is worked in continuous rounds. We recommend using a stitch marker to mark the beginning of each round to keep track of your stitches.
Mushroom Cap
Use brown yarn.
Round 1: Start with 6 sc in a MR (6)
Round 2: 6 inc (12)
Round 3: (1 sc, inc) x 6 (18)
Round 4: (2 sc, inc) x 6 (24)
Round 5: (3 sc, inc) x 6 (30)
Round 6: (4 sc, inc) x 6 (36)
Round 7: (5 sc, inc) x 6 (42)
Rounds 8-11: sc in each stitch around (42) – 4 rounds total
Round 12: (5 sc, dec) x 6 (36)
Round 13: (4 sc, dec) x 6 (30)
Round 14: (3 sc, dec) x 6 (24)
Round 15: (2 sc, dec) x 6 (18)
Fasten off, leaving a long tail for sewing. Weave in the starting yarn end.
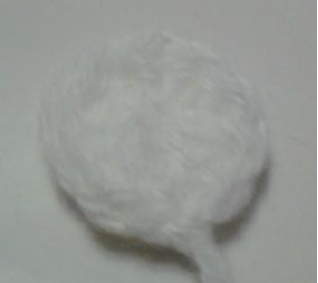
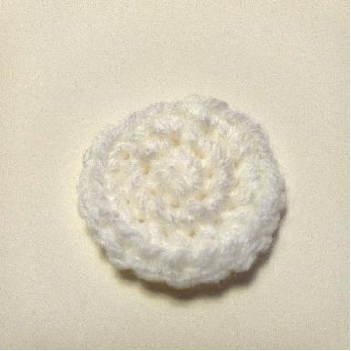
Dots (Make 5)
Use white yarn.
Round 1: 6 sc in MR (6)
Fasten off, leaving a tail for sewing. Create a total of 5 identical dots.
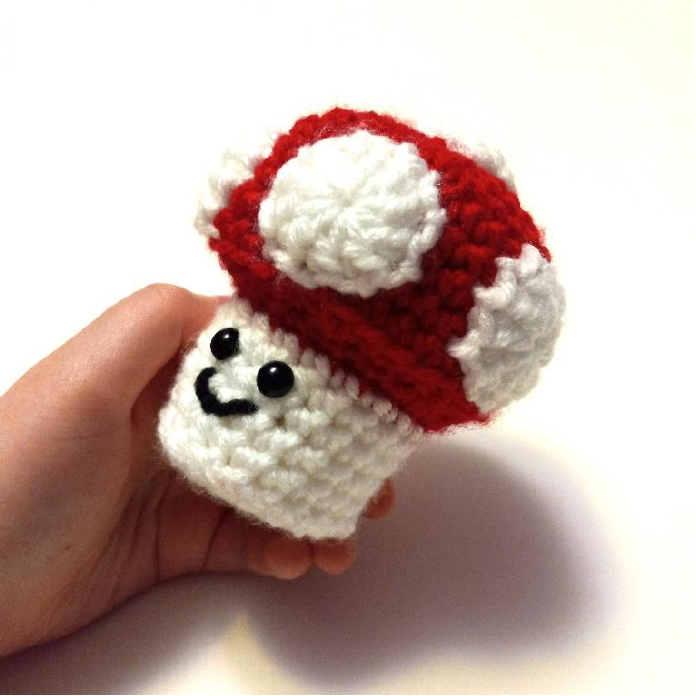
Mushroom Leg
Start with beige yarn.
Round 1: Start with 6 sc in a MR (6)
Round 2: 6 inc (12)
Round 3: (1 sc, inc) x 6 (18)
Round 4: (2 sc, inc) x 6 (24)
Rounds 5-6: sc in each stitch around (24) – 2 rounds total
Round 7: (2 sc, dec) x 6 (18)
Rounds 8-16: sc in each stitch around (18) – 9 rounds total
Begin to stuff the leg firmly with fiberfill as you work.
Round 17: (1 sc, dec) x 6 (12)
Round 18: 6 dec (6)
Fasten off and use the yarn tail to weave through the final 6 stitches and pull tight to close the hole. Weave in the end securely.
Assembly and Finishing Touches
Follow these steps to bring your crochet mushroom to life.
Step 1: Attach the Dots to the Cap
Arrange the 5 white dots on top of the brown mushroom cap in a pleasing pattern. Use the yarn tails from each dot and a tapestry needle to sew them securely in place. Weave in all loose ends inside the cap.
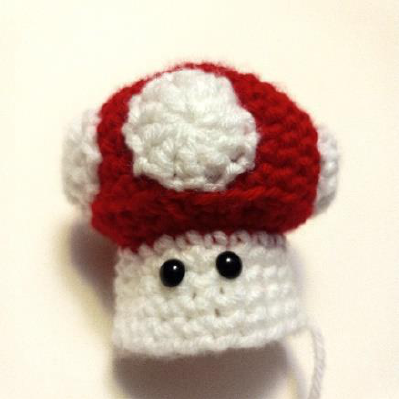
Step 2: Add the Safety Eyes
On the mushroom leg, insert the 8 mm safety eyes between rounds 12 and 13. Position them with about 4 to 5 stitches of space between them. Once you are happy with the placement, fasten the washers securely on the inside.
Step 3: Assemble the Mushroom
Lightly stuff the mushroom cap with fiberfill. Place the cap on top of the leg, ensuring it is centered. Use the long brown yarn tail you left on the cap to sew the cap to the leg. Stitch through the stitches of the last round of the cap and into the corresponding stitches on the leg. Add more stuffing to the cap as you sew to ensure it holds a nice, rounded shape.
Step 4: Embroider the Face
Using a strand of brown yarn and your tapestry needle, embroider small, simple eyebrows one or two rounds above each eye. Then, use the same yarn to stitch a small, curved smile below and between the eyes. Weave in the ends to secure them.
Your adorable amigurumi mushroom is now complete!