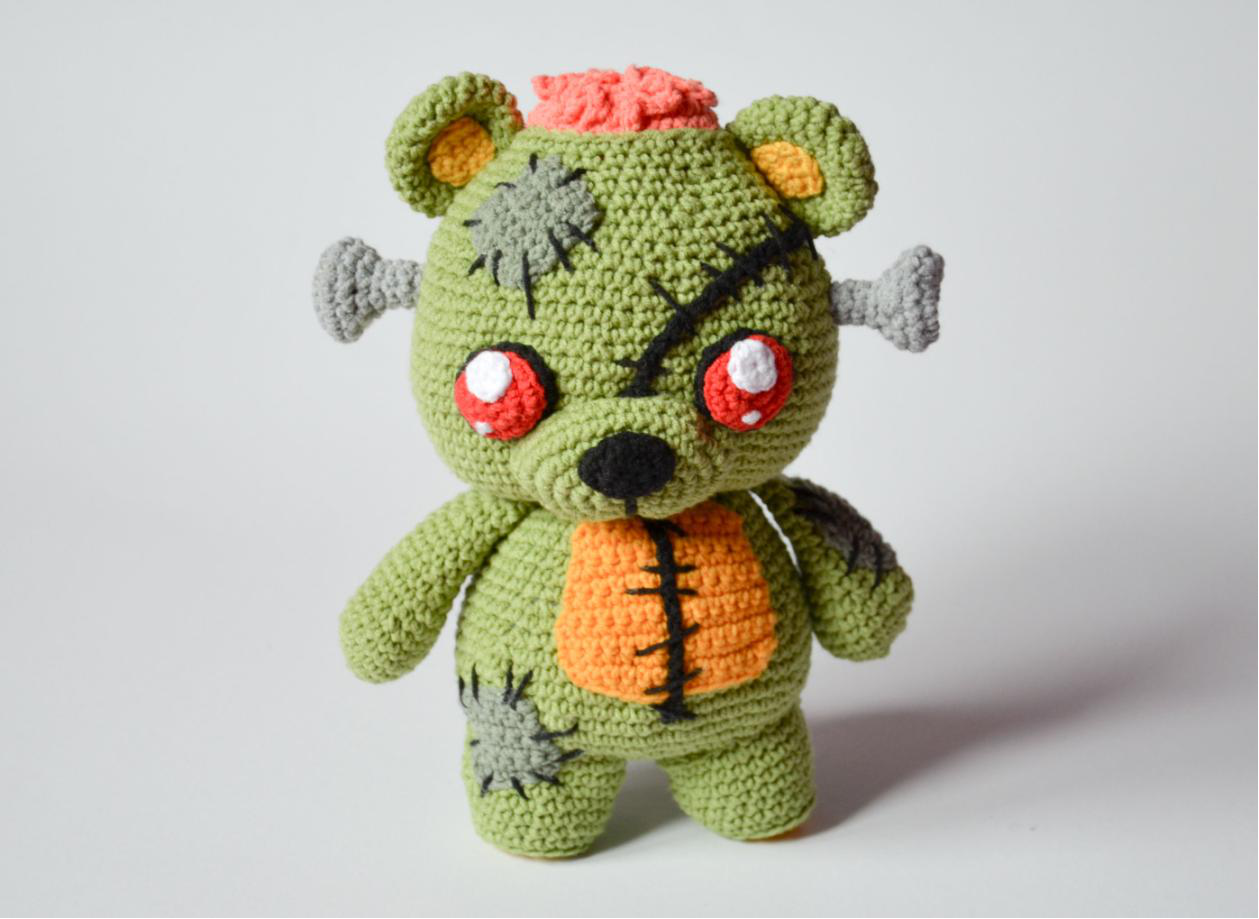
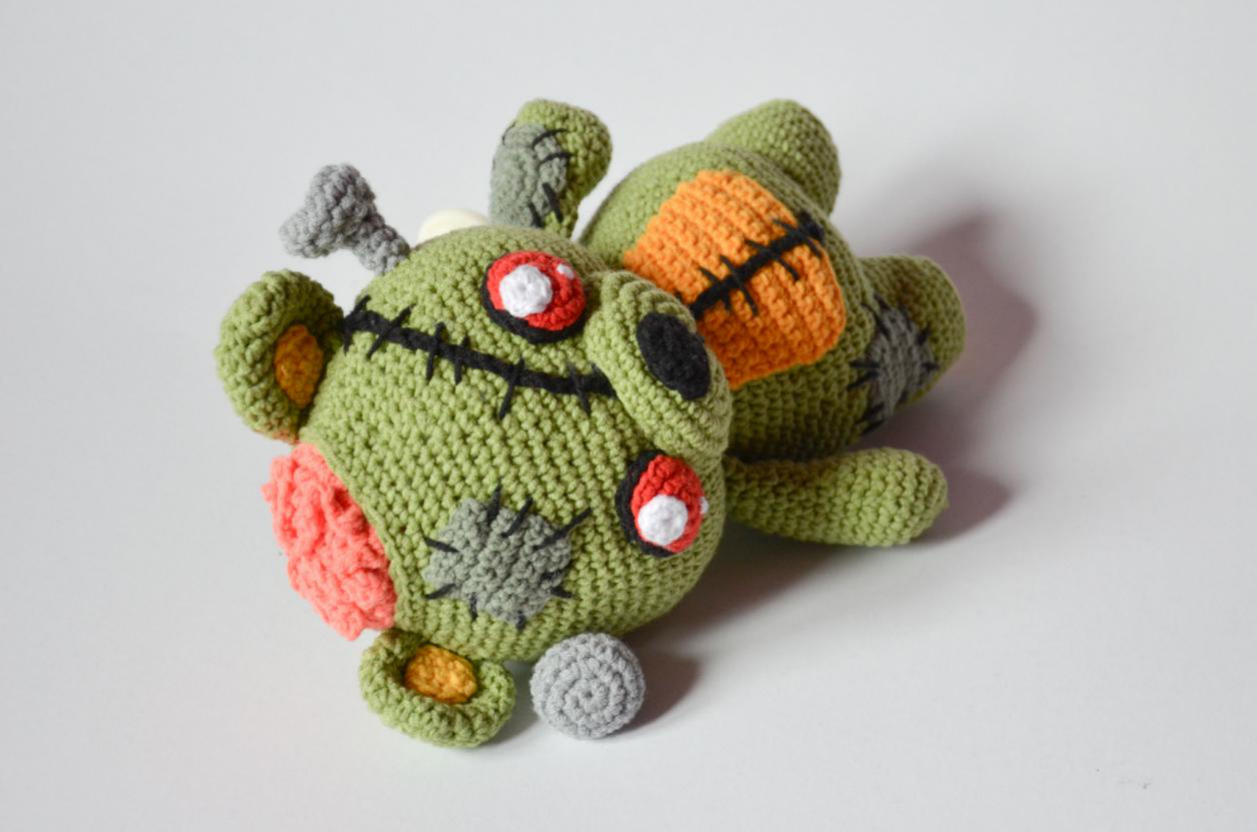
Frankie the Zombie Bear Crochet Pattern
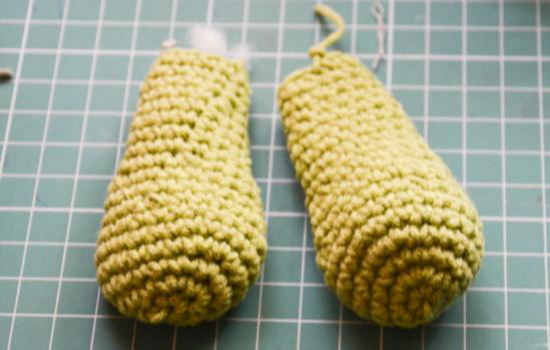
Hand (Make 2)
Using olive green yarn for Frankie’s hands.
- R1: 6 sc in MR (6)
- R2: *3scin1, inc, sc* X2 (12)
- R3: Sc, inc 3, sc 3, inc 3, sc 2 (18)
- R4: Sc 4, inc 2, sc 7, inc 2, sc 3 (22)
- R5 – R6: Sc 22 (22)
- R7: *Sc 3, dec, sc 4, dec* X2 (18)
- R8 – R9: Sc 18 (18)
- R10: *Sc 2, dec, sc 3, dec* X2 (14)
- R11 – R14: Sc 14 (14)
- R15: *Sc 5, dec* X2 (12)
- R16 – R17: Sc 12 (12)
- R18: *Sc 4, dec* X2 (10)
- R19: Sc 10 (10) FO
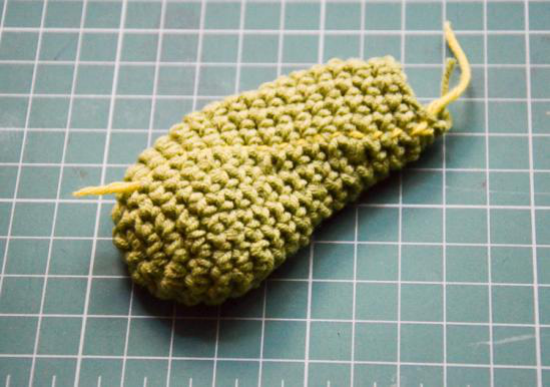
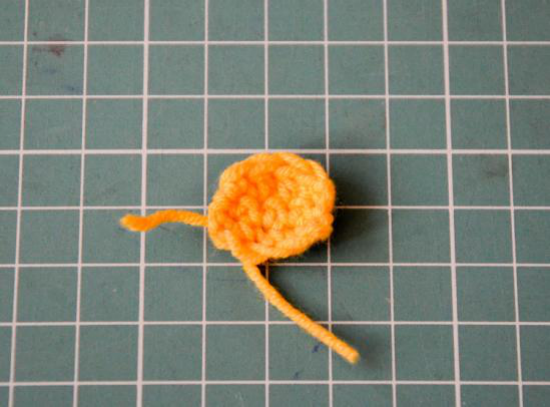
Leg (Make 2)
Start with yellow yarn, then change to olive green for the legs.
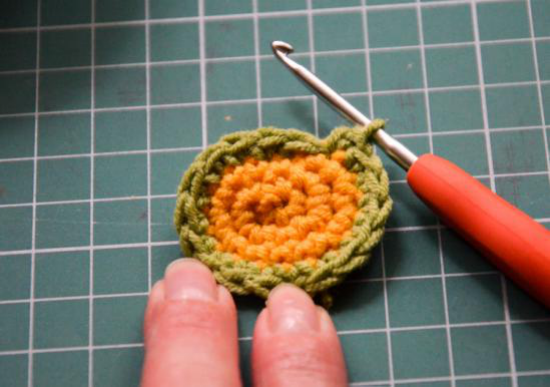
- R1: (Yellow yarn) 6 sc in MR (6)
- R2: *3scin1, inc, sc* X2 (12)
- R3: Sc, inc 3, sc 3, inc 3, sc, ss (18) FO yellow yarn.
- R4: (Attach olive green yarn) Sc 18 (18)
- R5: BLO sc 18 (18)
- R6: Sc 5, inc 2, sc 7, inc 2, sc 2 (22)
- R7 – R8: Sc 22 (22)
- R9: Sc 7, inc 2, sc 9, inc 2, sc 2 (26)
- R10: Sc 26 (26)
- R11: Sc 8, inc 2, sc 11, inc 2, sc 3 (30) FO
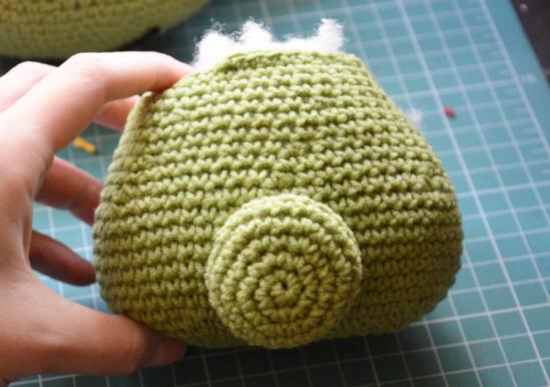
Tail (Make 1)
Using olive green yarn for Frankie’s tail.
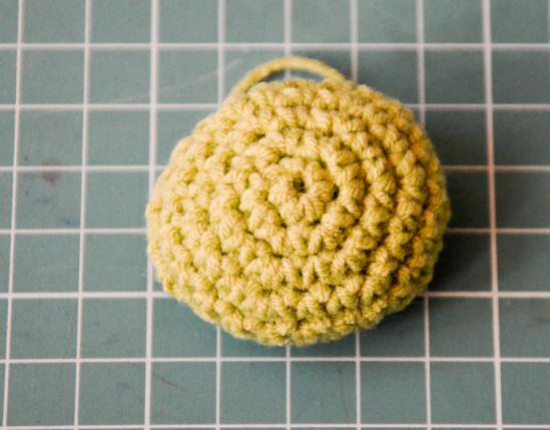
- R1: 6 sc in MR (6)
- R2: Inc around (12)
- R3: *Sc, inc* X6 (18)
- R4: *Sc 2, inc* X6 (24)
- R5: Sc 24 (24)
- R6: Sc 24 (24)
- R7: *Sc 2, dec* X6 (18) FO
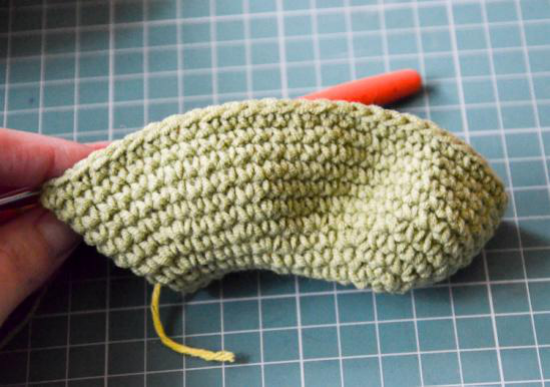
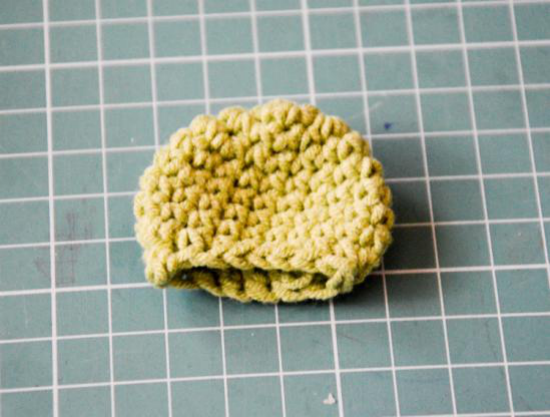
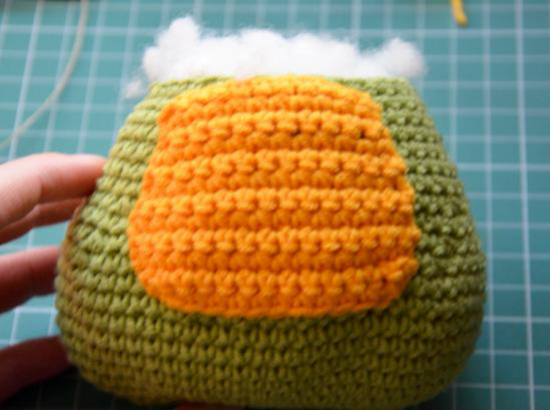
Belly (Make 1)
Using yellow yarn. Turn your work after each row for the belly piece.
- R1: Chain 12 (12)
- R2 – R4: Sc 11 (11)
- R5: Inc, sc 9, inc (13)
- R6 – R7: Sc 13 (13)
- R8: Inc, sc 11, inc (15)
- R9 – R11: Sc 15 (15)
- R12: Dec, sc 11, dec (13)
- R13: Dec, sc 9, dec (11) FO
Head Scar (Make 1)
Using black yarn for Frankie’s head scar.
- R1: Chain 50 (50) FO
Belly Scar (Make 1)
Using black yarn for a shorter belly scar.
- R1: Chain 17 (17) FO
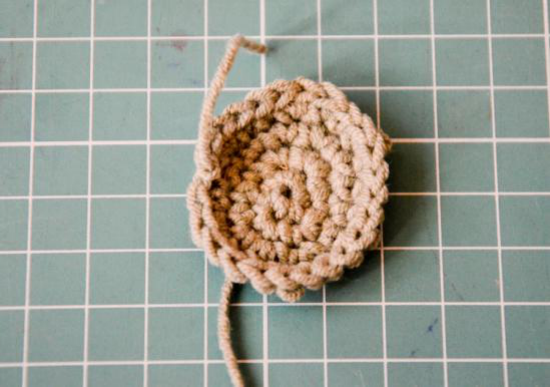
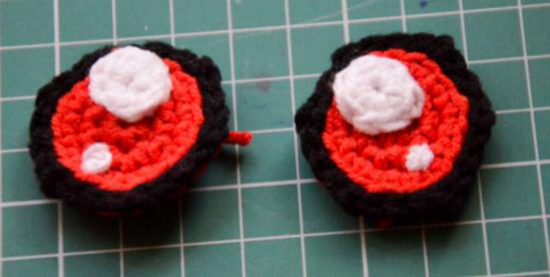
Round Patch (Make 2)
Using olive grey yarn for two round patches.
- R1: 6 sc in MR (6)
- R2: *3scin1, inc, sc* X2 (12)
- R3: Sc, inc 3, sc 3, inc 3, sc 2 (18)
- R4: *Inc, sc 2* X5, inc, sc, ss (24) FO
Square Patch (Make 2)
Using olive grey yarn for two square patches. Turn your work after each row.
- R1: Chain 7 (7)
- R2 – R7: Sc 6 (6)
- R8: Sc 6 (6) FO
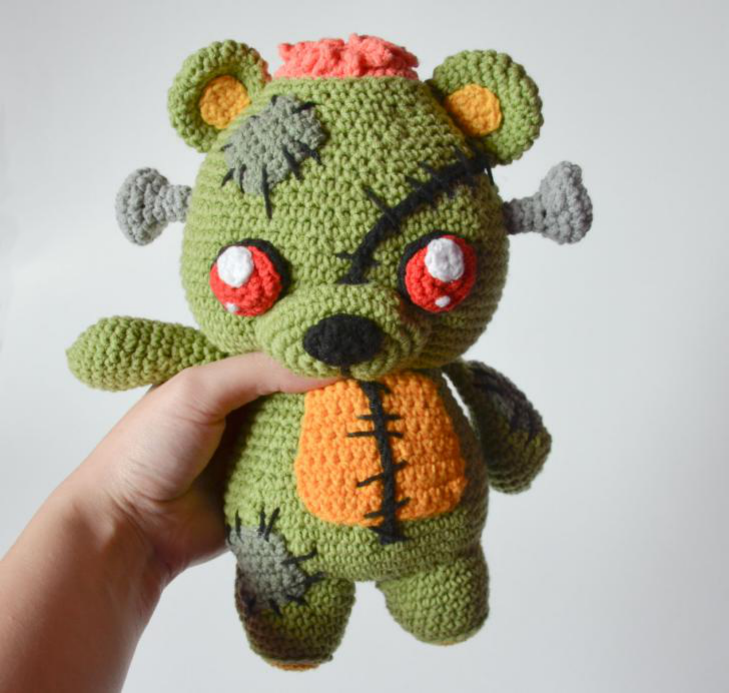
Assembly & Finishing Your Frankie Zombie Bear
Now that all the individual parts are crocheted, it’s time to bring Frankie to life! The assembly process involves stuffing and sewing each component into place. Take your time with these steps for a neat and secure finish.
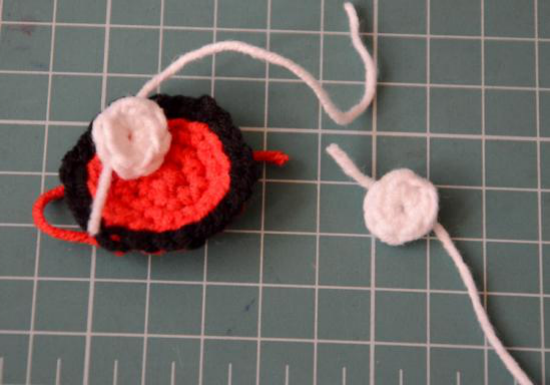
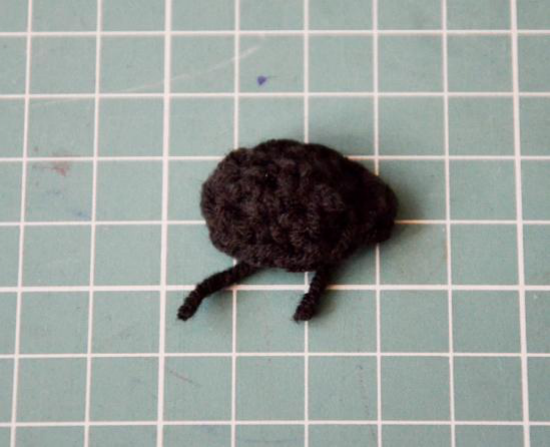
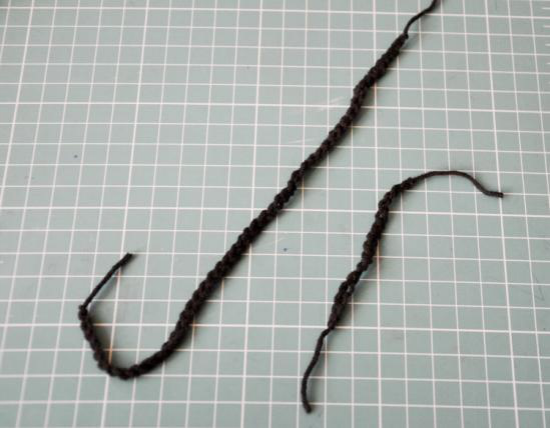
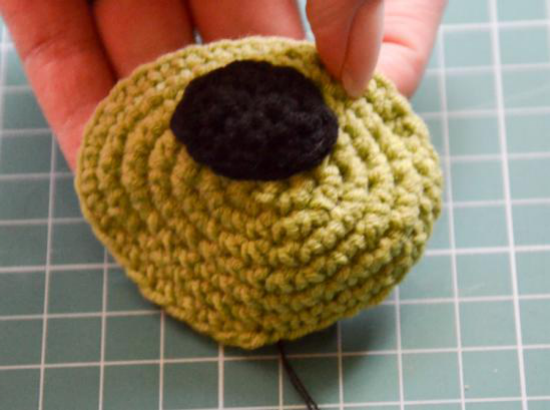
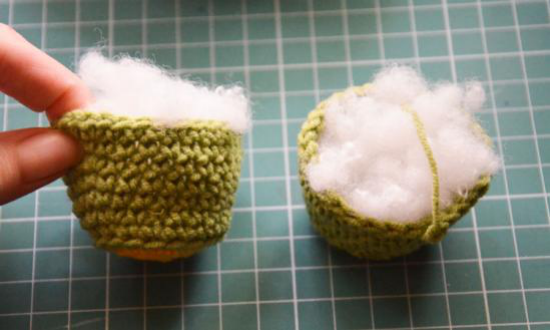
Brain Assembly
Start with the brain parts: the base and the two chains.
- Fold up the first brain chain onto one half of the brain base. Refer to the image for guidance.
- Carefully sew it into place.
- Fold the second chain onto the other half of the brain base and sew it.
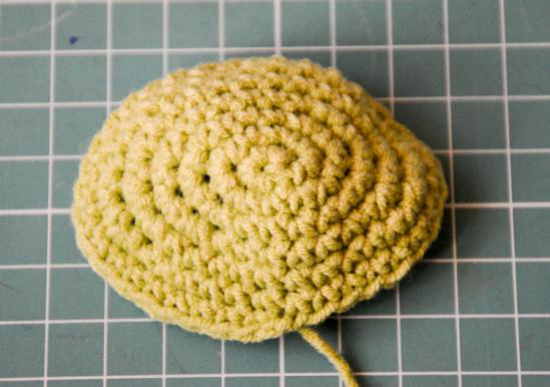
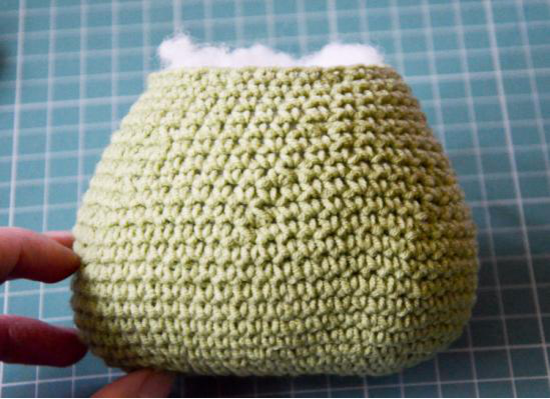
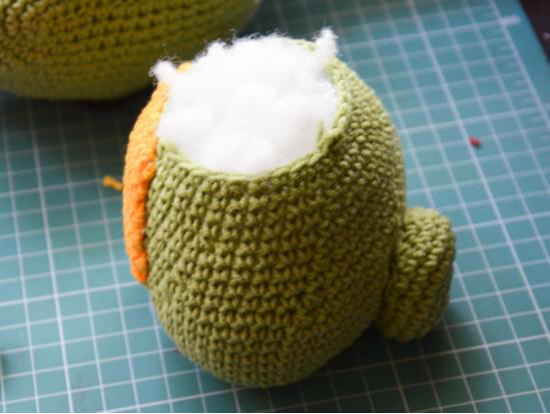
- Stuff the main head piece firmly with cotton wool or fiberfill.
- Position the assembled brain on top of the head, in the designated gap, and securely sew it onto the head.
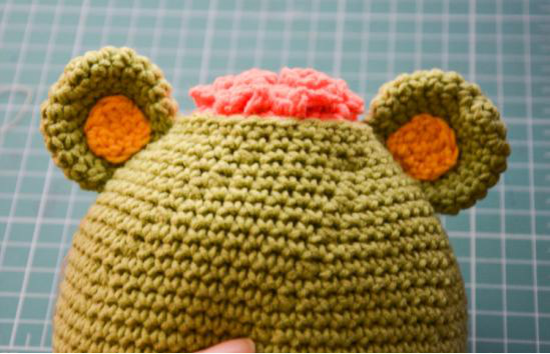
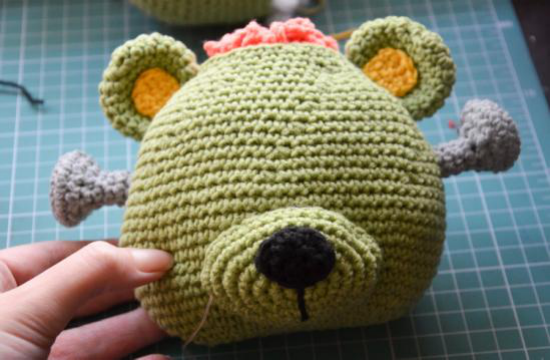
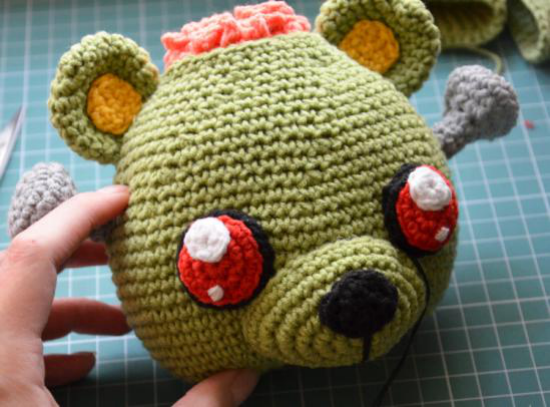
Head Features Attachment
- Sew each yellow inside ear piece to its corresponding olive green ear.
- Attach the ears to the head, positioning them next to the brain on top.
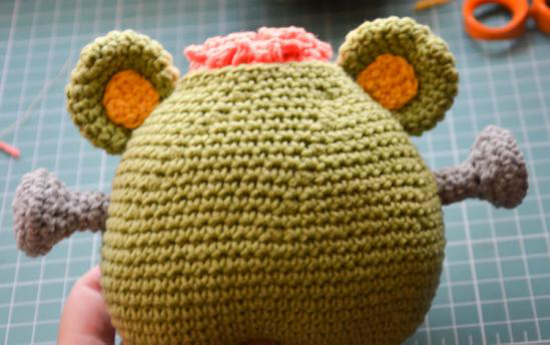
- You can lightly stuff the grey screw pieces if you wish, though it’s optional.
- Sew the screws onto both sides of the head.
- Sew the black nose onto the upper part of the olive green muzzle.
- Stuff the muzzle firmly and then sew it to the head, centered below the eyes.
- Using black yarn, embroider a small line under the nose to define the mouth area.
Eye & Body Assembly
- Sew the white reflection circles onto each red and black eye.
- Attach the eyes to the head, positioning them symmetrically above the muzzle.
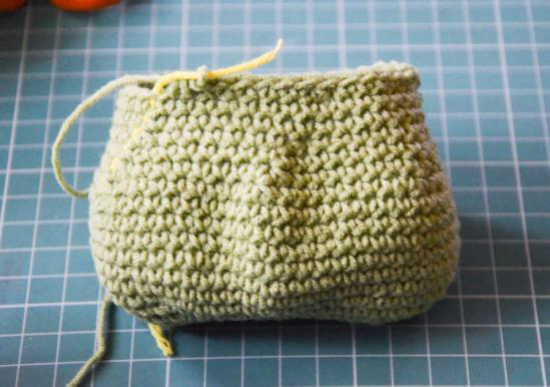
- Stuff the body tightly to ensure a firm shape for Frankie.
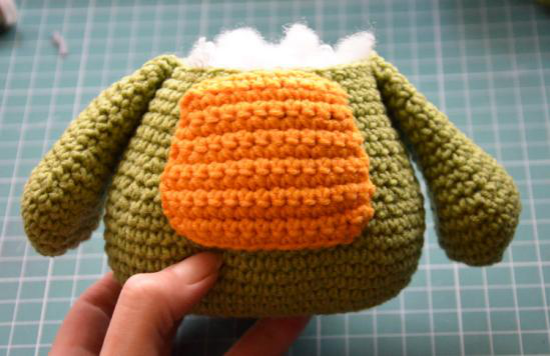
- Sew the yellow belly piece to the front of the body.
- Stuff the tail and sew it onto the opposite side of the body from the belly.
Limb and Head Attachment
- Stuff the hands firmly and sew them to the sides of the body.
- Stuff the legs firmly and sew them to the bottom of the body.
- Attach the head to the body very precisely. It’s recommended to sew around the neck twice for extra security and a clean finish.
Patch & Scar Detailing
Add Frankie’s signature patched-up look and scars.
- Take one of the square patches and sew it above Frankie’s right eye.
- Sew the second square patch to the front, where his right leg and body meet.
- Attach the first round patch to his left hand.
- The last round patch goes on the back of the head.
- Sew the long head scar, starting from directly above the nose, continuing under his left ear, and ending on the right side of the back of the body, where the head and body meet.
- Sew the shorter belly scar perpendicularly onto the yellow belly.
Final Stitching Details
Complete Frankie’s zombie look with some characteristic stitches.
- Using black yarn, embroider small stitches along the head scar and around the patch on the head.
- Continue making stitches on the back of the head as desired for a “stitched-up” effect.
- With black yarn, add stitches to the belly scar and around the patch on the leg.
- Once the final patch is stitched, and all stitches are made, your Frankie zombie bear is complete!
Congratulations on completing your very own Frankie the zombie bear! We hope you love your creepy-cute monster and enjoyed this detailed crochet pattern.