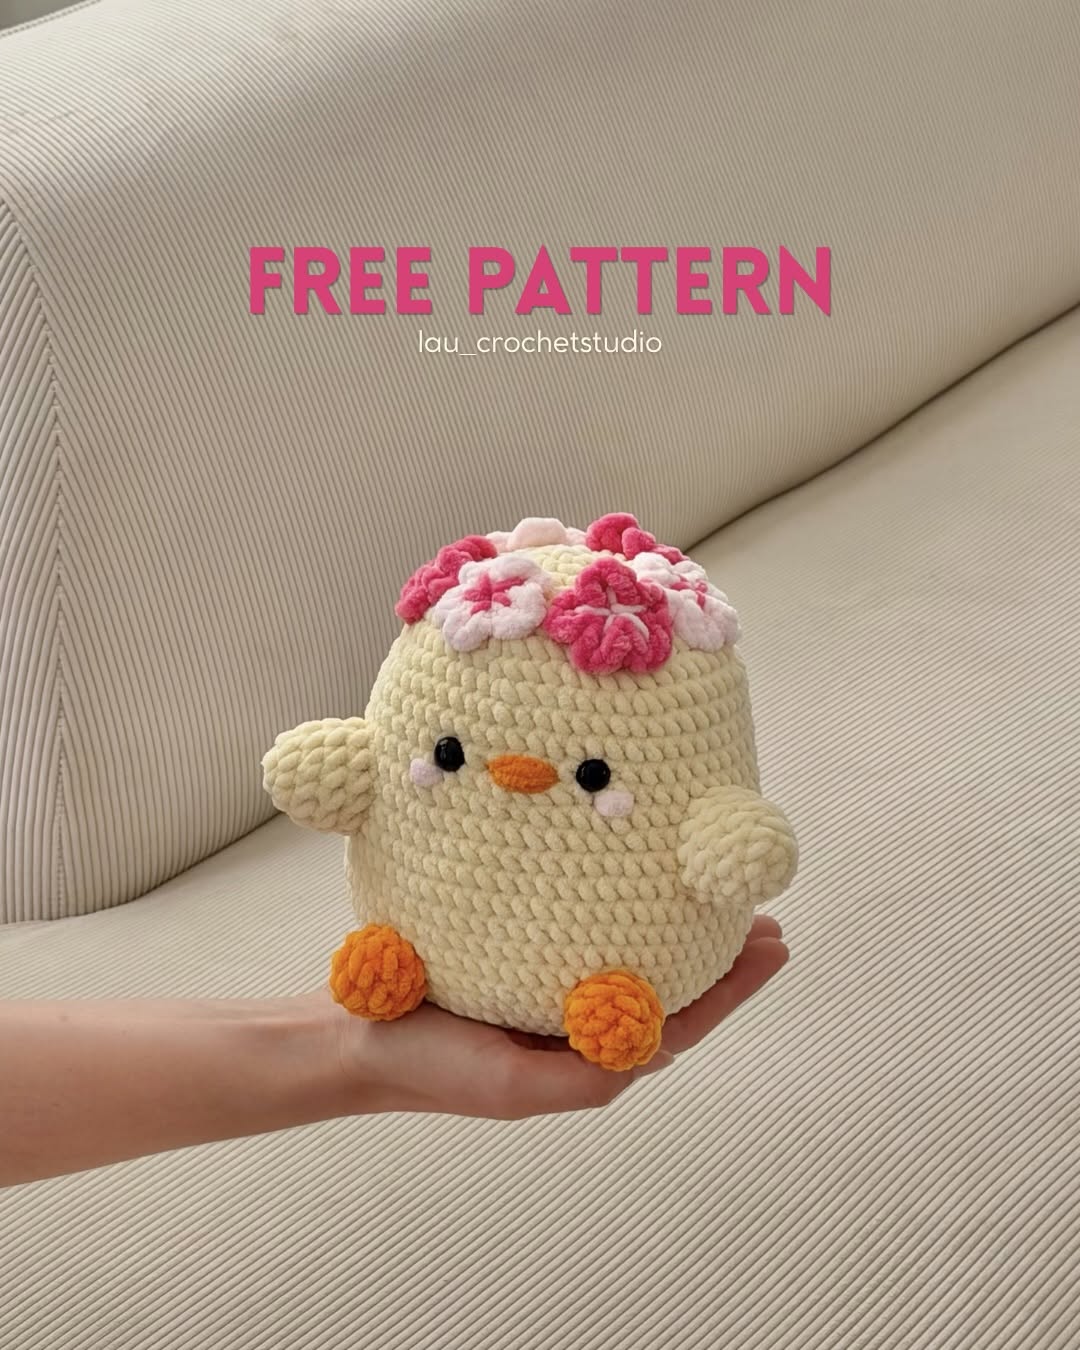
Create Your Own Adorable Flower Chick: A Cute & Easy Crochet Pattern
Eye Placement: Insert safety eyes between rounds 12 and 13, approximately 6 stitches apart.
- R26: (4 SC, DEC) x 8 (40)
- R27: (3 SC, DEC) x 8 (32)
Begin stuffing the body firmly.
- R28: (2 SC, DEC) x 8 (24)
- R29: (SC, DEC) x 8 (16)
- R30: 8 DEC (8)
Finish stuffing, cut the yarn, and sew the remaining hole closed.
The Wings (Make 2)
- R1: 5 SC in MR (5)
- R2: 5 INC (10)
- R3: (4 SC, INC) x 2 (12)
- R4-5: 12 SC for 2 rounds (12)
Cut the yarn, leaving a long tail for sewing. Stuff lightly.
The Feet (Make 2)
- R1: 5 SC in MR (5)
- R2: 5 INC (10)
- R3: 10 SC (10)
- R4: (3 SC, DEC) x 2 (8)
Cut the yarn, leaving a long tail for sewing. Stuff lightly.
The Flowers (Make 6)
To create the sakura-style flowers, follow these steps:
- Create a Magic Ring (MR) and Chain 2.
- Work 2 DC into the MR.
- Chain 2 and SL ST into the MR. This completes the first petal.
- Repeat the process (2 DC into MR, CH 2, SL ST into MR) 5 times in total to create 5 petals.
- Cut the yarn, leaving a long tail for sewing.
Optional Detail: You can embroider a small star or dot in the center of each flower to add a detailed sakura effect.
Assembly
Now that all the pieces are ready, it is time to put your chick together:
- Sew the Wings: Attach the wings to the sides of the body.
- Sew the Feet: Attach the feet to the bottom of the body.
- Attach the Flowers: Sew the 6 flowers onto the top of the chick’s head to create a floral crown.
- Final Details: Use your needle and yarn to embroider a small orange beak and soft pink cheeks.
Your adorable flower chick is now complete
Pages: 1 2